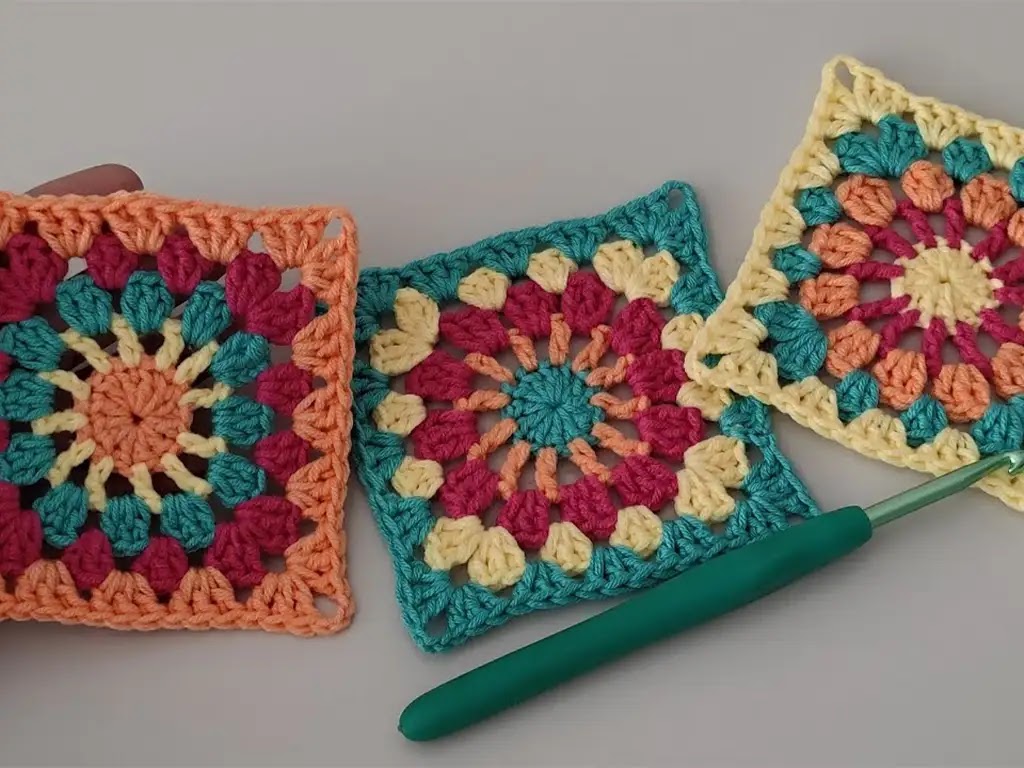
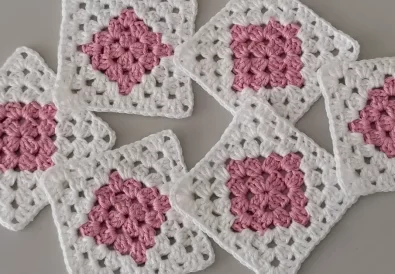
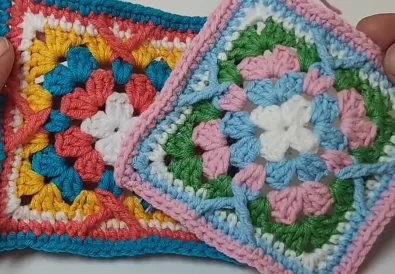
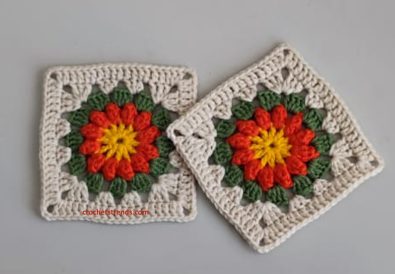
Discover this quick and easy crochet square pattern – a modern take on the granny square, perfect for summer projects!
Crocheted squares are timeless and beloved for good reason. They’re quick to work up, endlessly customizable, and offer an ideal way to use up scrap yarn. The classic granny square motif has a special place in every crocheter’s heart, but if you’re ready for a breezy, contemporary twist on this staple – then this pattern is calling your name!
This square pattern is perfect for beginners and experienced crocheters alike. Whether you’re dreaming of a lightweight summer top, a vibrant beach bag, or a charming table runner, these squares can take you there.
Overview
- Skill Level: Beginner
- Potential Projects: Summer tops, bags, table runners, blankets, home decor accents
Materials
- Yarn: Alize Cotton Gold (or a similar light to medium weight yarn in your preferred colors)
- Hook: 3mm crochet hook
- Other: Scissors, tapestry needle (for weaving in ends)
Gauge: Gauge is not crucial for this motif, but a tighter stitch will result in a smaller square.
Size: This pattern creates a granny square motif measuring approximately 8.5 cm (3.3 inches) when finished.


Notes:
- This pattern uses continuous rounds, meaning you won’t join or turn your work at the end of each round.
- You will change colors at the beginning of each round.
- Color changes are not specified within the instructions; choose your desired color sequence.
Understanding the Pattern
Before we dive into the pattern, let’s clarify some common crochet terms and techniques you’ll encounter:
- Magic Ring: A versatile crochet starting method often used for projects worked in the round.
- Double Crochet (dc): A basic, foundational crochet stitch.
- Chain Stitch (ch): Creates spaces or height in crocheted fabric.
- Slip Stitch (sl st): Used for joining stitches or finishing rounds subtly.


Tips and Tricks
- Color Changes: Feel free to experiment with different color combinations. This square looks fantastic in both a single color and as a multi-color project!
- Tension: Keep your stitches relaxed for a drapey summer design. If your crochet tends to be tight, you might even consider using a larger hook than the yarn label suggests.
- Blocking (Optional): While not strictly necessary, blocking your finished squares will make them even neater and help them hold their shape in your final project.
The Written Pattern


Granny square
Row 1:
- Begin with a magic ring.
- Ch 3 (counts as first dc), 11 dc into the ring.
- Sl st to the top of initial ch 3 to close the round. Ch 1, cut the yarn.
Row 2: (Change color)
- Attach yarn at the top of any dc.
- Ch 5 (counts as first dc + ch 2), dc in the top of the next dc.
- Ch 2, dc in the top of the next dc. Repeat this (ch 2, dc) around the entire circle, creating 12 spaces.
- Ch 2, sl st into the top of the initial ch 5. Ch 1, cut the yarn.


Round 3: (Change color)
- Attach yarn in any ch 2 space.
- Ch 3 (counts as first dc), 2 dc in the same space.
- Ch 1, 3 dc in the next space. Repeat this (ch 1, 3 dc) around, creating corner spaces.
- Ch 1, sl st into the top of the initial ch 3. Ch 1, cut the yarn.
Round 4 and Up (Ascending Rows):
- Attach yarn in the middle of any 3 dc group.
- Ch 3, dc 3, ch 3, 3 dc in the same space (this forms your first corner).
- 3 dc in each of the next two ch 1 spaces.
- Repeat (ch 3, dc 3, ch 3, dc 3) for the next corner, then continue around.
- Sl st into the top of the first ch-3, cut the yarn.
Row 5: (Change color)
- Attach yarn in the center of any 3 dc group.
- Ch 3, 2 dc in the same space.
- 3 dc in the middle of each 3 dc group for the entire row.
- In the corners: (ch 3, dc 3, ch 3, dc 3) as before.
- Sl st into the top of the first ch 3 to finish. Fasten off and weave in ends.


Descending Rows (for shaping):
- Granny squares naturally increase in size with each round. To create a shaped piece like a bag or neckline, you can incorporate descending rounds where you decrease the stitch count in the corners.
- Follow the instructions for Round 4, but instead of working 3 dc in the corner group, work 2 dc, ch 3, 2 dc.
- Continue as usual for the rest of the round.
- You can incorporate any number of descending rounds depending on your desired shaping.
Finishing:
- Weave in all yarn ends with a yarn needle.
- You can block your finished granny squares (optional) to achieve a crisp and even look.
Assembly (Optional):
- Once you have crocheted the desired number of granny squares, you can join them together using a sewing needle and yarn, or crochet them together using a slip stitch or other joining method to create a larger project like a blanket, bag, or garment.
Let’s Get Hooking!
I hope you’re now eager to start transforming these squares into something unique! For even more detailed instruction, check out my companion video tutorial on the Tuba Crochet YouTube channel: https://www.youtube.com/watch?v=IpghKsGEC1c
Please share your creations on Instagram (@tubacrochets) or TikTok (@tubacrochet) – I can’t wait to see what inspires you!
Happy crocheting, everyone!


