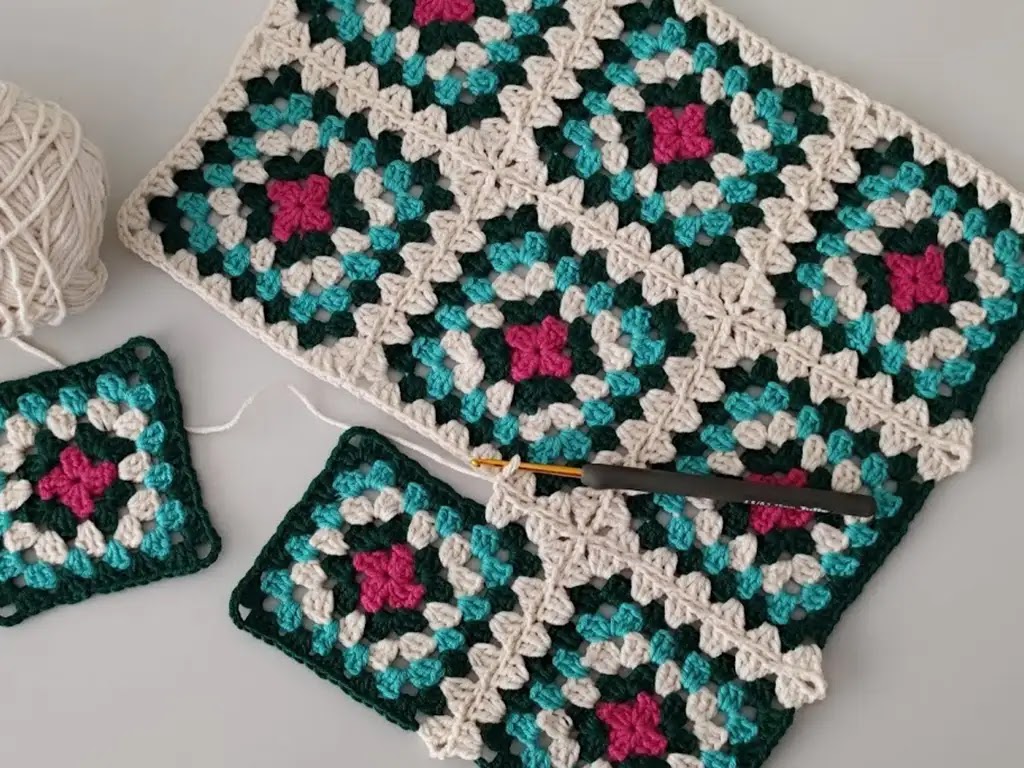
Learn to crochet beautiful granny squares & joining them with ease! This DIY guide offers simple patterns & step-by-step instructions.
Crocheting squares is a classic and versatile way to create beautiful handmade projects. Whether you’re a seasoned crocheter or a complete beginner, the world of crochet squares has something for everyone. From the iconic granny square to more modern motifs, these simple shapes offer endless design possibilities. In this blog post, we’ll explore crochet square designs, provide free patterns, and teach you how to join them seamlessly.
Materials
Before we dive in, here’s what you’ll need:
- Yarn: Choose your favorite colors and fiber types. For beginners, a medium-weight acrylic yarn is a great, affordable option.
- Crochet Hook: Match the hook size to your yarn (this information is usually on the yarn label).
- Scissors
- Needle: To weave in loose ends.
- Stitch Markers (optional, but helpful)
Exploring Crochet Square Designs
Granny Squares
The quintessential granny square is a timeless pattern that’s perfect for beginners. With its simple construction and colorful possibilities, it’s easy to see why it’s a beloved classic.
- Difficulty: Beginner
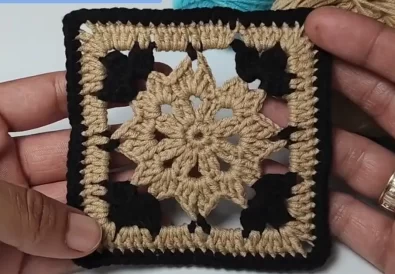
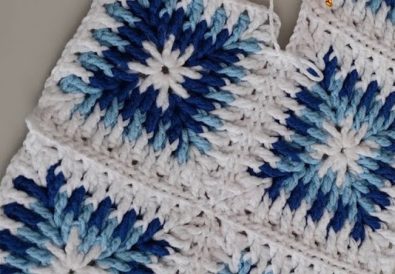
Other Crochet Square Ideas
While granny squares are iconic, there’s a whole world of crochet square patterns! Consider these:
- Solid Squares: Simple yet elegant, perfect for showcasing a beautiful yarn color.
- Textured Squares: Add dimension with stitches like bobbles or popcorn stitches.
- Motif Squares: Intricate designs with floral or geometric elements.
Free Pattern Resources
Here are some excellent websites for free crochet patterns:
- Tuba Crochet on YouTube: https://www.youtube.com/@TubaCrochet
Step by Step Pattern
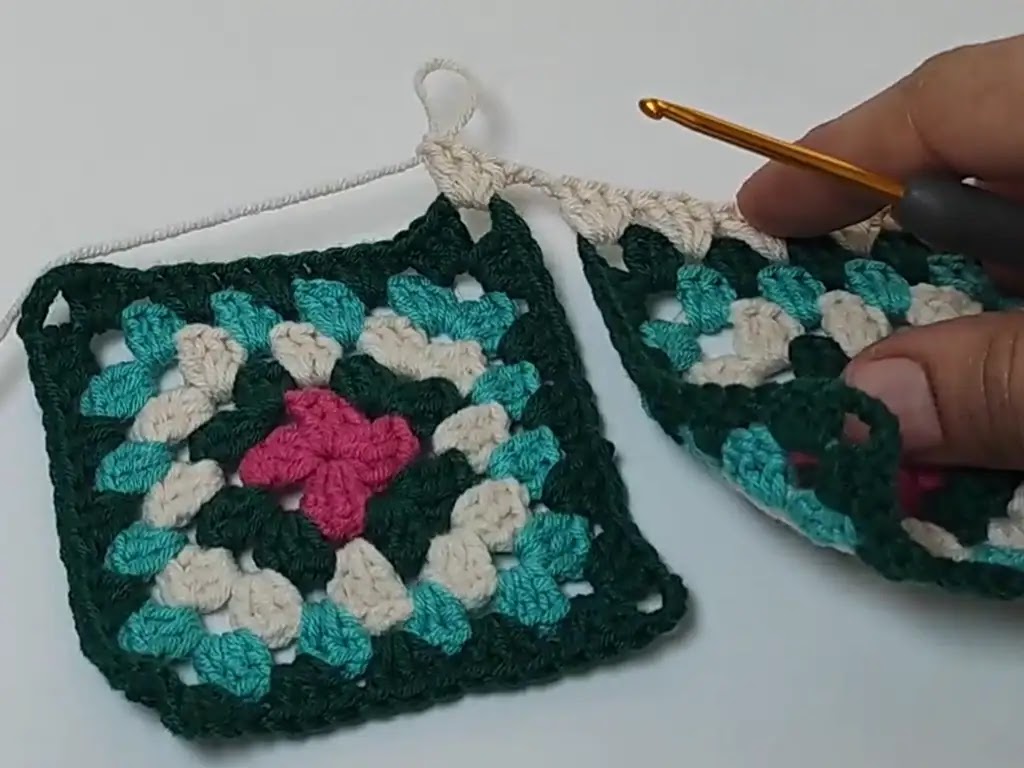
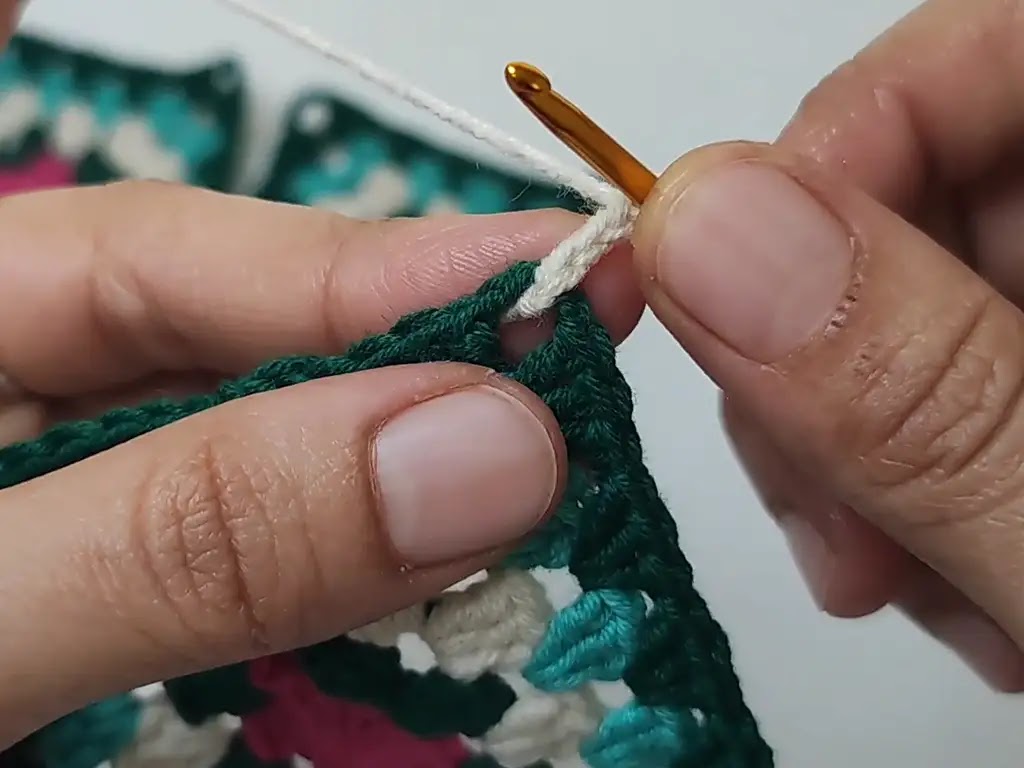
Let’s create a basic granny square together. Remember, video tutorials like the one on Tuba Crochet’s YouTube channel https://www.youtube.com/watch?v=BmeiukzzDRs can be super helpful too!
- Chain 4. Join with a slip stitch to form a ring.
- Round 1: Chain 3 (counts as a double crochet), 2 double crochets in the ring, chain 2, 3 double crochets in the ring, chain 2 Repeat from * to * two more times. Join with a slip stitch to the top of the first chain 3.
- Round 2: Slip stitch into the first chain-2 space. Chain 3, 2 double crochets in the same space, chain 2. *In the next chain-2 space, work 3 double crochets, chain 2. Repeat from * to * around, ending in the final chain-2 space. Join with a slip stitch.
Continue adding rounds for your desired square size!
Joining Crochet Squares
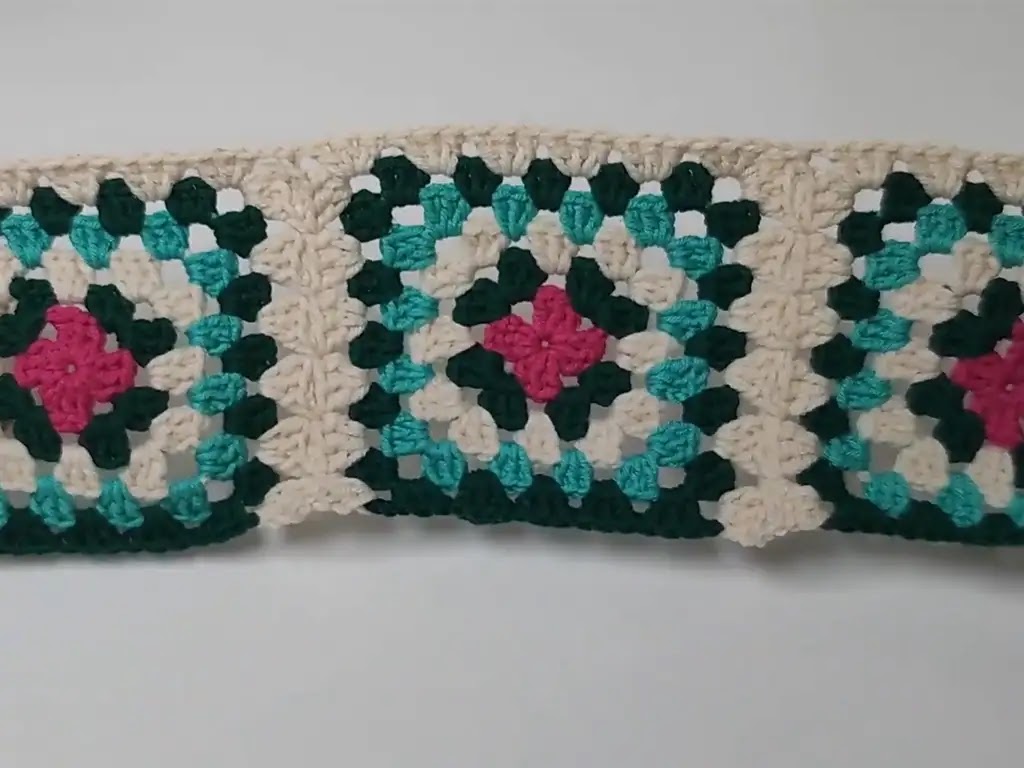
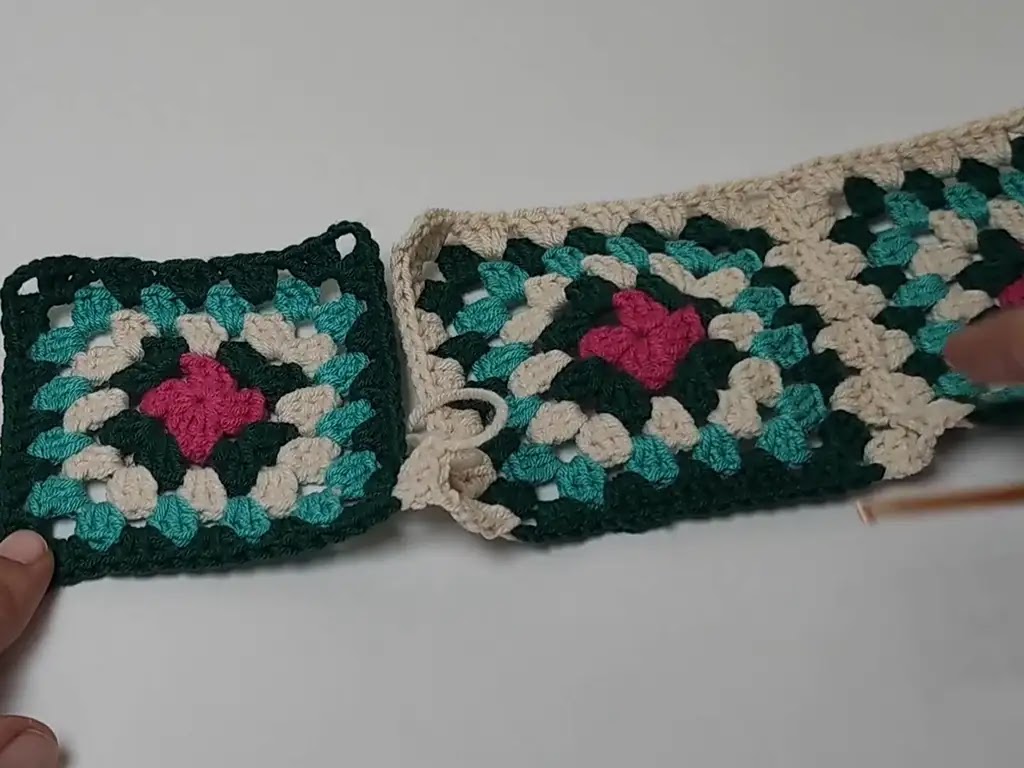
Once you have a collection of squares, it’s time to join them. Two popular methods are:
- Slip stitch: Provides a subtle, seamless seam.
- Continuous Join: Efficient method where you join squares as you crochet the last round.
Tips and Tricks
- Practice tension: Even stitches make for a tidy result.
- Use stitch markers: Help you keep track of where to place your stitches.
- Block your squares: Wetting or steaming finished squares helps them lay flat.
Project Inspiration
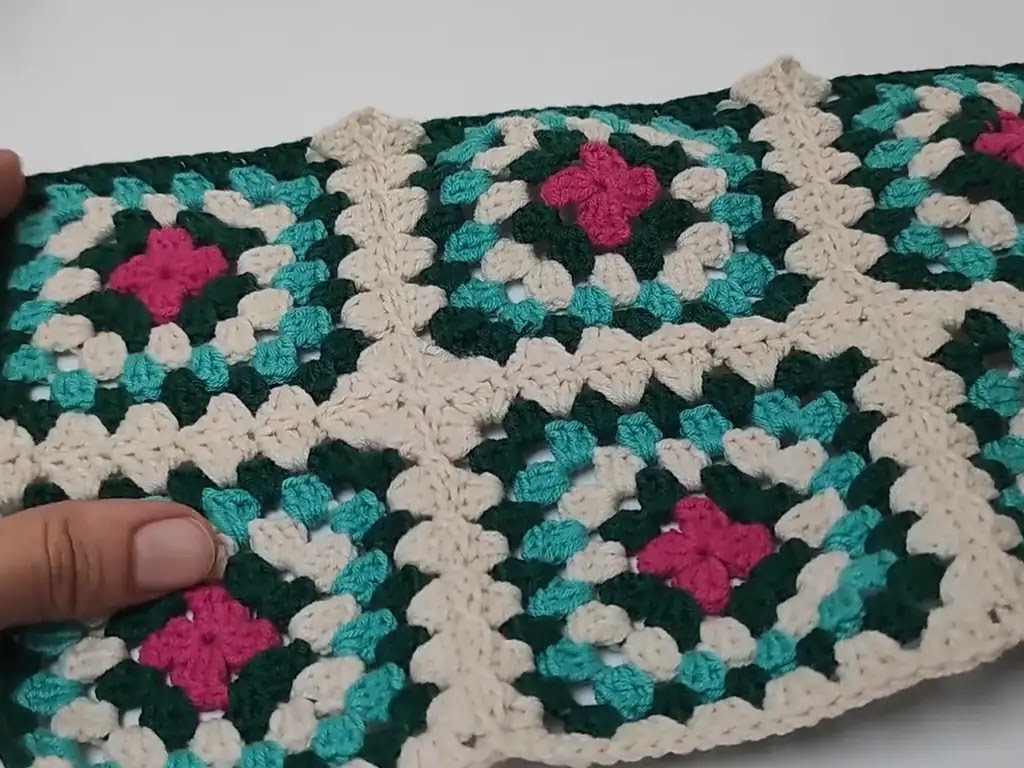
Crocheted squares can transform into:
- Cozy Blankets
- Stylish bags
- Unique Wall Hangings
- Adorable Garments
Call to Action!
Now it’s your turn! Explore different patterns, experiment with colors, and let your creativity shine. Share your projects on Instagram (https://www.instagram.com/tubacrochets?igsh=MW0wNjA2ZTcwbjUyMw==) and TikTok (tiktok.com/@tubacrochet). Let’s build a community of crochet square enthusiasts!
Happy Crocheting!

