
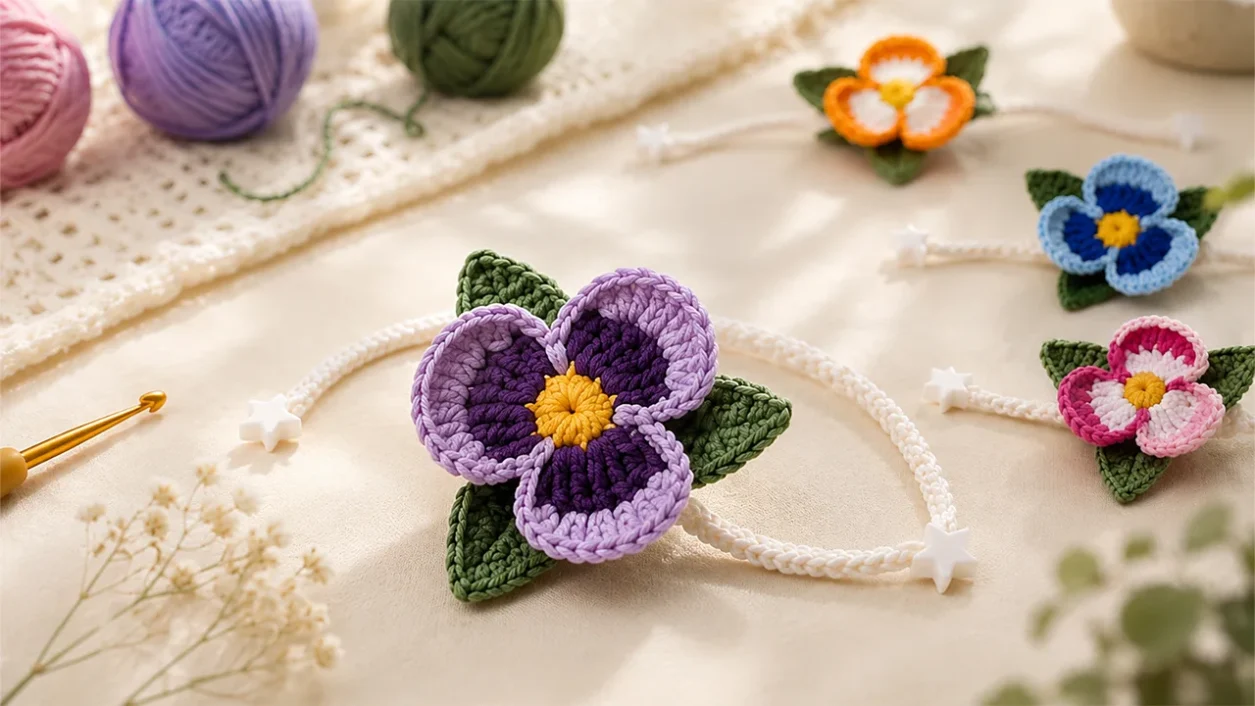
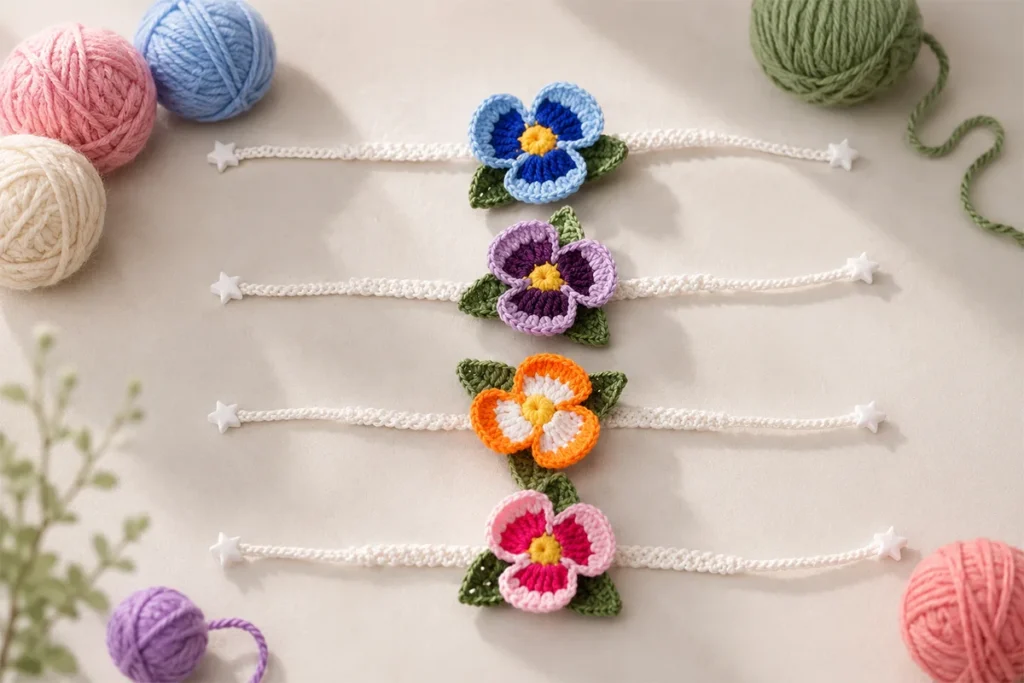
A Crochet Pansy Bracelet is a small, colorful project that turns a little yarn into a pretty handmade accessory. The flower is worked in layers, finished with three green leaves, and attached to a simple crochet cord.
It is also a nice project for using leftover yarn. Keep the flower in traditional pansy shades or mix the colors you already have at home. The tutorial uses cotton yarn and a 2.20 mm crochet hook, and small beads can be added to the cord ends for an extra finishing touch.
For more wearable projects, browse the Crochet Bracelets & Jewelry collection.
Crochet Pansy Bracelet Video and Free PDF Pattern
Follow the full project in the video tutorial, or keep the printable pattern nearby while you crochet.
Watch the video tutorial:
Download the free PDF:
Easy Crochet Pansy Bracelet Pattern PDF
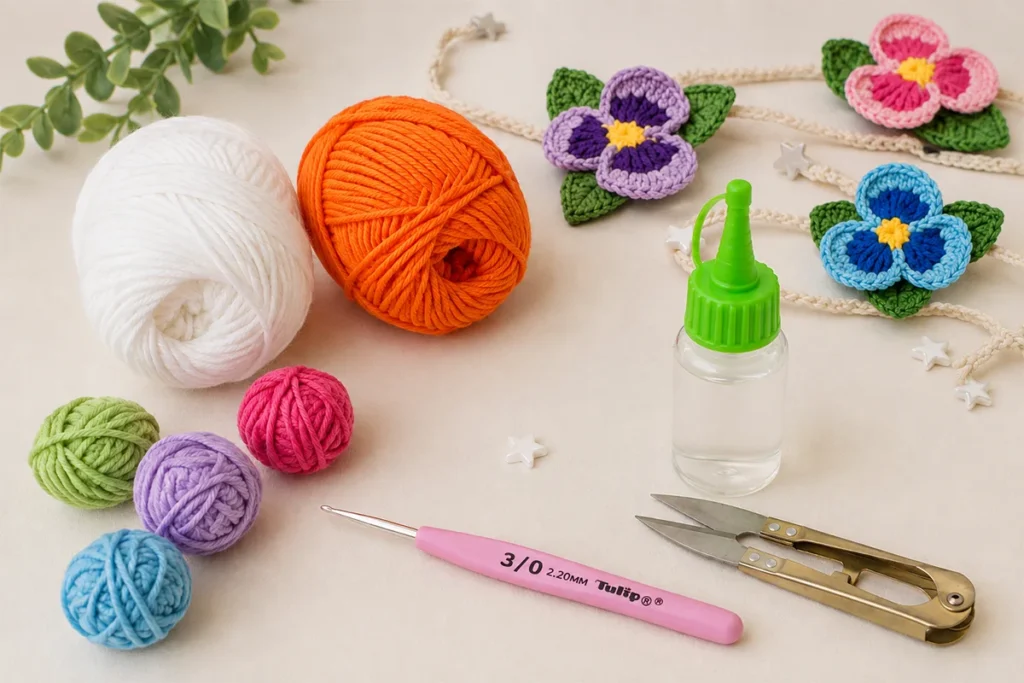
Materials for the Crochet Pansy Bracelet
- Cotton yarn
- Green yarn for the leaves
- Yarn for the bracelet cord
- 2.20 mm crochet hook
- Small decorations for the chain ends, if desired
- Small star beads, if you want to finish the bracelet like the one shown in the tutorial
- Glue for attaching the leaves, flower, and decorations
There is no required flower color combination, so this is a good opportunity to use small amounts of yarn you already have.
US Crochet Abbreviations
This pattern uses US crochet terminology.
- ch = chain
- sc = single crochet
- hdc = half double crochet
- dc = double crochet
- tr = treble crochet
- sl st = slip stitch
The project also begins with a magic ring.
Crochet Pansy Bracelet Written Pattern
Flower Center
Make a magic ring.
Ch 1.
Work 6 sc into the magic ring.
Gently tighten the ring.
Sl st into the first stitch.
Ch 1.
Work 8 sc into the magic ring space.
Sl st into the first stitch.
Ch 1 and fasten off.
Change color.
Inner Petals
Join the new color in any stitch.
Ch 4.
Work 2 tr in the next stitch.
Work 3 tr in the following stitch.
You now have 5 tr total across those two stitches.
Ch 4.
Sl st in the next stitch.
For the next petal:
- Ch 4
- Work 2 tr in the next stitch
- Work 3 tr in the following stitch
- Ch 4
- Sl st in the next stitch
Ch 4 and continue with the same petal pattern.
Repeat the same structure around the flower.
When you reach the end, ch 4 and join at the starting point.
Ch 1 and fasten off.
Add Color 3.
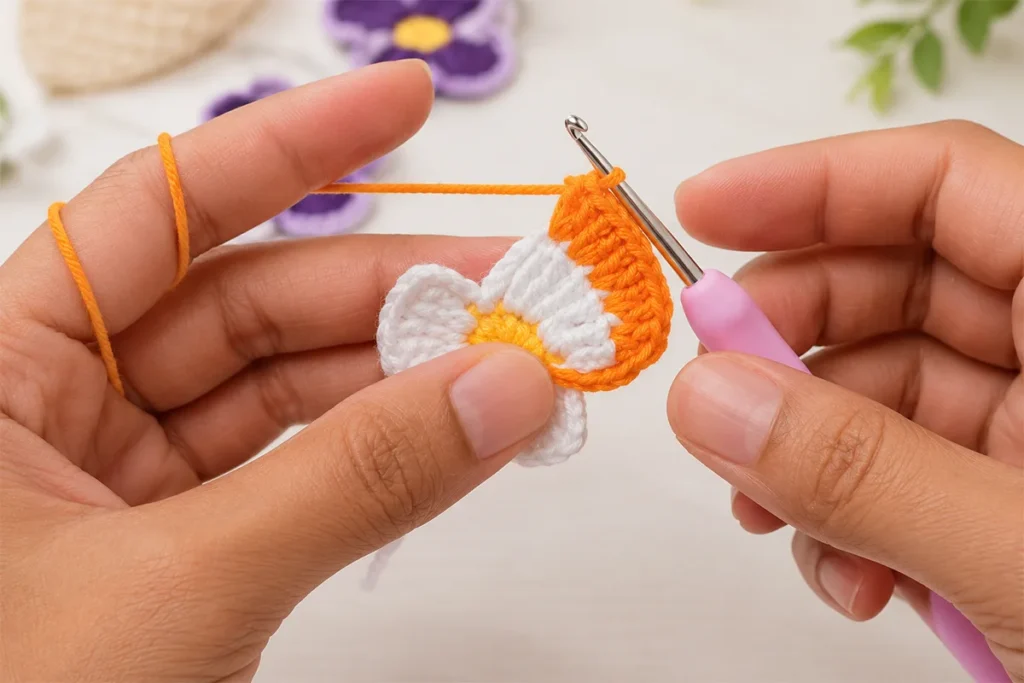
Outer Petal Round
Join Color 3 in any sl st between two groups.
Ch 4.
Work 2 dc in each of the next 5 tr.
You will have 10 dc total.
Ch 4.
Work 1 sc into the sl st between the groups.
Ch 4.
Work 2 dc in each of the next 5 tr for another 10 dc.
Continue repeating the same sequence around the flower:
- Ch 4
- 2 dc in each of the next 5 tr
- Ch 4
- 1 sc in the sl st between the groups
At the end, ch 4.
Sl st into the starting point.
Ch 1 and fasten off.
Weave in the yarn end through the stitches on the back.
Leaves
With green yarn, ch 12.
Starting in the second chain:
- 1 sc in the second ch
- 1 hdc in the next ch
- 1 dc in each of the next 2 ch
- 1 tr in each of the next 3 ch
- 1 dc in each of the next 2 ch
- 1 hdc in the next ch
In the last chain, work:
- 2 sc
- ch 2
- 2 sc
Turn the piece and work along the other side of the chain:
- 1 hdc
- 2 dc
- 3 tr
- 2 dc
- 1 hdc
At the end, work:
- 2 sc
- ch 2
- 1 sc
Sl st into the first stitch.
Ch 1 and fasten off.
Weave in the yarn end.
Make 3 leaves total.
Assemble the Flower
Glue the 3 leaves behind the pansy flower.
Once the leaves are attached, set the flower aside while you make the bracelet cord.
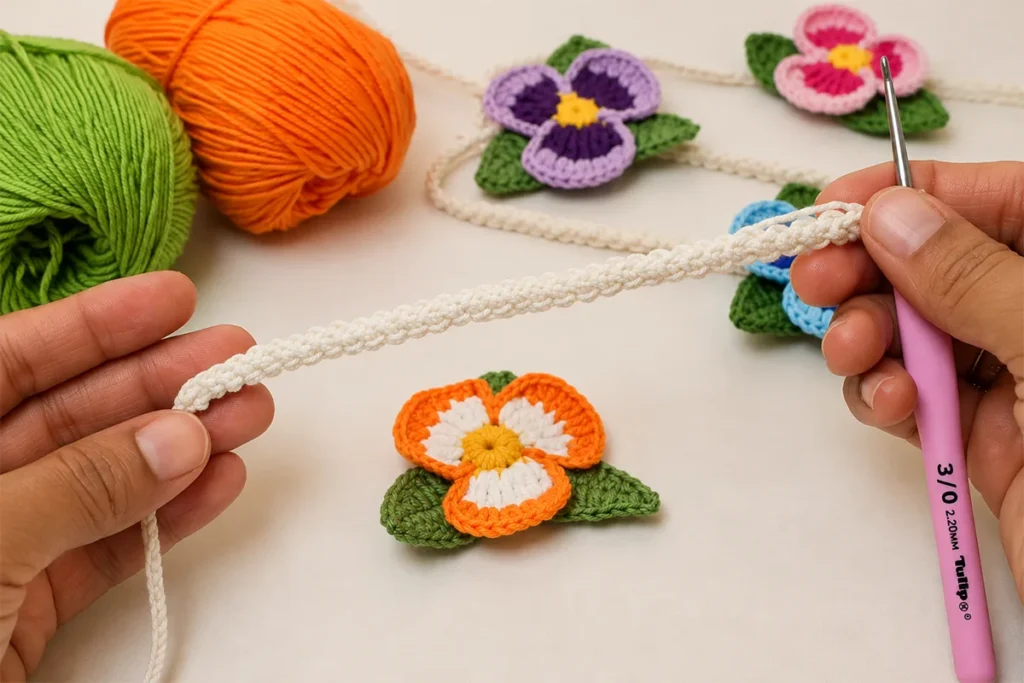
Crochet Pansy Bracelet Cord
Ch 25.
Work 1 sc into the 4th chain.
Turn the work.
Pull up a loop and make 1 sc.
Keep turning the work upward and to the left.
Each time, work through the 2 loops at the top, pull up a loop, and make 1 sc.
Repeat the same movement to build the cord.
Continue until the cord section measures about:
15 cm / 5.9 inches
Check the length against your wrist.
After the last cord stitch, ch 20.
Fasten off.
Finishing
Small decorations can be added to the chain ends if desired.
The bracelet shown in the tutorial uses small star beads.
Attach the star beads to the chain ends.
Find the exact center of the bracelet cord.
Attach the finished pansy flower at the center.
Your bracelet is finished.
Pattern at a Glance
Flower Center
- Magic ring
- ch 1
- 6 sc
- tighten ring
- sl st
- ch 1
- 8 sc into ring space
- sl st
- ch 1
- fasten off
Inner Petals
Each petal section uses:
- ch 4
- 2 tr in next st
- 3 tr in following st
- ch 4
- sl st in next st
Each section has 5 tr total.
Outer Petals
For each section:
- ch 4
- 2 dc in each of the next 5 tr = 10 dc
- ch 4
- sc into the sl st between groups
Leaves
Make 3 leaves.
Start each leaf with ch 12.
First end:
2 sc, ch 2, 2 sc
Return-side end:
2 sc, ch 2, 1 sc
Bracelet Cord
- ch 25
- sc in 4th ch
- turn
- pull up a loop and sc
- continue through the 2 loops at the top
- work to about 15 cm / 5.9 in
- check the length against your wrist
- finish with ch 20
FAQ About the Crochet Pansy Bracelet
What size hook and yarn do I need for this crochet pansy bracelet?
The tutorial uses cotton yarn and a 2.20 mm crochet hook. No specific yarn weight is given in the tutorial.
Do I need to use a specific color for the flower center?
No. The bracelet can be made in your favorite color combination, so the flower center does not need to be one particular color.
What crochet skills do I need to know before starting?
The pattern uses chains, single crochet, half double crochet, double crochet, treble crochet, slip stitches, and a magic ring.
Beginners who already know these basic stitches can follow the project section by section. The video is especially helpful for seeing the petal construction and bracelet cord movement.
Why are the two sides of the leaf slightly different?
The stitch counts are intentionally different in this pattern.
On the first side, the end is worked as:
2 sc, ch 2, 2 sc
After working back along the other side, the end is:
2 sc, ch 2, 1 sc
Keep those counts as written rather than changing the second side to match the first.
What does “work through the 2 top loops” mean for the bracelet cord?
Turn the work upward and to the left, then insert your hook through the 2 loops visible at the top. Pull up a loop and make 1 sc.
The movement is easier to understand visually, so watching this section of the video can be helpful the first time you work the cord.
How long should I make the bracelet cord?
The tutorial gives approximately 15 cm / 5.9 inches for the worked cord section.
Before finishing, check the length against your wrist. Then complete the end with ch 20.
Can I skip the beads on the cord ends?
Yes. The beads are a decorative finishing detail rather than part of the crochet construction.
The bracelet shown in the tutorial uses small star beads, but the chain ends can be left undecorated.
Can I make this crochet pansy bracelet with scrap yarn?
Yes. This project uses small amounts of yarn, which makes it a practical way to use leftover colors from other projects.
More Easy Crochet Projects
For another wearable project, try this Crochet Bracelets for Beginners – Easy Macrame Design.
Have a few small amounts of yarn left after making the bracelet? This Easy Crochet Flower Pattern is another small floral project worth trying.
For a different flower style, see the Easy Crochet Chrysanthemum Flower Pattern.
More wearable crochet ideas are available in the Crochet Bracelets & Jewelry category.
Crochet Pansy Bracelet: Final Thoughts
This little pansy bracelet is a simple way to combine a crochet flower, leaves, and a handmade cord in one project. Changing the flower colors is enough to give the same pattern a completely different look, which makes it especially useful for small leftover yarn amounts.
Keep the printable version here:
Download the Free Crochet Pansy Bracelet PDF
Or follow the complete process in the video:
Watch the Crochet Pansy Bracelet Tutorial