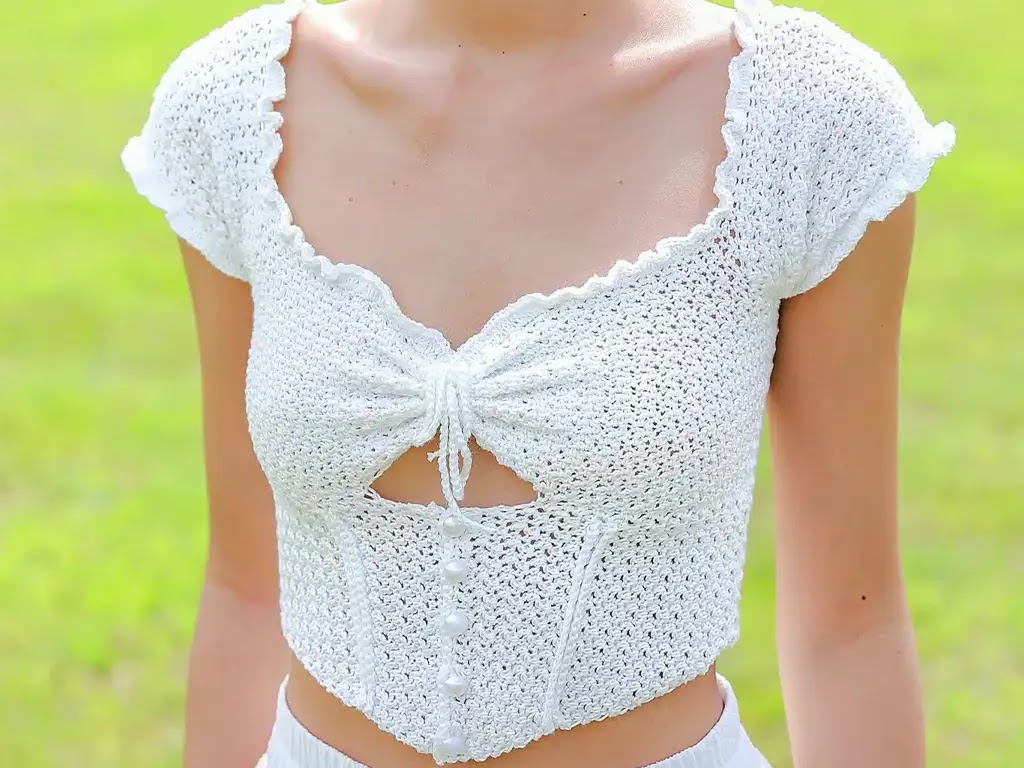
Learn to crochet a stunning corset top with this easy, beginner-friendly pattern. Handmade charm and a perfect fit in one quick DIY puff sleeve top project!
Crochet corset tops are the perfect blend of vintage charm and modern style. They’re surprisingly versatile – dress them up for a night out or keep it casual with your favorite jeans. This pattern is perfect for beginners, but even seasoned crocheters will love the simple construction and customizable fit. If you’re ready to create a unique, handmade piece, let’s get started!
Materials
- Yarn: Choose a yarn you love in a medium weight (category 4). Consider the season – cotton or linen blends are great for warm weather, while wool or acrylic is cozy for fall.
- Crochet hook: Size will depend on your yarn, but start with a hook appropriate for the yarn’s recommended size.
- Scissors
- Stitch markers (optional, but helpful)
- Buttons (if you prefer a button closure)


Techniques
This pattern uses basic crochet stitches and techniques:
- Slip knot
- Chain stitch (ch)
- Single crochet (sc)
- Double crochet (dc)
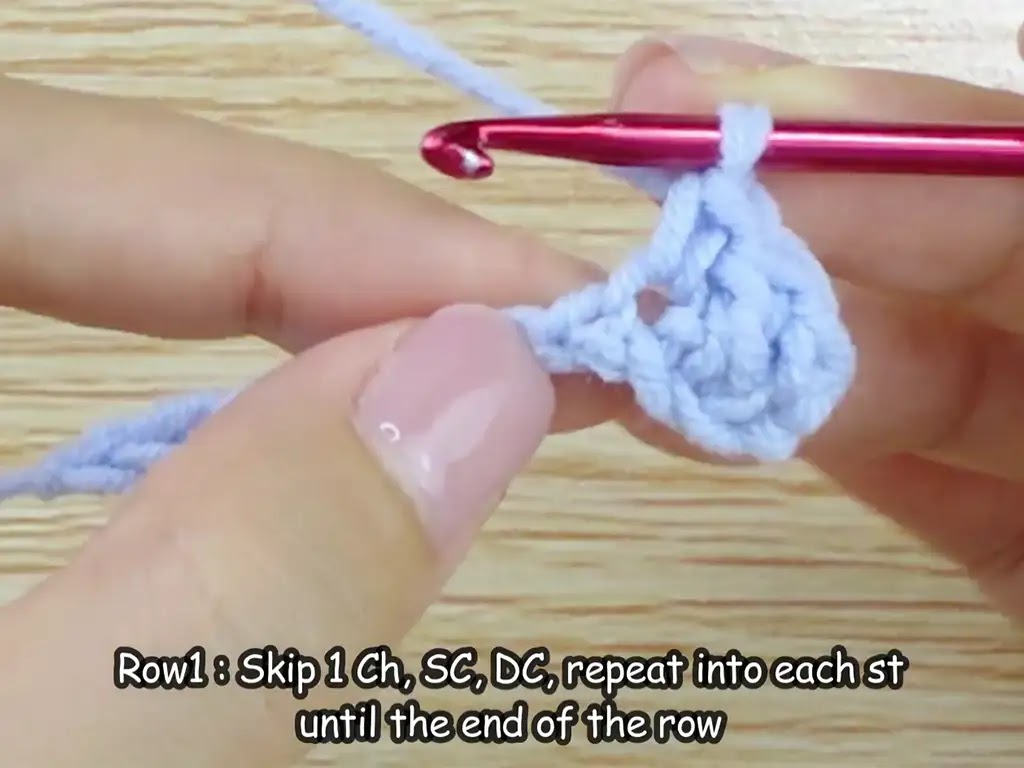
- Lemon peel stitch: Alternating single crochet and double crochet.
- Increasing: Creating multiple stitches within a single stitch.
Need a refresher? Don’t worry! There are tons of great tutorials for beginners on YouTube channels like Chenda DIY (https://www.youtube.com/@chendadiy).
Step by Step Pattern
Underbust Section
- Foundation Chain: Chain 18 (or the desired length to fit your underbust).
- Row 1: Skip 1 chain, single crochet (sc) in the next chain, double crochet (dc) in the next chain, sc in the next chain. Repeat from * to the end of the row.
- Row 2: Chain 1 (ch 1), turn your work. Sc in the dc below, dc in the sc below. Repeat from * to the end of the row.
- Row 3: Ch 1, turn. Continue the lemon peel stitch (alternating sc and dc) across the row.
- Rows 4-25:
- Repeat Row 2 (ch 1, turn, sc in dc, dc in sc).
- Repeat Row 3 (ch 1, turn, lemon peel stitch).
- Increase (for shaping): In the very last stitch of each row, work 2 sc into the stitch.

Bust Section
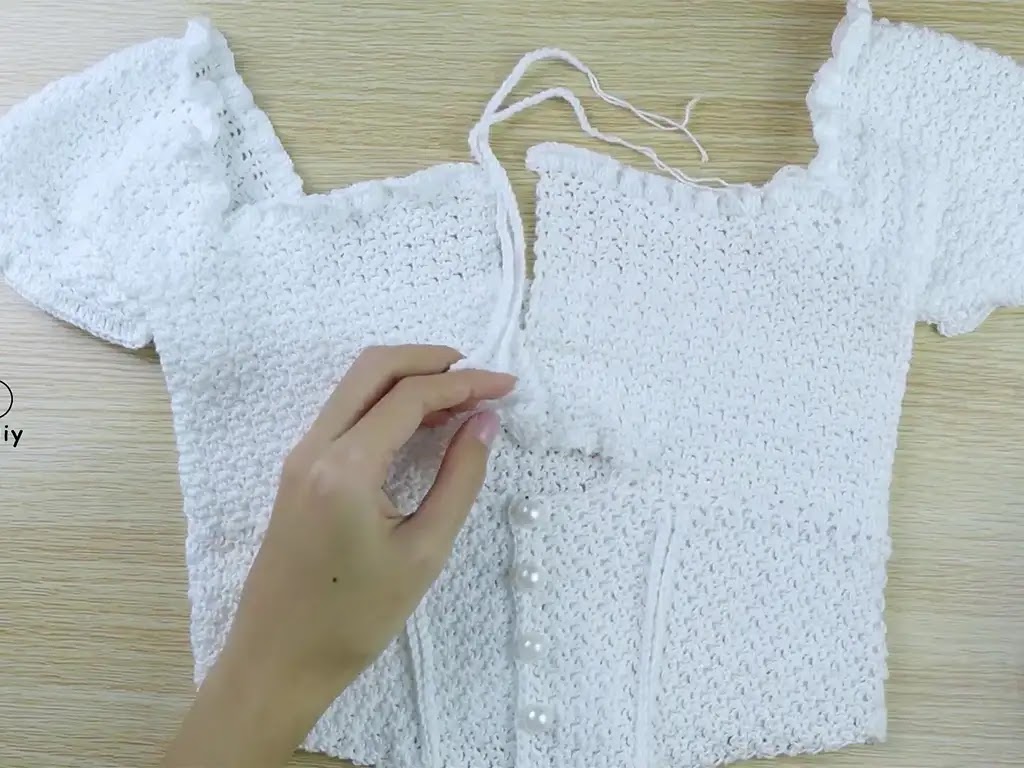
- Row 1: Chain 1, sc into the first stitch. Work lemon peel stitch into each row of the underbust section until you have 3 rows left.
- Row 2 (Underarm Space): Skip 12 stitches, chain 12, work lemon peel stitch to the end of the row.
- Rows 3-23: Chain 1, turn, work lemon peel stitch across the row.
- Repeat steps 1-3 on the other side.
Back Section
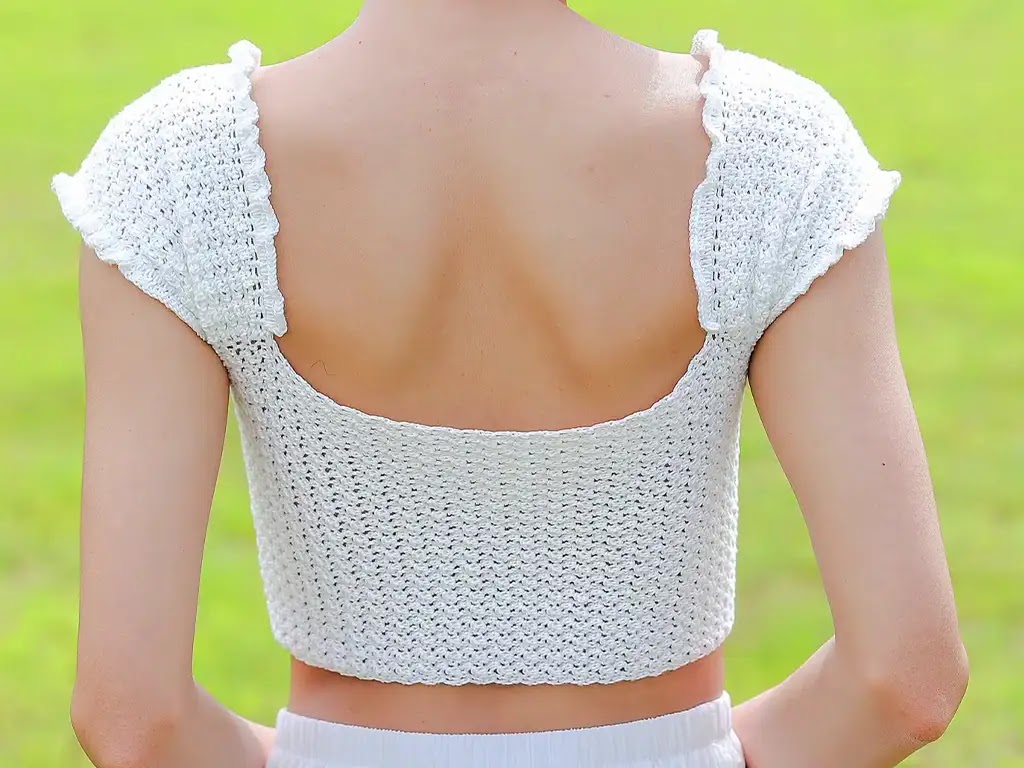
- Work the lemon peel stitch into each vertical edge of the front and underbust pieces until you reach the desired length (measuring from pit to pit).
Assembly
- Joining: Attach front pieces to the back section using single crochet and slip stitches.
- Straps:
- Chain 1, sc 3 into the corner stitch of the front piece.
- Work sc across the strap for about 38 rows, or adjust to your desired strap length.
- Attach the strap to the back piece with a row of sc followed by slip stitches.
- Repeat for the second strap.
- Sleeves:
- Attaching: Attach yarn at the corner of the strap, work lemon peel stitch into each strap row until you reach the corner.
- Underarm Section: Continue into the underarm space, making slip stitches as needed to join the sleeve to the underbust piece.
- Shaping: Repeat rows of lemon peel stitch and slip stitches until the sleeve fits your arm, leaving a few rows unworked at the end for the ruffle.
- Ruffle Edging: Work 1 row of sc around the sleeve opening. Then, work 1 row of sc, increasing into every 2nd or 3rd stitch to create the ruffle.
- Repeat for the other sleeve.
- Ruffle Edging (Neckline & Sleeves): Work a row of sc increasing into every 2nd or 3rd stitch along the neckline and sleeve openings.
- Closure:
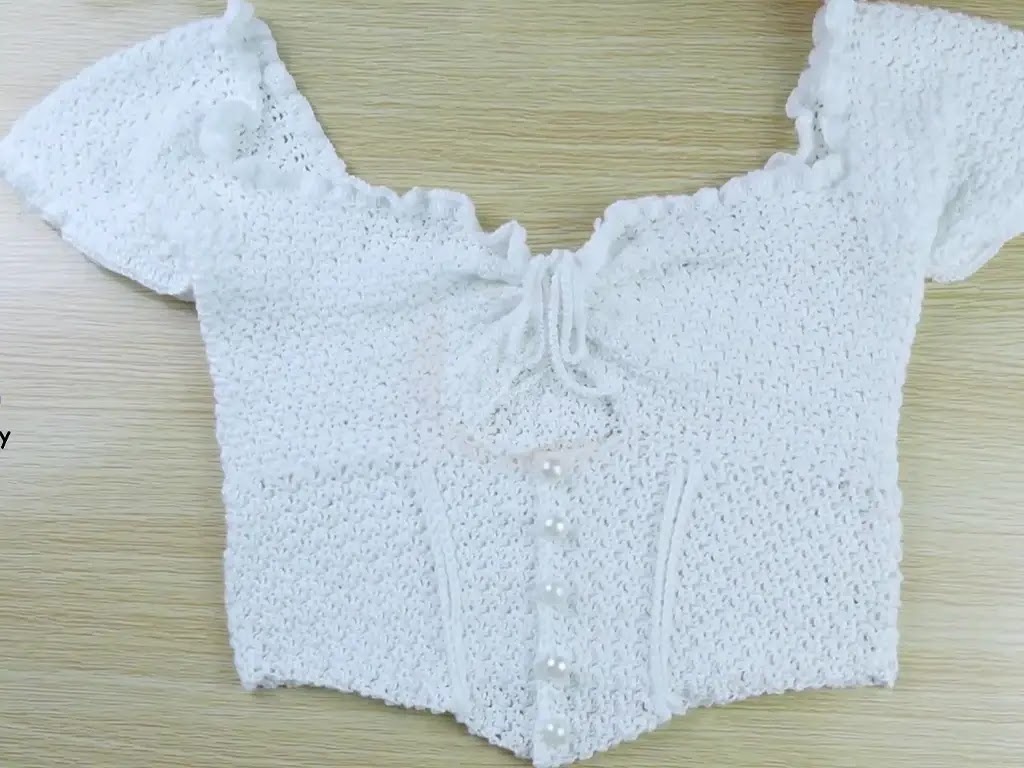
- Buttons: Add buttons and buttonholes to the underbust section.
- Lace-Up Front: Create a lace-up front using a long string or ribbon.
- Customization: Adapt the chain lengths and number of rows to fit your measurements and desired style.
- Measure Often: Try on your top periodically to ensure a perfect fit!
- Have Fun! Choose yarn colors and textures you love to make this project uniquely yours.
Tips and Tricks
- Measure as you go: Don’t be afraid to try on your top periodically for the perfect fit!
- Stitch markers: Use stitch markers to keep track of your increases and sleeve sections.
- Tension: Keep your stitches consistent for an even look.
- Blocking: This optional step helps shape and even out the fabric.
Watch It In Action! For a detailed visual guide, check out Chenda DIY’s awesome corset top tutorial on YouTube: https://www.youtube.com/watch?v=ke3jlVoL2oE




Heya i am for the first time here. I found this board
and I find It truly useful & it helped me out much.
I hope ultimateshop to give something back and
aid others like you aided me.
Hi there!
Welcome, and thank you so much for your kind words — I’m really happy to hear that you found the content useful and helpful.
That’s exactly why this space exists: to share, learn, and support one another through crochet.
I truly appreciate you taking the time to leave a comment, and I hope you continue to find inspiration and value here.
Wishing you lots of joy and creativity in your crochet journey.
You’re always welcome here! ✨