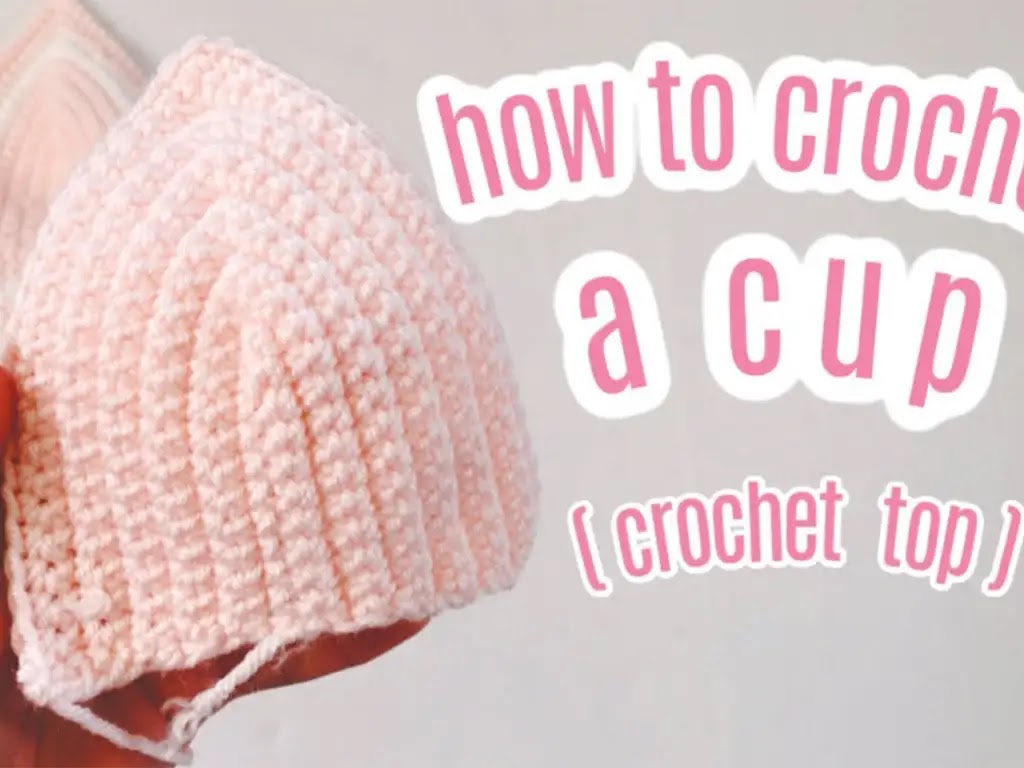
Discover the joy of handmade design! Learn to crochet your own crochet bra cup with this free, easy crochet cup pattern and step-by-step tutorial – perfect for beginners.
Crocheting your own bra cups is a fantastic way to elevate your handmade wardrobe. Whether you’re looking to craft a cozy bralette, a striking bikini top, or a unique summer top, a custom-made cup offers endless possibilities. This pattern is especially beginner-friendly, guiding you through the process with clear instructions and helpful tips.
Overview
- Difficulty level: Beginner
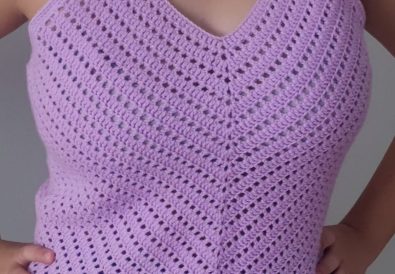
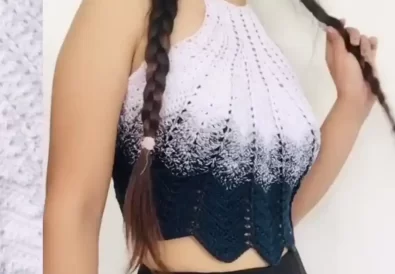
- Potential Uses: Bra cups can be incorporated into bralettes, bikini tops, crop tops, dresses, or any garment where you’d like to add support and shape.
Materials
- Yarn: Any yarn weight or fiber will work. For this tutorial, I used a light pink 100% acrylic yarn in a size 4 (worsted) weight.
- Crochet Hook: A size 5mm hook is ideal for this pattern, but adjust based on your yarn choice.
- Other: Scissors, tapestry needle (for weaving in ends)


Crochet Basics
For those new to crochet, here’s a quick breakdown of the techniques used in this pattern:
- Slip knot: The foundation of most crochet projects.
- Chain stitch (ch): Creates a series of loops, forming the base for subsequent rows.
- Single crochet (sc): A versatile stitch used to build height and create dense fabric.
If you need further guidance on these basic techniques, there are countless fantastic tutorials online!
Step by Step Crochet Cup Pattern
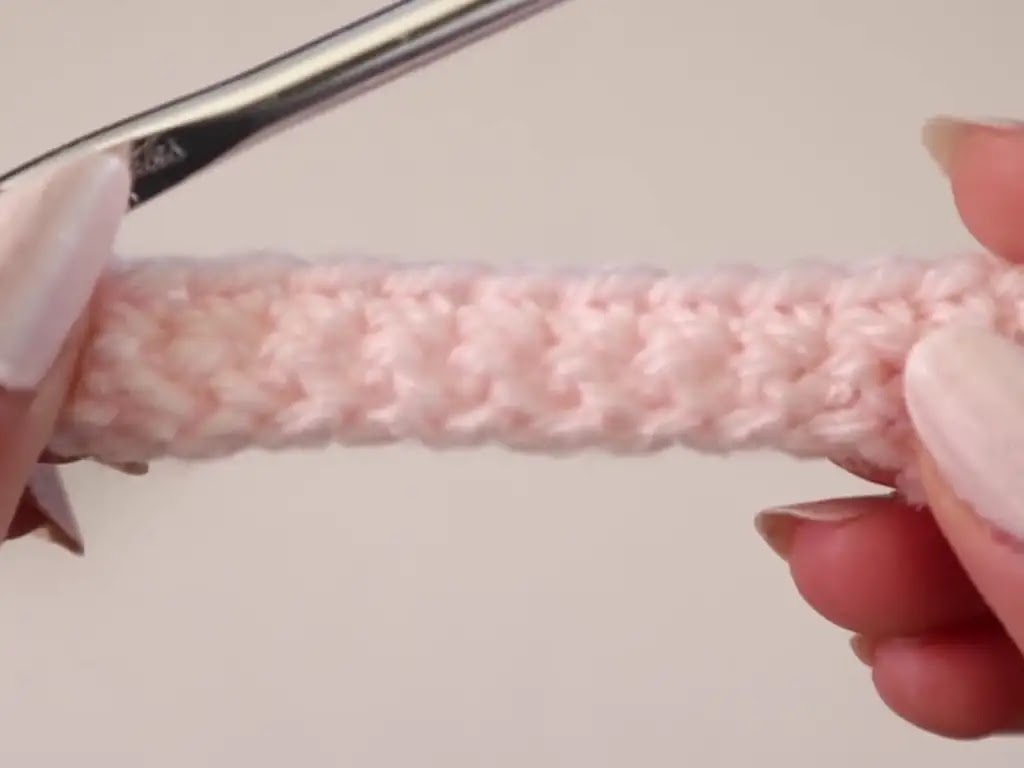
1. Create Your Foundation Chain
(Note: This is a starting suggestion. Adjust the chain length based on your desired cup size. Measure from the underside of your breast to the center of your nipple to determine a suitable starting point.)
- Make a slip knot and chain 12.
2. Starting Row
- Work 1 single crochet (sc) into each chain across, turning at the end of the row. You should have 12 sc.
3. Build Your Base
Repeat Rows 3a and 3b until your base reaches the desired width.
Row 3a: Chain 1 (turning chain, does not count as a stitch), sc across the entire row.
Row 3b: Turn your work, sc across the entire row.
4. Forming the Triangle
Now it’s time to create the cup’s triangular shape. Locate the middle stitch of your row. In this middle stitch, work three single crochets. Continue with a single crochet into each remaining stitch across the row.
5. Shaping the Cup
Row 4: Locate the center stitch of your current row. Work 3 sc into this center stitch. Sc into each remaining stitch across the row. Turn your work. (You should now have a total of 3 additional stitches)
Repeat Rows 5a and 5b until your cup reaches the desired size.
Row 5a: Locate the center stitch (one of the three stitches you made in the previous row). Work 3 sc into this center stitch. Sc into each remaining stitch across the row. Turn your work.
Row 5b: Sc across the entire row. Turn your work.
5. Finishing Touches
- Fasten off and weave in all ends securely.


Tips and Tricks
- Customizing Your Fit: Adjust the starting chain and number of base rows for a wider or narrower cup. Experiment until you find your perfect fit!
- Don’t Be Afraid to Frog: Frogging (unraveling your work) is a normal part of crochet! Use it to adjust and refine your cups.
- Counting is Key: Keeping track of stitches ensures your cups are even.
Expand Your Skills
This simple cup pattern is a stepping stone to more intricate designs. Once you’ve mastered the basics, you can explore different stitches, textures, and embellishments! You can find tons of inspiration on my YouTube channel, [Krystal Everdeen] (https://www.youtube.com/@krystaleverdeen), where I offer a variety of crochet tutorials including a more in-depth video on creating crochet cups: https://www.youtube.com/watch?v=Ybdstwq7jGc
Join the Community
I’d love to see your creations! Share photos of your crochet bra cups on Instagram (@tubacrochet_: https://www.instagram.com/tubacrochet_/) or TikTok (tiktok.com/@tubacrochet. Let’s connect, inspire each other, and celebrate the joy of crochet!
Conclusion
Crocheting your own bra cups unlocks a world of creative possibilities. Embrace the process, have fun, and don’t be afraid to make it your own!