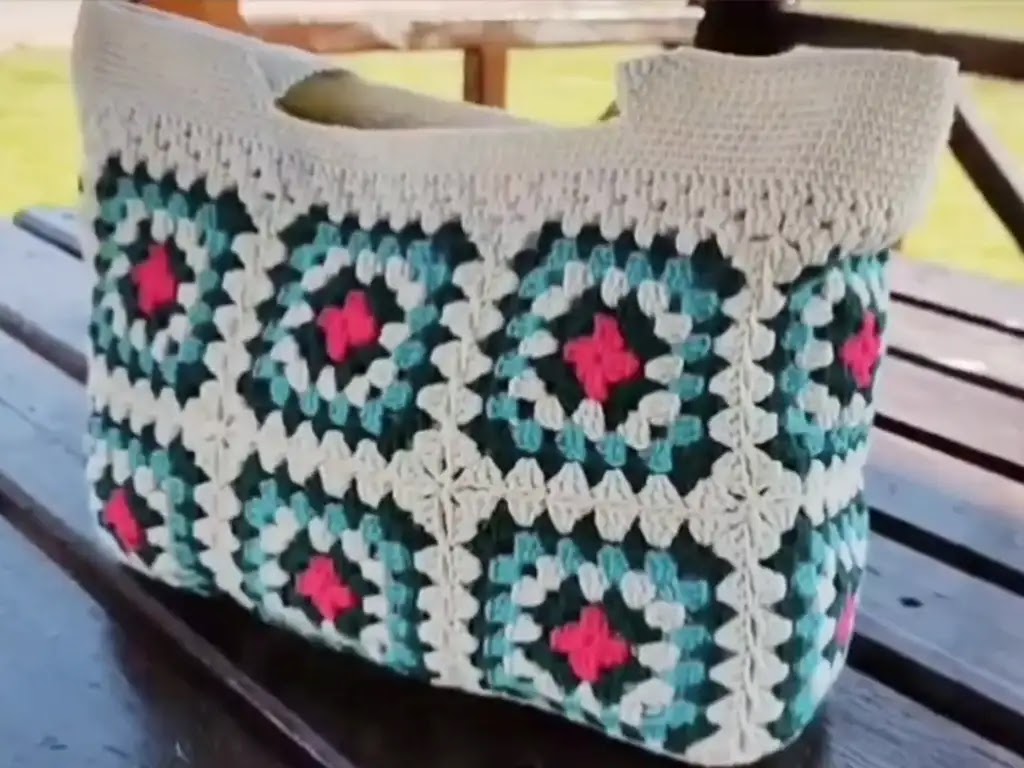
Learn how to crochet a granny square bag with this free, easy pattern. Perfect for summer, this DIY tote is a quick beginner project!
Hello crochet enthusiasts! Are you looking for a fun and stylish project to brighten up your summer wardrobe? Look no further than this classic granny square bag! With its vibrant colors and timeless design, this crochet bag is the perfect accessory for beach days, picnics, or just running errands. What’s even better? This pattern is beginner-friendly, making it an excellent project for anyone looking to expand their crochet skills.
The granny square is a cornerstone of the crochet world. Its versatility and simplicity make it a beloved motif for both seasoned crocheters and those just starting out. In this tutorial, I’ll guide you through creating your very own granny square bag. Whether you’re a seasoned crochet pro or just getting started, this pattern is perfect for those who want a quick and satisfying project.
What You’ll Need
- Yarn:
- Gazzal Baby Cotton (cream)
- Alize Cotton Gold (3 other colors of your choice)
- Choose a worsted-weight yarn for a sturdy bag.
- Crochet hook: 2.75mm
- Scissors
- Stitch markers (optional)
- Needle for weaving in ends
Gauge: Gauge swatch is not crucial for this project, but creating a granny square to check size and tension is recommended.


Granny Square (Make 19 squares):
- Round 1: Chain 4, join with a slip stitch (sl st) to form a ring. Chain 3 (counts as first double crochet – dc), 2 dc in the ring. Chain 1 (ch 1), 3 dc in the ring Repeat from * to * two more times. Chain 1, sl st to the top of the first chain 3 to join. (4 dc clusters)
- Round 2: Sl st into the first chain 1 space. Chain 3, 2 dc in the same space. Chain 1, 3 dc in the next chain 1 space Repeat around, ending with a sl st. (4 dc clusters)
- Round 3: Sl st into the first chain 1 space. Chain 3, 2 dc in the same space. In each chain 1 space: 3 dc, chain 1. Sl st to join. (4 dc clusters separated by chain 1 spaces)
- Repeat Round 3 to desired size (approximately 8 cm width for a 5-row square). Fasten off and weave in ends.
Bag Assembly:
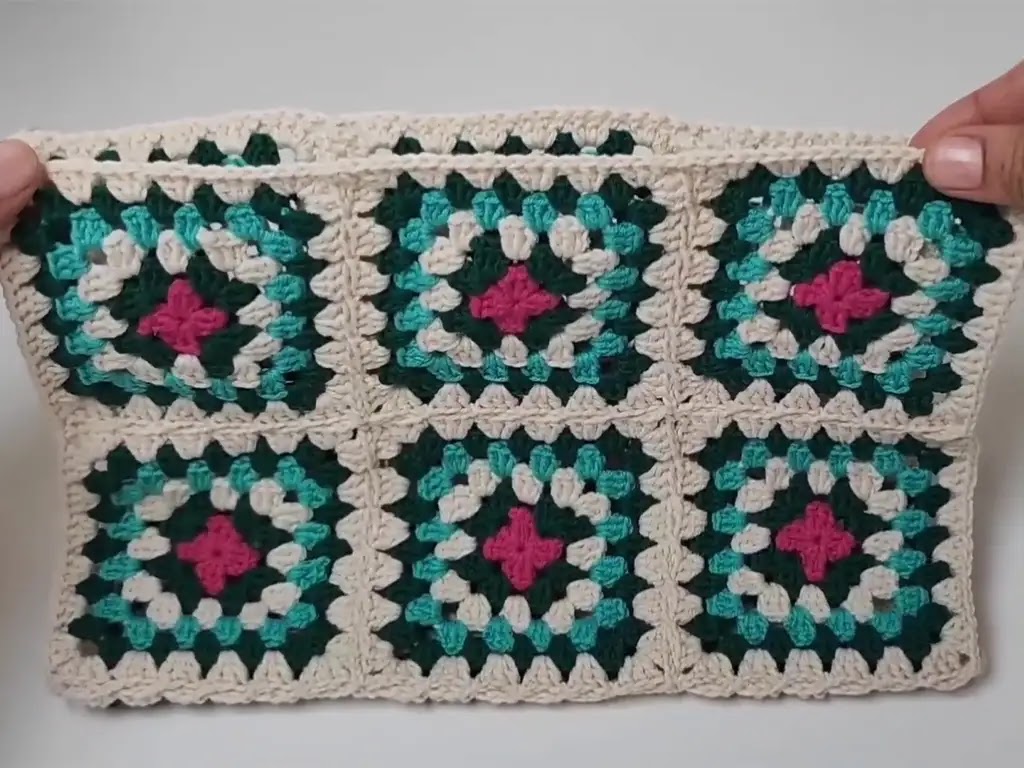
- Join squares: Block granny squares lightly for even joining (optional). Using preferred joining method (crochet join, sewing), assemble squares as follows:
- 4 squares separate: 2 for each side of the bag body.
- Remaining 15 squares: Join in a rectangular shape with 3 squares on the short side and 5 squares on the long side.
- Bottom and Sides:
- Join the squares on the short sides of the rectangle to create the bottom of the bag.
- Join the squares on the long sides of the rectangle to create the sides of the bag.
- Front and Back: Identify the 6 squares for the front and 6 squares for the back of the bag. The remaining 3 squares will be incorporated into the bottom.
Shaping the Top:
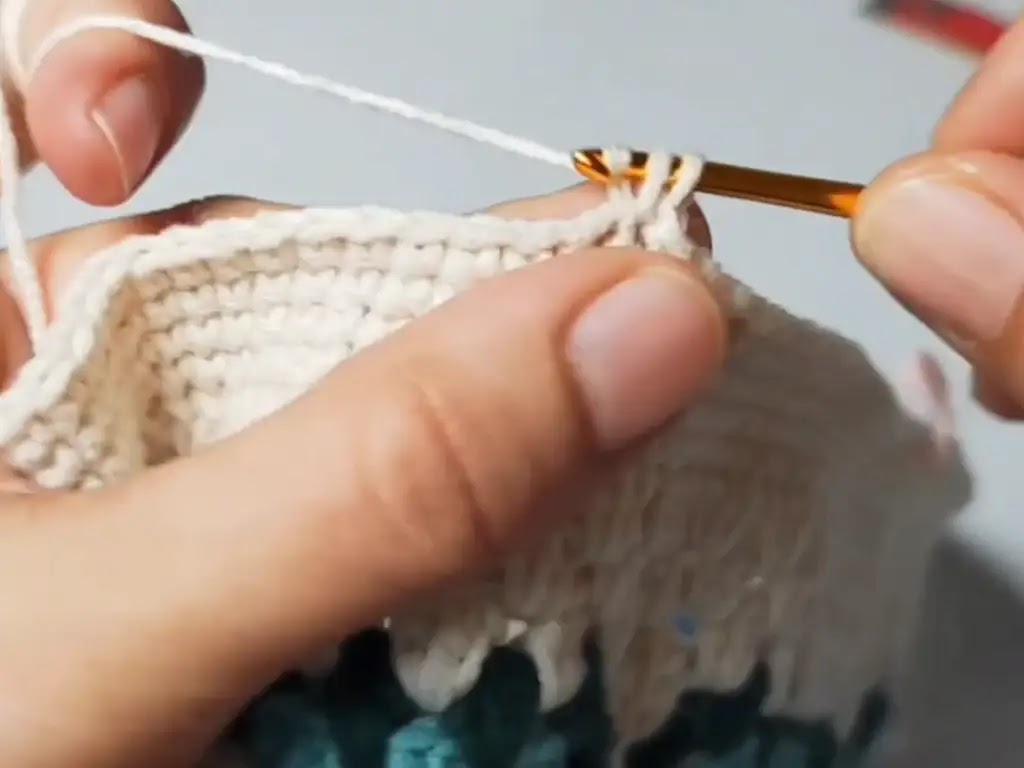
- Attach yarn to any corner of a side square.
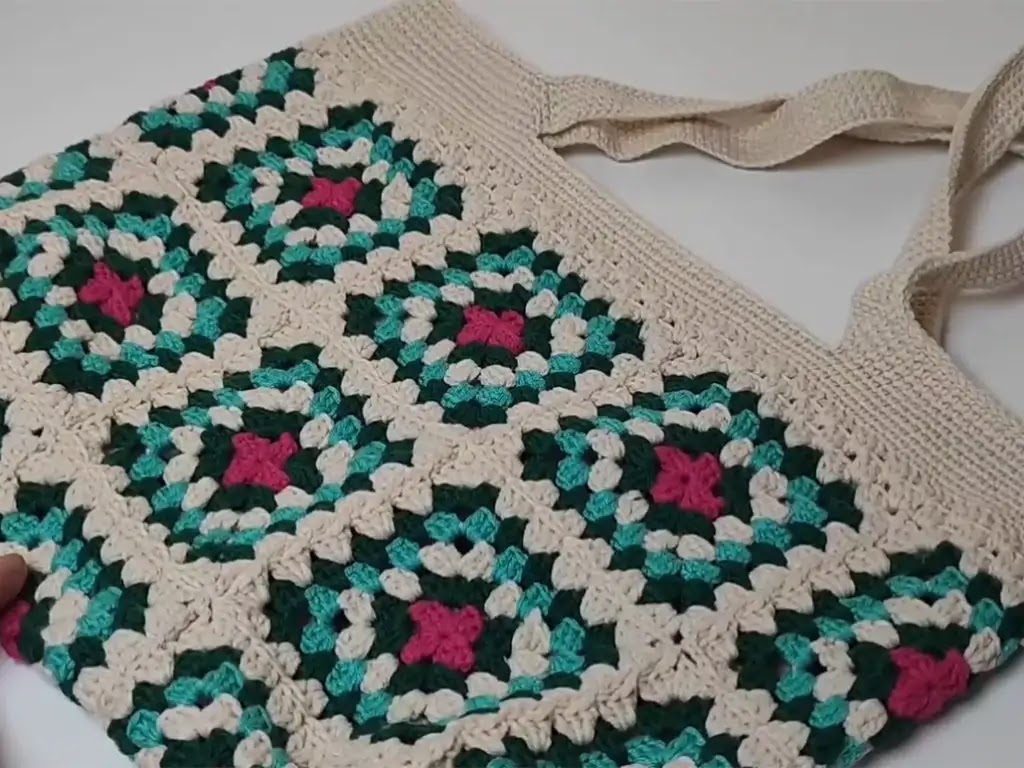
- Work in rows around the top edge of the bag, joining squares as you go. Here’s a guideline for working each row:
- Row 1: Chain 3, 2 dc in the same space, 3 dc in each space across the side and corner, joining squares with sl st at corner joins, 3 dc in the corner of the next square.
- Row 2 (decrease row): Chain 1, sl st at the top of the first chain, chain 1, skip a stitch, single crochet (sc) in the next stitch, repeat around, joining squares with sl st at corner joins.
- Repeat Row 1 and Row 2 alternating until you reach the desired height for the bag top. You can add more rows of sc for a stiffer top.
- Fasten off and weave in ends.
Handles:
- Place pins on the front and back of the bag to mark handle placement (distance between pins should be equal on both sides). Measure the desired handle length and add a few extra chain stitches for turning.
- Chain the desired handle length.
- Work in rows of sc along the length of the chain, turning at the end of each row.
- Attach the handle to the bag at the marked points using sc. Repeat for the other handle.
- Fasten off and weave in ends.
Pattern Notes:
- Adjust the yarn colors and number of rounds to customize your squares!
- For this project, you’ll need 19 squares.
Assembling Your Crochet Bag
Once you have your granny squares, it’s time to assemble them into a stylish bag. For detailed instructions and helpful visuals, be sure to check out the video tutorial on the Tuba Crochet YouTube channel: https://www.youtube.com/watch?v=AqIIH5rWx_o


Tips for Success
- Blocking: Lightly steaming or dampening your squares before assembly can help them hold their shape.
- Stitch Markers: Use stitch markers to keep track of your place and ensure even joining.
- Handles: Personalize your bag with crocheted handles, leather straps, or your favorite ready-made option.
Get Inspired, Get Creative
This granny square bag pattern is a launching pad for your creativity. Experiment with:
- Color combinations: Go bold or stick to a classic palette.
- Square variations: Explore different granny square patterns for unique textures.
- Embellishments: Beads, charms, or tassels can add a touch of personality.
Join the Community
Share your finished projects on Instagram (@tubacrochet_) or TikTok (@tubacrochet) and connect with fellow crafters! Your feedback is always welcome – leave a comment and let’s keep the creativity flowing!
Conclusion
Embrace the joy of making with this easy summer bag pattern. This crocheted granny square bag is a beautiful expression of your personal style and a testament to your crafting skills. So, grab your hook and yarn, and let’s get started!


