Learn to crochet a breezy summer V-neck top with this easy, beginner-friendly pattern! Free step-by-step tutorial.
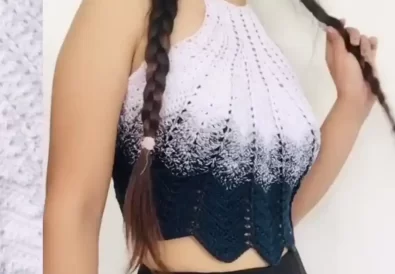
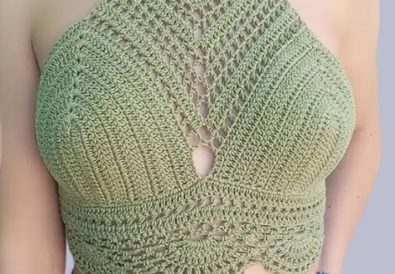
Get ready to add a touch of handmade charm to your summer wardrobe! This crochet V-neck top is the perfect project whether you’re a seasoned crocheter or just starting out. Its airy design and simple construction make it a joy to create and even more fun to wear. Best of all, this versatile top can be dressed up or down – perfect for beach days, picnics, or casual evenings out.
Overview
- Difficulty level: Beginner-friendly
- Potential uses: Casual wear, beach cover-up, festival attire – the possibilities are endless!


Materials
- Yarn: 100% cotton yarn in your favorite summer color (weight category 4, medium)
- Crochet hook: 4.5 mm
- Scissors
- Tapestry needle (for weaving in ends)
- Stitch markers (optional, but helpful)
Crochet Terms and Techniques
Let’s break down the crochet lingo used in this pattern:
- Chain stitch (ch): The basic foundation of most crochet projects
- Slip stitch (sl st): Used for joining or moving across stitches.
- Double crochet (dc): A versatile and common crochet stitch.
- Front post double crochet (fpdc): Creates a raised texture on the front side.
- Back post double crochet (bpdc): Creates texture on the wrong side.
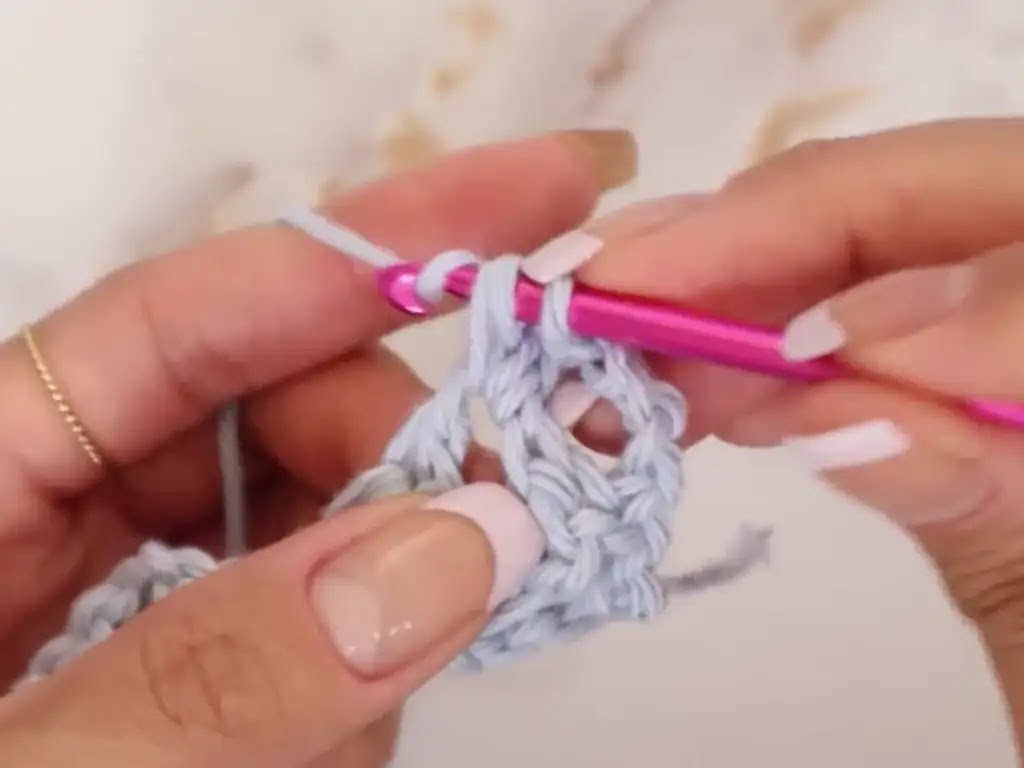
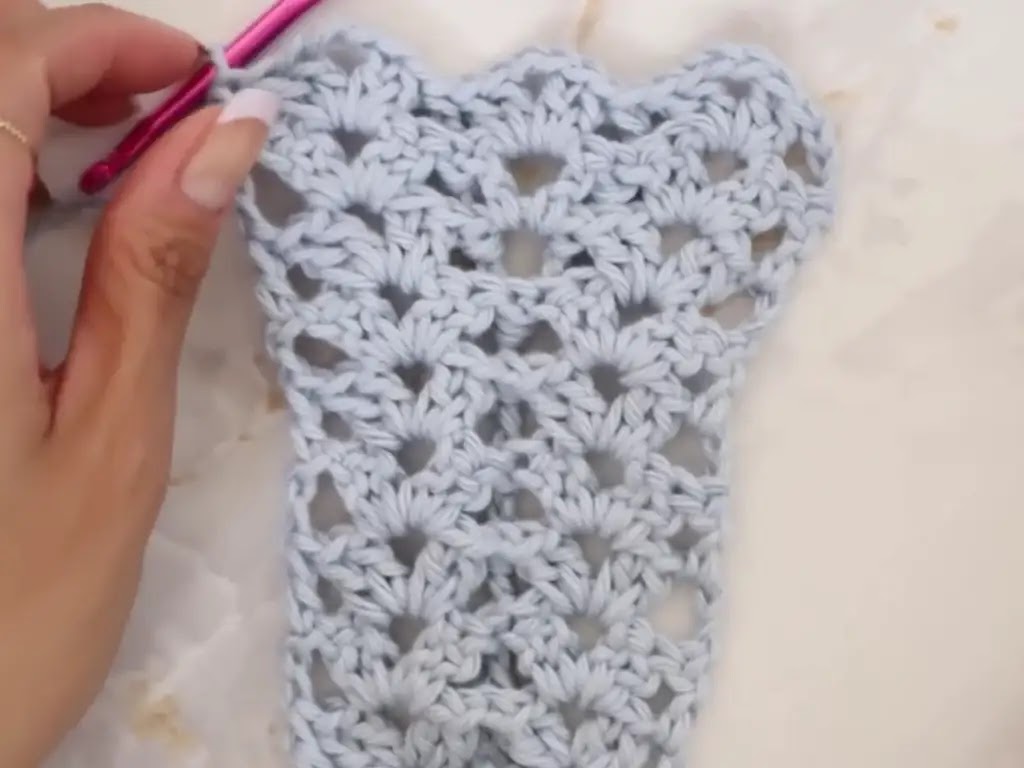
- Double V-stitch: Two double crochets worked into the same chain space with a chain between for a “V” shape.
Beginner’s Corner
If any of these terms are new to you, fear not! There are tons of fantastic resources online to help you master the basics. The YouTube channel “JasmineTeaCrochet” offers clear and concise tutorials for crochet beginners.


Step by Step Pattern
Starting Chain and Foundation Rows:
- Chain: Chain 12 + 3 (the extra 3 chains count as your first double crochet).
- Row 1: Double crochet (dc) in the 3rd chain from the hook, and in each chain across. Chain 3, turn your work.
- Row 2: Double crochet in the back loop of every stitch across. Chain 3, turn your work.
- Repeat Row 2 until you have a total of 68 rows.
Increase Rows for Bust Shaping
You’ll work increasing rows using the double V-stitch for a gradual, flattering shape. Here’s the breakdown:
- Increase Row 1:
- Chain 3, turn your work.
- Double V-stitch in the first chain space.
- Place 1 dc before working the next double V, 1 dc after.
- Continue this pattern across (Double V, 1 dc before, 1 dc after).
- End with a dc in the final chain space. Chain 3, turn.
- Repeat Row 1: Follow the same pattern across the row.
Repeat the sequence of “Increase Row 1” then “Repeat Row 1” until you reach the desired bust width. A good guideline is dividing your bust measurement by 4 to get the number of inches you need.
Important: End on an Increase row, NOT a repeat row.


Decreasing Rows for Rib Cage Tapering
Once you’re happy with the bust width, you’ll decrease to shape the top to your body:
- Decrease Row 3:
- Chain 3, turn your work.
- Double V-stitch in the first chain space.
- Place 3 dc before working the next double V, 3 dc after.
- Continue this pattern across (Double V, 3 dc before, 3 dc after).
- End with a dc in the final chain space. Chain 3, turn.
- Repeat Row 3: Follow the same pattern across the row.
Repeat the sequence of “Decrease Row 3” then “Repeat Row 3” until you reach a snug fit at your rib cage. You may want to decrease down to “Decrease Row 2” (2 dc before and after each double V) for a tighter taper.
Finishing
Continue with “Repeat Row 3” (or “Repeat Row 2” if you decreased further) until you reach your desired length. Fasten off and weave in your ends.
Tips and Tricks
- Yarn choice matters: Cotton yarn is breathable and cool, perfect for summer.
- Counting is key: Keep track of your stitches, especially during increases and decreases. Stitch markers can help!
- Don’t be afraid to adjust: Make this top your own by experimenting with colors, yarn types, or adding embellishments.
Taking it Further
For a visual guide, be sure to check out the accompanying YouTube tutorial on my channel (https://www.youtube.com/watch?v=RbpGvhyQ81o). If you love this crochet pattern, be sure to check out my social media channels! I’d love to see what you create. Share your projects and tag me on Instagram (@tubacrochets) or TikTok (@tubacrochet).
Conclusion
Crocheting your own clothes is a rewarding experience. With a little practice and this easy pattern, you’ll be rocking your handmade V-neck top in no time! Feel free to leave any questions in the comments below – I love connecting with fellow crafters. Happy crocheting!


