Discover a simple crochet pattern perfect for a quick DIY baby blanket! This easy, step-by-step tutorial is ideal for beginners.
Babies need snuggly blankets. They provide comfort, warmth, and a sense of security. If you love to crochet, creating a handmade baby blanket is a wonderful way to shower a little one with love. This pattern is not only beautiful and modern but also incredibly beginner-friendly. So, whether you’re an experienced crocheter looking for a quick project or a newbie ready to try your hand at yarn crafts, this is the perfect place to start!
Overview
- Difficulty: Beginner-friendly
- Uses: Baby shower gift, personal keepsake, snuggly wrap for a little one.
- Customization: Adapt colors and size for endless possibilities!
Materials
Let’s gather our supplies:
- Yarn: Choose a soft baby yarn with anti-pilling properties. Think plush textures and gentle colors. I recommend a medium-weight (worsted) yarn for this pattern.
- Hook: A 3mm crochet hook is perfect for achieving the desired fabric drape.
- Scissors: For snipping those yarn tails.
- Stitch markers (optional): Helpful if you’re new to crochet.
Basic Crochet Techniques
New to crochet? Don’t worry! Here are the fundamental stitches you’ll need:
- Chain Stitch (ch): The foundation of most crochet projects.
- Double Crochet (dc): A versatile, medium-height stitch that creates a solid fabric.
- Triple Crochet (tr): A taller stitch, adding airy texture to our pattern.
If you feel rusty, you can find excellent tutorials for these basic stitches on YouTube channels like Tuba Crochet (https://www.youtube.com/@TubaCrochet).
The Pattern
This pattern uses multiples of 5 + 3 chains, creating a pleasing and repetitive design. Let’s break it down:
Step 1: Foundation Chain
- Create a chain that’s a multiple of 5 + 3. (Example: 20 + 3 = 23 chains for a small blanket)


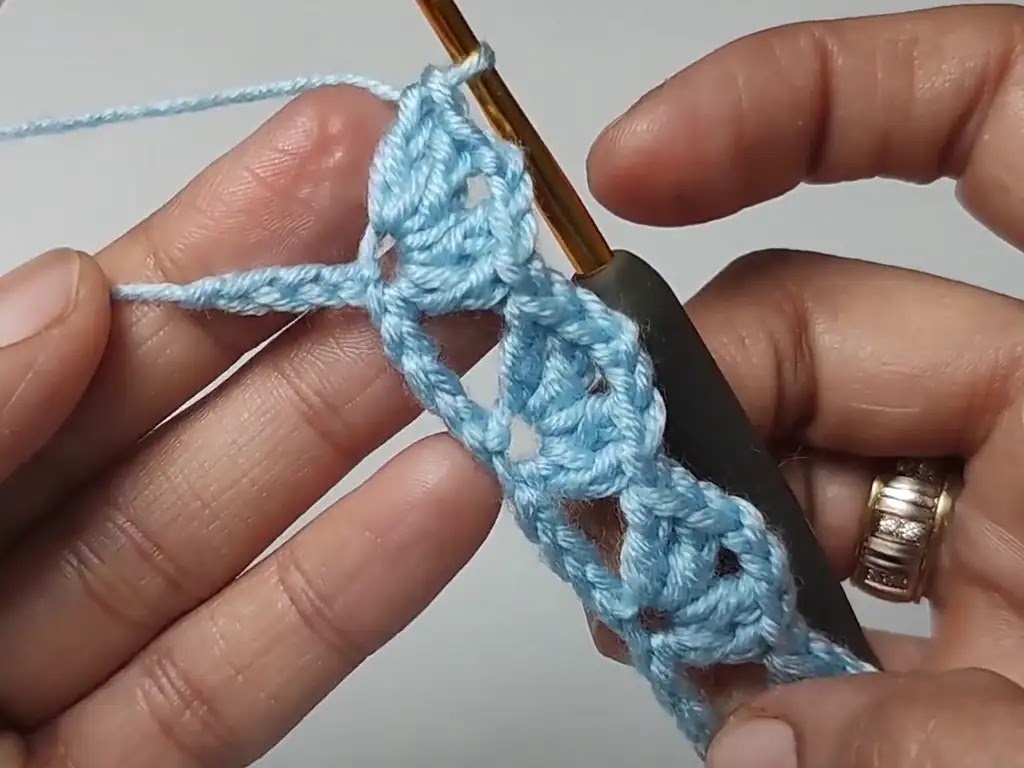
Row 1:
- 2 dc in 5th chain from the hook.
- Ch 2, skip 4 chains, 2 dc in next chain.
- Repeat (ch 2, skip 4, 2 dc) across to the end of the row.
- Skip 2 chains, dc in the last chain.
- Ch 4, turn your work.
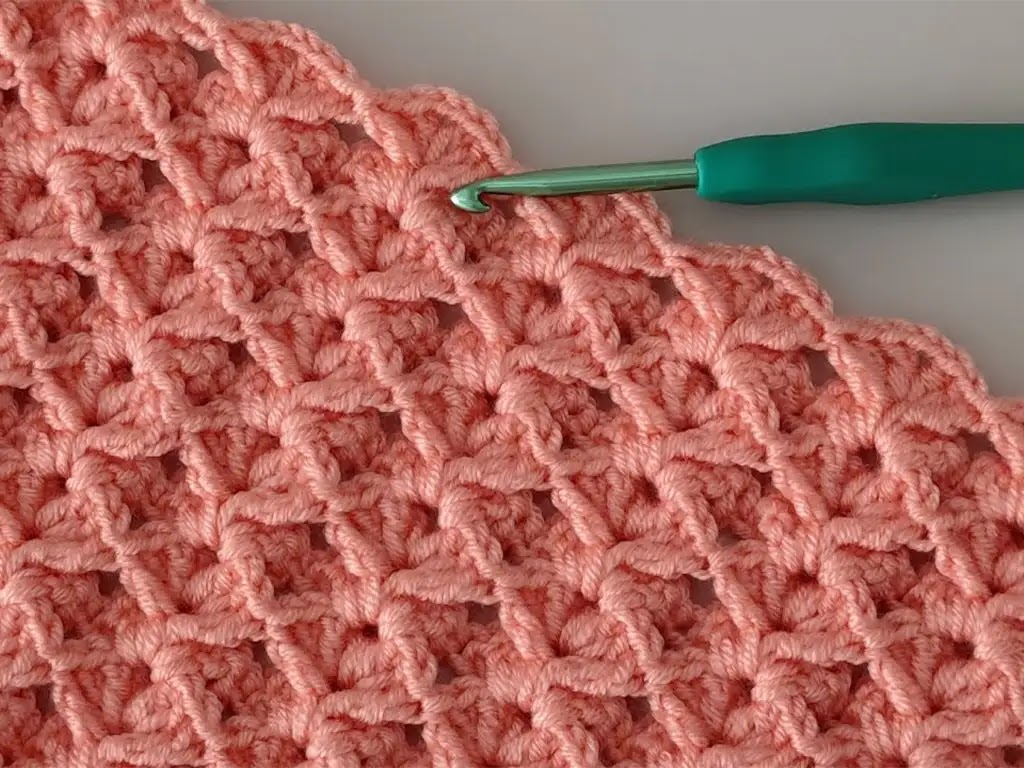
Row 2:
- Tr into the first ch-2 space.
- 2 dc, ch 2, 2 dc into the next ch-2 space.
- Tr into the following ch-2 space.
- Repeat this pattern (tr, 2 dc, ch 2, 2 dc, tr) across the row.
- Dc into the top of the turning chain from previous row.
- Ch 4, turn your work.
Step 3 and Beyond
- Continue repeating Row 2 until you reach your desired blanket size!


Making it Your Own
- Colors: Choose a single color, combine stripes, or create a playful color block effect.
- Size: Add more rows for a larger blanket, fewer for a lovey.
- Finishing: Experiment with borders for a polished look
Shaping (Optional):
Increasing:
- To increase, work an additional “2 dc, ch 2, 2 dc” group into a single chain space.
- Place increases strategically along edges to gradually widen the blanket.
Decreasing:
- Work 2 tr stitches together into a single chain space to decrease.
- Decreases can be used for shaping armholes or necklines if you adapt this pattern.
Finishing:
- Once the desired size is reached, work one final row.
- Fasten off, weave in ends.
- Add a border (optional) for a polished look.
Tips and Tricks
- Counting is key: Keep track of your chains and stitches to maintain the pattern’s integrity.
- Tension: Aim for even tension for a neater appearance.
- Practice: Don’t be afraid to practice the pattern a few times to get the hang of it. Check out my YouTube tutorial for a visual guide (https://www.youtube.com/watch?v=VKB8_O7OkME)!
Conclusion
There you have it! A simple and satisfying crochet pattern that’s perfect for creating a beautiful and practical handmade gift. Remember to share your finished projects on Instagram (https://www.instagram.com/tubacrochets?igsh=MW0wNjA2ZTcwbjUyMw==) or TikTok (@tiktok.com/@tubacrochet) – I’d love to see your creations!
Don’t forget to leave your questions and comments below; let’s keep this crochet community vibrant and supportive. Happy crocheting!


