Learn how to crochet granny square motifs for quilts, pillows, and baby blankets with our easy, step-by-step tutorial for beginners.
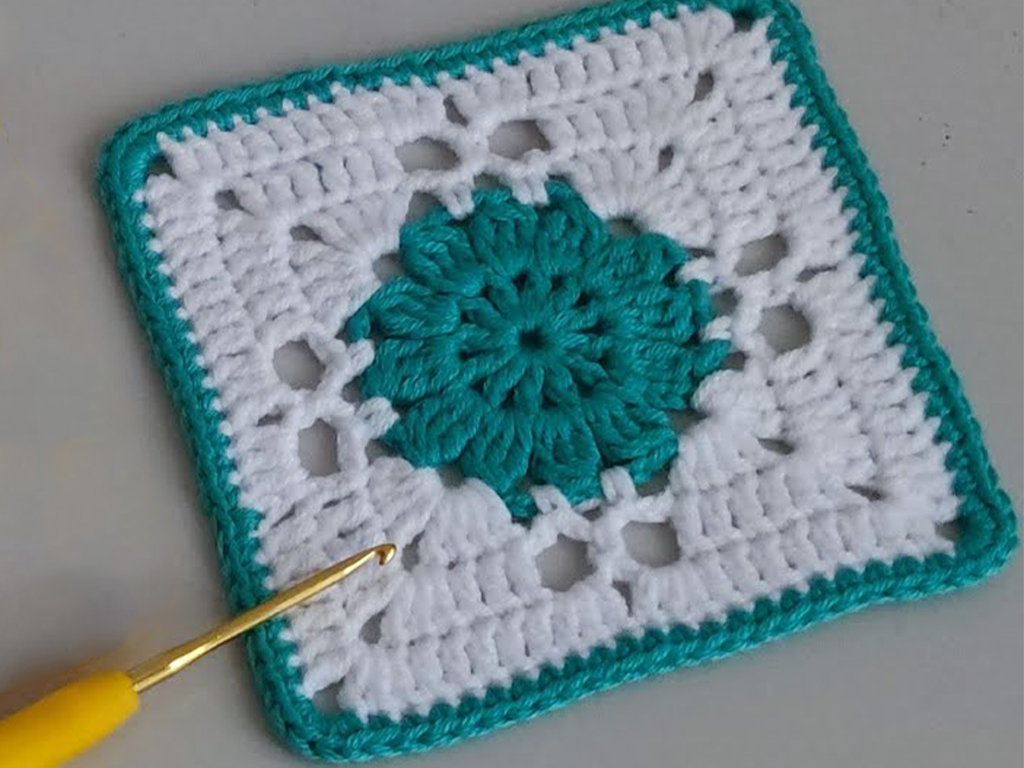
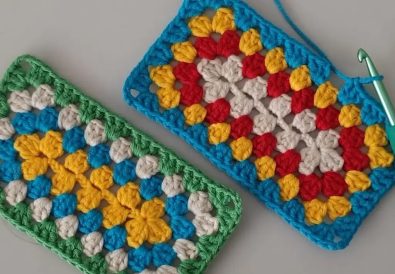
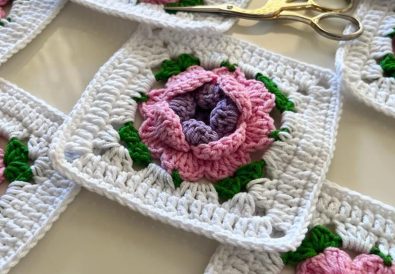
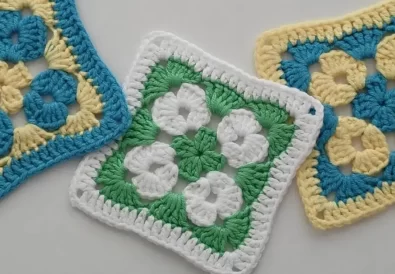
Crocheting is not just a craft; it’s a form of art that turns simple yarn into beautiful, functional items for home decor. Crochet granny square motifs are among the most versatile and beloved designs. They’re perfect for quilts, pillows, baby blankets, and more. This tutorial will guide you through creating these motifs, making it easy for beginners to follow.
Materials You Need
- Yarn: Choose soft, durable yarn in various colors to make your designs pop.
- Crochet Hook: A size 4.5mm hook is ideal for beginners.
- Scissors and Needle: For cutting the yarn and weaving in ends.

Basic Techniques and Stitches
Crocheting a granny square involves a series of chain stitches (ch), slip stitches (sl st), and double crochet stitches (dc). Here’s a step-by-step guide:
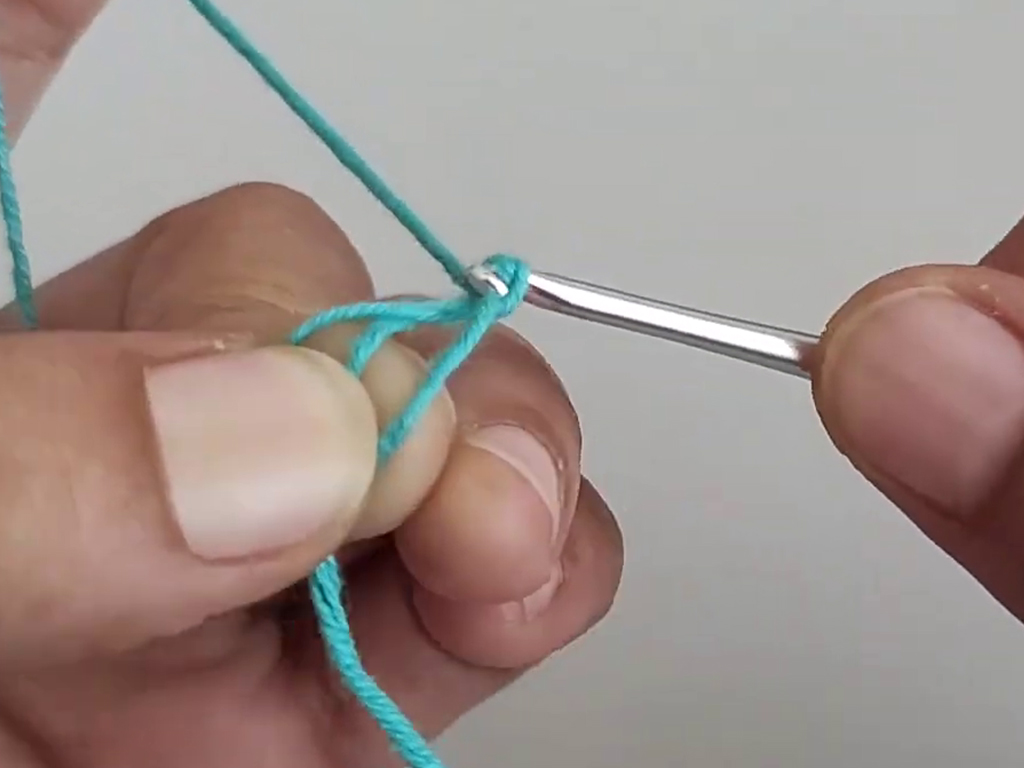
- Start with a Slip Knot and Chain (ch) 4: Make a slip knot on your hook, then chain 4. Join with a slip stitch (sl st) to the first chain to form a ring.
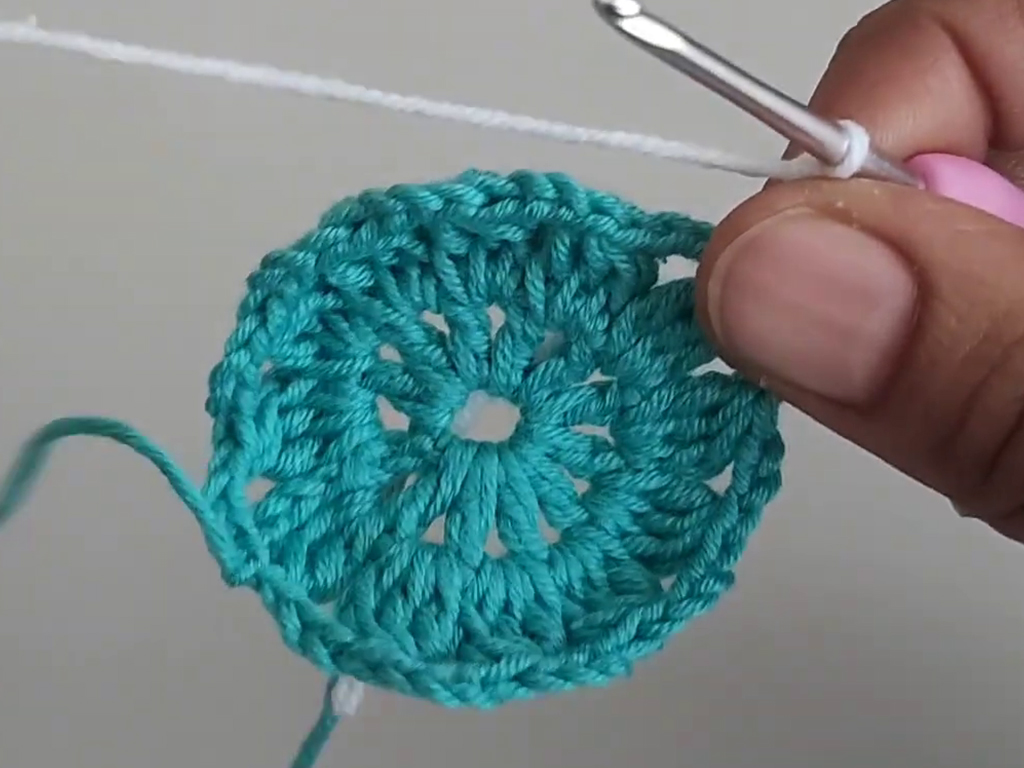
- Round 1 – Chain 3 (counts as first Double Crochet [dc]): Work 2 dc into the center of the ring. This forms your first “cluster”. Chain 2 for the corner, work 3 dc into the center of the ring Repeat to two more times. Chain 2, and join with a sl st to the top of the beginning ch 3. You should have four 3-dc clusters and four ch-2 corner spaces.
- Round 2 – Chain 3 (counts as first dc): Turn your work. In the same space as joining, work 2 more dc, ch 2, and 3 more dc (this forms the first corner). Move to the next ch-2 space, work [3 dc, ch 2, 3 dc] (corner made). Repeat to for each corner around. Join with a sl st to the top of the beginning ch 3.
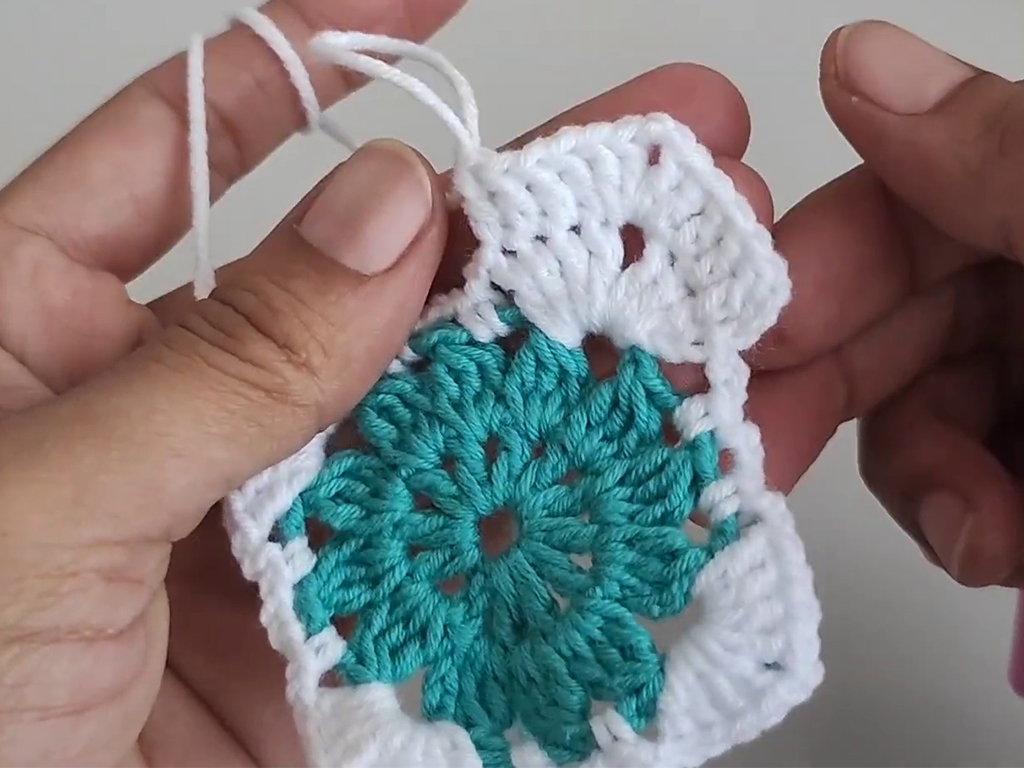
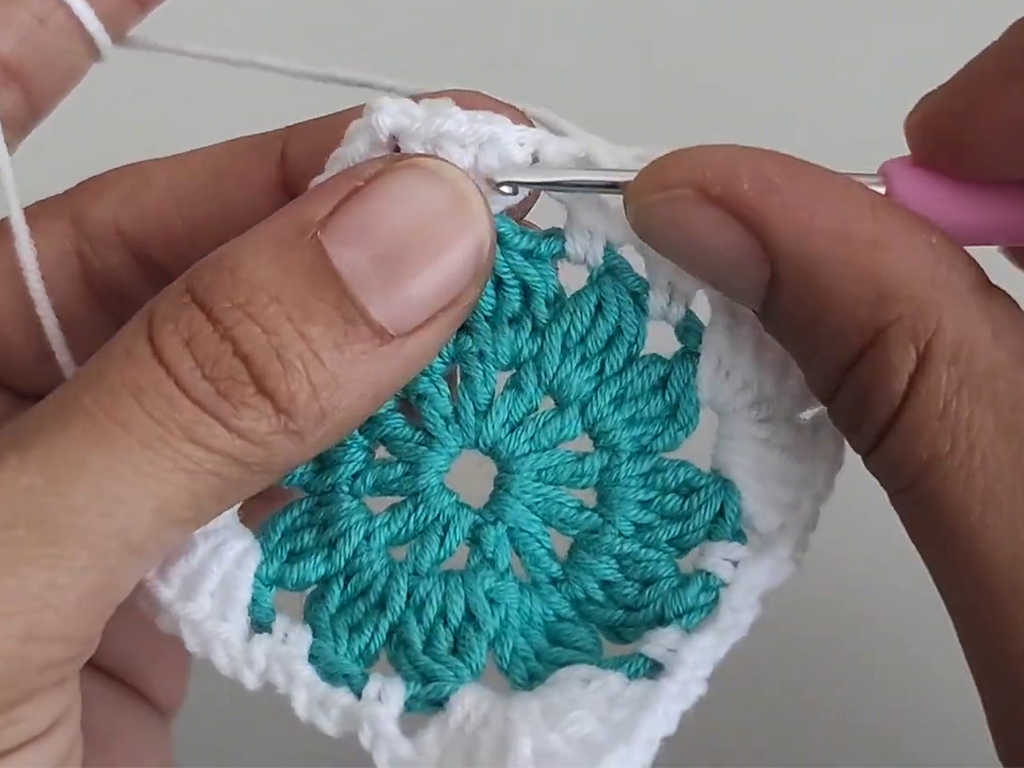
- Subsequent Rounds: Repeat the pattern of Round 2, with each round increasing the number of 3-dc clusters between the corners. Each corner remains [3 dc, ch 2, 3 dc].
- Finishing: After reaching the desired size, cut the yarn, leaving a tail. Pull this tail through the loop on your hook and tighten. Weave in all ends with a yarn needle.

Tips and Tricks
- Tension: Keep your stitches consistent for a uniform look.
- Color Change: To add a new color, simply tie a knot with the new yarn at the end of a round and proceed as usual.
- Blocking: After finishing your square, use a steam iron on a low setting to block it. This ensures your squares are the same size and shape.
For a more in-depth tutorial, visit TubaCrochet’s YouTube channel. Watching a video can help visualize the process, especially for complex patterns. The video titled “Ultimate Guide to Crochet Square Motifs” here is a perfect start.
Share Your Projects
Proud of what you’ve made? Share your creations on Instagram at tubacrochets and TikTok at @tubacrochet. Your work could inspire others!
Engage with the Community
Crocheting is more fun when shared. Don’t hesitate to comment on the video, share your thoughts, and interact with fellow crafters. Your feedback could lead to the next great project idea.

Conclusion
With these tips and your creativity, you can transform yarn into stunning crochet pieces that enhance your home’s aesthetics. Remember, every stitch is a step toward mastering this craft. Happy crocheting!

