Discover the timeless charm of square granny square crochet pattern with our easy guide, perfect for crochet for beginners granny square enthusiasts and those passionate about Crochet Granny Square projects.
Introduction: Embracing the Crochet Granny Square Welcome to the delightful world of crochet! Whether you’re a seasoned crafter or picking up a crochet hook for the first time, the square granny square motif offers endless possibilities. In this article, I’ll guide you through the simplicity and beauty of creating these motifs, a cornerstone of crochet design.
Materials and Tools You’ll Need To begin, gather your materials:
- Yarn: Alize Cotton Gold, known for its softness and durability.
- Crochet Hook: A 2.5 mm hook is ideal for this pattern.
- Scissors and a yarn needle for finishing off.
The Basic Steps: Creating Your Square Motif
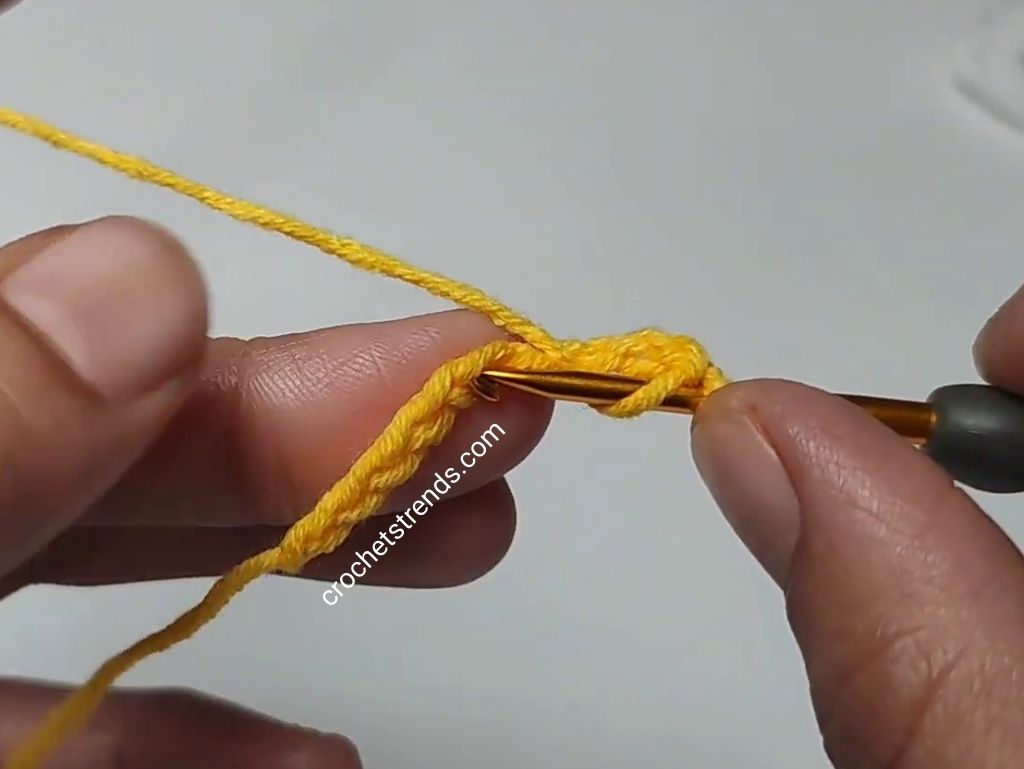
- Starting Chain: Make 9 chains. Ensure they are not too tight to allow for easy stitching into them.
- Row 1: Double crochet into the fifth chain from the hook. This creates the foundation row for your square.
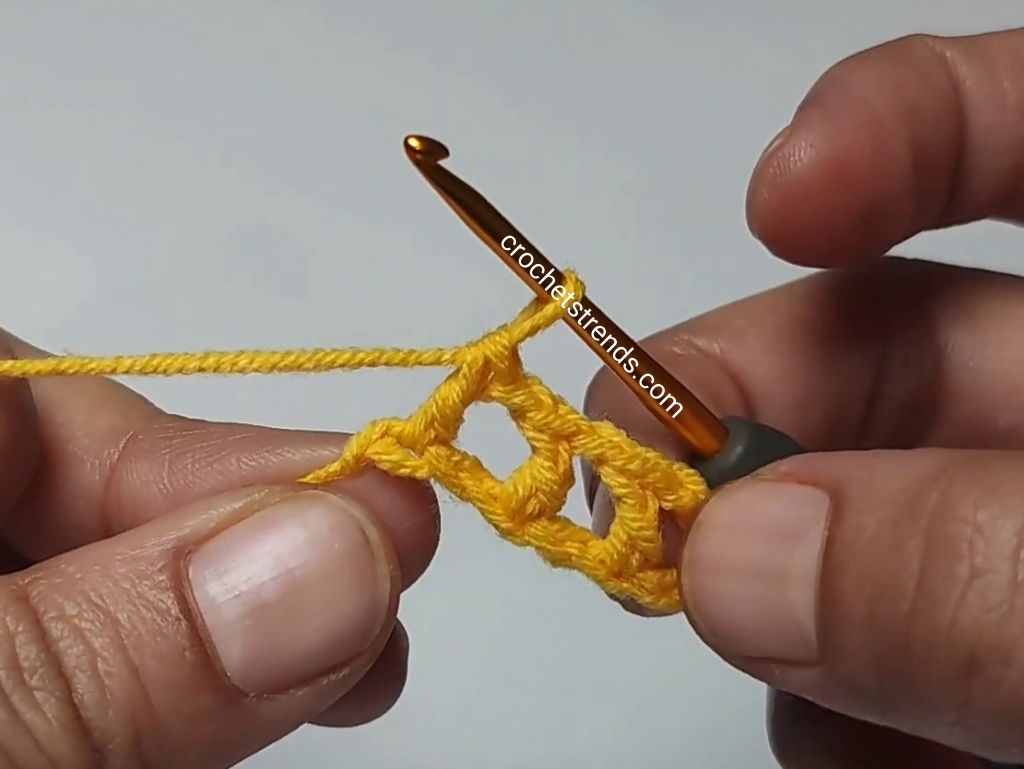
- Continuing Row 1: Chain 1, skip 1 space, then double crochet into the next. Repeat this pattern until you reach the end of the row.
- Turning the Work: Chain 3 (this acts as your first double crochet on the next row) and turn your work.
- Row 2 and Beyond: Double crochet into the top of the second crochet from the previous row. Chain 1, then double crochet into the top of the next stitch. Continue this pattern across the row.
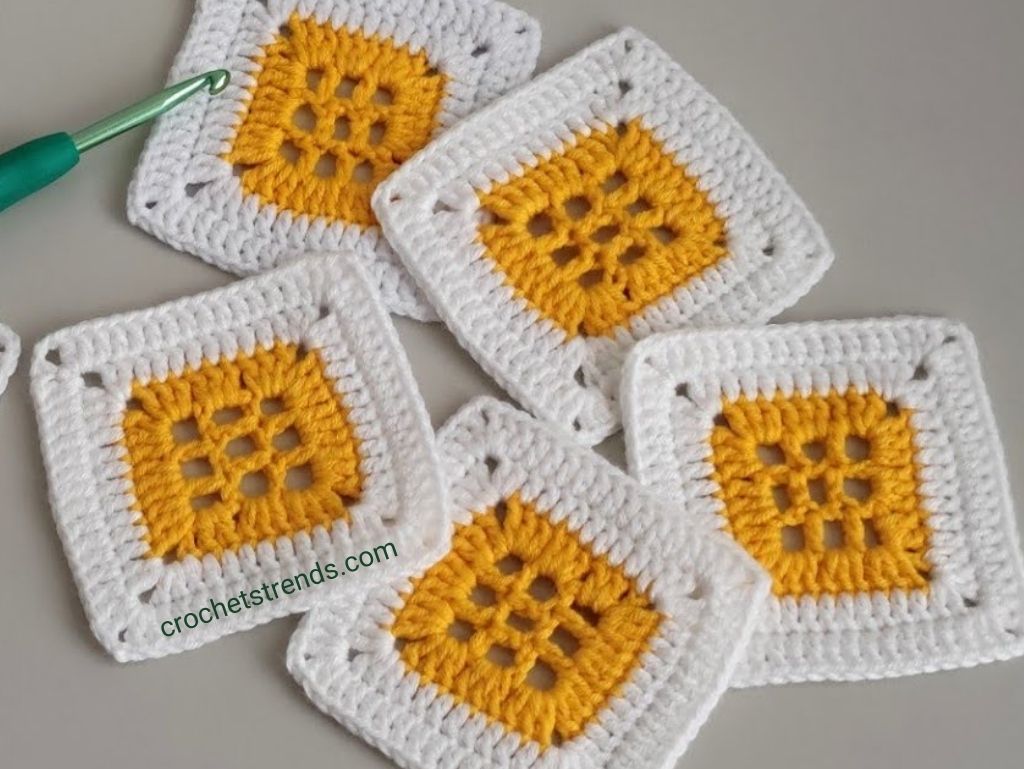
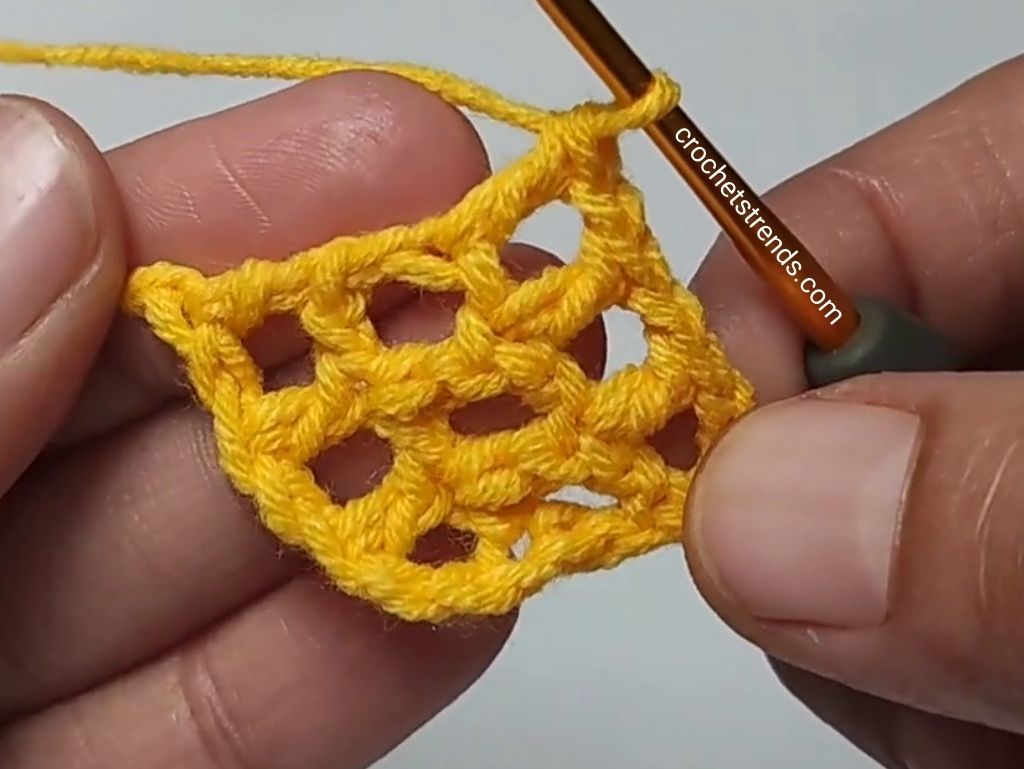
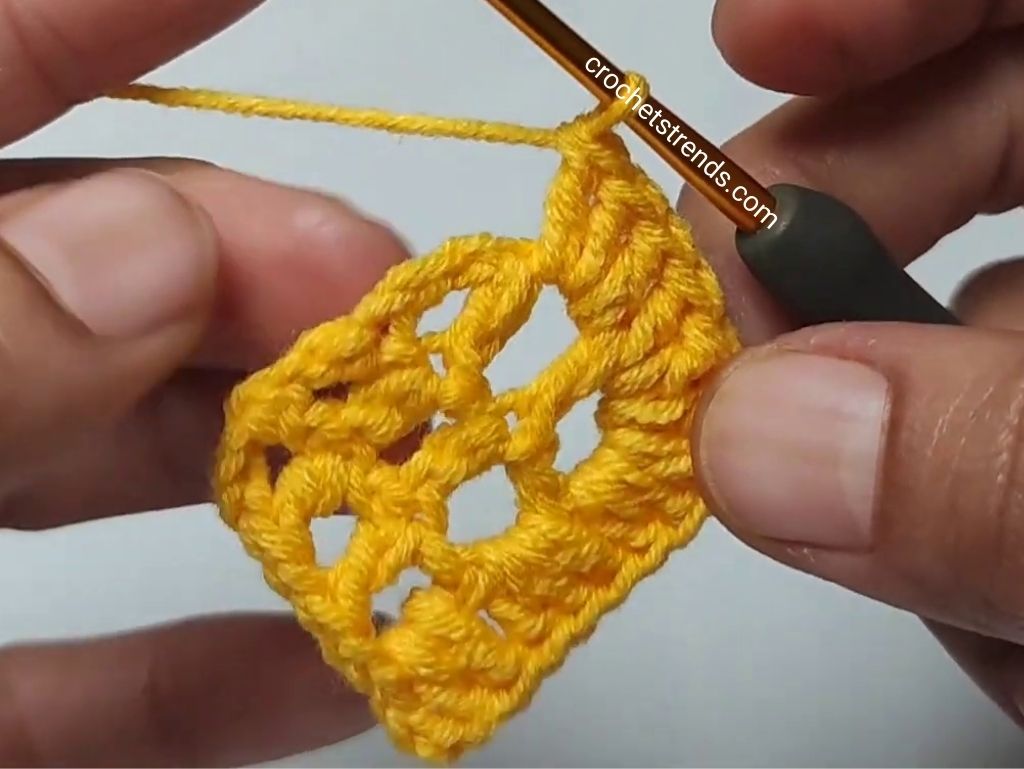
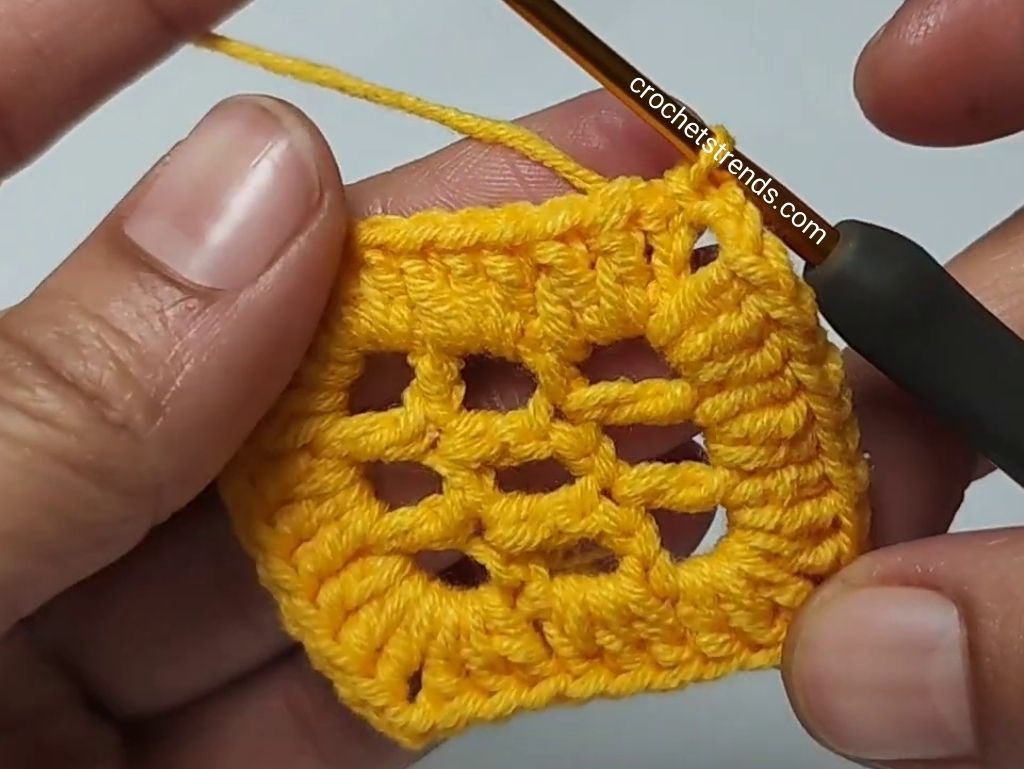
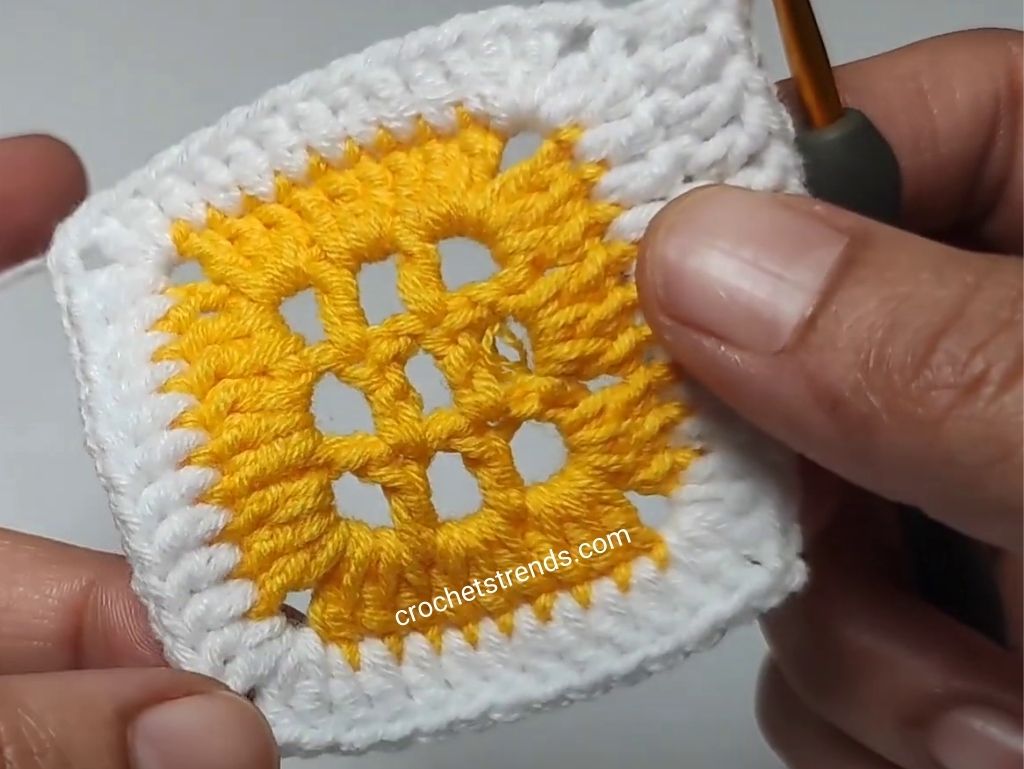
- Creating Boxes: As you repeat the process, you’ll form boxes. After a few rows, you should have a 3×3 grid of 9 boxes.
- Corners: In each corner, crochet 3 double crochets, chain 2, and then 3 more double crochets. This helps to turn the corners neatly.
- Final Steps: After completing the rows to your desired size, finish off with a slip stitch on top of the first chain. Cut the yarn, and weave in any loose ends.
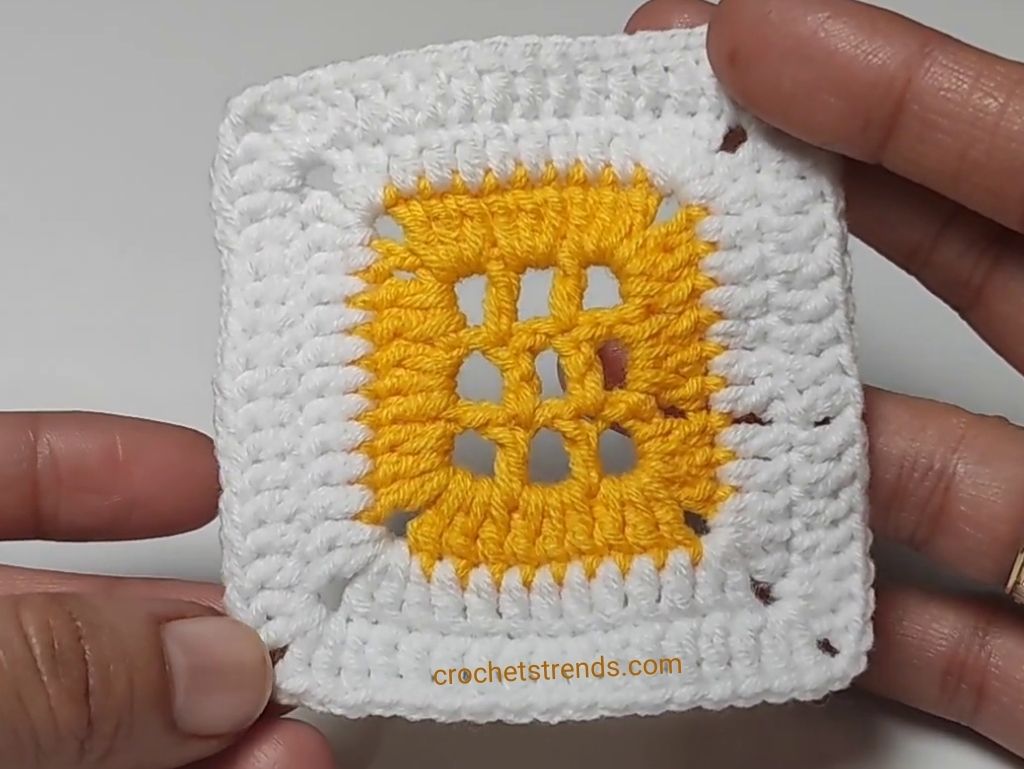
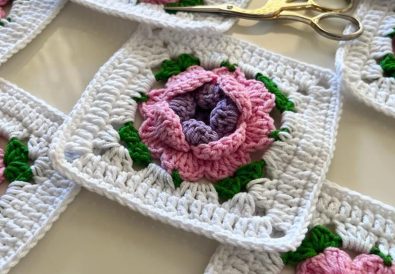
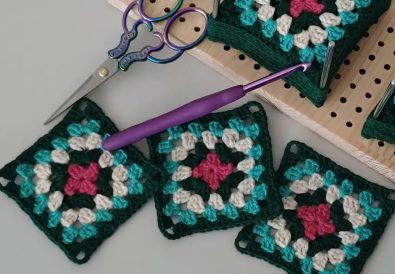
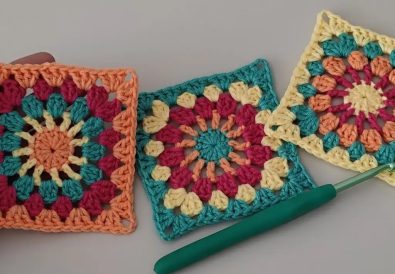
Expanding Your Skills: More Complex Designs After mastering the basic square, the sky’s the limit. Combine squares to make a baby blanket, bed sheet, or even a crochet throw pillow. The variety of designs is infinite – let your creativity flow!
Wrap Up: Joining and Finishing Your Project In my next video, I’ll show you how to seamlessly join these motifs. Meanwhile, feel free to explore other patterns on TubaCrochet’s YouTube channel for more inspiration. Watch this tutorial for a comprehensive understanding.
I encourage you to share your projects and thoughts in the comments below. Let’s create a vibrant crafting community together!
Remember, each crochet journey begins with a single stitch. Happy crafting!

