Learn to crochet your own adorable vintage high-waisted shorts! This easy DIY pattern is perfect for beginners. Get the free step-by-step tutorial now.
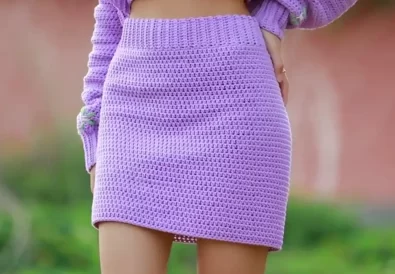
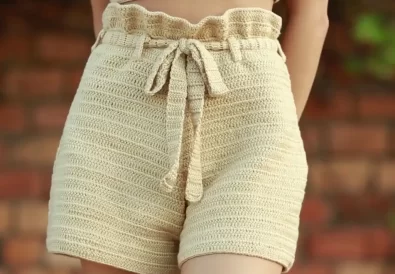
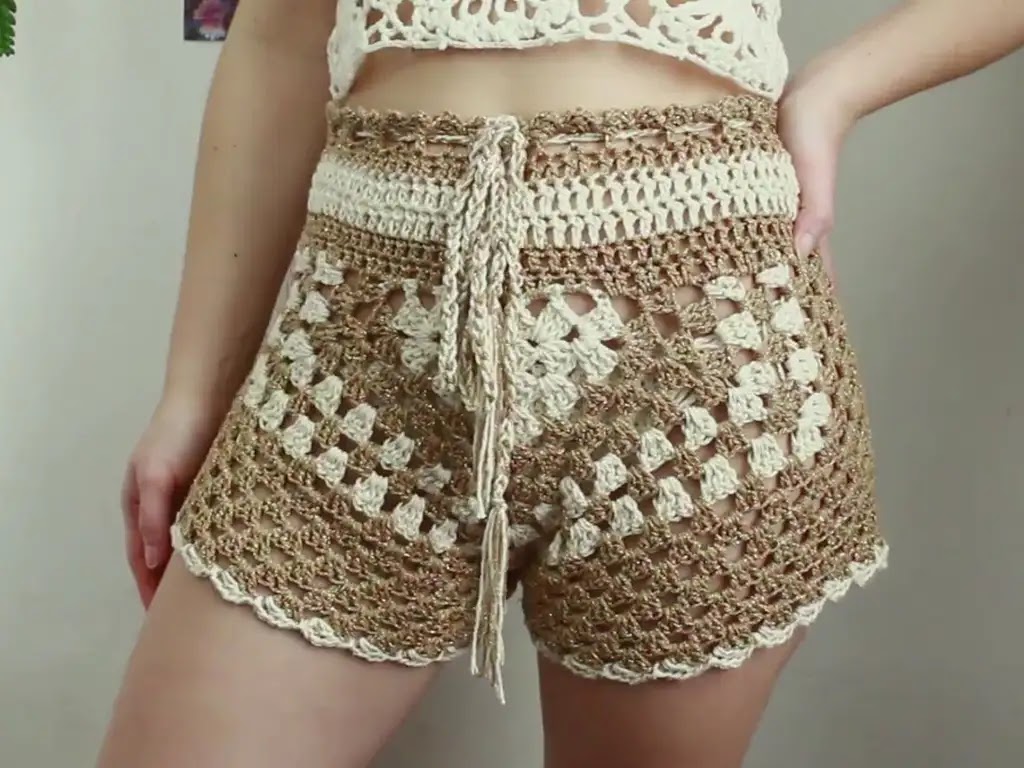
Get ready to add a touch of handmade charm to your summer wardrobe! Crocheting your own clothing is a fulfilling experience, and these high-waisted vintage shorts are a fantastic project to tackle. Whether you’re a seasoned crocheter or a curious beginner, this pattern is designed to be approachable and enjoyable. With their timeless style and comfortable fit, these shorts will quickly become your new summer favorites.


What You’ll Need
- Yarn: Choose a lightweight, breathable yarn for summer comfort. Cotton or a cotton blend works beautifully. I recommend a light worsted weight (category 3) yarn in colors that inspire your summery style.
- Crochet Hook: Select a hook size suitable for your chosen yarn. The pattern will usually have a recommended hook size. For this project, you’ll likely need a 4.5mm hook.
- Scissors
- Tapestry Needle: For weaving in ends and sewing pieces together.
- Stitch Markers (optional): Helpful for keeping track of your stitches.
Understanding the Pattern
This pattern is considered beginner-friendly! Let’s break down some of the terms and techniques you’ll encounter:
- Chain Stitch (ch): The foundation of most crochet projects.
- Double Crochet (dc): A basic and versatile crochet stitch.
- Slip Stitch (sl st): Used for joining stitches or moving across your work.
- Shell Stitch: A decorative stitch made up of multiple double crochets worked into the same space.
- Increasing: Creating additional stitches to widen your work.
- Decreasing: Reducing stitches to narrow your work.
If you’re new to crochet, don’t worry! There are countless fantastic online resources to help you master these basic techniques. The YouTube channel Brunaticality (https://www.youtube.com/@brunaticality) is a great place to find clear and helpful tutorials.
Step by Step Crochet shorts Written Pattern
Front and Back Panels: (You’ll likely make two identical panels)
- Foundation Chain: Chain a multiple of 3 (or your desired pattern repeat) + 3. (Example: For a small size, you might chain 54 + 3 = 57)
- Row 1: dc in 4th ch from hook, *sk 2 ch, dc in next ch; repeat from * across to last 3 ch, sk 2 ch, dc in last ch, turn.
- Row 2: ch 3 (counts as dc), dc in same st, *sk 2 dc, dc in next dc; repeat from * across to last dc, dc in top of turning ch, turn.
- Repeat Row 2 until you reach your desired underarm length.


Shaping the Armholes:
- Decrease Rows:
- Row 1: ch 3, dc in same st, dc in next dc, *dec, sk 2 dc, dc in next dc; repeat from * to last 5 sts, dec, dc in next 3 sts, turn.
- Row 2: ch 3, dc in same st, dc in next dc, *sk 2 dc, dc in next dc; repeat from * to last 5 sts, sk 2 dc, dc in last 3 sts, turn.
- Repeat these two decrease rows a few times until you reach the desired armhole width.
- Straight Rows: Continue working even in the established pattern until you reach the desired neckline depth.
Shaping the Neckline
- Divide for Front and Back: Work to the center of your panel, then leave remaining stitches unworked.
- Front Neckline:
- Continue decreasing at the neck edge on subsequent rows. Example: Dec, work pattern to last 3 sts, dec, turn. Shape the neckline to your preference (V-neck, scoop neck, etc.)
- Back Neckline: Usually worked even for a few rows, then you may do slight decreases for a rounded shape if desired.
Shoulders
- Work across the top of each panel with a few decrease rows to gently slope the shoulders.
Joining and Seaming:
- With right sides together, seam the shoulders of your front and back panels.
- Seam the sides of your top, leaving space for armholes.
Crochet shorts Finishing Touches
- Optional Edging: Add a row or two of single crochet or a decorative stitch around necklines and armholes.
- Weave in Ends: Securely hide all loose yarn tails.


Tips and Tricks
- Gauge Swatch: Always make a test swatch to ensure your stitches match the pattern’s gauge. This will help you get the right sizing for your shorts.
- Stitch Markers: These are handy for marking the beginning of rounds or important stitch sequences.
- Count Your Stitches: Regularly counting your stitches helps prevent mistakes and ensures the right shape.
- Customize! Feel free to experiment with different colors, yarn weights, or even add embellishments like beads or tassels.
Join the Community!
Crocheting is even more fun when you’re part of a community. Share photos of your finished shorts on Instagram (@tubacrochets https://www.instagram.com/tubacrochets?igsh=MW0wNjA2ZTcwbjUyMw==) or TikTok (@tubacrochet) and connect with other crocheters.
Conclusion
I hope this blog post has inspired you to pick up your hook and create your own unique pair of high-waisted crochet shorts. Embrace the joy of handmade fashion and let your creativity shine! Don’t forget to share your experiences and ask questions in the comments below – let’s learn and grow together.