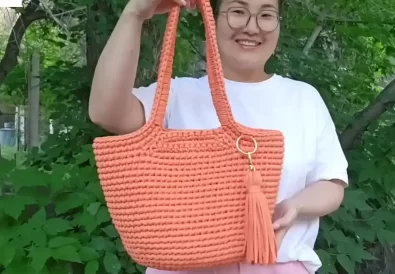
Learn to design a simple, handmade crochet bag pattern with handles – quick DIY tutorial, perfect for beginners!
Crocheting your own accessories is a fun and rewarding way to express your creativity while crafting unique, useful items. If you’re new to crochet, this easy crochet bag project is perfect! This beginner-friendly pattern creates a sturdy and stylish crochet tote bag ideal for everyday use. Let’s dive in!
Materials
- Chunky yarn (I recommend a soft acrylic or cotton blend for its durability)
- Crochet hook (Size will depend on your yarn, but a 5mm or 6mm is common for this type of project)
- Scissors
- Stitch markers (optional, but helpful)
- Yarn needle
Crochet Bag Pattern Overview
This pattern uses basic crochet stitches, making it beginner-friendly. The finished bag is spacious enough for errands, beach trips, or everyday outings. Plus, with customizable colors, it’s easy to add your personal touch!


Step by Step Written Pattern
1. Foundation Chain:
Begin by creating a foundation chain with a multiple of 13 + 6 stitches. The additional 6 stitches account for the turning chain at the end of each row.
Example:
- For a smaller bag: Chain 41 (3 sets of 13 + 2 turning chain stitches)
- For a larger bag: Chain 54 (4 sets of 13 + 2 turning chain stitches)
2. Body of the Bag:
Row 1: Starting from the second chain from the hook, single crochet (sc) in each chain across the entire foundation chain. Chain 1 and turn your work.
Row 2 – 18:
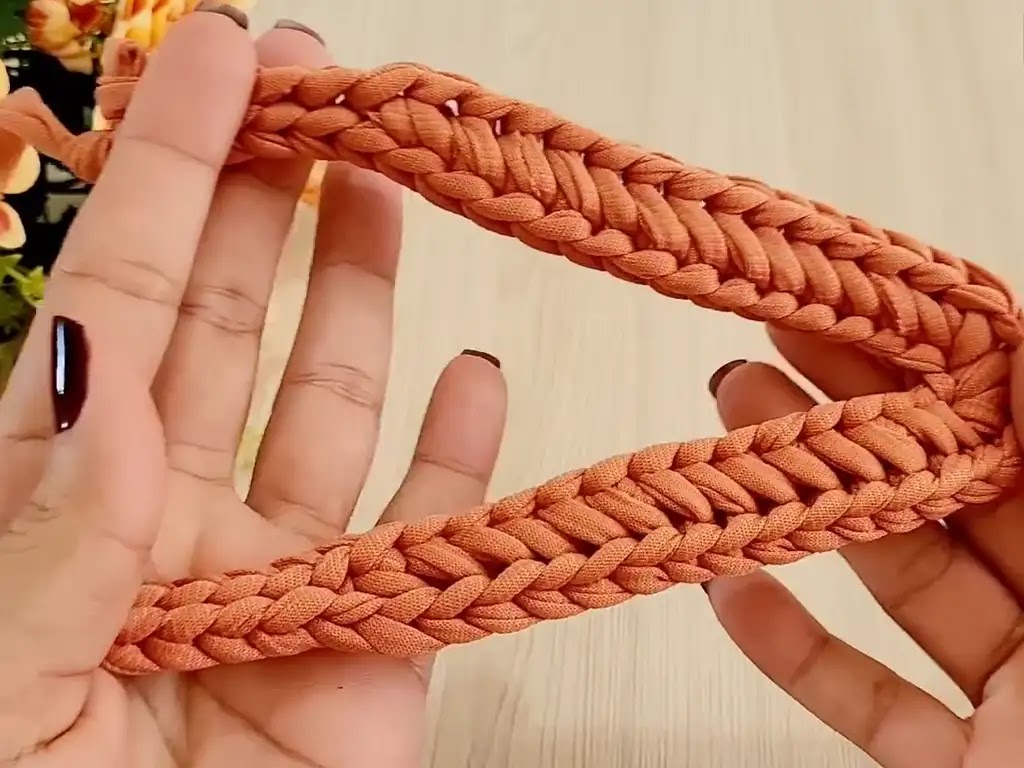
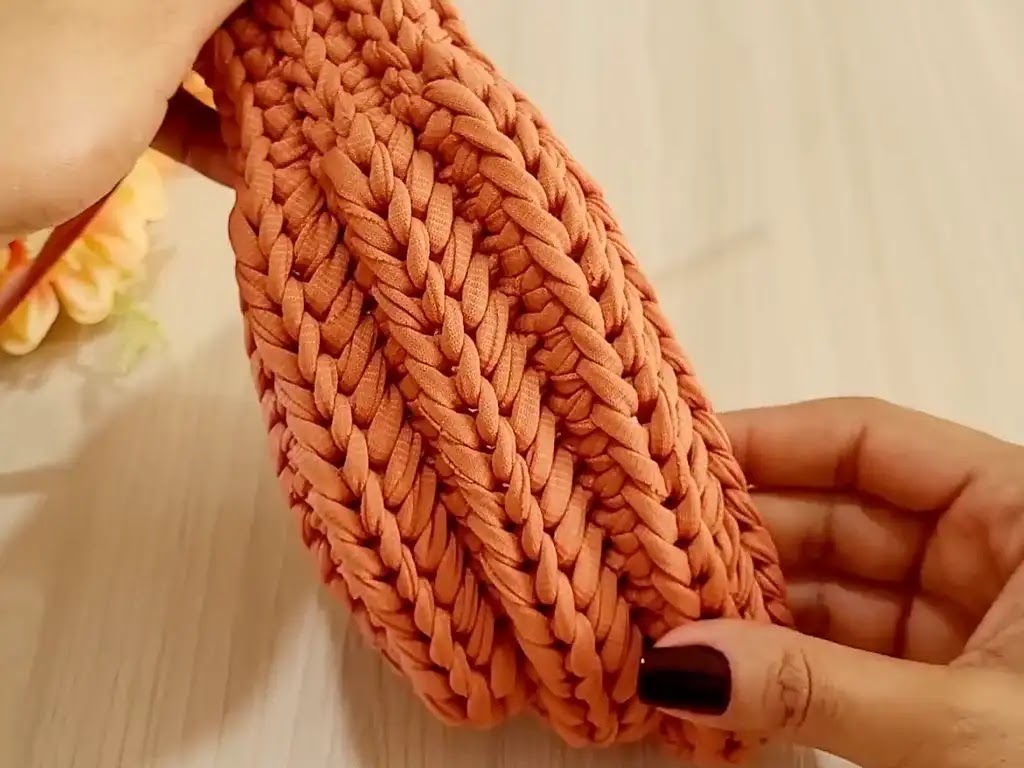
This section creates the main body of the bag with the fishbone stitch pattern.
- First 6 Stitches: Work 6 single crochets (sc) in the first 6 stitches of the row.
- Fishbone Stitch Pattern: Follow your preferred fishbone stitch technique to work stitches across the remaining section until the last 6 stitches of the row. There are various fishbone stitch methods available online and in resources like the referenced YouTube video by Lany Artes Croche https://www.youtube.com/watch?v=hw3aUPg3hjo].
- Last 6 Stitches: Work 6 single crochets (sc) in the last 6 stitches of the row.
- Turning: Chain 1 and turn your work to begin the next row.
Repeat Rows 2 – 18 until you reach your desired bag height.
3. Shaping the Top (Optional):
For a slightly tapered top, you can implement a few rows of decreases. Here’s an example:
Row 19: Work the first 6 sc as usual. In the next stitch, work a single crochet decrease (sc2tog). Continue working sc across the row, decreasing every 12th stitch (sc2tog). Work the last 6 sc as usual. Chain 1 and turn.
Row 20 – (Optional Additional Decrease Rows): Repeat row 19, decreasing every 10th or 8th stitch (sc2tog) as desired to achieve the preferred top shape.
4. Handles:
There are two options for creating the handles:
Option 1: Short Handles:
- Decide on the placement for your handles on the sides of the bag.
- Chain a desired length for each handle (approximately 20-30 chains for short handles).
- Slip stitch the end of the chain into the side of the bag where you want the handle to attach. Repeat for the second handle.
Option 2: Long Handles:
- Chain a significantly longer length for each handle (around 50-60 chains for long handles).
- Fold the chain in half, creating a loop.
- Slip stitch the folded end of the chain into the side of the bag where you want the handle to attach. Repeat for the second handle.

5. Finishing:
- Weave in all yarn ends securely using the yarn needle.
- Optional finishing touches: Add a button closure, decorative trim, or lining to personalize your bag.
Tips and Tricks
- Stitch Markers: Use stitch markers to keep count and mark the beginning of each row for easier placement of the fishbone stitch.
- Counting Rows: Double-check your row count, as this ensures evenness and a symmetrical design.
- Customize: Experiment with color combinations, or consider adding a button closure, decorative trim, or lining to the bag!
Beyond the Basics
Once you master the basic pattern, the possibilities are endless!
- More Crochet Bag Patterns: Explore various handles, stitch patterns, and shapes for a whole collection of crochet bags.
- Tote Crochet Bag Inspiration: Get inspired by fellow makers on my Instagram [https://www.instagram.com/tubacrochets?igsh=MW0wNjA2ZTcwbjUyMw==] and share your own projects!
- Join the Community: Be part of our vibrant community on TikTok [tiktok.com/@tubacrochet] and share your progress and ideas.
Conclusion
Crochet is a fulfilling and relaxing hobby. This beginner-friendly project is the perfect gateway into the wonderful world of handmade items. If you encounter any questions, please feel free to leave a comment below! Don’t forget to tag me in your finished projects – I can’t wait to see your creations!