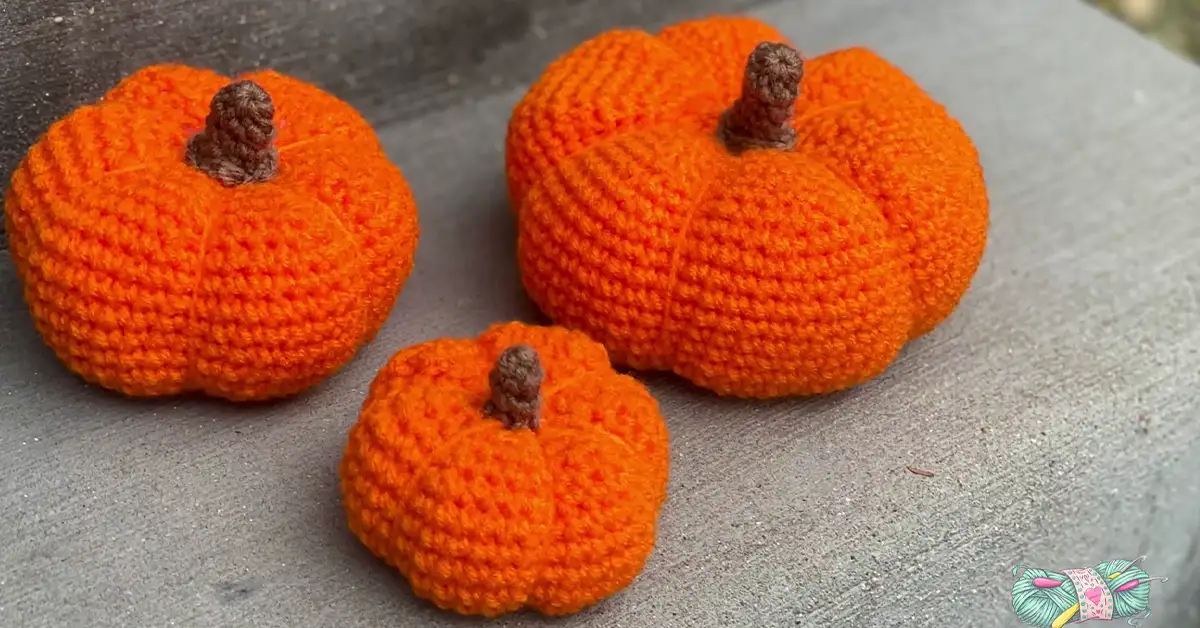
Fall is in the air, and that means it’s time to bring out all the cozy decorations! What better way to add a touch of handmade charm to your home than with a crocheted pumpkin? This beginner-friendly crochet pumpkin pattern is quick, easy, and oh-so-adorable. Whether you’re a seasoned crocheter or just starting out, you’ll find this crochet pumpkin tutorial easy to follow. So grab your yarn, hook, and let’s get started on this fun fall project!
This crochet pumpkin pattern creates a charming, plump pumpkin that’s perfect for decorating your home, adding to a Thanksgiving centerpiece, or even using as a unique gift. The pattern uses basic crochet stitches, making it ideal for beginners. Additionally, the finished pumpkin can be customized with different colors, sizes, and embellishments, allowing you to create a truly unique piece. In this tutorial, we’ll guide you through each step of the process, from creating the initial magic circle to shaping the pumpkin and adding the stem.
Crochet Pumpkin Pattern: A Beginner’s Guide
What You’ll Need: Materials for Your Crochet Pumpkin
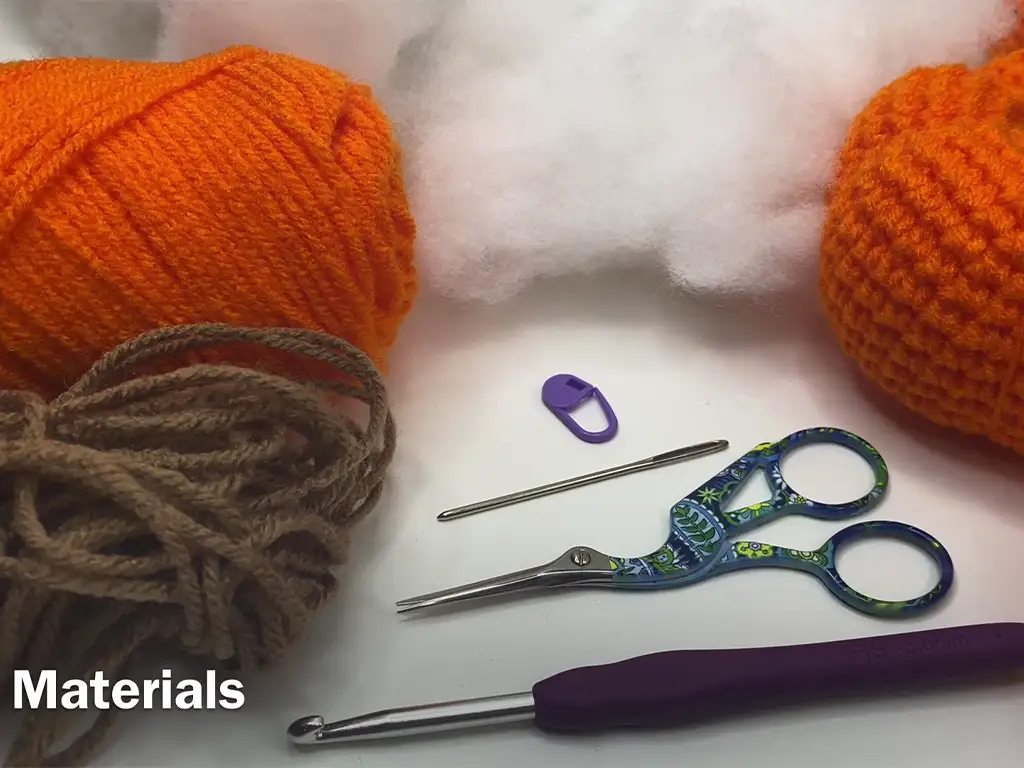
To begin with, let’s gather the materials you’ll need for this crochet pumpkin pattern:
- Yarn:
- Orange: Worsted weight yarn (approx. 100 yards) – I used acrylic yarn for its affordability and easy care.
- Brown: Worsted weight yarn (approx. 20 yards) – Again, acrylic yarn works well here.
- Crochet Hook: 5mm. Using a different hook size will change the size of your pumpkin.
- Scissors: For trimming the yarn.
- Yarn Needle: For weaving in the ends and shaping the pumpkin.
- Stitch Marker: (Optional, but helpful for keeping track of rounds)
- Polyfill Stuffing: Give your pumpkin its plump shape.
Understanding Crochet Basics: Stitches & Techniques
Before we dive into the crochet pumpkin pattern, let’s briefly review the essential crochet stitches and techniques used in this project:
- Magic Circle: This technique creates a seamless circle, perfect for starting projects worked in the round, such as our pumpkin.
- Single Crochet (sc): A basic crochet stitch that forms the foundation of the pumpkin body.
- Single Crochet Decrease (sc2tog): Used to decrease the number of stitches, shaping the pumpkin as it gets taller.
- Slip Stitch (sl st): An almost invisible stitch used to join rounds or finish off your work.
- Working in Rounds: We’ll be crocheting in a continuous spiral, not turning our work at the end of each row.
Now that you know the basic stitches, let’s move on to the crochet pumpkin tutorial.
Getting Started: The Magic Circle and First Round
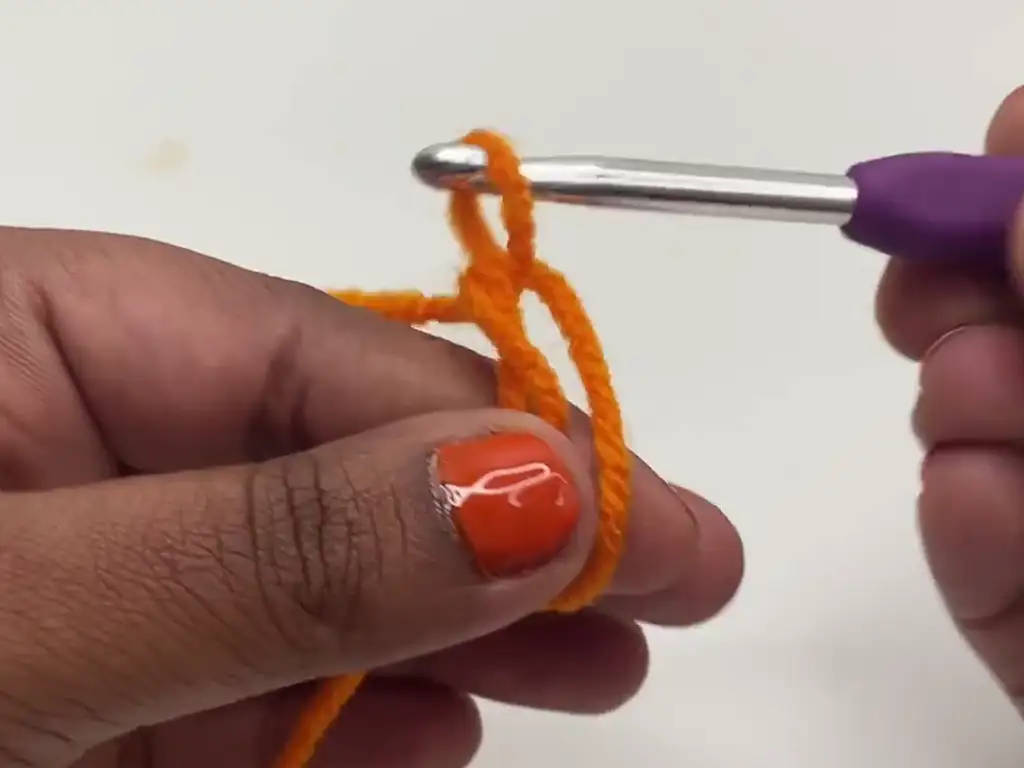
To start, we’ll create a magic circle with the orange yarn. This technique ensures there’s no hole in the center of your pumpkin. If you’re new to the magic circle, don’t worry! It’s easier than it sounds. There are plenty of crochet pumpkin tutorial videos online that can guide you through the process, including this excellent one by @CraftyCrochetCastle: (https://www.youtube.com/watch?v=Lk6ubHyyQLY&t=43s)
Once you’ve done that, we’ll work eight single crochet stitches into the magic circle. This forms the base of our crochet pumpkin. Be sure to pull the tail of the yarn tightly to close the magic circle completely.
Free Crochet Pumpkin Pattern & Tutorial
Round-by-Round Instructions: Crochet the Pumpkin Body
Now, let’s get into the heart of our crochet pumpkin pattern. The pattern is worked in rounds, and we’ll be increasing stitches in the early rounds to make the pumpkin wider and then decreasing stitches in the later rounds to make it close up at the top.
To begin, here’s the complete written pattern. You can also download a free PDF version of this crochet pumpkin pattern here.
A Big Thanks @CraftyCrochetCastle!
This crochet pumpkin pattern is inspired by the wonderful tutorial from @CraftyCrochetCastle on YouTube. Be sure check out their video for a visual guide. They offer many other fantastic crochet pumpkin tutorials as well, including a small crochet pumpkin pattern and a large crochet pumpkin pattern. Moreover, their amigurumi pumpkin crochet pattern is worth exploring for a different take on this theme. They truly provide the best crochet pumpkin pattern for amigurumi enthusiasts.
Share Your Creations!
We’d love see your finished crochet pumpkins! Share your photos on Instagram (https://www.instagram.com/tubacrochet_/), TikTok (tiktok.com/@tubacrochet), and Facebook (https://www.facebook.com/tubacrochet/). Don’t forget tag us so we can admire your work. Let us know how you customized the crochet pumpkin pattern with stem and other details.
We encourage you leave comments below. Share your tips, ask questions, and connect with other crocheters in our community!

Crochet Pumpkin Pattern (Medium Size):
- Rnd 1: Make a magic circle. 8 sc in the circle. Pull tail tightly to close the circle. Place stitch marker in the first sc (optional). (8 sc)
- Rnd 2: 2 sc in each stitch around. (16 sc)
- Rnd 3: 2 sc in the next stitch, 1 sc in the next stitch. Repeat around. (24 sc)
- Rnd 4: 2 sc in the next stitch, 1 sc in the next 2 stitches. Repeat around. (32 sc)
- Rnd 5: 2 sc in the next stitch, 1 sc in the next 3 stitches. Repeat around. (40 sc)
- Rnd 6: 2 sc in the next stitch, 1 sc in the next 4 stitches. Repeat around. (48 sc)
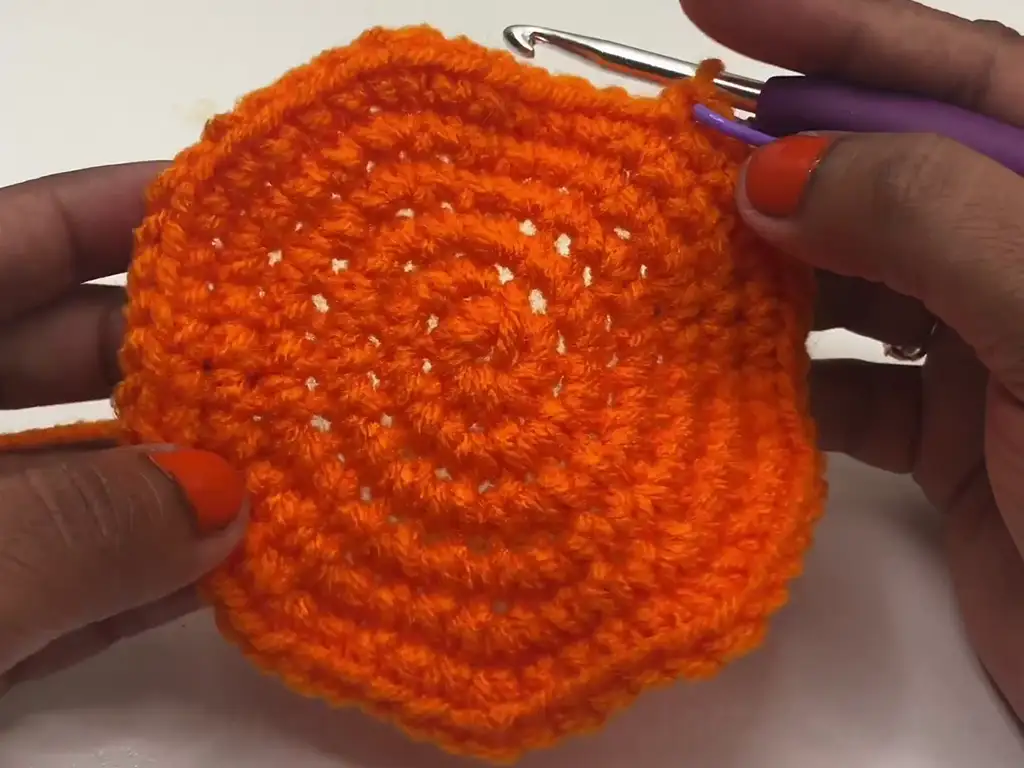
- Rnd 7-14: 1 sc in each stitch around. (48 sc per round)
- Rnd 15: Sc2tog, 1 sc in the next 4 stitches. Repeat around. (40 sc)
- Rnd 16: Sc2tog, 1 sc in the next 3 stitches. Repeat around. (32 sc)
- Rnd 17: Sc2tog, 1 sc in the next 2 stitches. Repeat around. (24 sc)
- Rnd 18: Sc2tog, 1 sc in the next stitch. Repeat around. (16 sc)
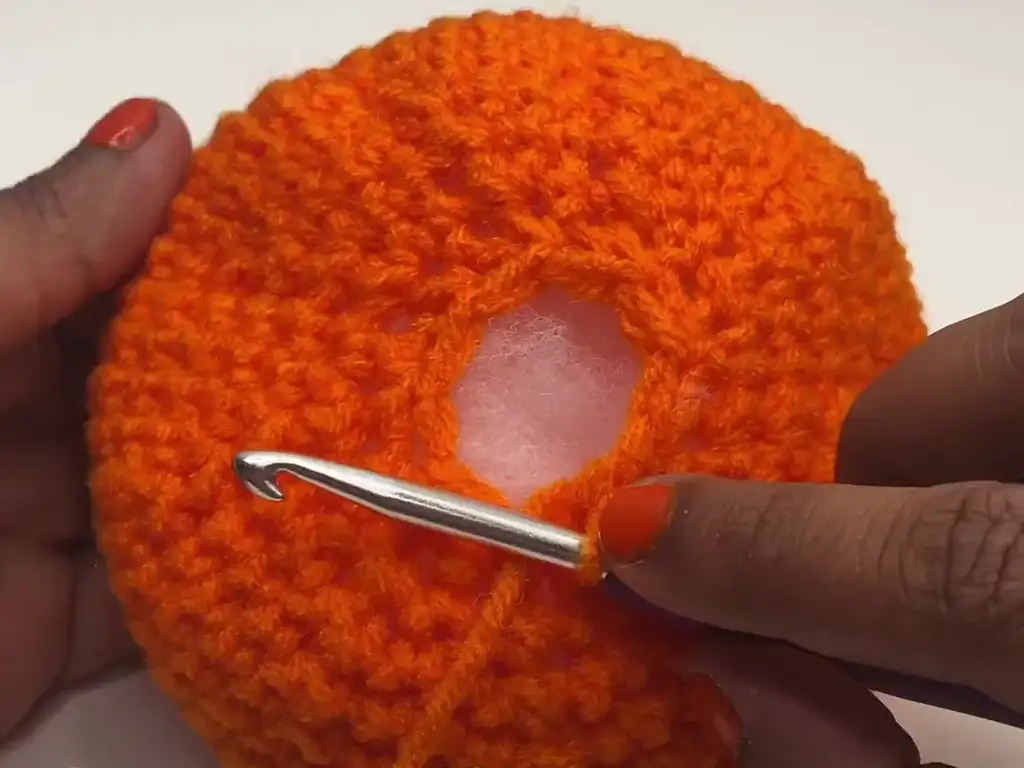
- Stuffing: Before continuing, stuff the pumpkin firmly with polyfill.
- Rnd 19: Sc2tog around. (8 sc)
- Rnd 20: Sc2tog around. (4 sc)
- Finishing: Sl st in the next stitch. Fasten off, leaving a long tail for shaping.
Shaping Your Crochet Pumpkin: Creating the Ridges
After completing the crochet pumpkin pattern, it’s time to give it that classic pumpkin shape! To put it another way, we’re going to create ridges along the sides.
To begin, thread the long tail from the last round onto your yarn needle. Then, find a spot on the pumpkin where you worked a decrease (sc2tog). Insert the needle through a stitch in Rnd 2 or 3 (not all the way through the center, we want the bottom to stay flat). Bring the needle out through the center top of the pumpkin. Pull the yarn tightly to form a ridge. Secure the yarn with a knot on the inside of the pumpkin.
Repeat this process on the opposite side of the pumpkin, creating another ridge. As you continue, continue making ridges around the pumpkin, spacing them evenly. You should end up with a total of 6 ridges. Finally, weave in the remaining tail neatly.
Crocheting the Pumpkin Stem: A Simple Pattern
Now that the pumpkin body is complete, it’s time to crochet the pumpkin stem.
To start, switch to the brown yarn and make another magic circle. The stem is crocheted in rounds, just like the pumpkin body, but it’s much smaller.
Here’s the pattern for the stem:
- Rnd 1: Make a magic circle. 7 sc in the circle. Pull tail tightly to close the circle. (7 sc)
- Rnd 2-4: 1 sc in each stitch around. (7 sc per round)
- Rnd 5: Working in the front loops only: 2 sc in the next stitch, 1 sc in the next stitch. Repeat around, ending with 1 sc in the last 2 stitches. (10 sc)
- Finishing: Sl st in the next stitch. Fasten off, leaving a long tail for attaching the stem.
To clarify, working in the front loops only means you’ll only be inserting your hook into the front loop of each stitch, creating a slightly different texture for the top of the stem.

DIY Fall Decor: Crochet Your Own Pumpkin
Crochet Pumpkin Size Variations: Small, Medium, Large
The crochet pumpkin pattern we’ve used so far creates a medium-sized pumpkin. However, you can easily adjust the size by changing the yarn weight or hook size.
- For a smaller pumpkin: Use a finer yarn, such as sport weight or fingering weight yarn, and a smaller crochet hook (e.g., 4mm or 3.5mm).
- For a larger pumpkin: Use a bulkier yarn, such as bulky weight or super bulky weight yarn, and a larger crochet hook (e.g., 6mm or 7mm).
Keep in mind that changing the yarn and hook size will also affect the amount of yarn you need.
Color Ideas for Your Crochet Pumpkin
While traditional orange is a classic choice for a crochet pumpkin, don’t be afraid to get creative with color! For instance, you could try:
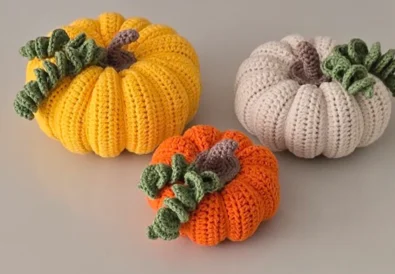
- White or cream: For a ghostly or farmhouse-style pumpkin.
- Green or yellow: For a unique and whimsical look.
- Variegated yarn: For a pumpkin with interesting color variations.
- Multiple colors: Create a striped or color-blocked pumpkin.
Ultimately, the color choice is up to you and your personal preferences.
Using Your Crochet Pumpkin for Fall Decorations
Crocheted pumpkins make fantastic fall decorations! Specifically, here are some ways you can use them:
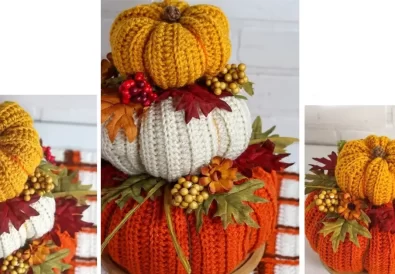
- Table centerpiece: Arrange a group of pumpkins in different sizes and colors on your dining table or coffee table.
- Mantel decor: Place pumpkins along your mantelpiece, alongside candles, fall leaves, and other seasonal items.
- Tiered tray display: Add crocheted pumpkins to your tiered tray for a touch of fall charm.
- Gift toppers: Tie a small crochet pumpkin to a gift bag or present for a unique and personalized touch.
- Halloween decorations: Add spooky faces or embellishments to your pumpkins for a Halloween twist.
Most importantly, have fun with it and let your creativity shine!


Simple Crochet Pumpkin Pattern: Step-by-Step Instructions
Increasing & Decreasing Stitches: Shaping Techniques
In this section, we’ll take a closer look at the increasing and decreasing techniques used in the crochet pumpkin pattern. These techniques are essential for shaping the pumpkin and giving it its three-dimensional form.
- Increasing (2 sc in the same stitch): This creates an extra stitch, making the round wider. We use increases in the early rounds to expand the base of the pumpkin.
- Decreasing (sc2tog): This combines two stitches into one, making the round narrower. We use decreases in the later rounds to close up the top of the pumpkin.
Understanding how and when to increase and decrease stitches is crucial for mastering crochet pumpkin patterns and other amigurumi projects.
Understanding the Pattern Abbreviations
To illustrate, our crochet pumpkin pattern uses standard US crochet terminology and abbreviations. Here’s a quick reminder of what they mean:
- sc: single crochet
- sc2tog: single crochet decrease (two together)
- sl st: slip stitch
- rnd(s): round(s)
- st(s): stitch(es)
- FLO: front loop only
As you can see, these abbreviations make the pattern more concise and easier to follow.
Tips & Tricks for a Perfect Crochet Pumpkin
Here are a few additional tips and tricks to help you achieve a beautiful and well-shaped crochet pumpkin:
- Use a stitch marker: This will help you keep track of your rounds and avoid getting lost in the pattern.
- Pull your magic circle tightly: This ensures there’s no hole in the center of your pumpkin.
- Stuff your pumpkin firmly: This gives it a nice, plump shape.
- Be consistent with your tension: This will help create a smooth and even fabric.
- Don’t be afraid to experiment: Try different yarn colors, sizes, and embellishments to personalize your crochet pumpkin.
In other words, relax, enjoy the process, and don’t be afraid to make it your own!
Customize Your Crochet Pumpkin: Pattern Variations
Now that you’ve mastered the basic crochet pumpkin pattern, let’s explore some fun ways to customize it!
Adding a Face to Your Crochet Pumpkin
To give your crochet pumpkin a spooky or whimsical personality, you can add a face! For example, you can use felt, embroidery floss, or safety eyes to create eyes, a nose, and a mouth. You can also use different colors of yarn to crochet facial features directly onto the pumpkin.
Crocheting Different Pumpkin Stem Styles
In addition to the basic stem pattern, you can experiment with different stem styles. For instance, you could:
- Crochet a longer, curlier stem: This can give your pumpkin a more whimsical or realistic look.
- Add leaves to the stem: Crochet small leaves and attach them to the base of the stem for added detail.
- Use a different color yarn for the stem: Try a darker brown or even a green yarn for a unique look.
Embellishing Your Crochet Pumpkin: Leaves & Vines
Moreover, you can further personalize your crochet pumpkin by adding embellishments like leaves and vines. You can crochet these separately and attach them to the pumpkin, or you can use fabric leaves and glue them on.
To sum up, there are endless possibilities for customizing your crochet pumpkin! Let your imagination run wild and create a pumpkin that perfectly reflects your style.
Other Crochet Projects You’ll Love
Now that you’ve conquered the crochet pumpkin, you might be looking for more fun and easy crochet projects. Here are a few ideas to get you started:
- Crochet Cozy Blankets: Cuddle up on chilly evenings with a soft and snuggly crochet blanket.
- Crochet Coaster: Easy and Stylish Designs
In conclusion, crocheting your own pumpkin is a fun and rewarding way embrace the fall season. With this free crochet pumpkin pattern, you can create unique and charming decorations for your home or give handmade gifts with a personal touch. Whether you’re searching for a simple how crochet a pumpkin tutorial or you’re seeking a more detailed crochet a realistic pumpkin pattern with detailed instructions, we’ve got you covered. So grab your yarn, hook, and get ready create some pumpkin magic! We believe you’ll enjoy crafting these adorable pumpkins, and we can’t wait see what you come up with. Remember, even though you might be a beginner, you can still create beautiful things with this easy crochet pumpkin pattern for home decor. Happy crocheting! 🧶

