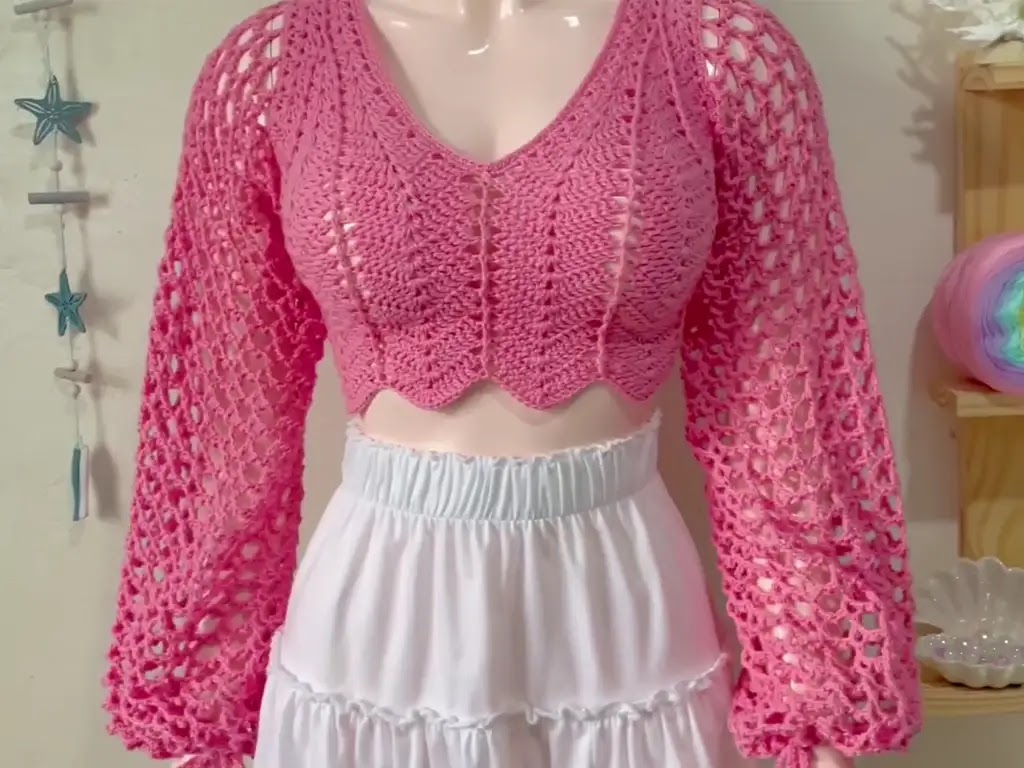
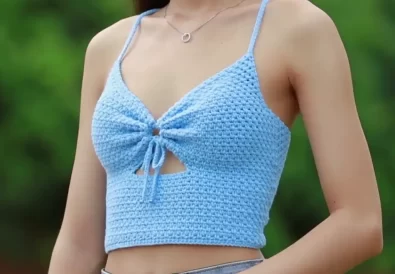
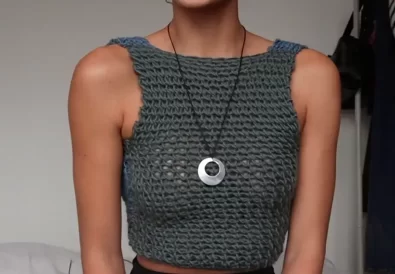
Discover how to crochet a breezy summer top with sleeves! This easy, free pattern is perfect for beginners. Get your DIY fix with this quick and simple design.
Summer is the season of light, airy clothes, and what better way to embrace that feeling than with a handmade crochet top? This breezy summer top pattern is remarkably beginner-friendly, making it an ideal project if you’re just starting your crochet journey. With its delicate shell stitch pattern, comfortable fit, and customizable length, it’s a versatile addition to your warm-weather wardrobe.
So, grab your hook and some yarn – let’s dive in!
Materials
Before we begin, here’s what you’ll need:
- Yarn: Choose a lightweight yarn like cotton, linen, or a cotton blend for maximum breathability.
- Crochet hook: The recommended hook size will depend on your chosen yarn. Check the yarn label for suggestions.
- Scissors
- Tapestry needle: To weave in ends.
- Stitch markers (optional): These can be helpful for keeping track of your rows.


Basic Crochet Techniques
If you’re a crochet newbie, let’s cover the basics used in this pattern:
- Chain stitch (ch): The foundation of most crochet projects.
- Double crochet (dc): A versatile and common stitch.
- Shell stitch: Creates a beautiful, textured fabric. Don’t worry, we’ll break it down step by step!
The Shell Stitch
The shell stitch is the star of this summer top pattern. Here’s how it’s done:
- Work five double crochet stitches into the same stitch or chain space.
- Skip two stitches or chains.
- Make another shell (five double crochets) in the next stitch or chain space.
- Repeat across the row
Step by Step Written Pattern
Note: This pattern is highly customizable. Instructions are given for a basic size, but you can easily adjust the number of starting chains and rows to achieve your desired fit.
Foundation Row:
- Chain a multiple of 16 + 2 (for example, if you want a small size, you might chain 82: 16 x 5 + 2)
Row 1:
- Work a dc in the 7th chain from your hook.
- Skip 2 chains, dc in the next chain, skip 2 chains, shell stitch (5 dc in the same stitch), skip 2 chains.
- Repeat from * to * across, ending with a dc in the final chain.
Row 2:
- Chain 3 (counts as dc), turn your work.
- Shell stitch in the chain-1 space of the previous shell, dc in the next stitch.
- Repeat from * to * across, ending with a dc in the turning chain.


Repeat Row 2 until you reach your desired length.
Sleeves (Make 2):
- Attach yarn in the underarm area.
- Work single crochets evenly around the armhole opening.
- Chain 7, dc in the second chain from the hook, make a picot stitch.
- Skip 3 stitches, treble crochet in the next stitch, chain 3, dc in the next two stitches. Repeat from * to * around.
- Repeat the previous row for your desired sleeve length.
- Finish with a row of single crochets.
Increasing Rows (Shaping the Bust): You’ll increase the width of the top to follow your curves. Here’s one way to incorporate increases:
- Row 3: Repeat Row 2
- Row 4 (Increase Row): Chain 3, turn. Shell stitch in the ch-1 space, dc in the next 2 stitches, shell in the next ch-1 space, dc in the next 2 stitches. Repeat * to *, ending with a dc in the turning chain.
- Row 5: Repeat Row 2
Repeat the pattern of 1 regular row (like Row 2), followed by 1 increase row (like Row 4) until you reach your desired bust circumference. Aim for around 7-10 increase rows, depending on your starting size and desired fit.
Working Even (The Waist):
- Once you hit your desired bust width, continue repeating Row 2 for several rows with no increases or decreases. This creates the straight section at your waist.
Decreasing Rows (Optional):
- If you want a slightly more fitted waistline, you can introduce a few decreasing rows.
- Decrease Row: Chain 3, turn. Shell in the ch-1 space, dc in the next stitch, skip the next dc, shell in the next ch-1 space, dc in the next stitch, skip the next dc. Repeat from * to *, ending with dc in the turning chain.
- Work 1-2 regular rows (Row 2), then another decrease row. Do 2-3 decrease rows total if desired.
Finishing the Top
- Continue working Row 2 until your top reaches the desired length.


Tips and Tricks
- Use stitch markers to keep your place, especially with the shell stitch.
- Adjust the foundation chain to create a smaller or larger top.
- Play around with different yarn colors for a unique look!
Let’s Get Creative
This simple crochet top pattern provides a fantastic base for customization:
- Add straps: Crochet thin straps for a classic look.
- Experiment with length: Create a crop top or a longer tunic-style top.
- Beads and embellishments: Add beads or charms for an extra touch.
Remember:
- Adjust the number of increase/decrease rows for a more or less fitted garment.
- Check your gauge and make a test swatch to get the perfect fit.
Join the Community
I’d love to see your creations! Share photos of your finished summer tops on Instagram using the hashtag #tubacrochets and follow me @tubacrochets. For more detailed instructions, check out my YouTube tutorial on the Yarns and Fins channel (https://www.youtube.com/@YarnsandFins) and watch the video (https://www.youtube.com/watch?v=iFe46Ghjp_M).
Let’s connect and inspire each other!
Conclusion
There’s something so satisfying about wearing a garment you made yourself. I hope this pattern inspires you to pick up your crochet hook and create your own beautiful summer top. Share your thoughts and questions in the comments below!


