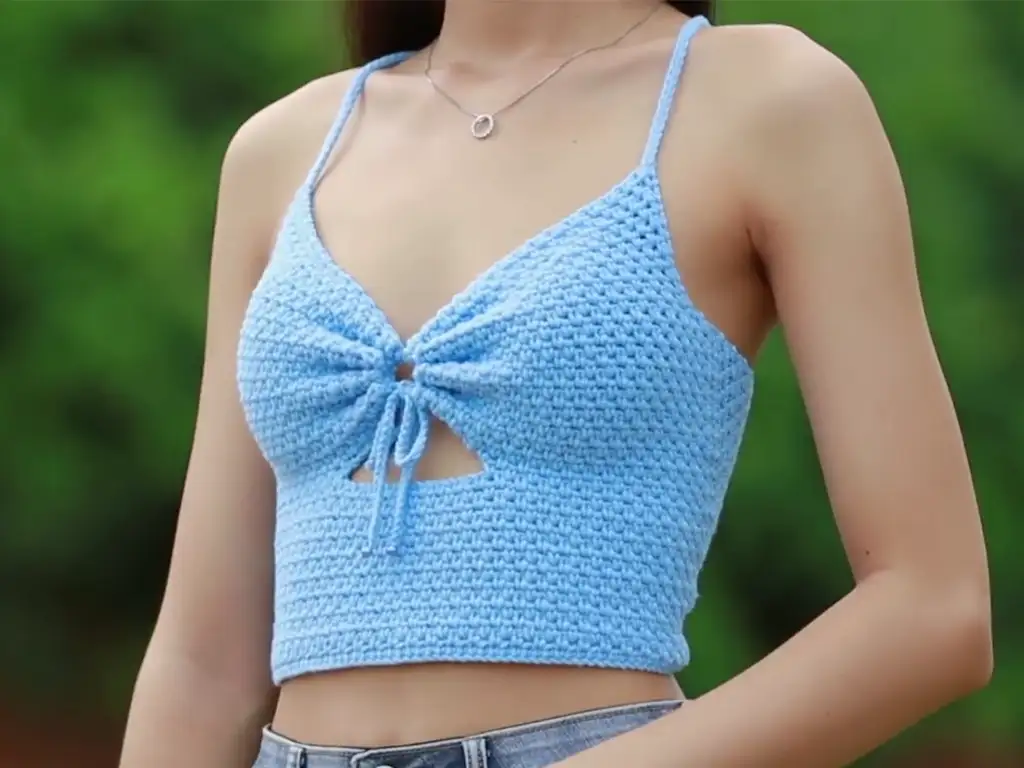
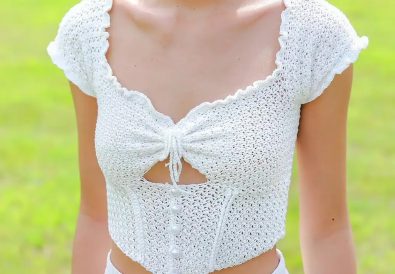
Get ready to add a touch of handmade elegance to your summer wardrobe! This blog post will guide you through creating a gorgeous crochet v neck top that’s airy, stylish, and surprisingly beginner friendly. If you’re new to crochet, don’t worry – we’ll break down everything you need to know. Whether you’re heading to the beach or a casual lunch date, this versatile top will become your new favorite.
Crochet V Neck Top: Gathering Your Materials
Before we dive into the pattern, let’s gather what we’ll need:
- Yarn: Choose a lightweight yarn in your desired color. Cotton or a cotton-acrylic blend works perfectly for summer wear.
- Crochet Hook: Refer to the yarn label for the recommended hook size.
- Scissors: For cutting the yarn.
- Stitch Markers: To help you keep track of important points in the pattern.
- Tapestry Needle: To weave in loose ends.
Mastering the Crochet Basics for Your V Neck Top
If you’re a crochet newbie, here’s a quick primer on the essential stitches used in this project:
- Slip Knot: The starting point for most crochet projects.
- Chain Stitch (ch): The building block for various crochet stitches.
- Single Crochet (sc): A basic and versatile stitch.
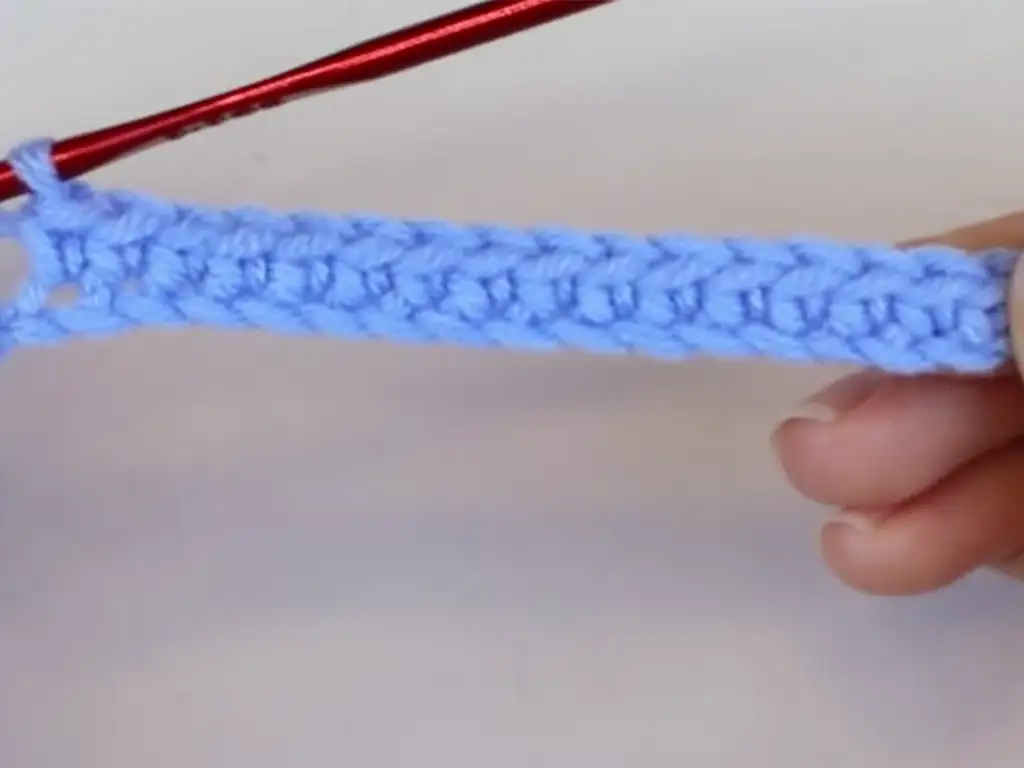
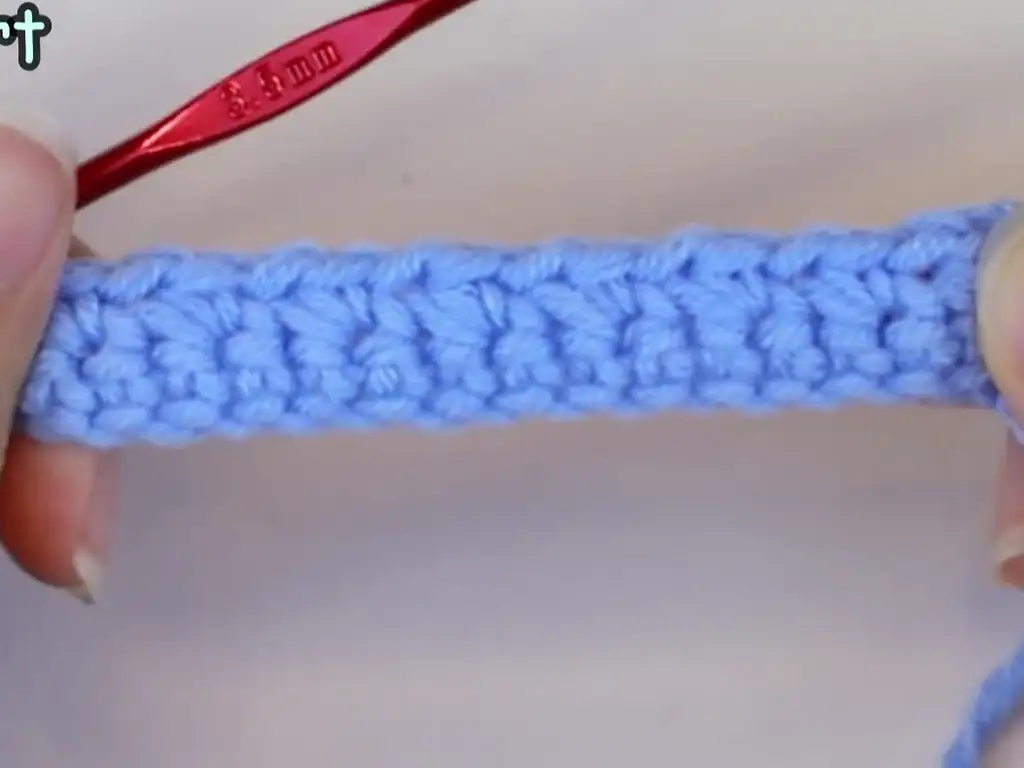
- Moss Stitch: Creates a beautiful textured fabric (a combination of single crochet and chains).
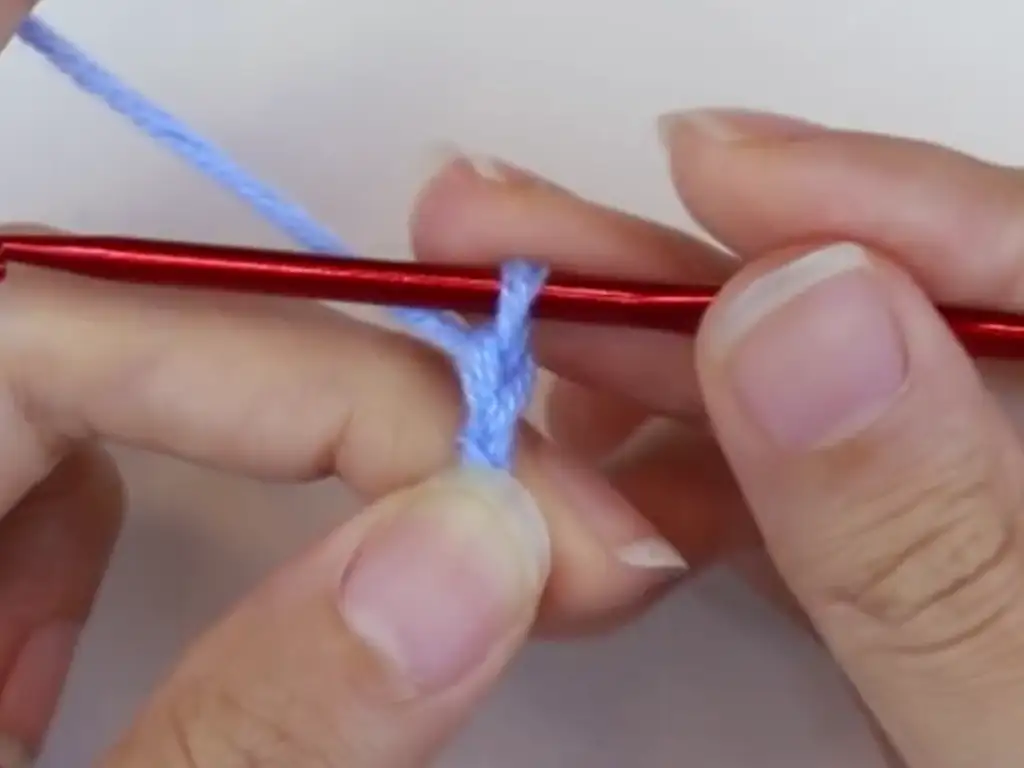
The Foundation of Your Crochet V Neck Top: Basic Techniques
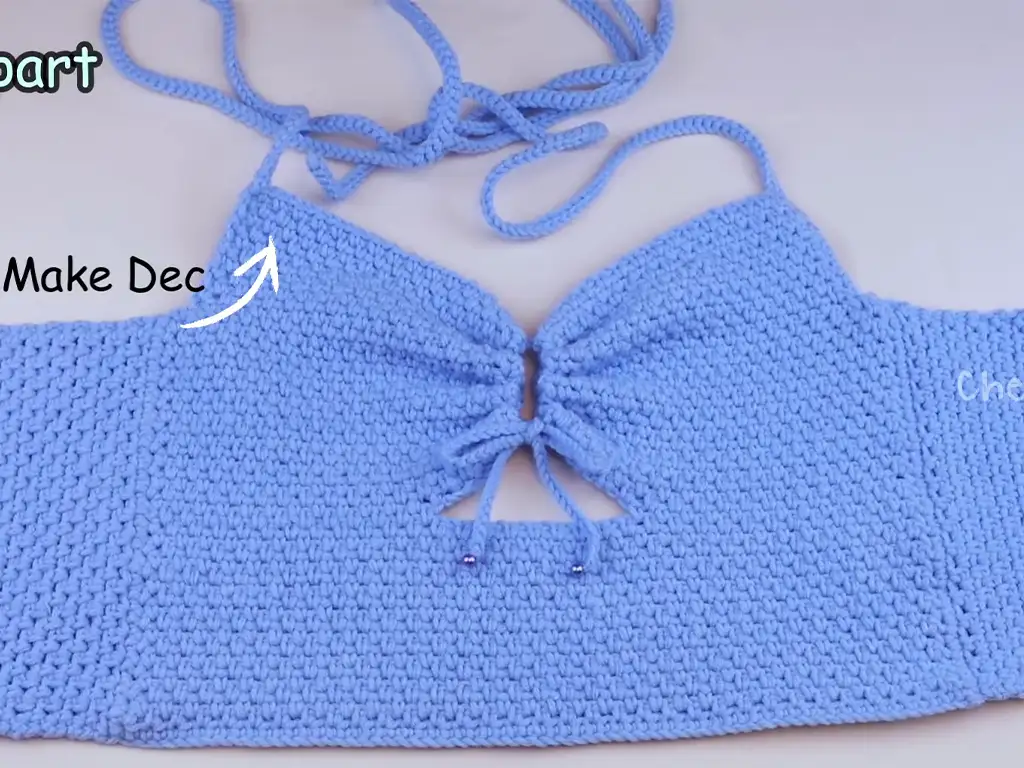
The core of this crochet v neck top pattern revolves around a few key techniques. One of the most important is taking accurate underarm measurements to ensure the perfect fit around your bust. We’ll also use simple decreases to shape the top at the underarm and bust, creating a flattering silhouette.
Crochet V Neck Top Pattern: Step by Step Guide
Now for the fun part – let’s crochet! The pattern may seem long, but trust me, it’s easier than it looks. We’ll break it down step by step.
1. The Lower Part
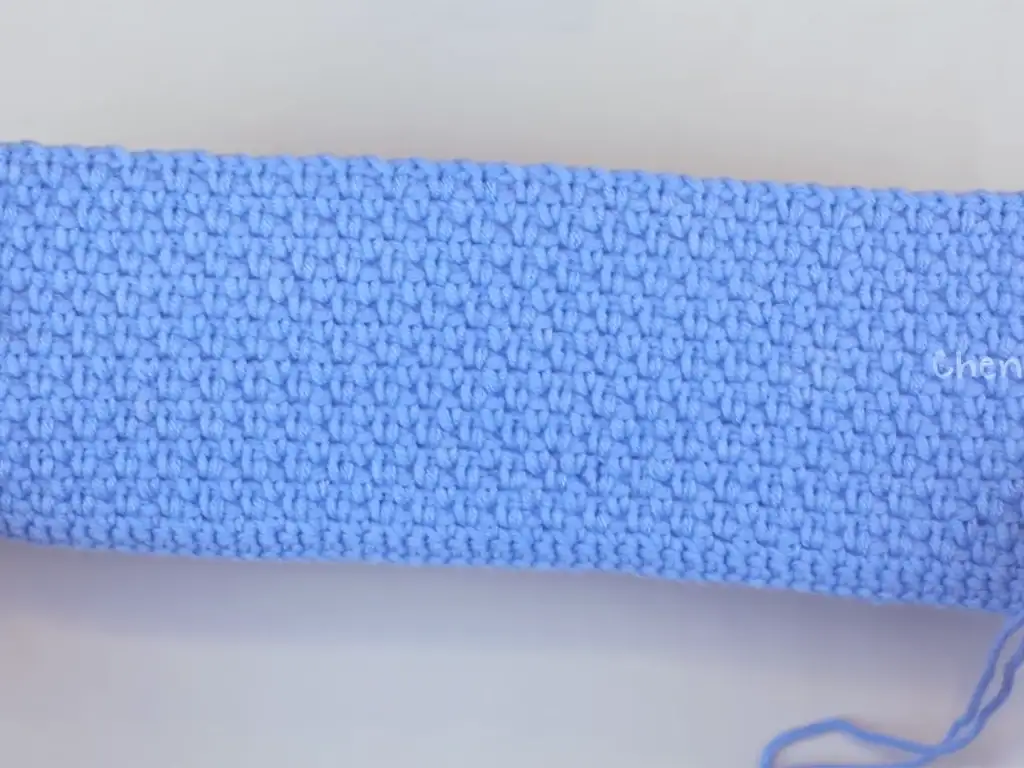
- Begin with a foundation chain that stretches the desired length from one underarm to the other. Make sure you have an odd number of chains.
- Row 1: Skip one chain, single crochet (sc) into each remaining chain.
- Row 2 and Beyond: Chain 1 (ch 1), turn your work. Single crochet (sc) into the first stitch, chain 1 (ch 1), skip a stitch, single crochet (sc) into the next stitch Repeat the pattern within the asterisks across the row.
2. The Bust Part
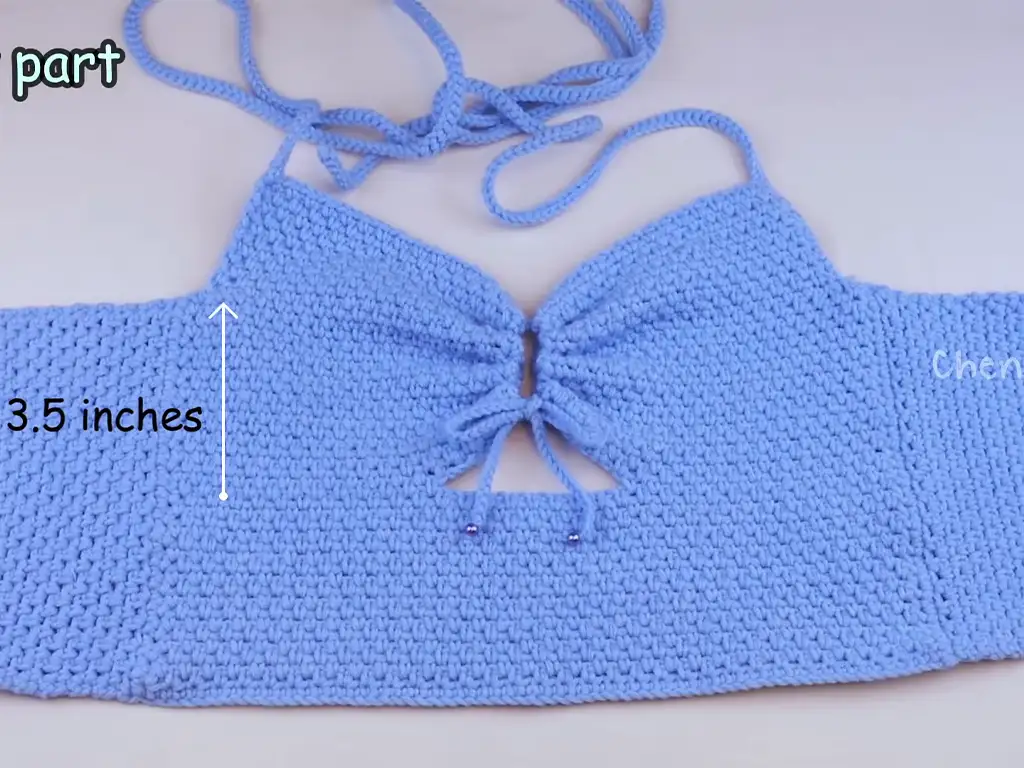
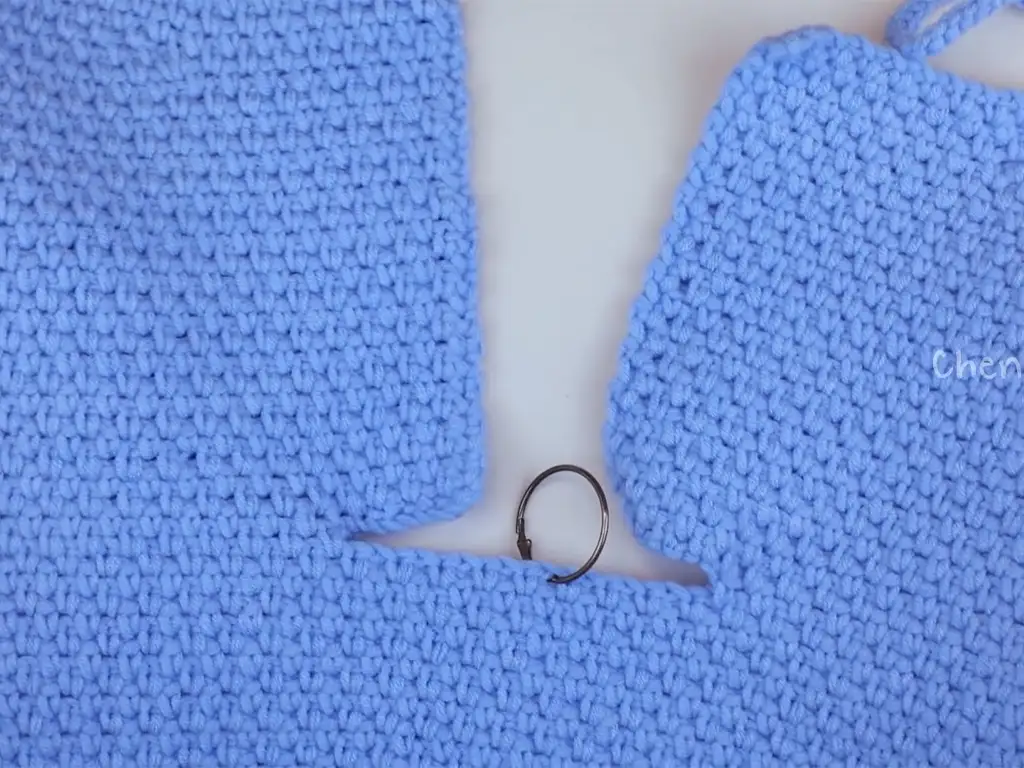
- Fold your lower part in half and mark the center with a stitch marker.
- Measure and mark the desired bust shaping on either side of the center point (e.g., 8 stitches away).
- Row 1: Continue with the moss stitch pattern until you reach the marked stitch, chain the same number of skipped stitches (e.g., 8), plus one extra chain. Turn your work.
- Row 2 and Beyond Repeat the moss stitch across the row, chaining one at the turning points.
3. Shaping and Straps
- Continue shaping with strategically placed decreases as instructed in the video tutorial by @chendadiy on YouTube ([https://www.youtube.com/watch?v=paSMLD332TQ] ). This will create a flattering curve around the underarm and bust.
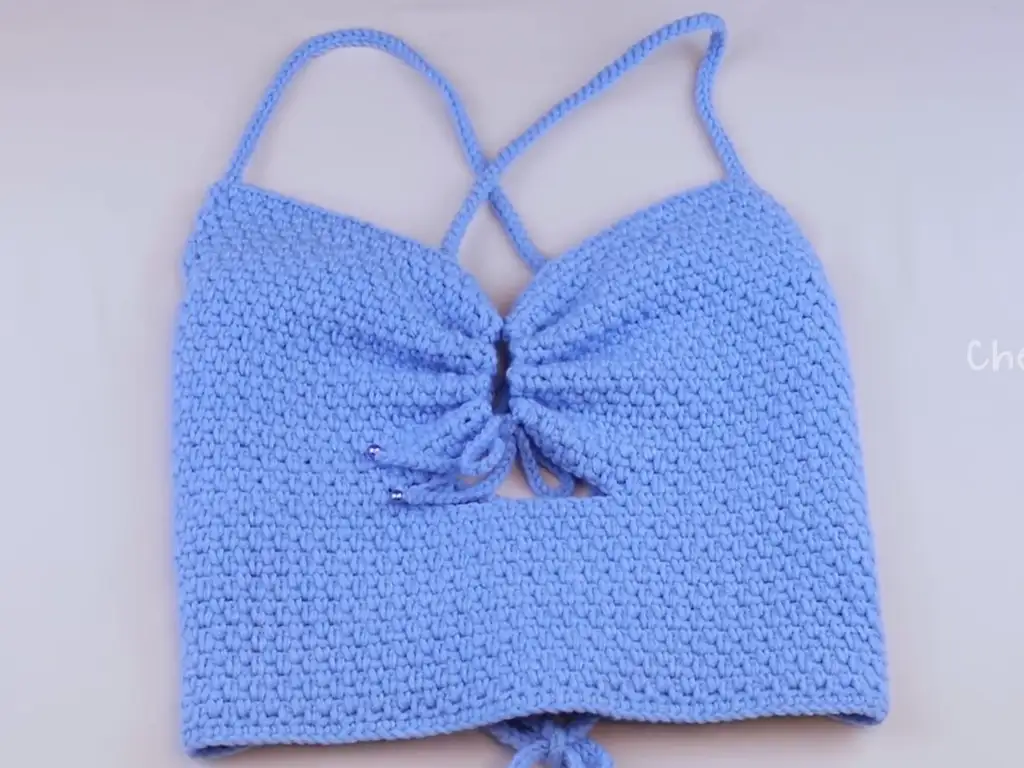
- Once you reach the desired strap height, create long chains for your straps. Finish with slip stitches for a tidy look.
4. Back Part
- Attach your yarn at the underarm section where you finished shaping.
- Work sc across the entire row, joining the back to the shaped front section.
- Continue working in the moss stitch pattern (sc, ch 1, skip a stitch) for the desired back length.
5. Front Lace (Optional):
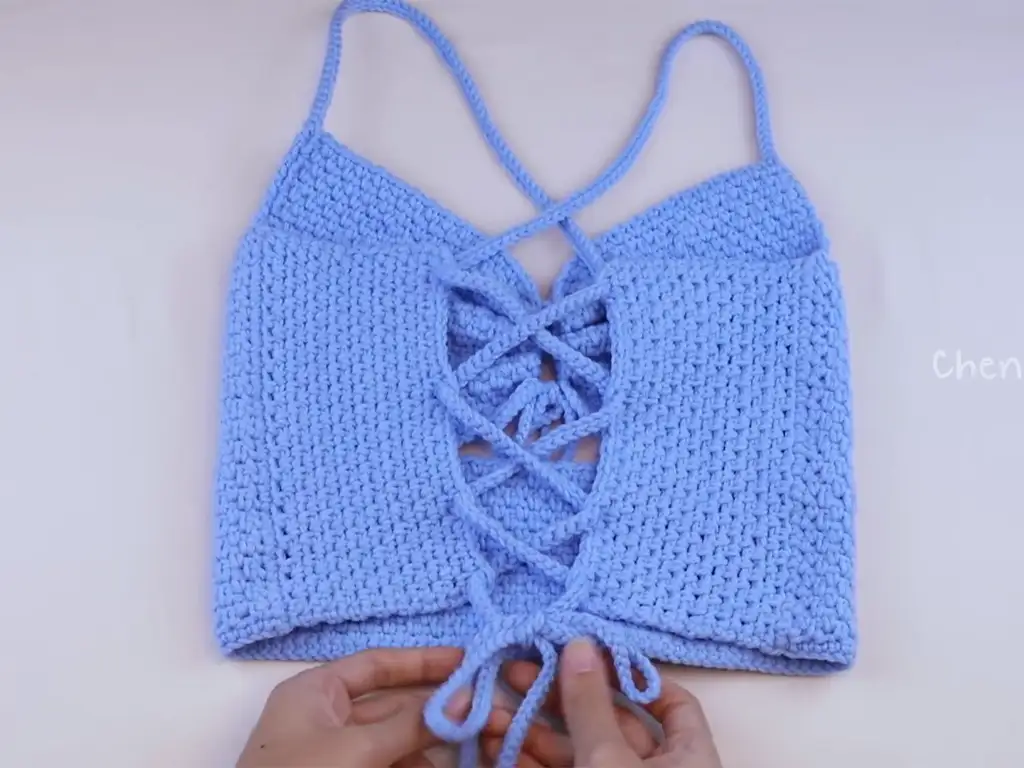
- Create a long chain for the desired lace length.
- You can attach the lace along the front neckline for a decorative touch.
Customizing Your Crochet V Neck Top for the Perfect Fit
The beauty of handmade projects is personalization! Here are a few tips:
- Measure Yourself: Take measurements before you start to ensure a comfortable fit.
- Adjust Strap Length: Make your straps as long or short as you like.
- Play With Colors: Choose a fun yarn color that expresses your personal style.
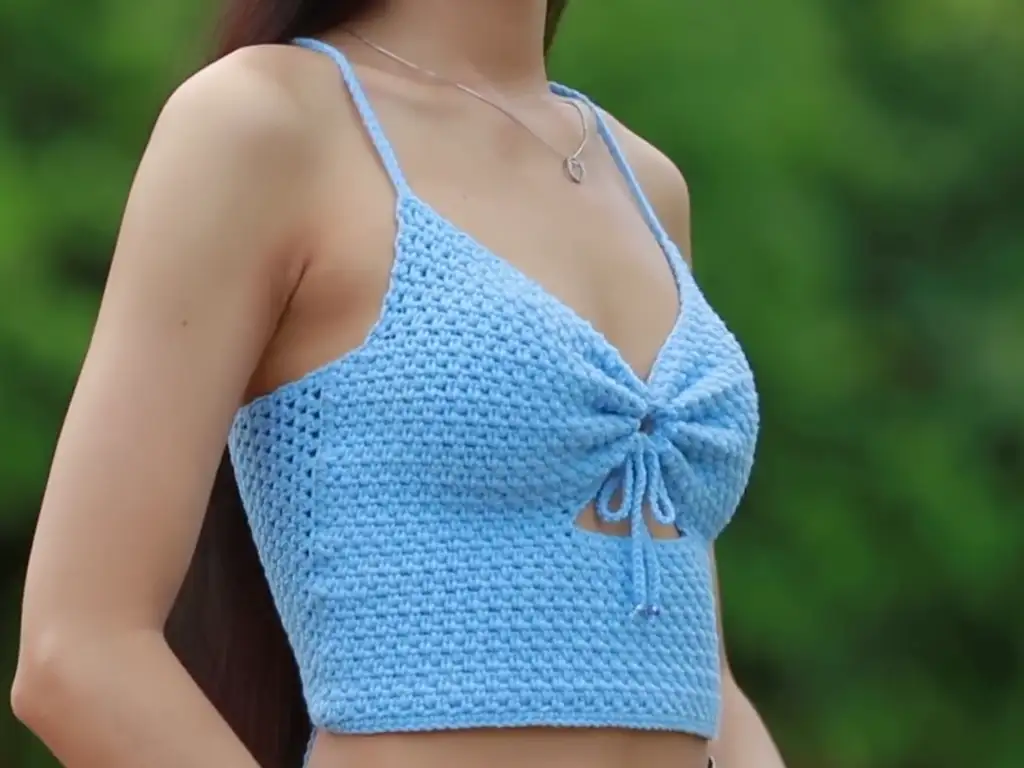
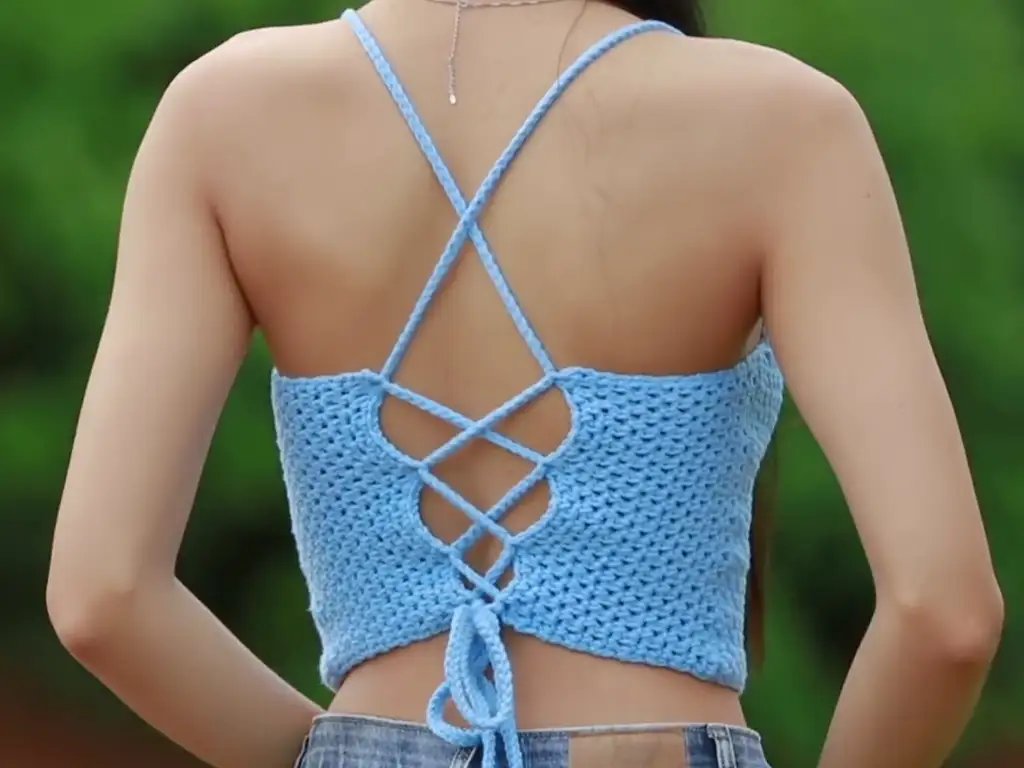
Finishing Touches: Adding a Summery Vibe to Your Crochet Top
- Weave in Ends: Securely weave in all your loose ends for a polished look.
- Blocking (Optional): If desired, block your top to even out stitches and enhance the overall shape.
I hope you enjoy creating your own beautiful crochet v neck top!
Other Crochet Projects You’ll Love
Inspired to try more? Here are some other beginner friendly crochet ideas:
Conclusion
Congratulations on creating your very own crochet v neck top! Be sure to share your beautiful work on Instagram by tagging @tubacrochet_ and on TikTok at tiktok.com/@tubacrochet. I can’t wait to see what you all make! I hope you have a wonderful time crocheting!

