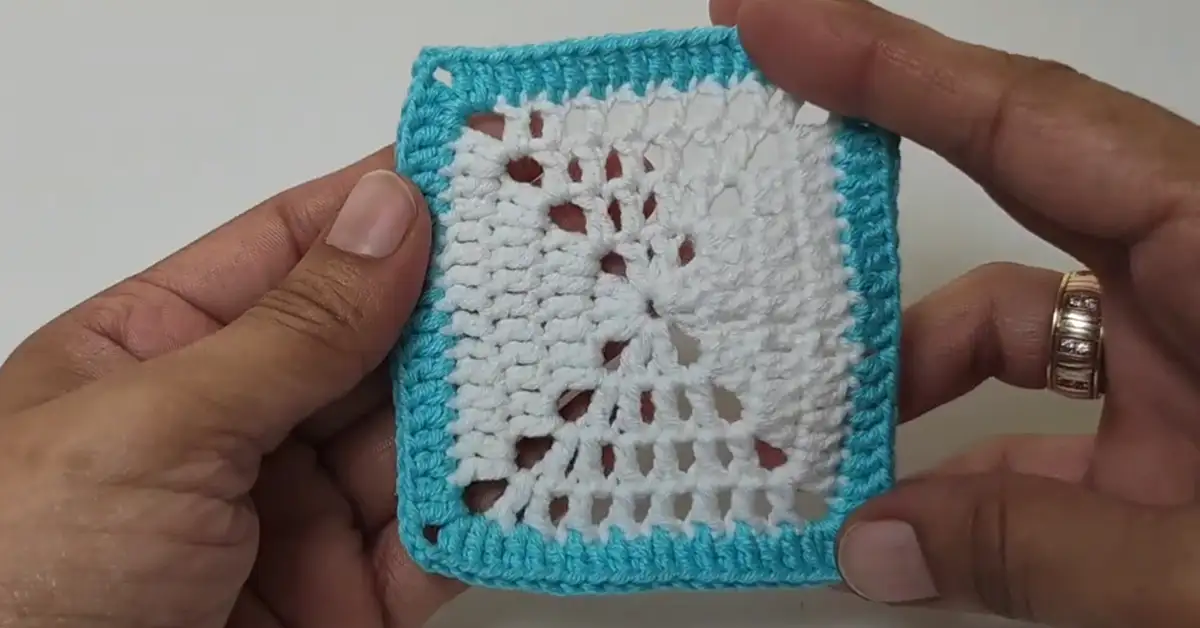
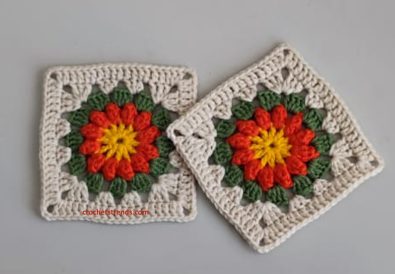
Hey there, fellow yarn enthusiasts! Have you always admired the intricate beauty of crochet blankets, cozy pillows, or stylish bags adorned with granny squares? This classic crochet square design might seem daunting at first glance, but let me assure you, it’s surprisingly approachable, even for absolute beginners. Today, we’ll unravel the secrets of granny squares for beginners, guiding you step-by-step towards crafting your very own masterpieces.
Whether you’re just starting your crochet journey or looking for a relaxing and rewarding project, this easy granny square pattern is perfect. These versatile squares can be combined in countless ways to create an array of stunning items. From blankets and throws that warm your home to trendy bags and accessories, the possibilities are truly endless! Let’s dive in!
Getting Started with Granny Squares for Beginners
Introduction to Granny Squares: Perfect for Beginners
First of all, let’s talk about granny squares. These iconic squares are a staple in the world of crochet, loved for their simple design and endless possibilities. They’re perfect for beginners, as they are easy to learn and offer a satisfying sense of accomplishment with each completed square. Granny squares can be used in a variety of projects, from small accents like coasters and pillows to larger pieces like blankets and bags.
Materials Needed for Your First Granny Square
Before we embark on our crochet square adventure, let’s gather our supplies. Don’t worry; you won’t need a whole craft store! Here’s what you’ll need:
- Yarn: Alize Cotton Gold (or similar weight cotton yarn) in two colors, Color A and Color B. Cotton Gold is known for its soft texture and easy-to-work-with qualities. You can choose colors that complement each other, or go for a bold contrast.
- Hook: 2.75 mm crochet hook. You can adjust the hook size depending on your desired yarn weight and the overall size of your granny squares.
- Scissors: For cutting your yarn.
- Needle: For weaving in your ends.
That’s it! With these simple tools, you’re ready to conquer the world of granny squares.
Understanding Basic Crochet Stitches
Fear not if you’re new to crochet. We’ll be focusing on just a couple of fundamental stitches for this granny square pattern:
Basic Techniques:
- Magic Ring: This is the starting point for many crochet projects worked in the round. It creates a tight center with no hole.
- Chain Stitch (ch): The foundation of most crochet projects, used to create a base row and spaces within the design.
- Double Crochet (dc): A basic crochet stitch that creates a dense and textured fabric.
- Slip Stitch (sl st): Used to join rounds or move the yarn to a different position without adding height.
- Working into Chain Spaces: This technique creates the open spaces and decorative elements of the design.
Basic Elements of the Design:
- Square Shape: Achieved by working in rounds and strategically placing increases.
- Corners: Created by working multiple double crochet stitches into the same stitch or chain space.
- Boxes: Formed by alternating sections of double crochet stitches worked into chain spaces and on top of previous stitches.
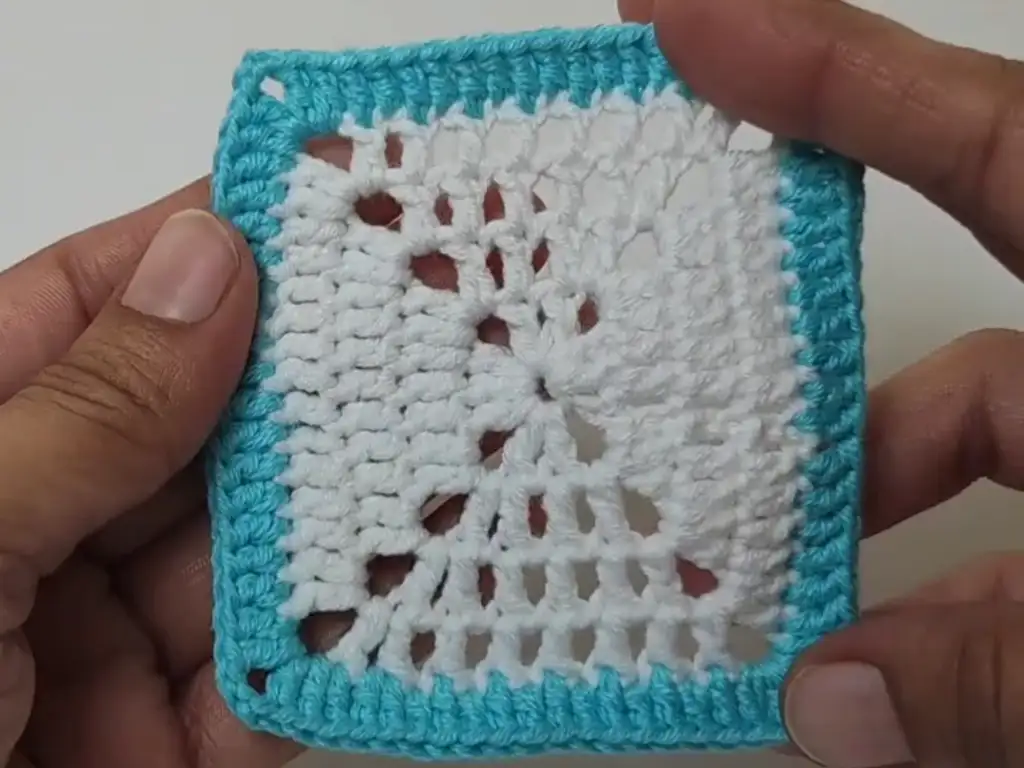
- Border: A final round in a contrasting color outlines the square and provides a finished look.
Step by Step Guide to Crochet Square Motifs
Creating the Magic Ring: Foundation for Granny Squares
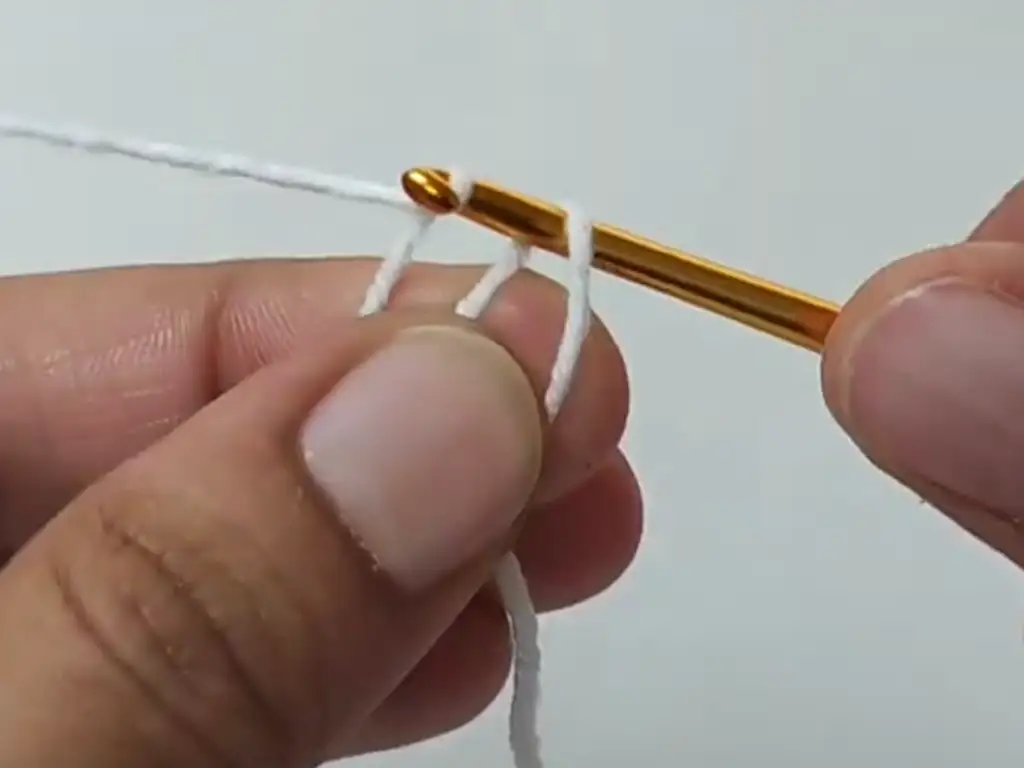
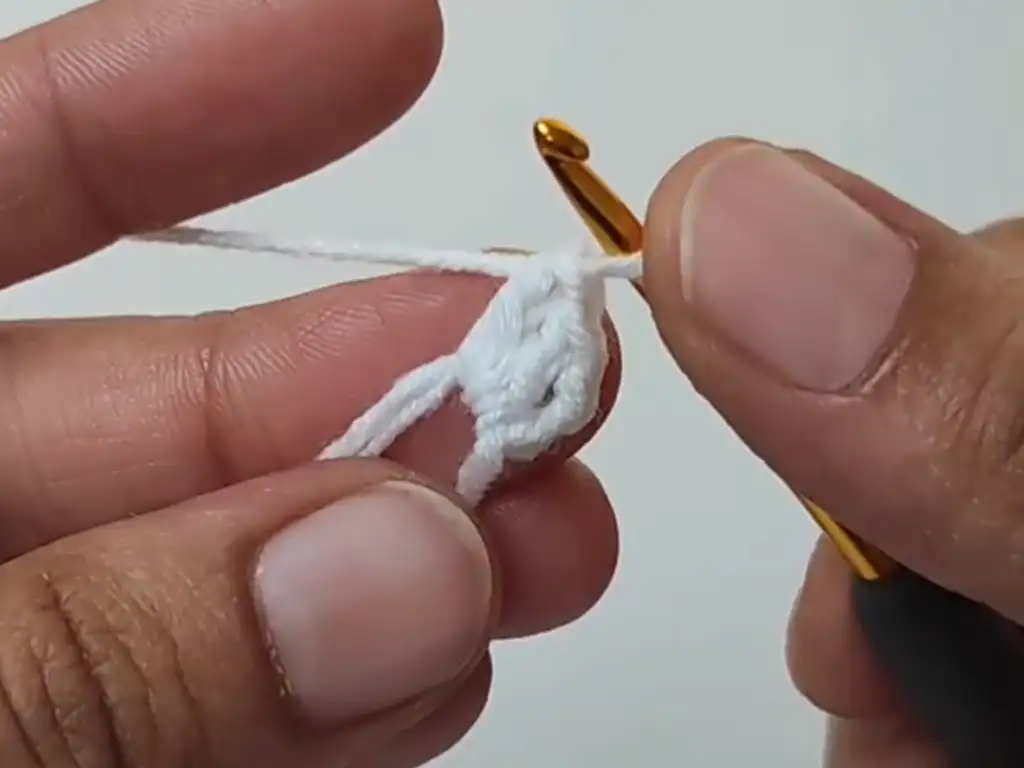
To start your granny square, make a magic ring. This adjustable loop allows you to crochet the first round without leaving a hole in the center, ensuring a neat and tidy finish.
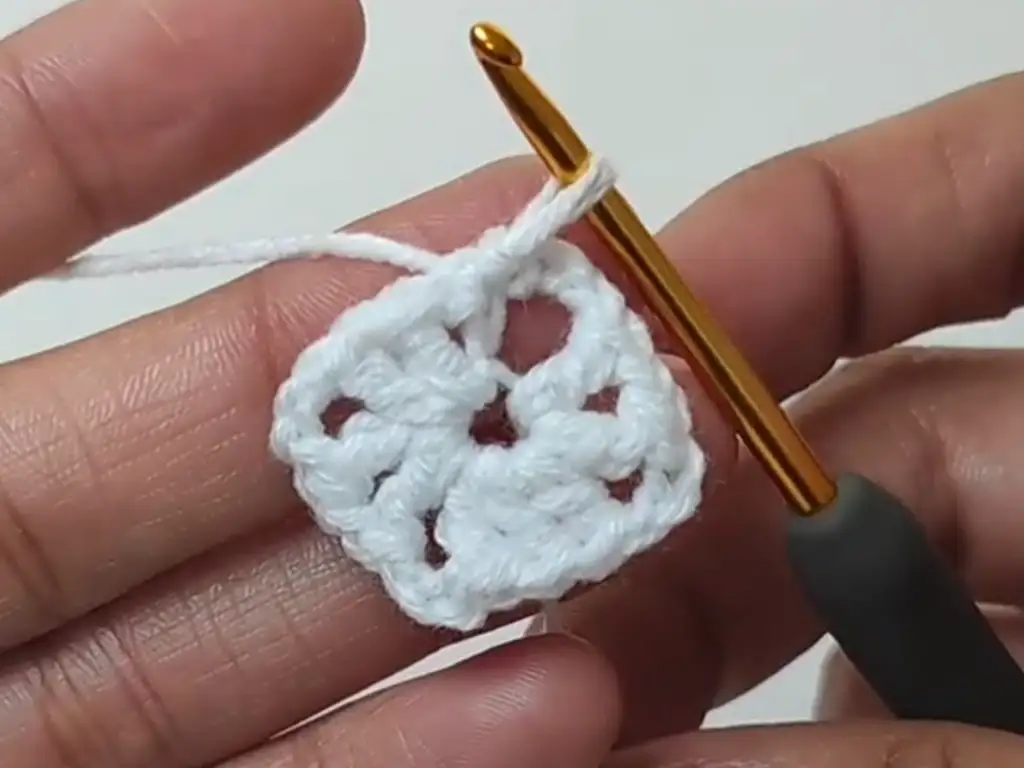
Detailed Instructions for Row 1 of the Granny Square Motif
- Make a magic ring.
- Chain 3 (counts as the first double crochet).
- Crochet 2 double crochets into the ring.
- Chain 3.
- Crochet 3 double crochets into the ring.
- Chain 1.
- Crochet 1 double crochet into the ring.
- Chain 3.
- Crochet 3 double crochets into the ring.
- Chain 3.
- Slip stitch into the top of the first chain 3.
Row-by-Row Breakdown of the Crochet Square Pattern
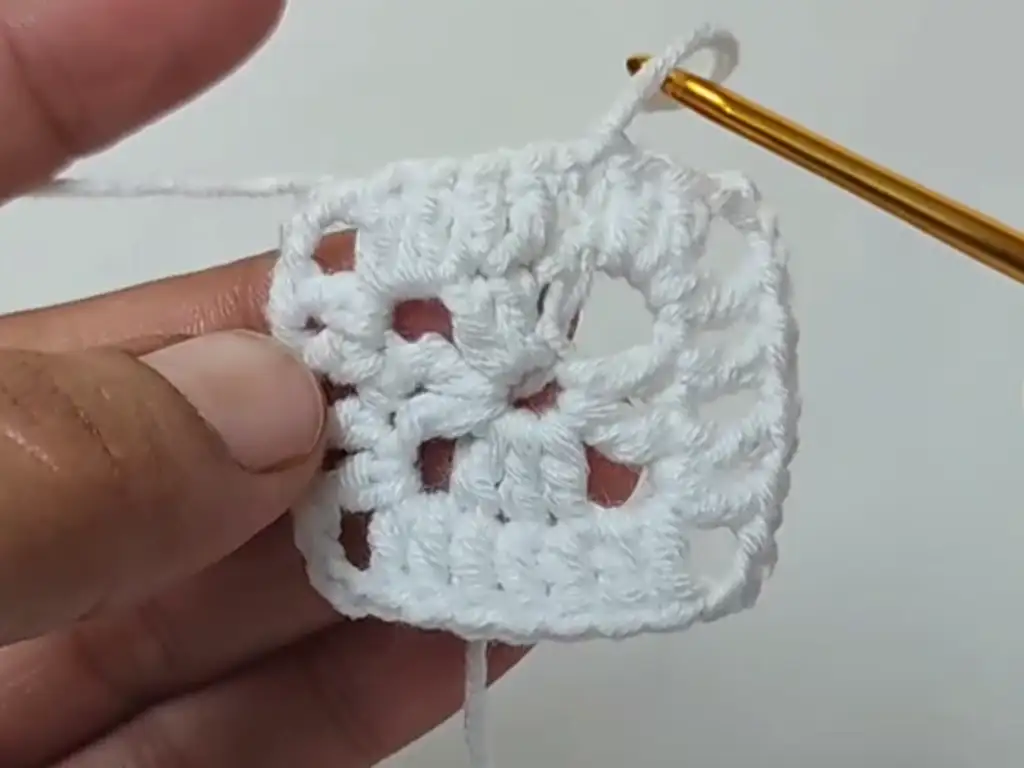
Row 2:
- Chain 3.
- Crochet 2 double crochets next to each other.
- Crochet 2 double crochets into each 3-chain space.
- Chain 3.
- Crochet 1 double crochet into the same space.
- Chain 1.
- Crochet 1 double crochet into the top of the bottom crochet.
- Repeat the process for each side.
- Slip stitch into the top of the first chain.
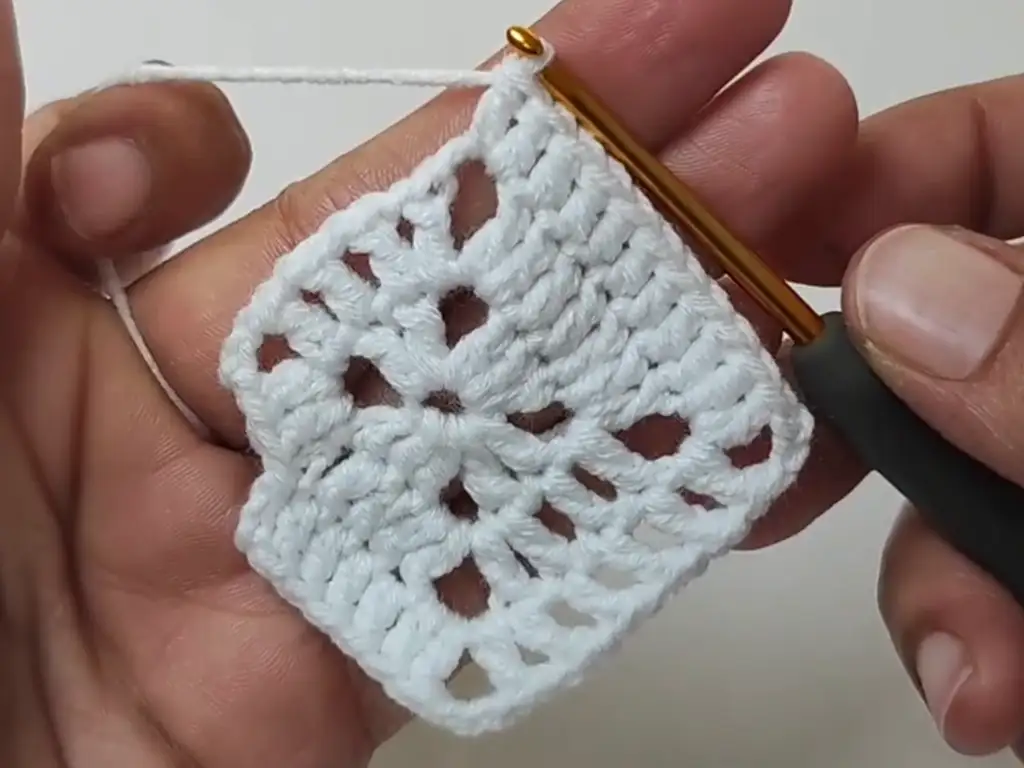
Round 3:
- Chain 3.
- Starting from the top of the next crochet, make double crochets side by side up to the 3-chain space.
- Chain 3.
- Double crochet into the same space.
- Chain 1.
- Double crochet into the top of the bottom crochet.
- Continue this pattern for the entire row.
- Slip stitch into the top of the first chain.
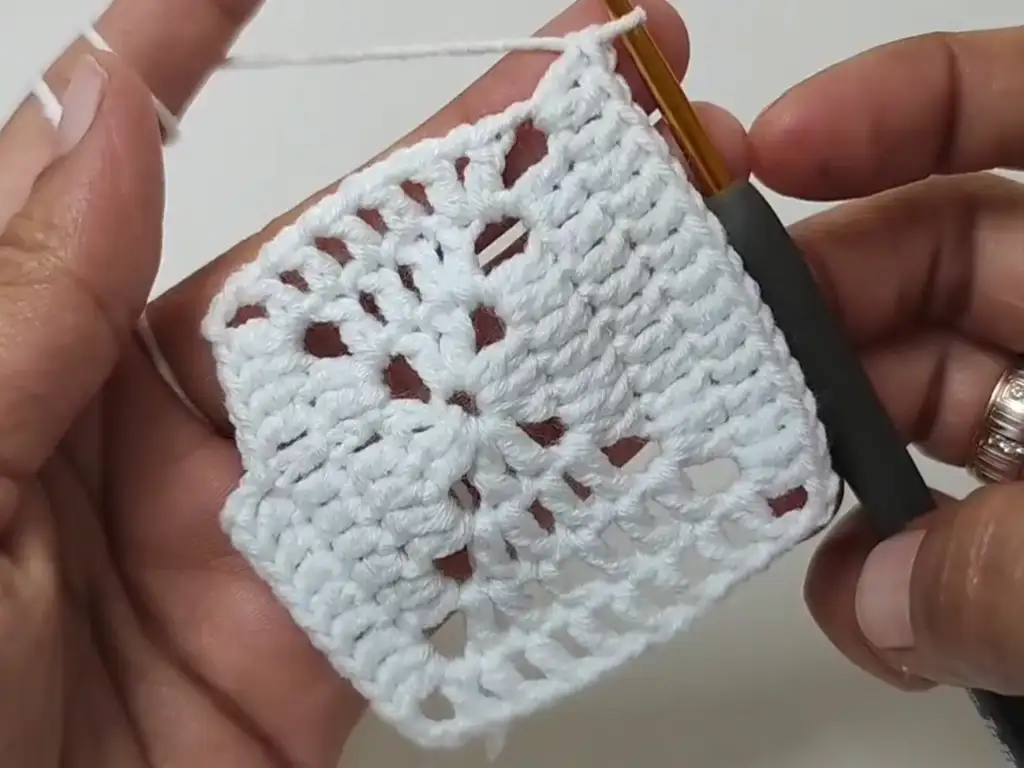
Row 4 and Beyond:
- Chain 3.
- Make double crochets side by side up to the corner.
- In each corner, crochet 2 double crochets, chain 3, and 2 double crochets.
- Continue crocheting double crochets into each stitch along the sides.
- At the end of the row, slip stitch into the top of the first chain.
- Change colors if desired and repeat the process for as many rows as you want.
Adding Color Variations to Your Granny Squares
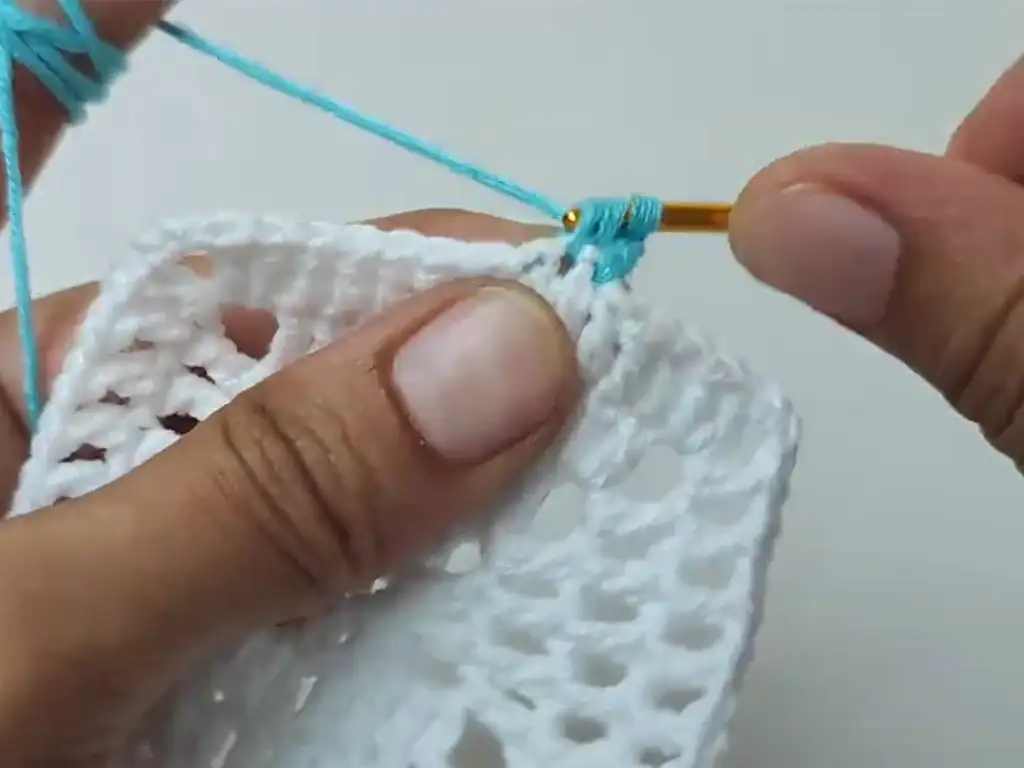
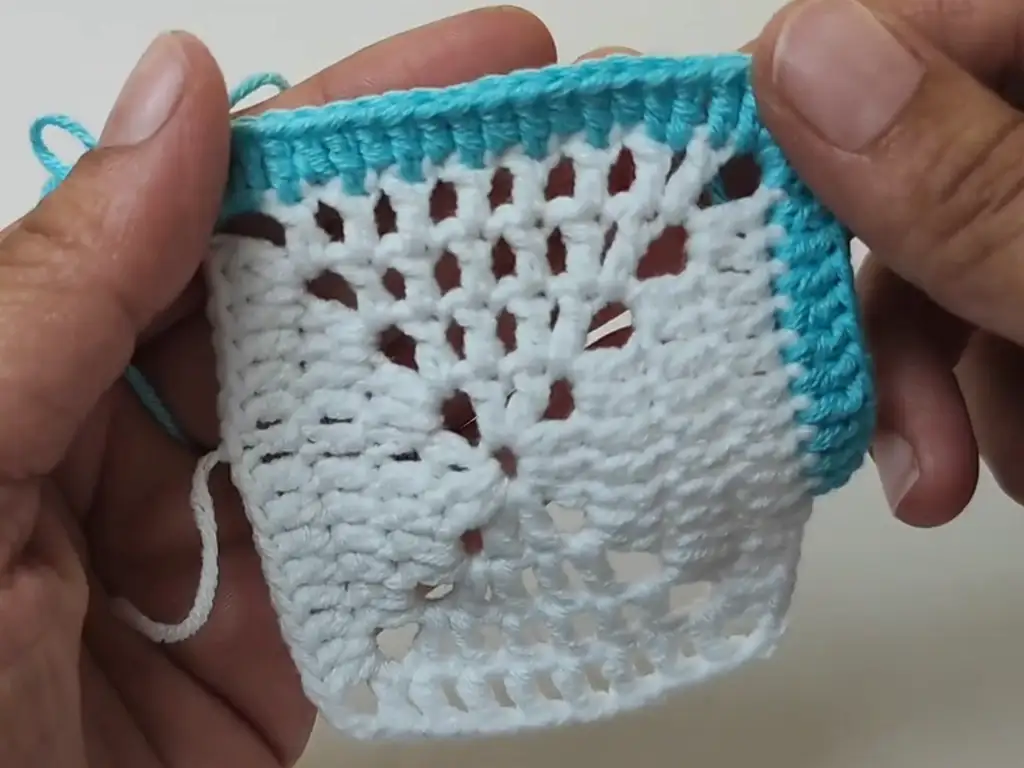
Now comes the fun part – adding color! After completing Row 4, you’ll change to your second color for a beautiful contrast.
Row 5: (Color Change)
- ch 3 (counts as dc), dc in the top of the next dc.
- Continue making dc in the top of each dc along the side of the square until you reach the ch-3 space (corner).
- 2 dc in the same ch-3 space.
- ch 3, 2 dc in the same ch-3 space.
- Continue making dc in the top of each dc along the side of the square until you reach the ch-3 space (corner).
- 2 dc in the same ch-3 space.
- ch 3, 2 dc in the same ch-3 space.
- Continue making dc in the top of each dc along the side of the square until you reach the next corner.
- Repeat the corner instructions (2 dc, ch 3, 2 dc).
- Continue making dc in the top of each dc along the side of the square until you reach the end of the row.
- sl st to the top of the first ch (join).
Practical Projects Using Granny Squares for Beginners
DIY Pillow: Assembling Your Granny Squares
Creating a pillow with your granny squares is a simple and rewarding project. Crochet several squares, depending on the size of your pillow. Seam them together using a slip stitch or whip stitch. Add a backing and stuff with a pillow insert for a charming, handmade pillow.
Crochet Coasters: Quick and Easy Granny Square Project
Granny square coasters are perfect for beginners and make delightful gifts. Simply crochet smaller squares and add a border for a neat finish. These coasters are practical and add a touch of handmade elegance to your table settings.
Crafting a Handmade Bag with Granny Square Motifs
For a stylish bag, crochet multiple granny squares and join them together to form the front and back panels. Add a lining and handles, and you have a trendy, functional bag perfect for any occasion.
How to Make a Cozy Blanket Using Granny Squares for Beginners
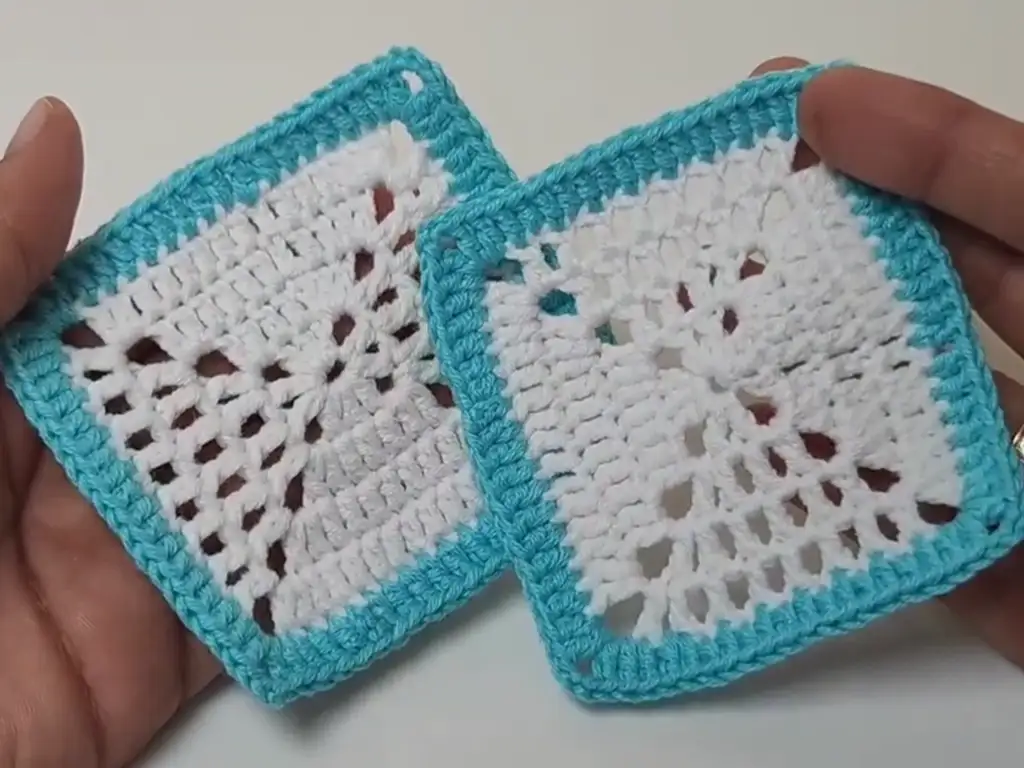
To create a cozy blanket, make as many granny squares as needed for your desired size. Join them together using your preferred method and add a border to complete the blanket. This project is perfect for showcasing different colors and patterns.
Tips and Tricks for Perfecting Granny Squares
Common Mistakes to Avoid When Crocheting Granny Squares
Beginners often encounter a few common issues, such as inconsistent tension and uneven edges. To avoid these, ensure your stitches are uniform and count your stitches regularly to maintain the correct shape.
Sizing Tips: Adjusting Your Granny Squares for Different Projects
Adjusting the size of your granny squares is simple. Use a larger hook or thicker yarn for bigger squares, and a smaller hook or thinner yarn for smaller ones. This flexibility allows you to customize your squares for various projects.
How to Join Granny Squares for Seamless Projects
Joining granny squares can be done in several ways, including slip stitch, whip stitch, and the join-as-you-go method. Each method offers a different finish, so choose the one that best suits your project.
Exploring Creative Ideas with Granny Squares for Beginners
Innovative Ways to Use Granny Squares in Home Decor
Granny squares are versatile and can be used in various home decor projects. Think beyond blankets and pillows; consider making curtains, table runners, or wall hangings to add a touch of handmade charm to your space.
Personalizing Your Granny Squares with Unique Patterns
Experiment with different stitches, colors, and patterns to personalize your granny squares. Adding a flower center or using different yarns can create unique and eye-catching designs.
Transforming Basic Granny Squares into Stylish Accessories
Granny squares can be transformed into fashionable accessories like scarves, hats, and even jewelry. The possibilities are endless, and the only limit is your imagination.
Conclusion
Crocheting granny squares is a delightful and rewarding hobby that offers endless possibilities for creativity. Whether you’re a beginner or an experienced crocheter, mastering the granny square pattern opens up a world of crafting opportunities. Share your projects on Instagram @TubaCrochet, TikTok @TubaCrochet, and Facebook TubaCrochet. Don’t forget to watch the video tutorial by @TubaCrochet on YouTube here for more detailed instructions. We’d love to see your creations and hear your feedback!
Other Crochet Projects You’ll Love
Now that you’ve mastered the art of granny squares, you might be eager to explore other crochet projects. Here are a few ideas to spark your creativity:
- Crochet Blanket Patterns
- Crochet scarf patterns
- Crochet hat patterns
- Crochet bag patterns
- Crochet Flowers
- Crochet Amigurumi

