
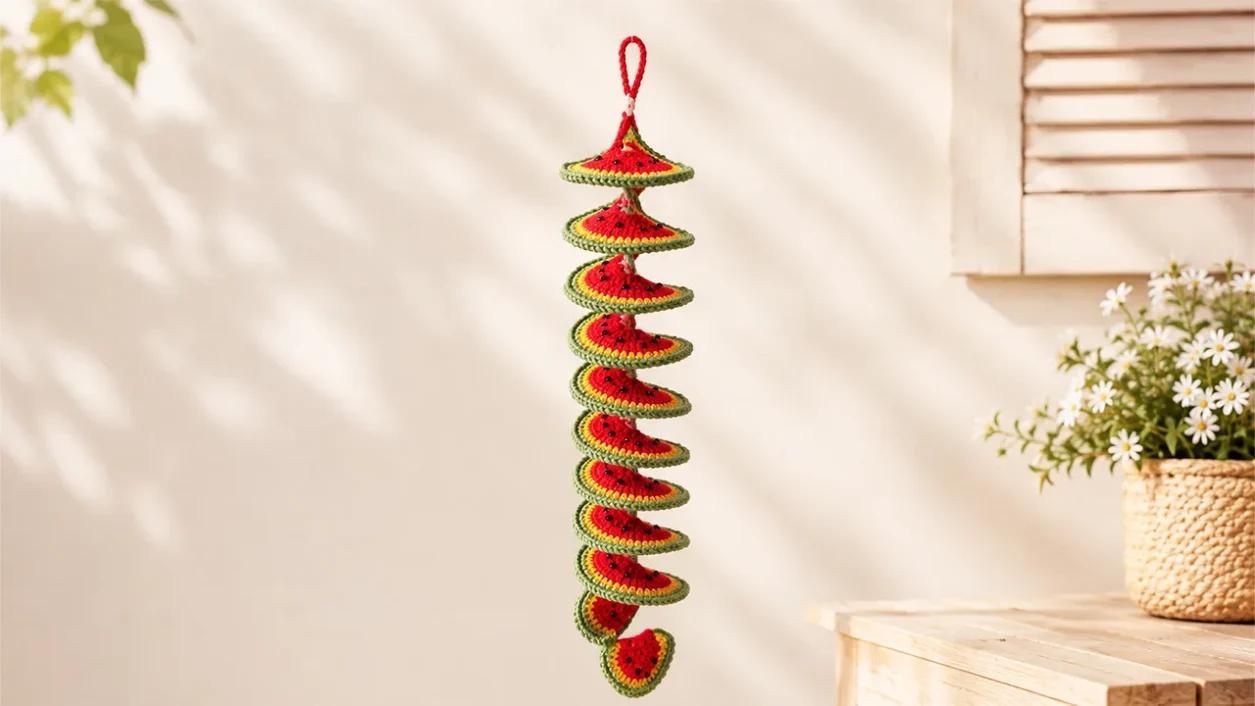
This crochet watermelon wind spinner turns simple rows of colorful crochet into an eye-catching spiral decoration for your garden or balcony. The watermelon-inspired color sequence, black seed details, and small bottom charm give the finished spinner a cheerful summer look.
The pattern is worked in separate rows using basic US crochet stitches. First, you’ll make a long foundation chain. Then, repeated increases will create the fullness needed for the spiral. Once the crochet section is finished, you’ll add the decorative edging, watermelon seeds, hanging loop, and bottom charm before shaping the piece into an even curl.
You can follow the complete written pattern below or work along with the step-by-step video tutorial.
If you enjoy spiral crochet decor, you may also like this easy crochet wind spinner pattern for beginners, which turns simple crochet rows into a colorful 3D hanging decoration.
Watch the Crochet Watermelon Wind Spinner Video Tutorial
Download the Printable Crochet Watermelon Wind Spinner Pattern
Crochet Watermelon Wind Spinner Pattern at a Glance
Skill level: Beginner-friendly
Terminology: US crochet terms
Construction: Worked in separate rows
Crochet hook: 2.5 mm
Yarn used: Cotton yarn in pink, red, yellow, and green
Foundation chain length: Approximately 14–16 inches (35–40 cm)
Foundation chain used in the tutorial: 80 chains
Main techniques: Basic stitches, repeated increases, color changes, decorative edging, and spiral shaping
The size is easy to adjust because the project begins with a foundation chain in your preferred length. Make fewer chains for a shorter spinner or add more chains for a longer one.
Materials for the Crochet Watermelon Wind Spinner
You will need:
- Cotton yarn in pink, red, yellow, and green
- 2.5 mm crochet hook
- Black thread for embroidered seeds or small black beads
- Glue if you are using beads
- A small decoration or crochet charm for the bottom
- Scissors
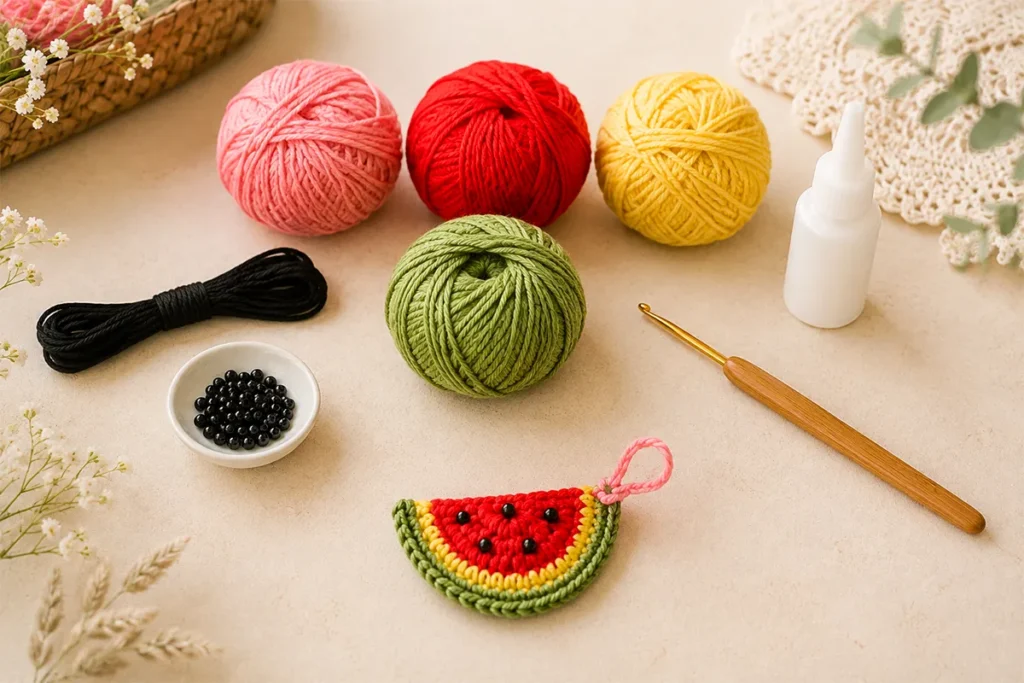
The tutorial uses both round black beads and elongated, seed-shaped beads as examples. Alternatively, you can embroider the seeds with black thread.
US Crochet Abbreviations
- ch — chain
- sl st — slip stitch
- sc — single crochet
- hdc — half double crochet
- dc — double crochet
- st / sts — stitch / stitches
- rep — repeat
Crochet Watermelon Wind Spinner Color Order
Follow this sequence to create the watermelon-inspired layers:
- Row 1: Pink
- Rows 2–3: Red
- Row 4: Yellow
- Row 5: Green
- Decorative edging: Green
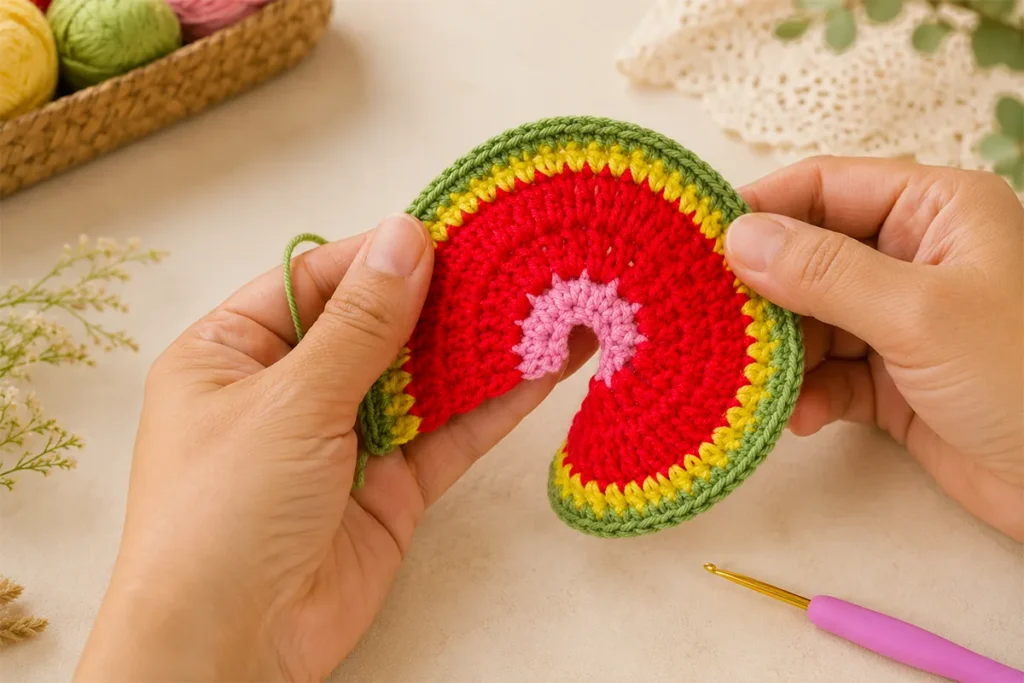
The yellow row sits between the red and green layers.
Before You Start the Crochet Wind Spinner Pattern
This project is worked in separate rows rather than turning the work after each row.
After completing a row, chain one, cut the yarn, and return to the beginning edge. Then, join the next color and begin the following row from the same side.
The tutorial does not provide final stitch totals for each row. Therefore, continue each stated repeat across the entire row instead of relying on a fixed stitch count.
Free Crochet Watermelon Wind Spinner Pattern
Foundation Chain
Using pink yarn, make a foundation chain in your preferred length.
For the size shown in the tutorial, make the chain approximately 14–16 inches (35–40 cm) long. The sample begins with 80 chains.
Row 1 — Pink
Work 1 hdc in the third ch.
Next, work 1 hdc in the next ch, followed by 2 hdc in the following ch.
Continue across the foundation chain by repeating:
1 hdc in the next ch, then 2 hdc in the following ch.
Depending on where the repeat ends, you may finish with either 1 hdc or 2 hdc in the final chain. Either ending is fine.
Once you reach the end, ch 1, cut the yarn, and return to the beginning of the row.
Row 2 — Red
Join the red yarn in the first st and ch 3.
Work 1 dc in the same st. Then, work:
2 dc in every st across.
At the end of the row, ch 1, cut the yarn, and return to the beginning.
Row 3 — Red
Join the red yarn at the beginning ch-3 and work 1 dc in the same st.
Repeat the previous row by working:
2 dc in every st across.
Once you reach the end, ch 1, cut the yarn, and return to the beginning of the row.
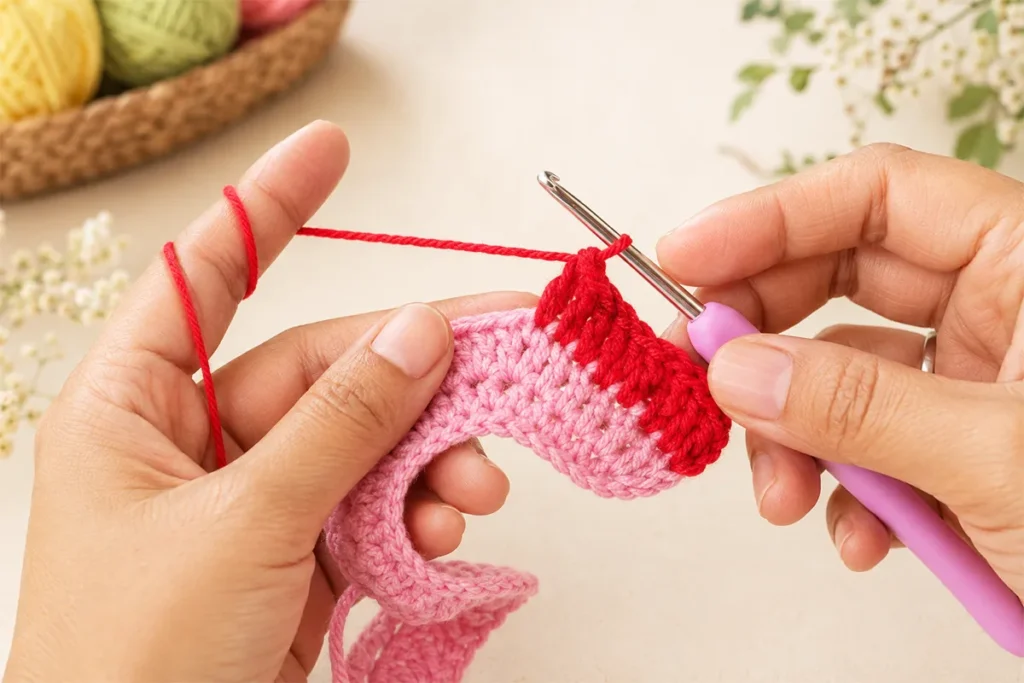
Row 4 — Yellow
Join the yellow yarn in the beginning ch-2.
Work:
1 hdc in every st across.
At the end, ch 1, cut the yarn, and return to the beginning of the row.
Row 5 — Green
Join the green yarn in the first st and ch 1.
Continue across the row by repeating:
2 sc in one st, then 1 sc in the next st.
At the end, ch 1 and cut the yarn.
Afterward, return to the beginning and rejoin the green yarn for the decorative edging.
Decorative Green Edging
Join the green yarn in the first st and ch 1.
Continue across the row by repeating:
Ch 1, then sl st in the next st.
Repeat this sequence to the end of the row. Then, work a sl st in the final st.
Finally, ch 1, cut the yarn, and weave the end into the back of the work.
How to Add Seeds to the Crochet Watermelon Wind Spinner
Once the crochet rows and edging are complete, add the black watermelon seeds.
You can either:
- Embroider the seeds with black thread
- Attach small round black beads with glue
- Use elongated, seed-shaped black beads
Glued beads help keep the back of the crochet piece looking cleaner.
Attach the black beads at even intervals.
How to Make a Hanging Loop for the Crochet Watermelon Wind Spinner
Attach pink yarn to make the hanging loop.
Ch 25.
Next, work a sl st into chains 13 and 14 to form the loop.
Then, ch 1, cut the yarn, and weave in the end.
Add the Bottom Watermelon Decoration
You can attach any small decoration you like to the bottom of the wind spinner.
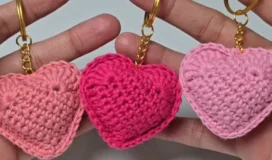
The sample uses a small crochet watermelon slice from this crochet watermelon keychain tutorial
Attach the watermelon slice to the bottom of the finished crochet piece.
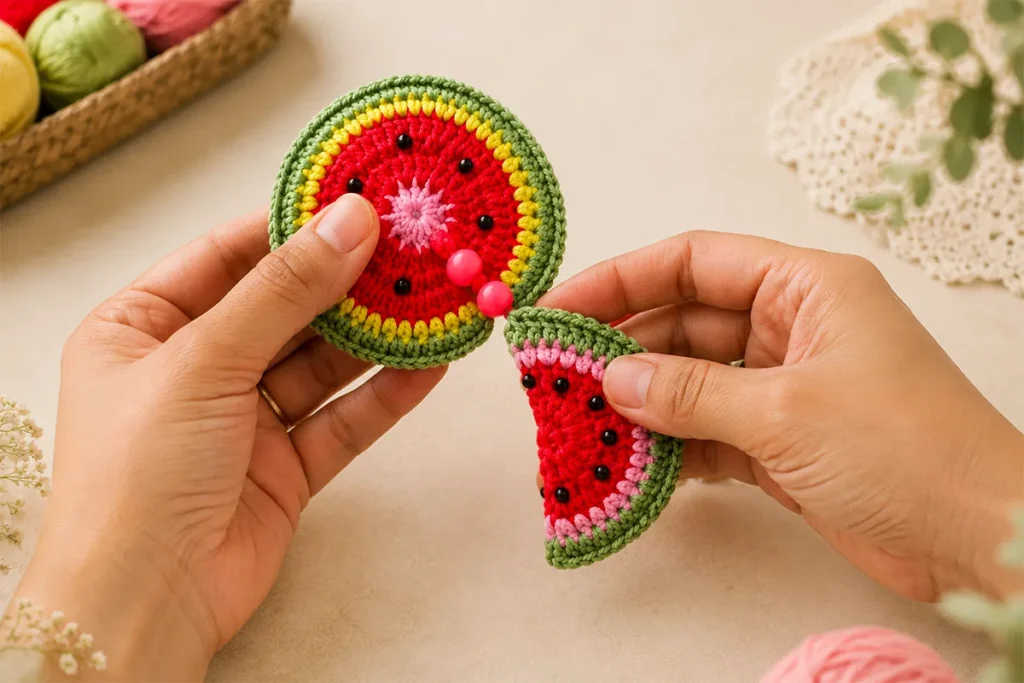
How to Shape the Crochet Watermelon Wind Spinner
The final spiral is shaped after all the crochet work is complete.
Start at the hanging loop and gently twist the crochet piece until the spiral opens evenly.
Then, adjust the piece into an even spiral.
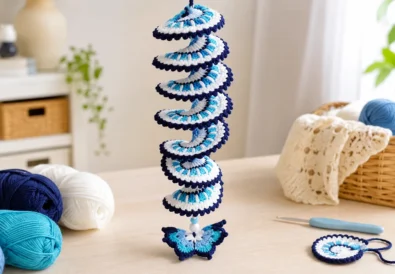
For another themed spiral decoration, take a look at this easy crochet wind spinner with butterfly pattern. It combines a blue and white crochet spiral with beads and a small butterfly decoration.
Crochet Watermelon Wind Spinner Video Tutorial
The video tutorial shows each row, color change, increase sequence, decorative edge, hanging loop, and final shaping step.
Watching the video alongside the written pattern can be especially helpful when you reach the hanging loop and spiral-shaping sections.
Watch the Full Watermelon Wind Spinner Tutorial on YouTube
For more beginner-friendly crochet projects, subscribe to the Crochet Craftsman YouTube channel.
Download the Crochet Watermelon Wind Spinner Pattern
A printable PDF version of the pattern is available below. You can save it to your device or print it for easier reference while you crochet.
Download the Easy Crochet Watermelon Wind Spinner PDF Pattern
Frequently Asked Questions About the Crochet Watermelon Wind Spinner
Is This Crochet Watermelon Wind Spinner Suitable for Beginners?
Yes. The pattern uses basic US crochet stitches, including chains, slip stitches, single crochet, half double crochet, and double crochet. In addition, the rows follow simple and repeated increase sequences.
What yarn and crochet hook do I need?
The tutorial uses cotton yarn in pink, red, yellow, and green, along with a 2.5 mm crochet hook. You will also need black thread or black beads for the watermelon seeds, plus an optional decoration for the bottom.
How long should the foundation chain be?
Make the foundation chain approximately 14–16 inches (35–40 cm) long. The sample shown in the tutorial begins with 80 chains.
Can I make the wind spinner shorter or longer?
Yes. Begin with a shorter or longer foundation chain depending on the size you want. Then, follow the same stitch repeats across each row.
What if the Row 1 repeat does not end evenly?
Depending on the length of your foundation chain, Row 1 may end with either 1 hdc or 2 hdc in the final chain. Either ending is fine.
Why does the crochet piece begin to curl?
The pattern uses repeated increases throughout the rows. These increases add fullness to the crochet fabric. After the crochet section is complete, the final spiral is formed by twisting the piece gently from the hanging loop until it opens evenly.
What is the correct color order?
Use pink for Row 1, red for Rows 2 and 3, yellow for Row 4, and green for Row 5. The decorative edging is also worked in green.
How can I add the watermelon seeds?
You can embroider the seeds or attach black beads with glue. Both small round beads and elongated, seed-shaped beads can be used. Space the beads at even intervals.
How do I make the hanging loop?
Attach pink yarn and chain 25. Next, slip stitch into chains 13 and 14 to form the loop. Then, chain one, cut the yarn, and weave in the end.
What can I attach to the bottom of the wind spinner?
You can add any small decoration you like. The sample uses a crochet watermelon slice from the watermelon keychain tutorial.
How do I shape the finished piece into a spiral?
Start at the hanging loop and gently twist the crochet piece until the spiral opens evenly. Then, adjust the piece into an even spiral.
Where Can I Hang a Crochet Watermelon Wind Spinner?
The finished crochet wind spinner can be used as colorful summer decor in a garden or on a balcony.
Final Thoughts on This Watermelon Crochet Project
This watermelon wind spinner is a simple way to turn basic crochet stitches into a colorful three-dimensional decoration. The repeated increases create the curved structure, while the pink, red, yellow, and green rows give the finished piece its watermelon look.
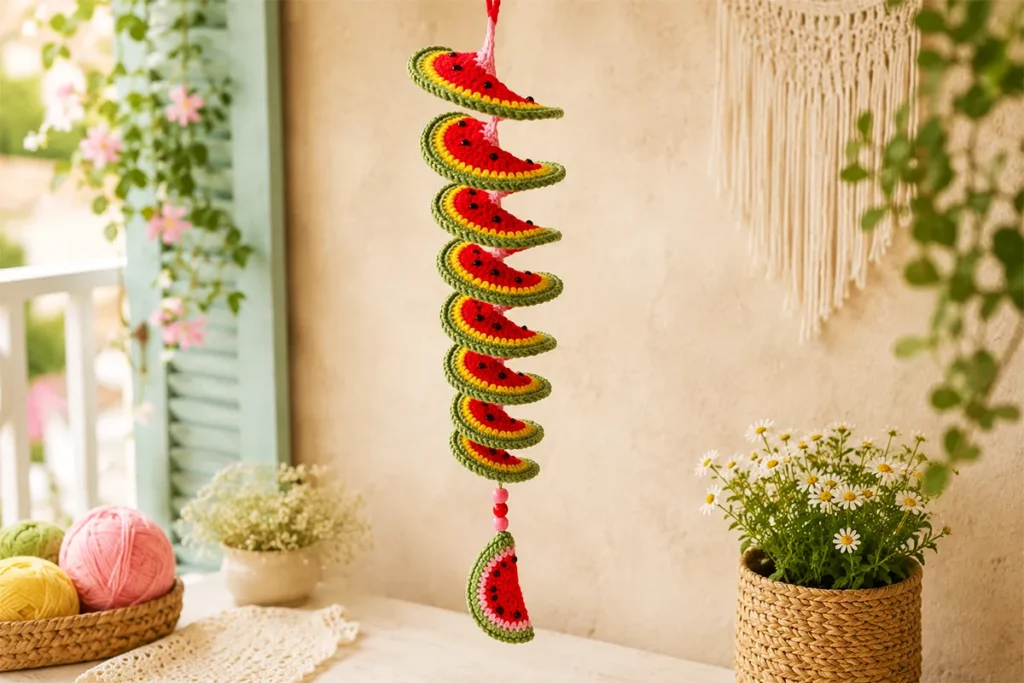
You can finish the design with embroidered seeds or beads, then add a watermelon slice or another small decoration to the bottom. Once the piece is twisted into shape, it becomes a bright handmade decoration for summer.
You can also explore this easy crochet wind spinner tutorial for scrap yarn decor for another colorful spiral design using small amounts of leftover yarn.
Save the printable pattern, follow the video tutorial, and let me know which charm you chose for the bottom of your spinner.
What charm would you add to your wind spinner? Share your idea in the comments.
Stay Connected with Crochet Craftsman
Find more crochet tutorials, written patterns, and project ideas here: