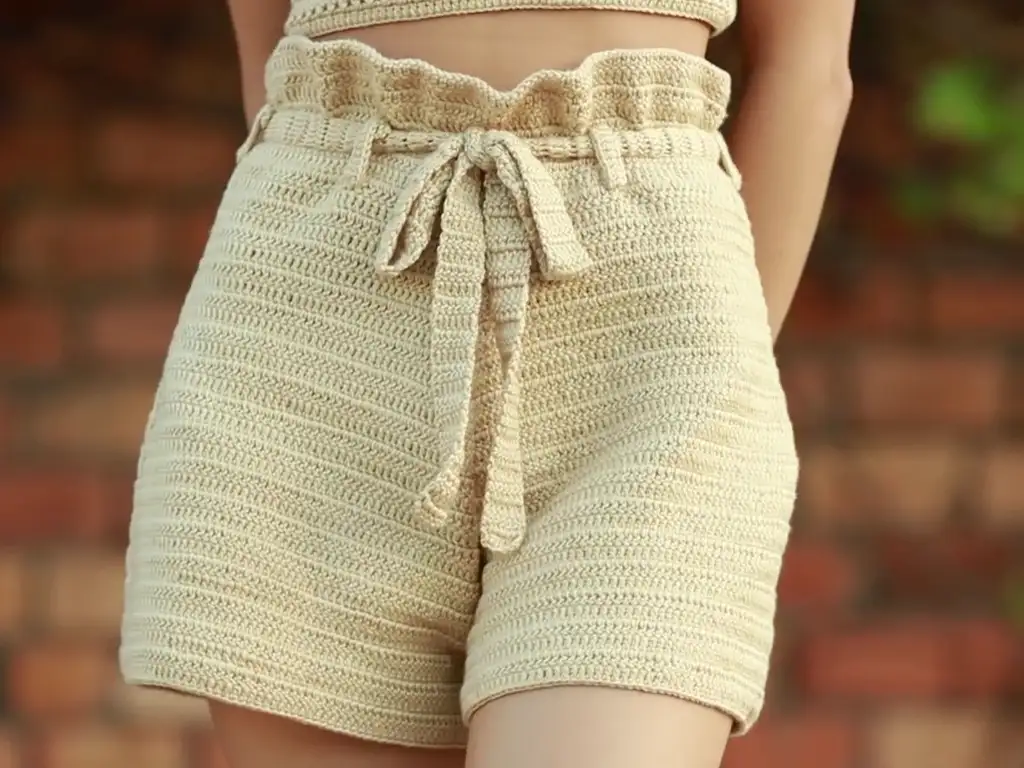
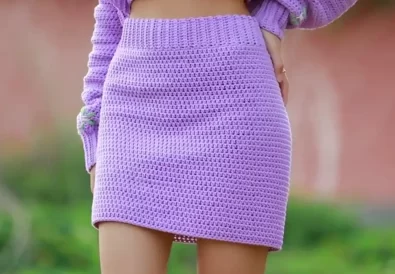
Crochet is a fantastic way to create your own unique wardrobe pieces, and crochet paper bag shorts are a stylish yet comfortable project that even beginners can master. Their breezy design and flattering high waist make them the perfect summer staple. Whether you’re heading to the beach or just relaxing at home, these shorts will become your new favorite.
This tutorial, drawing inspiration from the wonderful Chenda DIY on YouTube ([https://www.youtube.com/@chendadiy]), is designed with beginners in mind. Let’s dive into everything you need to get started!
Crochet Paper Bag Shorts: Why This Trend is Here to Stay
Paper bag style shorts have a relaxed, comfortable fit with a cinched waist that creates a flattering silhouette. Crochet takes this concept and adds a handcrafted, bohemian touch. These shorts are versatile – dress them up with a cute top and sandals or keep it casual with a tee and sneakers. Plus, you can customize the yarn and colors to reflect your unique style!
Gather Your Supplies: Essential Tools for Crochet Paper Bag Shorts
- Yarn: Mercerized cotton yarn is ideal for summer wear; it’s breathable and lightweight. Choose your favorite color and grab enough for the size you’re making.
- Crochet Hook: A 1.6 mm crochet hook is a good starting point, but you might need to adjust depending on your yarn and tension.
- Scissors
- Darning Needle
- Stitch Marker
- Measuring Tape
Mastering the Basics: Crochet Stitches for Paper Bag Shorts
If you’re a crochet newbie, fear not! The main techniques for these shorts are simple:
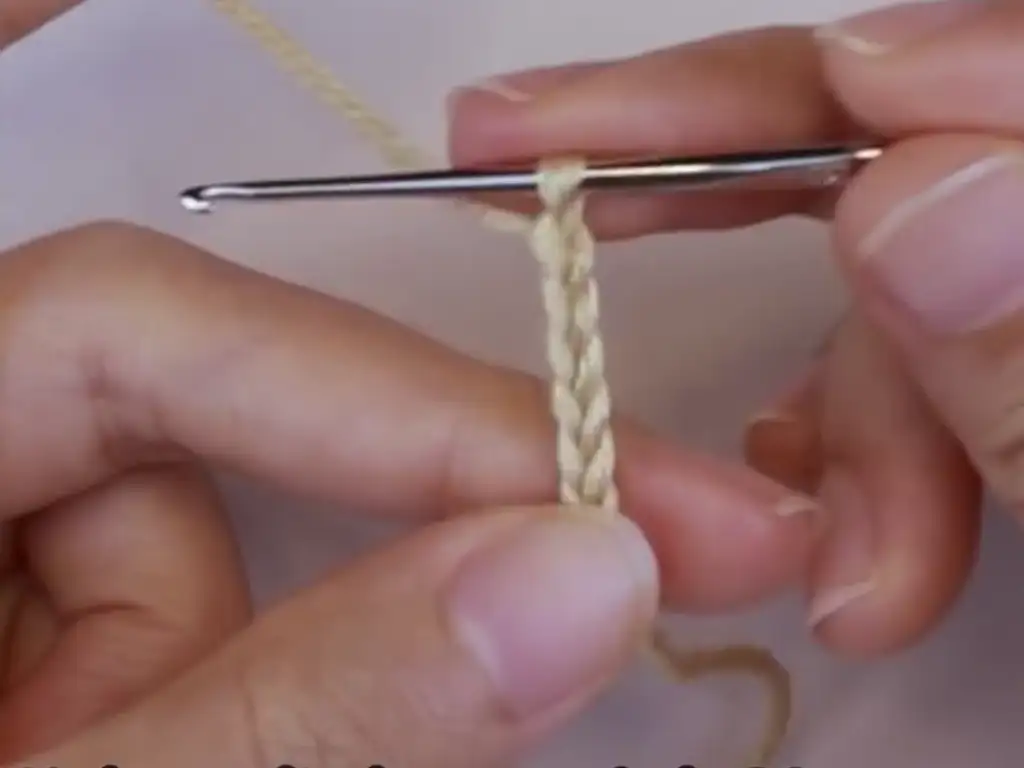
- Chain Stitch (ch): The foundation of many crochet projects.
- Double Crochet (dc): The primary stitch used throughout.
- Slip Stitch (sl st): For joining pieces and creating neat edges.
You can find many online tutorials for these stitches if you need a refresher.
Customizing Your Crochet Paper Bag Shorts: Fit, Style and Details
One of the best things about making your own clothes is the personalization! Here’s how to make these crochet shorts uniquely yours:
- Sizing: Taking basic measurements (waist, hips) will ensure the perfect fit. This tutorial includes instructions on how to customize the pattern.
- Details: Pockets, fun trims, or a different waist tie can all add your special touch.
Crochet Paper Bag Shorts Pattern: Step by Step Guide
Let’s break down the pattern into easy to follow steps. Remember, you can always check out Chenda DIY’s video tutorial ([https://www.youtube.com/watch?v=lW-a14dLm2o]) for extra visual guidance.
Waistband:
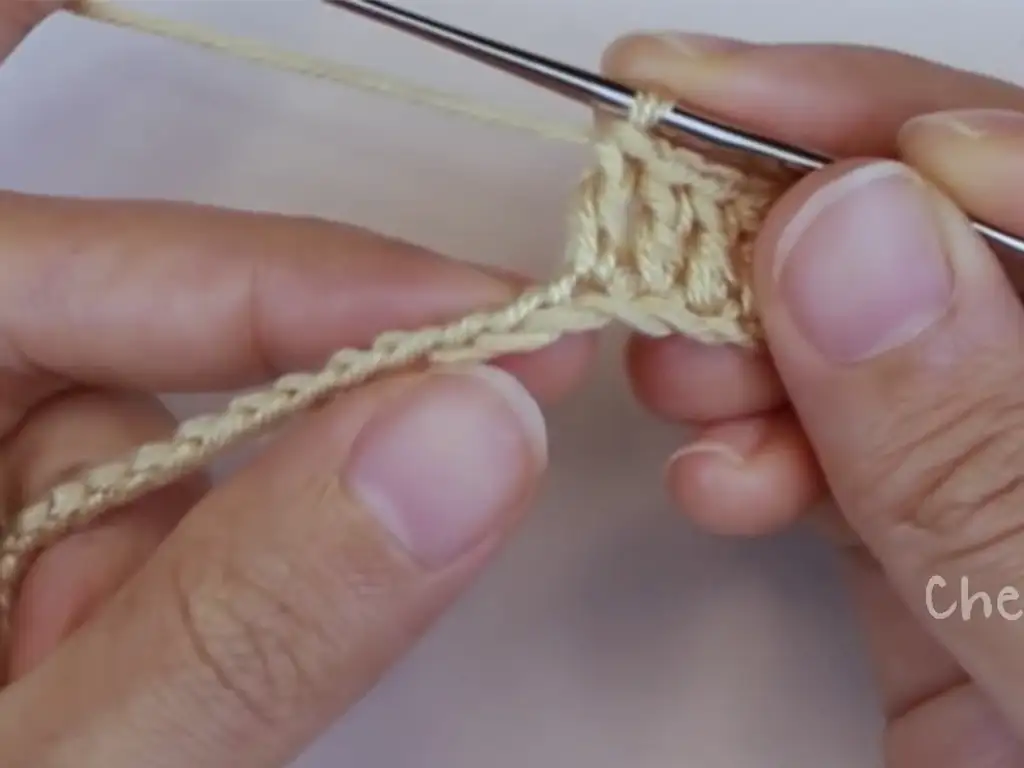
- Start Chain: Chain a length slightly longer than your waist circumference. The extra chain stitches will be used for joining at the end.
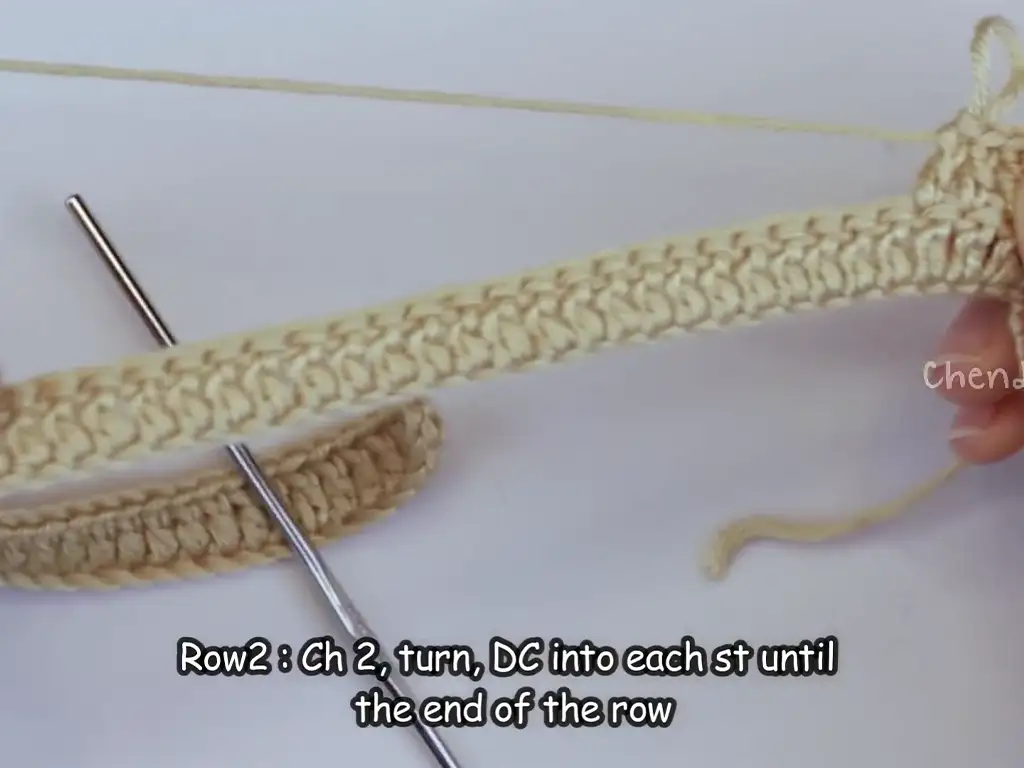
- Double Crochet Row: Turn your chain, skip the first chain, and double crochet in each remaining chain stitch.
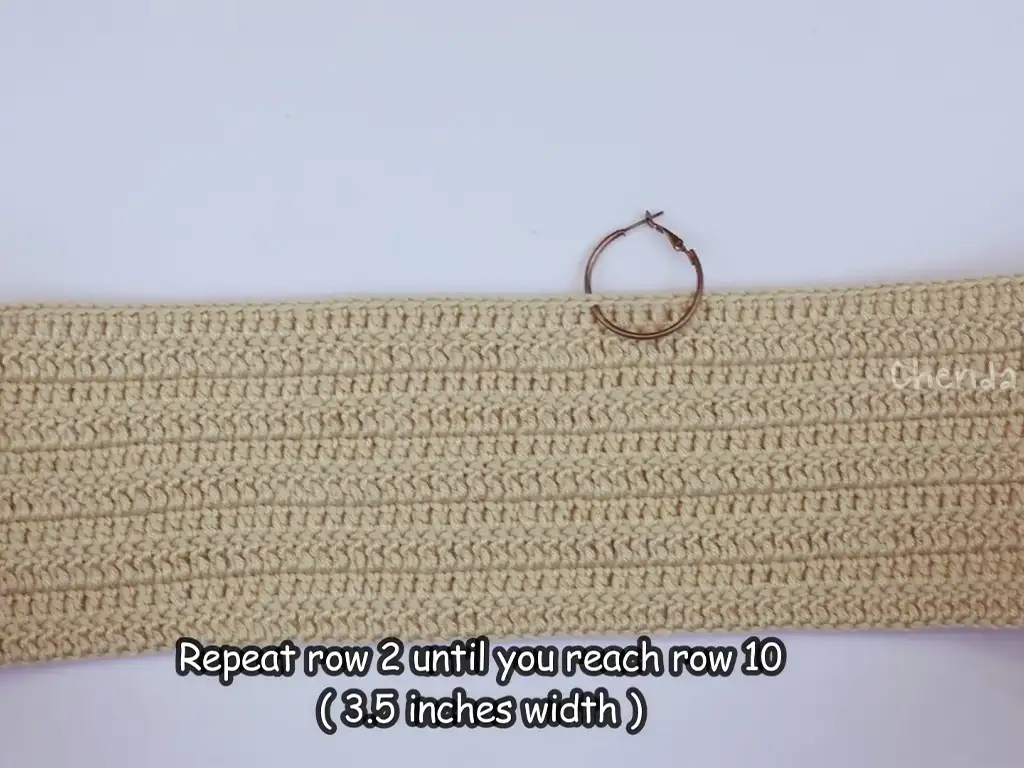
- Join and Repeat: Sl st in the top chain stitch from the beginning chain to create a loop. Repeat Row 2 for desired waistband height (typically 2-3 inches).
Legs:
- Turning Chain: Chain 2 (does not count as a stitch).
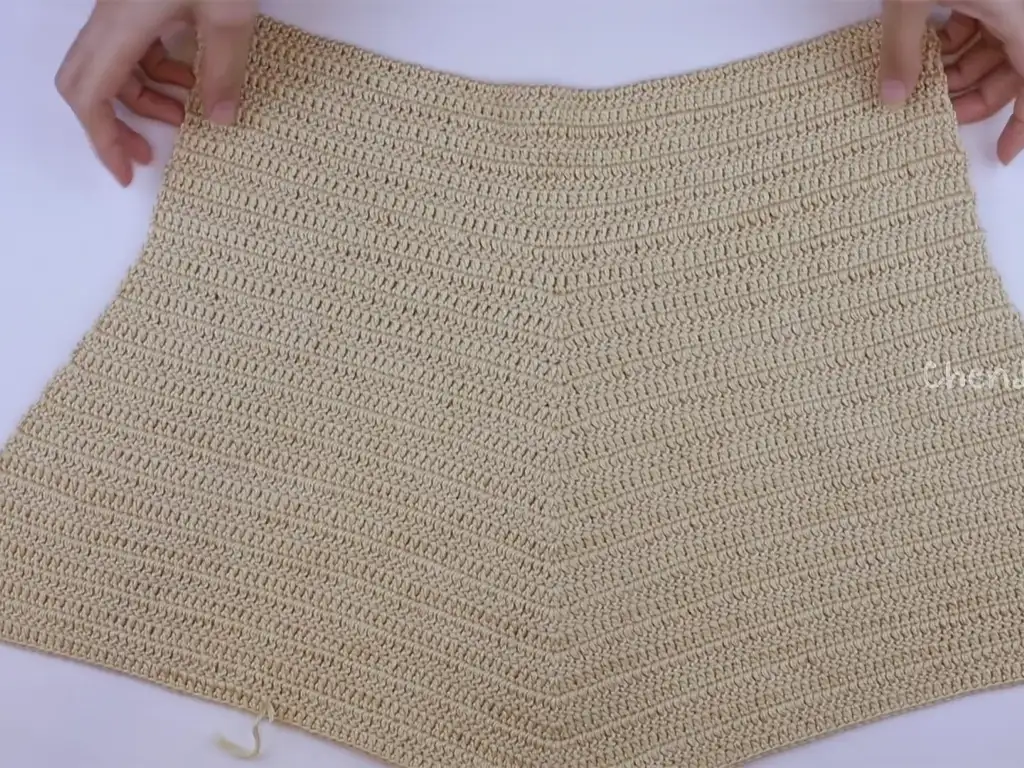
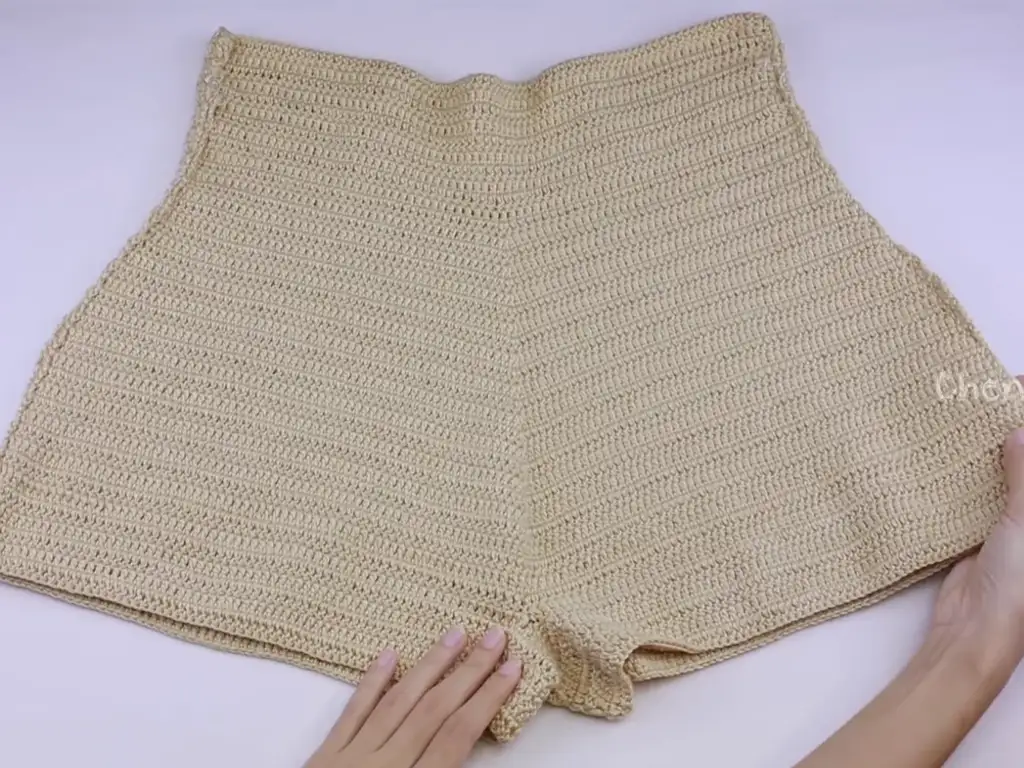
- Body of Leg: Work even rows in double crochet stitches. The number of stitches will depend on your desired leg width. Pay attention to video tutorial for stitch count recommendations based on size.
- Shaping the Hips (Increase Rows): After reaching a specific height (refer to video for guidance based on size), incorporate increase rows strategically to create a gentle curve for the hips. The video tutorial will demonstrate techniques for making increases (e.g., two double crochets in one stitch).
Joining and Shaping:
- Continue Leg Sections: Once both leg sections reach the desired length (typically mid-thigh), join them at the top using slip stitches or another joining method demonstrated in the video tutorial.
- Shaping the Waist (Decrease Rows): After joining the legs, work decrease rows (e.g., skipping stitches or working two stitches together) to gradually decrease the number of stitches until the waist circumference matches the waistband.
Belt Loops and Waist Tie:
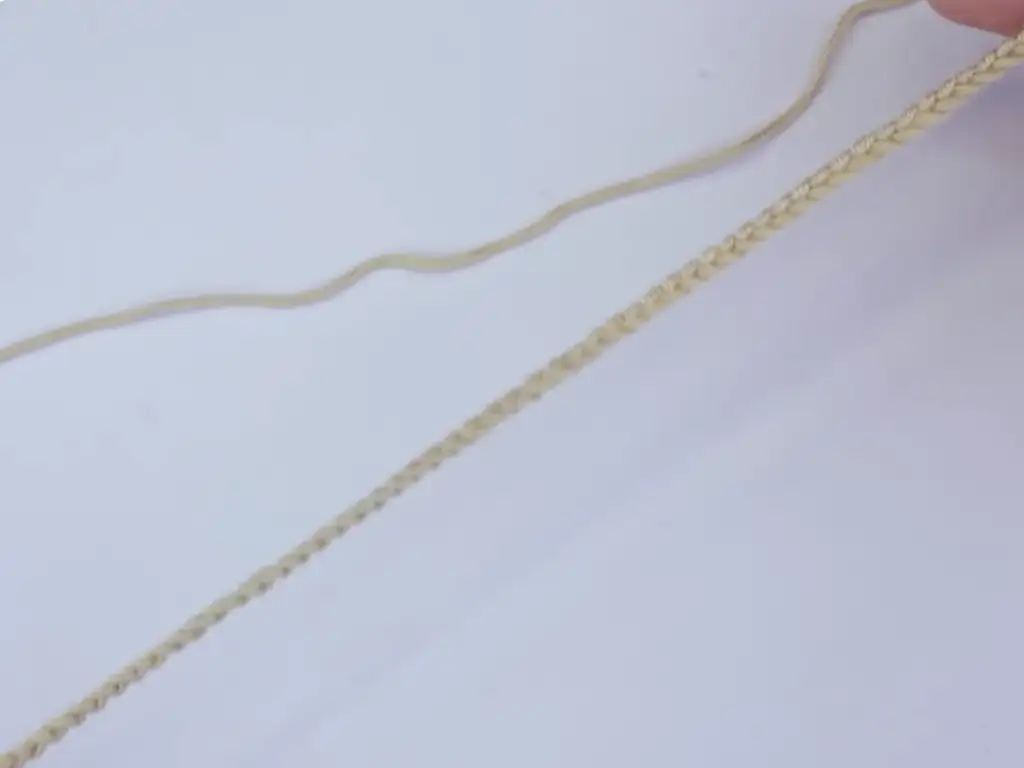
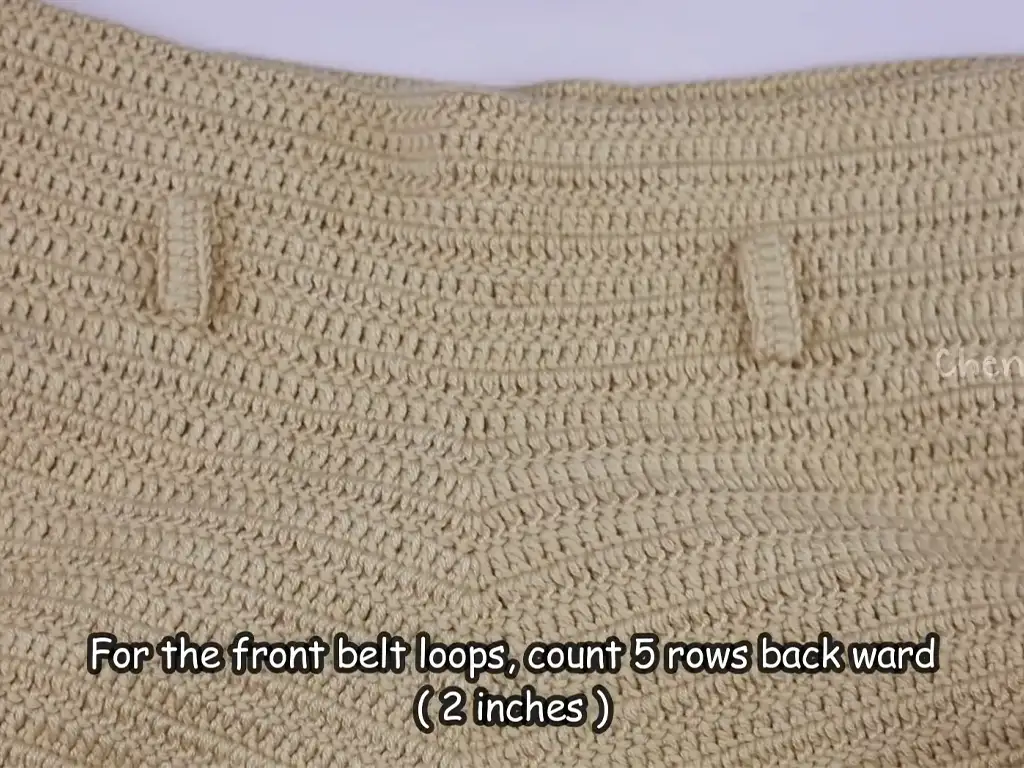
- Belt Loops: With a separate piece of yarn, create a chain long enough to comfortably fit a belt. Attach the chain securely to the back of the waistband using slip stitches. Repeat to create multiple belt loops as desired.
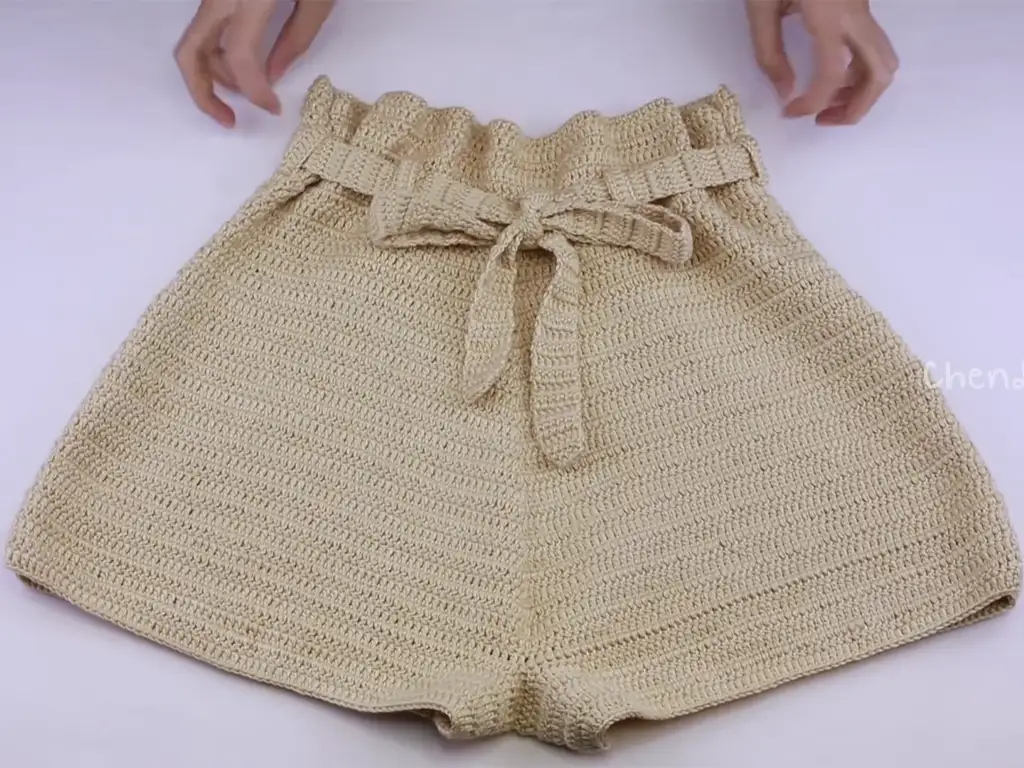
- Waist Tie: Create a long chain with a separate piece of yarn. Thread the chain through the belt loops and secure the ends with a knot or by weaving them into the waistband.
Finishing Touches: Blocking and Styling Your Crochet Paper Bag Shorts
Blocking your completed shorts will help even out the stitches and give them a polished look. Once dry, get creative with styling! A simple tank top or a flowy blouse are perfect pairings.
Customizing the Fit:
- Length: Adjust the number of rows worked in the leg section to achieve your desired length (shorter for shorts, longer for culottes).
- Waistband Height: The number of rows worked in the waistband will determine its height. More rows create a higher waist.
- Leg Width: The starting chain length and the number of stitches worked in each row in the leg section will affect the overall leg width.
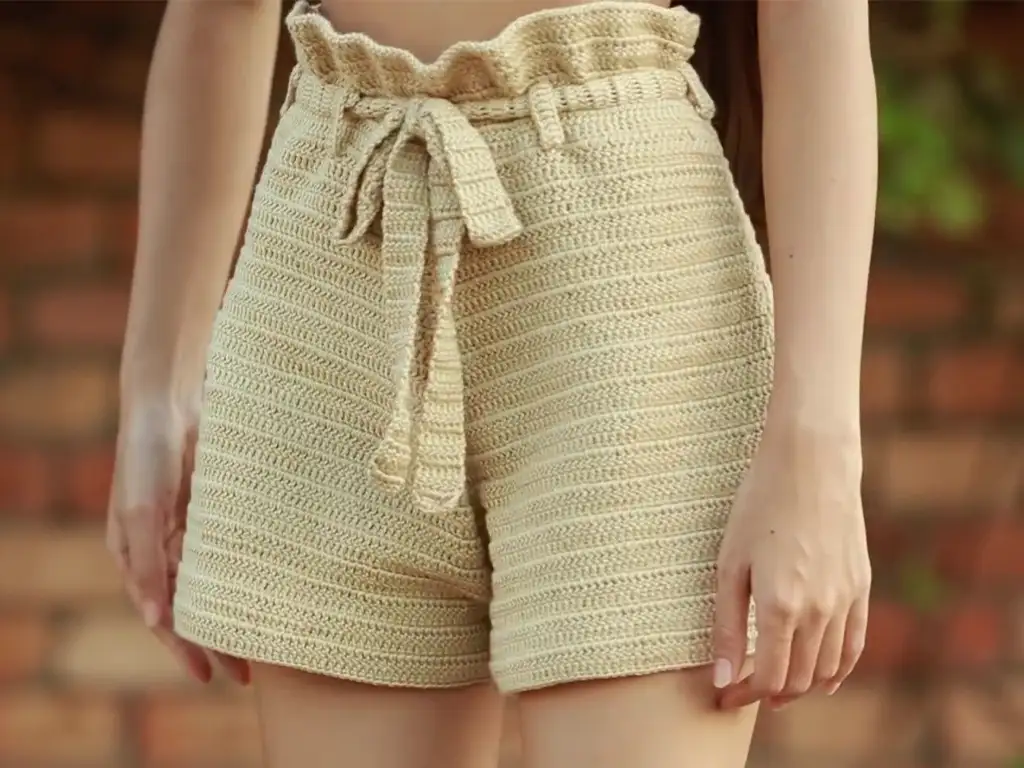
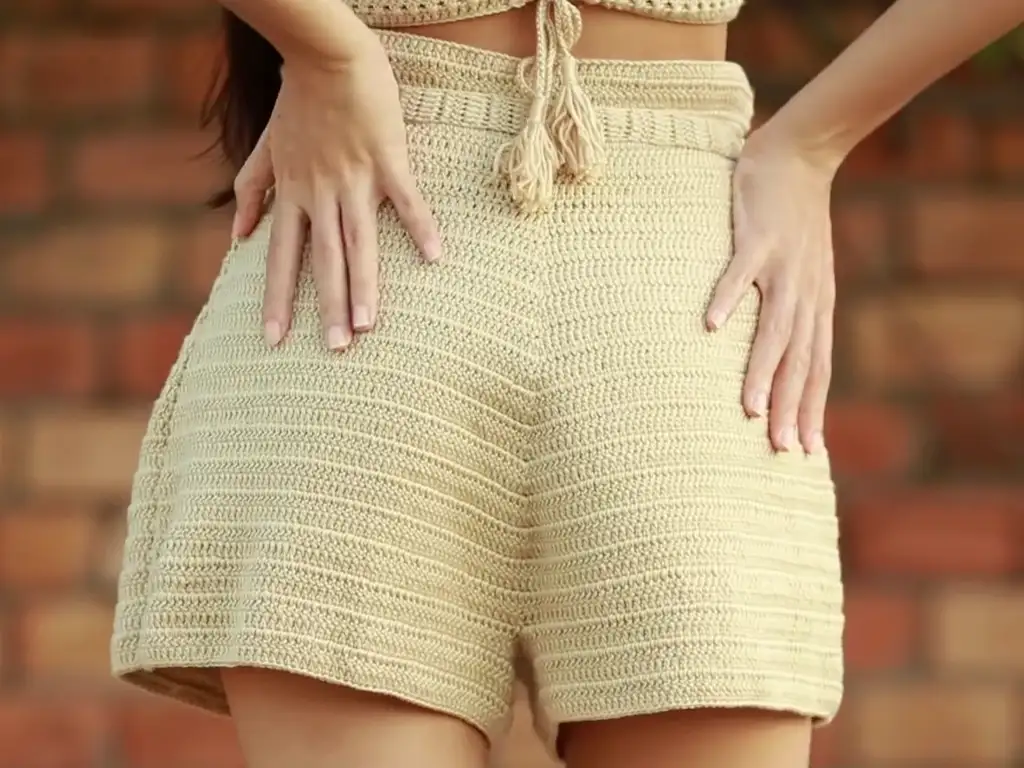
Remember, this pattern is a starting point! Feel free to experiment with different colors, stitch variations, and embellishments to make your crochet paper bag shorts truly your own. Don’t forget to share your creations and connect with our crochet community!
Other Crochet Projects You’ll Love
Inspired to keep crocheting? Explore these project ideas:
Let’s Connect!
I hope this tutorial has inspired you to craft your very own crochet paper bag shorts. Share photos of your creations on Instagram (@tubacrochet_) or TikTok (@tubacrochet) – I’d love to see them! And don’t forget to leave a comment with your thoughts or questions. Happy crocheting!

