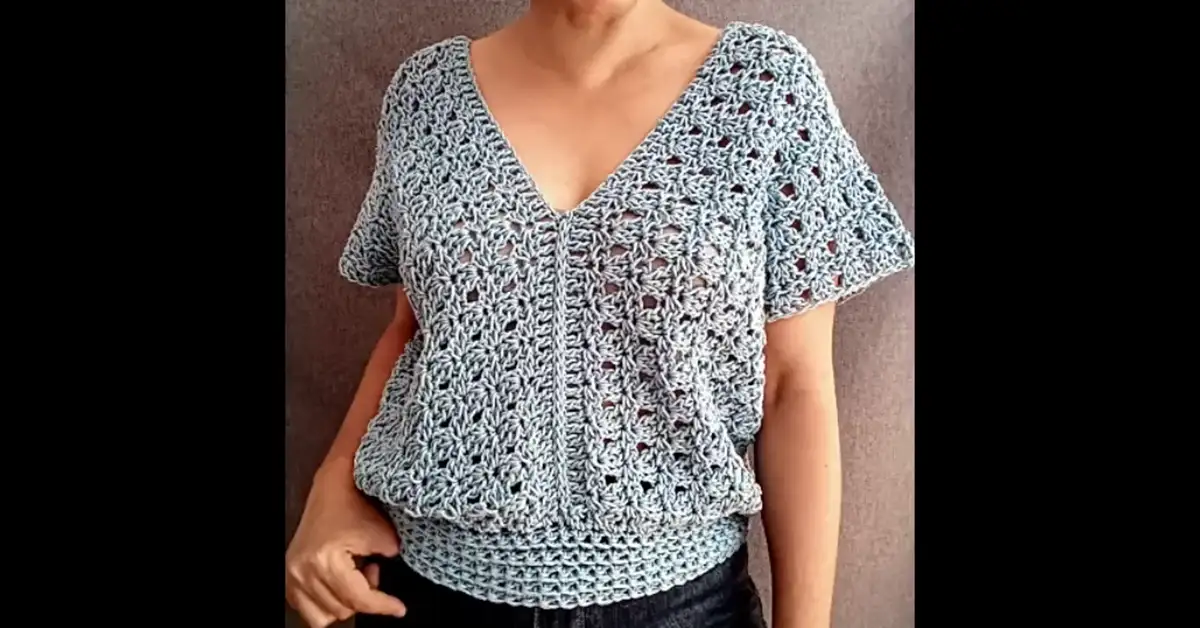
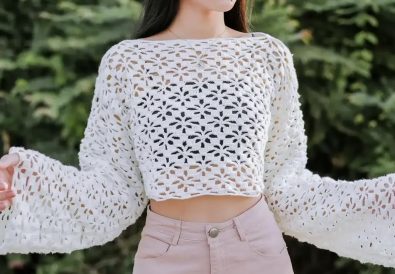
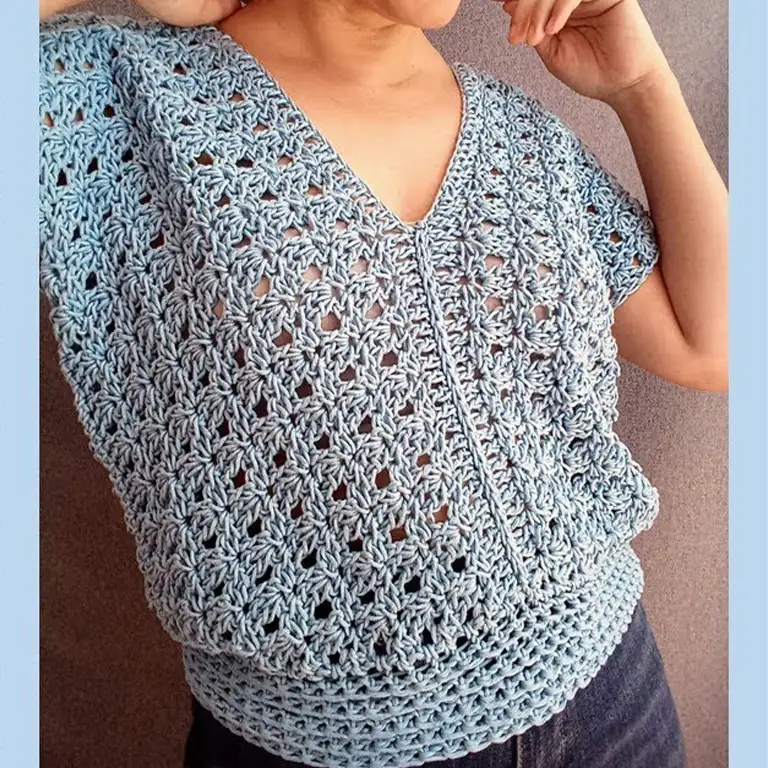
Crochet is a wonderful way to express your creativity and make unique, handmade garments. If you’ve always wanted to try your hand at making your own crochet top, this free V-neck blouse pattern is a fantastic place to start! This versatile design is beginner-friendly, comfortable to wear, and endlessly customizable. Whether you’re heading to a summer festival or simply want a breezy top for everyday wear, this blouse will become a wardrobe staple.
Crochet Blouse Basics: Materials & Tools You’ll Need
Before you begin, let’s gather your supplies:
- Yarn: A medium-weight yarn (#4) in your favorite color. Cotton blends work beautifully for this project.
- Crochet Hook: A 6 mm crochet hook.
- Scissors
- Yarn Needle: To weave in ends.
- Stitch Markers (optional): To help keep track of your stitches.
Gauge:
4 rows x 8 stitches in half double crochet (hdc) equals 10 cm x 10 cm (4 inches x 4 inches)
Crocheting the Base Rectangles: Step by Step Guide
The foundation of this crochet blouse is two simple rectangles. Here’s how to create them:
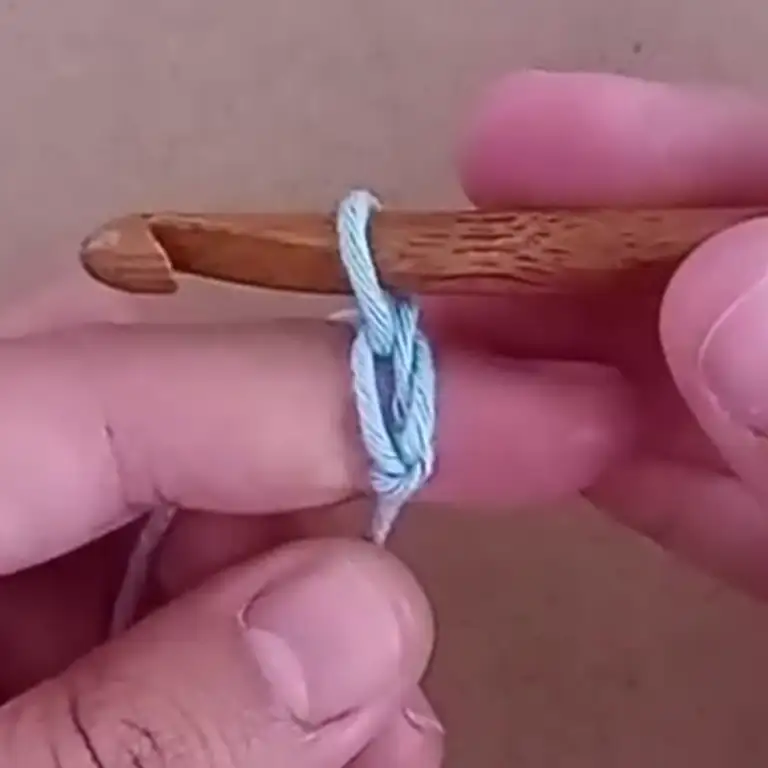
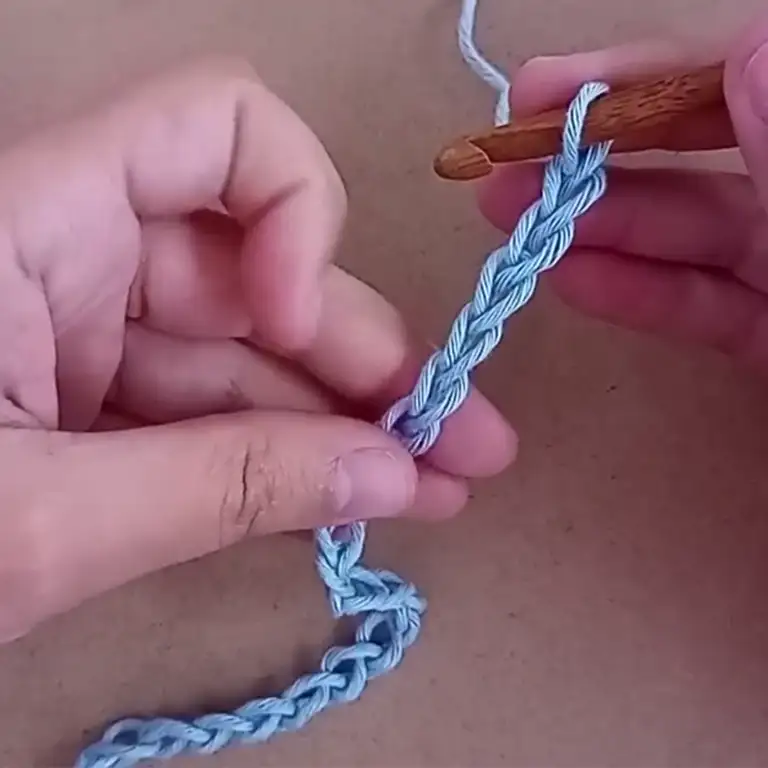
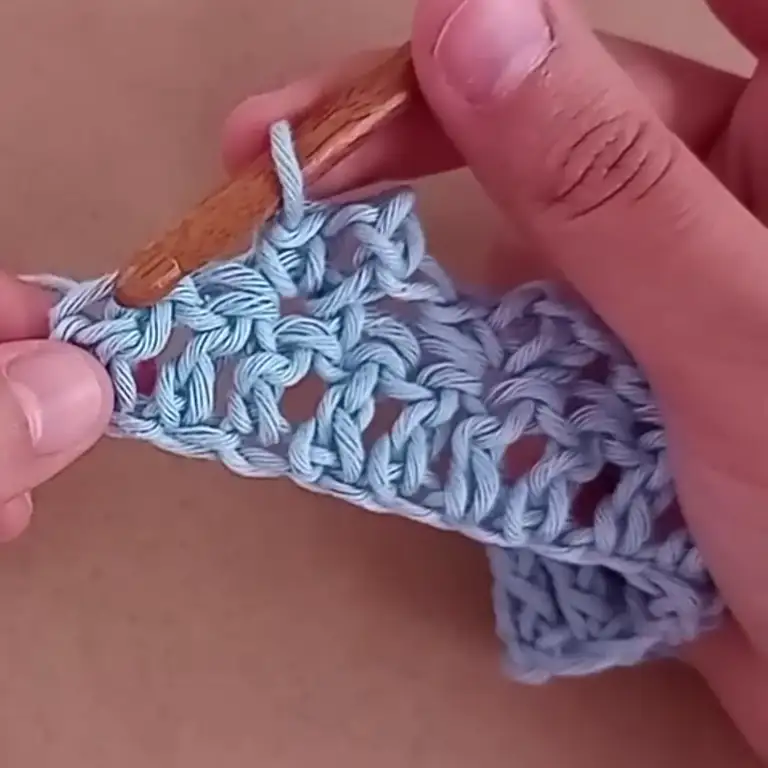
Creating the Rectangles
- Chain: Start by making a chain of 99 stitches.
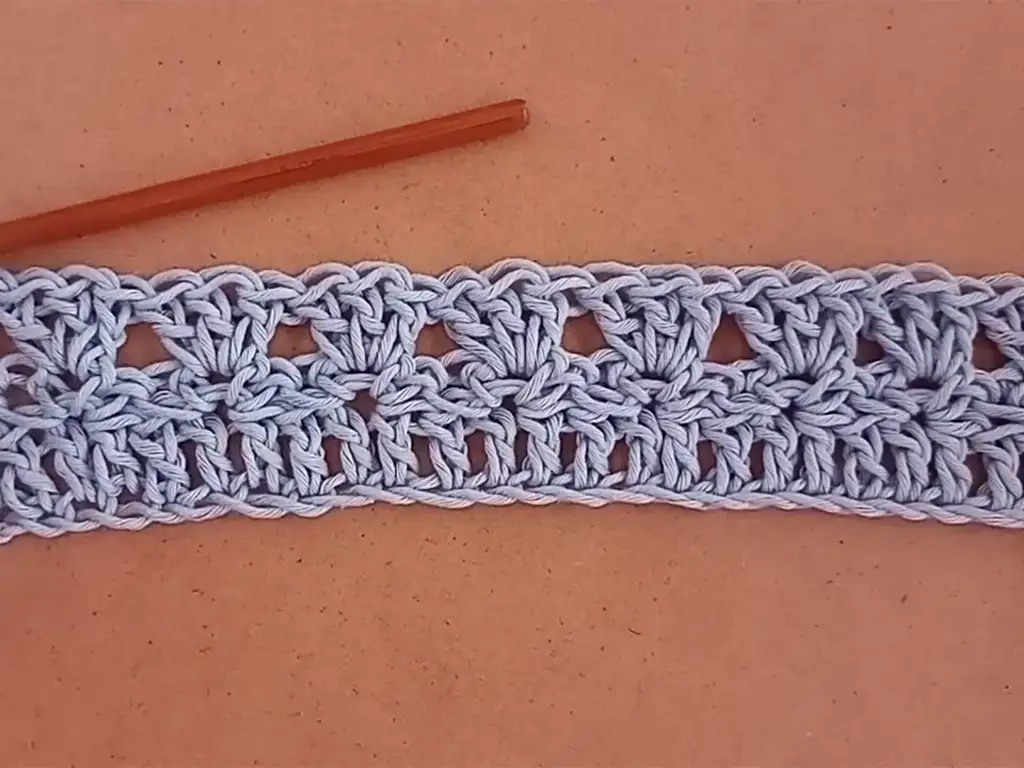
- Row 1 (Double Crochet): Skip the first two chains, then work one double crochet (dc) into each chain across the entire row. Chain 3 at the end of the row to turn your work. (98 dc)
- Row 2 (Half Double Crochet): Chain 1, skip the next stitch, and work one half double crochet (hdc) into each stitch across the entire row. Chain 3 at the end of the row to turn your work. (98 hdc)
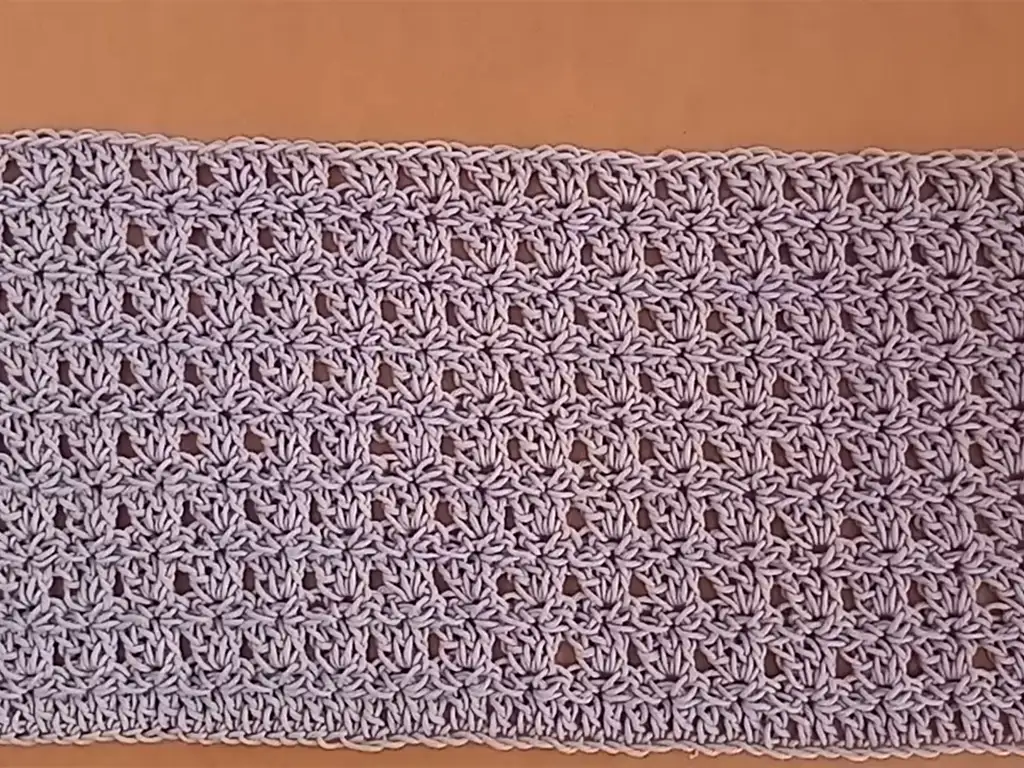
- Repeat Rows 2 & 3: Continue repeating rows 2 and 3 until your rectangle measures approximately 21 cm (8.5 inches) tall from the starting chain. Fasten off and weave in the yarn end.
- Make Another Rectangle: Repeat steps 1-4 to create a second rectangle identical in size to the first.
Assembling Your V Neck Crochet Blouse: Easy Techniques
Now comes the fun part – shaping your rectangles into a blouse!
Assembling the Blouse
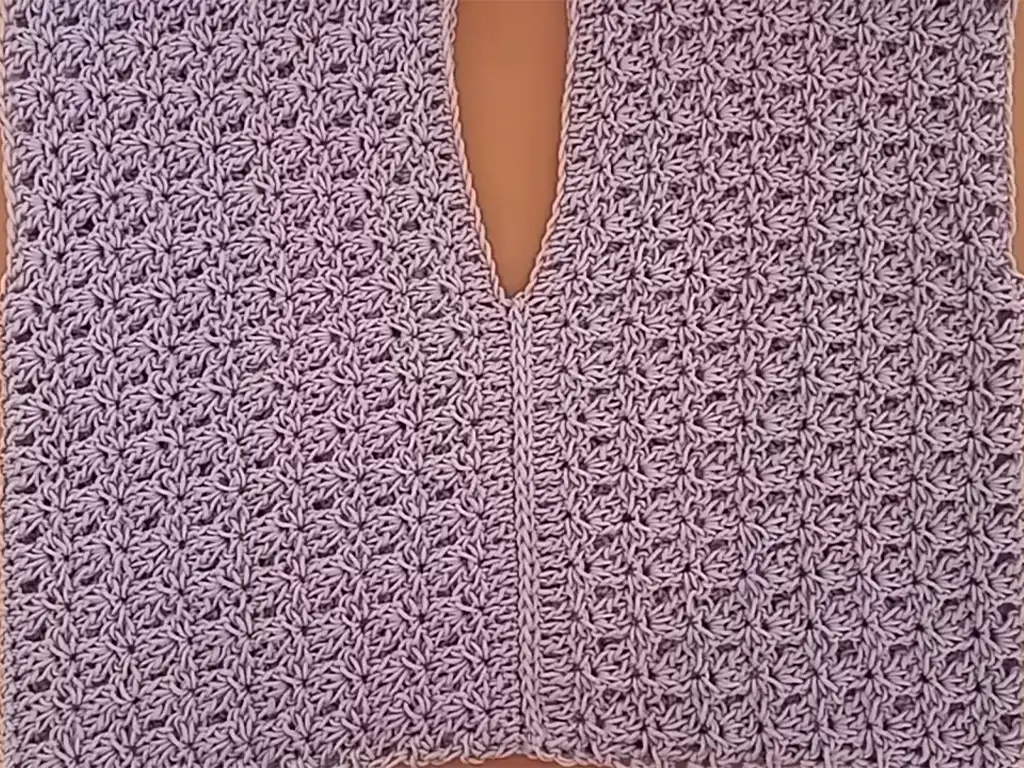
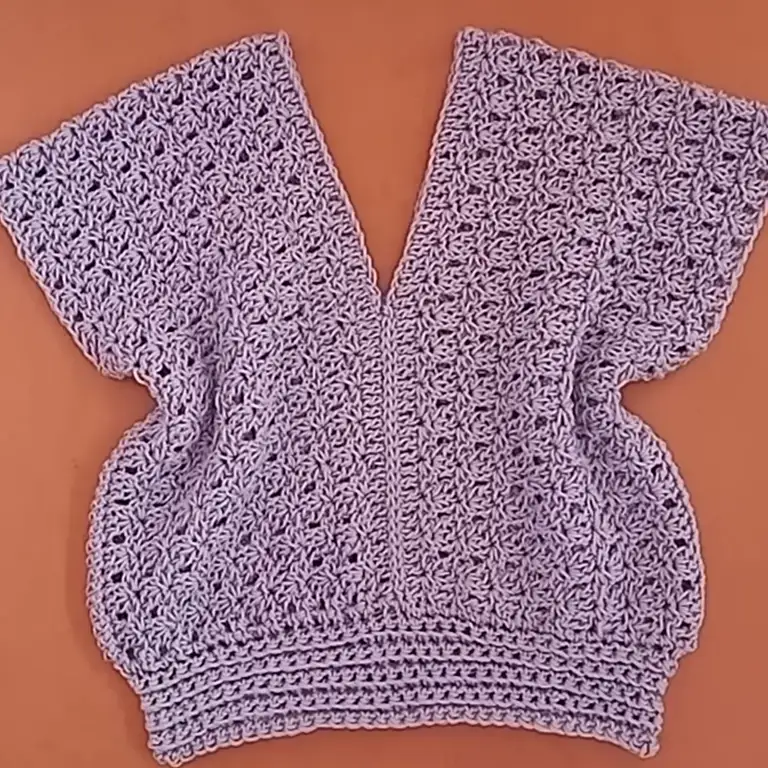
- Lay Out Rectangles: Place the two rectangles face-to-face, aligning the starting chains at the center.
- Sew the Sides: Using a yarn needle and the whip stitch method, sew the sides of the rectangles together, leaving an opening of approximately 15 cm (6 inches) at the top for the armholes.
Shaping the V Neckline
- Try on the Blouse (Optional): Put on the blouse to determine your desired V-neck depth. You can mark this spot with a stitch marker if helpful.
- Seaming the Shoulders: With the right sides facing each other, seam the shoulders together using a slip stitch or your preferred seam method.
- Shaping the Neckline: Continue crocheting or sewing the shoulder seams down towards the marked V-neck point (or your desired depth). Fasten off and weave in the yarn end.
Finishing Touches
- Optional Edging: You can add a single crochet (sc) edging around the bottom hem, neckline, and armholes for a polished look. Work one sc stitch into each stitch around the edge.
- Weave In Ends: Weave in any remaining yarn ends to secure them neatly.
Notes on Increasing and Decreasing Rows
While this pattern creates a straight body for the blouse, you can add shaping for a more fitted look. Here’s how:
- Increasing for a Wider Body:
- At the beginning of a row (instead of skipping the first two chains), chain a few extra stitches (2-3 stitches) to create a slight outward flare as you work rows.
- Alternatively, at the end of a row (before chaining 3 to turn), work a few extra double crochets (dc) in the last stitch or two.
- Decreasing for a Fitted Body:
- At the beginning of a row, skip a few extra chains (2-3 stitches) before working your double crochets (dc) across the row.
- Alternatively, at the end of a row (before chaining 3 to turn), decrease by working two stitches together (such as two dc worked together as one dc).
Customizing Your Crochet Blouse: Tips and Ideas
- Experiment with Colors: Use multiple colors to create stripes or a unique color-blocked design.
- Adjust the Length: Create a cropped top or a longer tunic by changing the number of rows.
- Add Embellishments: Sew on beads, tassels, or fringe for a touch of personality.
Caring for Your Crochet Blouse: Keep it Beautiful
To keep your handmade crochet blouse looking its best, hand wash it in cool water with a gentle detergent and lay flat to dry.
Inspiration and Community
For detailed instructions and a visual guide, be sure to check out the wonderful crochet tutorial by @KiriKiriTejedoras on YouTube: [https://www.youtube.com/watch?v=NaeC_OFRXpM]
I’d love to see your creations! Share photos of your finished crochet blouses on Instagram and tag @tubacrochet_ or on TikTok at tiktok.com/@tubacrochet. Let’s inspire each other!
Other Crochet Projects You’ll Love
If you enjoyed making this crochet blouse, explore other fantastic patterns:
This V neck crochet blouse is the perfect introduction to the world of making your own garments. I hope you found this pattern easy to follow and inspiring. Remember, crochet is all about the journey. Enjoy the process, and let your creativity soar!
P.S. If you loved this tutorial, please share it with other crochet enthusiasts and subscribe to my blog for more amazing crochet ideas!

