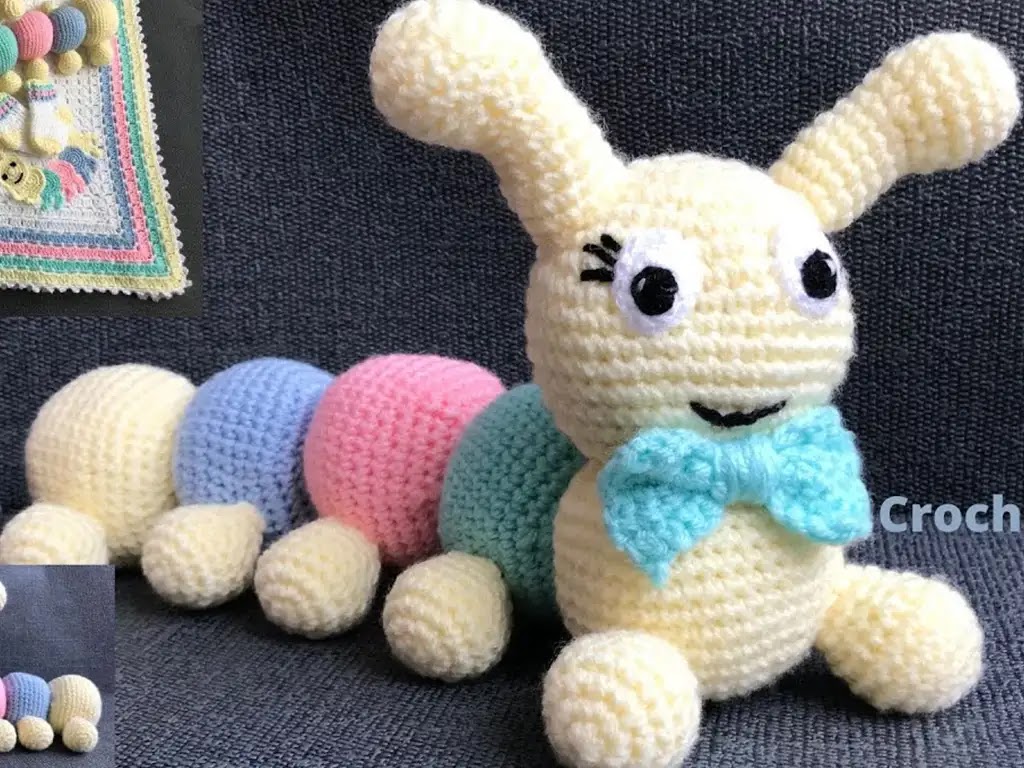
Learn to crochet a simple, handmade caterpillar with this FREE, easy pattern – perfect for beginners!
Are you ready to dive into the delightful world of crochet? If you’re a beginner looking for a fun and simple project, this adorable crochet caterpillar pattern is the perfect place to start! Caterpillars are a classic motif, beloved by children and adults alike. This pattern is not only easy to follow but also incredibly versatile. You can customize it with your favorite colors and make a whole family of cute caterpillars!
What You’ll Need
- Yarn: Double Knit (DK) weight yarn in various colors. I recommend soft, baby-friendly yarns in colors like yellow, green, pink, and blue.
- Crochet Hook: 4mm crochet hook
- Stitch Markers: To help you keep track of rounds
- Polyfill Stuffing: To give your caterpillar its cuddly shape
- Yarn Needle: For sewing pieces together
- Scissors
Skill Level and Potential Uses
This pattern is beginner-friendly! If you know the basic crochet stitches (chain, single crochet, increase, and decrease), you’re all set. Your finished caterpillar can be a sweet toy for a child, a charming decoration, or even a fun addition to a baby mobile.
Let’s Get Started!
Understanding the Basics
Before we dive into the pattern, let’s review some essential crochet terms and techniques:
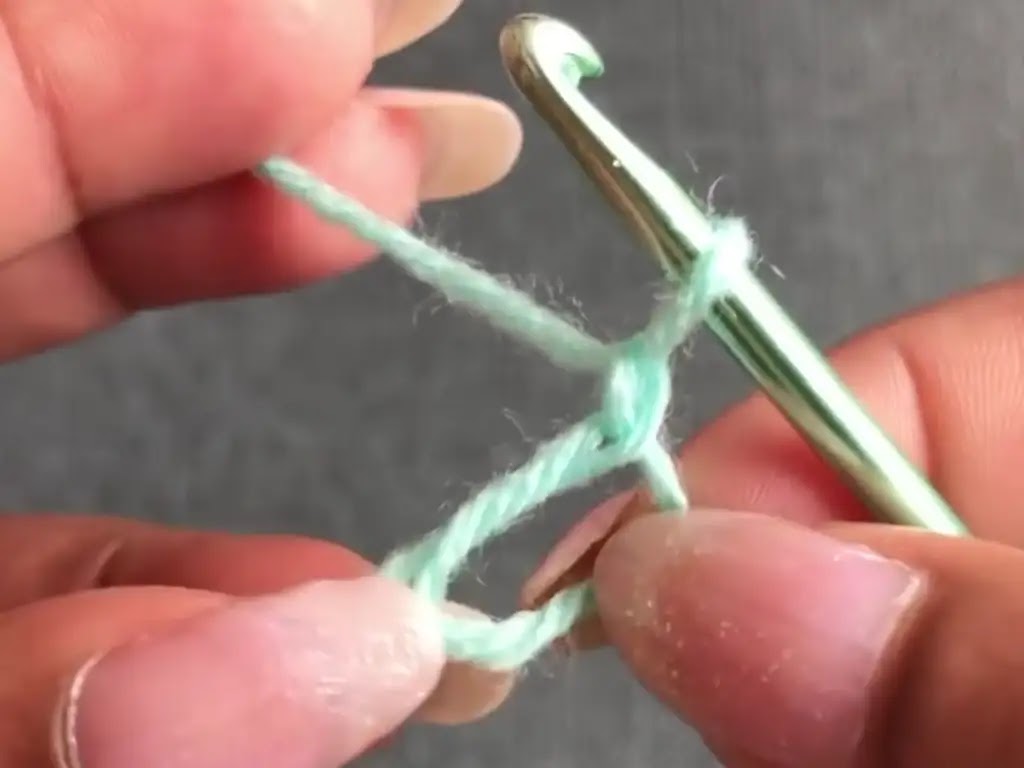
- Magic Ring: A fundamental crochet technique used to start many amigurumi projects.
- Chain Stitch (ch): The basis for most crochet projects.
- Single Crochet (sc): One of the most common crochet stitches.
- Increase (inc): Working two single crochets into the same stitch to increase the stitch count.
- Decrease (dec): Crocheting two stitches together to reduce the stitch count.
Step by Step Written Pattern
Body:
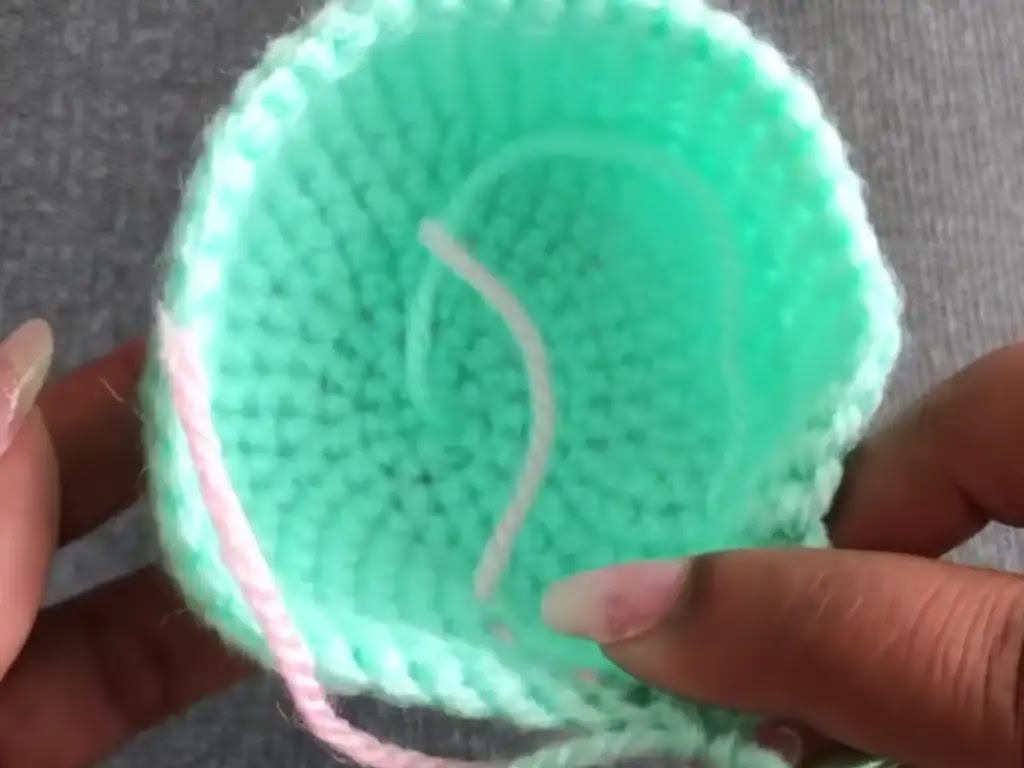
- Magic Ring: Start with a magic ring.
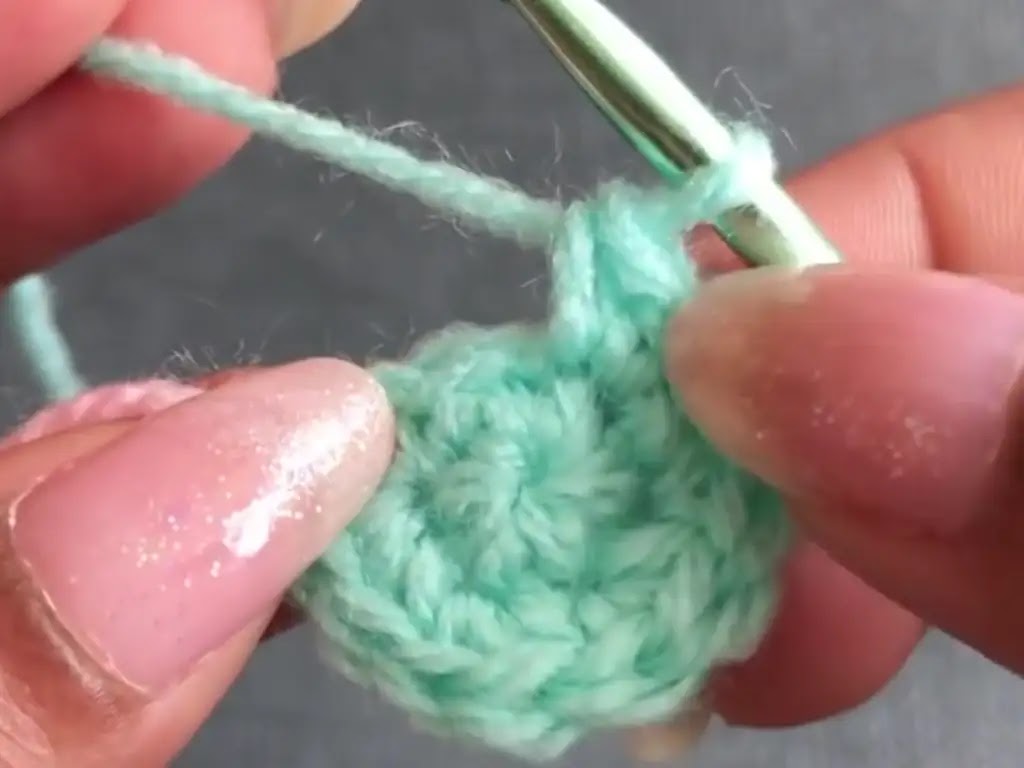
- Round 1: Chain 1 (ch 1), 6 single crochet (sc) into the ring (6 stitches)
- Round 2: Increase (inc) in each stitch around (12 stitches)
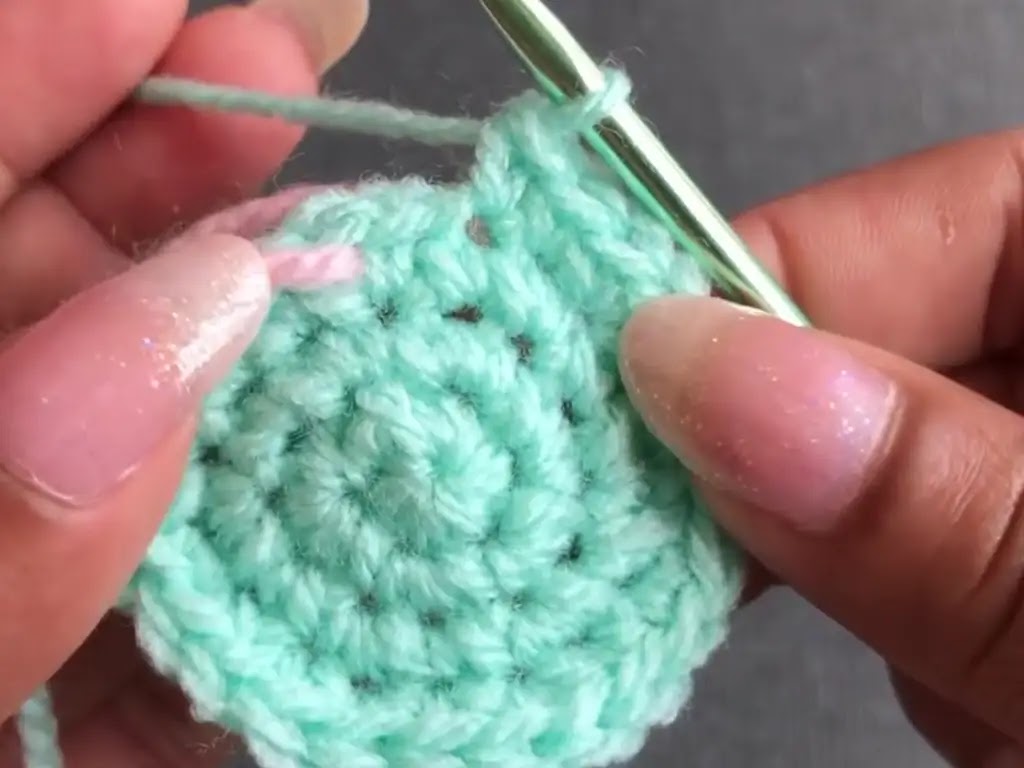
- Rounds 3-14: ch 1, sc in each stitch around (12 stitches for a total of 12 rounds)
- Round 15: ch 1, sc 5, dec around (10 stitches)
- Round 16: ch 1, sc 4, dec around (8 stitches)
- Round 17: ch 1, sc 3, dec around. (6 stitches)
- Round 18: ch 1, sc 2, dec around. (4 stitches)
- Cut the yarn, leaving a long tail for sewing, and pull to tighten the hole closed.
Legs (make 6):
Follow the same pattern as the body, working up to Round 9 only. Stuff lightly before closing.
Antennae (make 2):
Follow a similar pattern as the legs, but work up to Round 14 before stuffing and closing.
Assembly
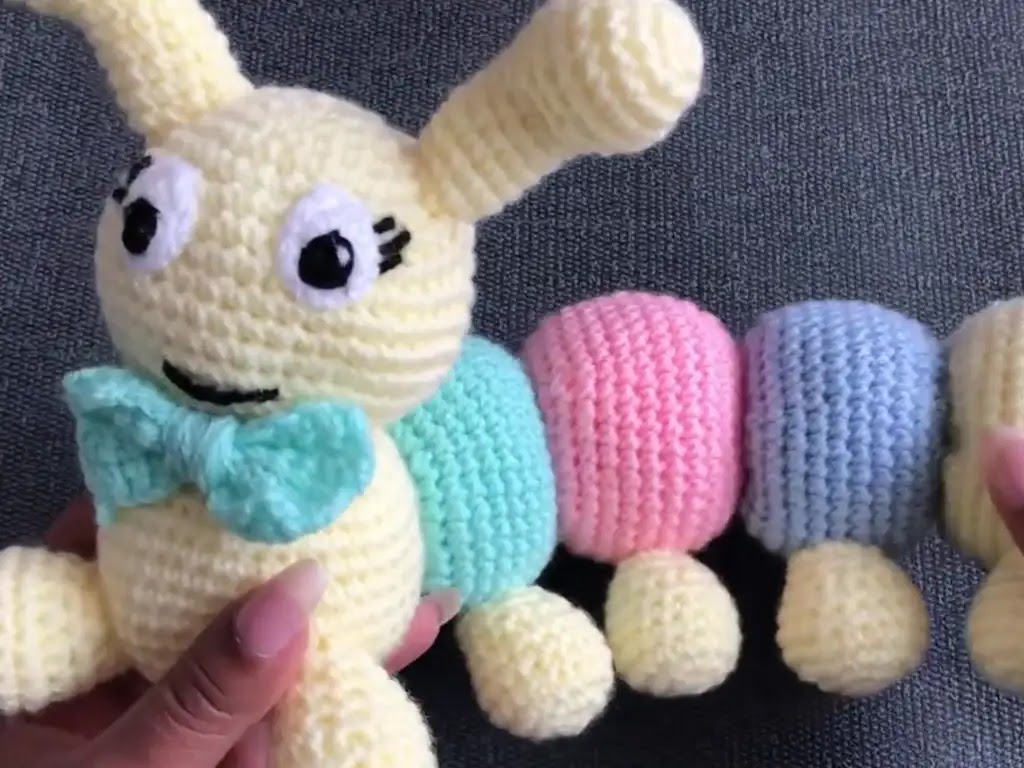
- Arrange the body pieces: Lay out the body pieces in a line to form the caterpillar’s body.
- Sew the body together: Using a yarn needle and matching yarn, carefully sew the body pieces together, joining them at the last round of each piece.
- Attach legs: Evenly space and sew the legs onto the underside of the caterpillar’s body.
- Attach antennae: Position and sew the antennae onto the top of the head.
Finishing Touches
- Eyes: Embroider simple eyes with black yarn or use safety eyes.
- Embellishments: Get creative! Add a bow, a hat, or other details to personalize your caterpillar.
Tips and Tricks
- Counting Stitches: Use stitch markers to keep track of your rounds, especially in the beginning.
- Tension: Maintain even tension throughout your work for a neat appearance.
- Experiment: Don’t be afraid to play with different colors and create a unique caterpillar!
Community and Inspiration
Join our vibrant crochet community and share your creations! Follow Crochet Craft on YouTube (https://www.youtube.com/@CrochetCraft) for more patterns and tutorials. Tag us on Instagram (https://www.instagram.com/tubacrochets?igsh=MW0wNjA2ZTcwbjUyMw==) and TikTok (tiktok.com/@tubacrochet) – we love to see your work!
Conclusion
Congratulations on crocheting your very own caterpillar! We hope you enjoyed this beginner-friendly pattern.

