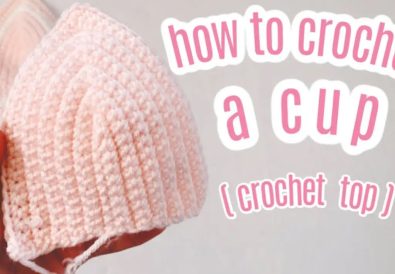
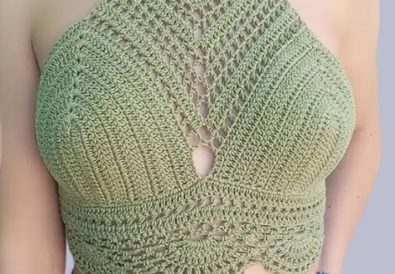
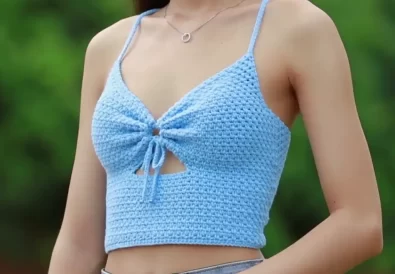
Get ready to add a touch of handmade charm to your wardrobe! In this blog post, we’ll dive into the world of crochet and create a gorgeous crochet lace top. This design is airy, stylish, and surprisingly beginner-friendly. Whether you’re heading to the beach, enjoying a summer festival, or simply want a breezy top for warmer days, this crochet project is the perfect way to express your creativity.
Crochet Lace Top Basics: The Essential Stitches
Before we begin, let’s cover some crochet fundamentals:
- Chain Stitch (ch): The basis for most crochet projects.
- Double Crochet (dc): A versatile and common stitch.
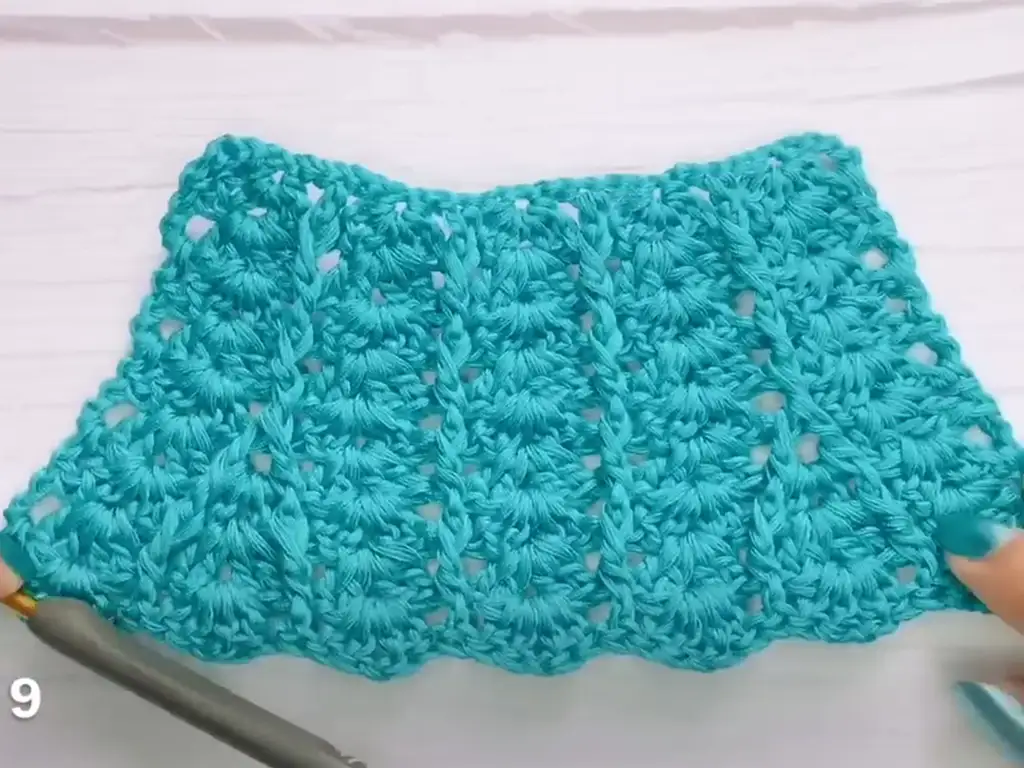
- Shell Stitch: This creates the beautiful lacy texture – it’s simply a group of double crochets worked into the same space.
- Front Post Double Crochet (fpdc) & Back Post Double Crochet (bpdc): These add subtle dimension by working around the ‘posts’ of previous stitches.
Choosing Your Yarn: Perfect Fibers for Your Crochet Lace Top
The yarn you choose will significantly impact the look and feel of your top. For a summery vibe, consider light and breathable fibers like:
- Cotton: Durable and comfortable, perfect for warm weather.
- Linen: Adds a beautiful, natural texture.
- Bamboo: Silky-soft and drapes elegantly.
Color: The possibilities are endless! Choose a vibrant ombre for a statement piece, or a classic solid color for versatility.
Customizing Your Crochet Lace Top: Design Variations & Tips
This pattern provides an excellent base for experimentation. Here are some ways to make it your own:
- Straps: Adjust the strap length, try a criss-cross back, or even add delicate ties.
- Length: Crop it, make it longer – tailor it to your perfect fit.
- Embellishments: Beads, tassels, or a crochet flower can add a unique touch.
Crochet Lace Top for Beginners: Step by Step Pattern Guide
Materials
- Yarn (weight and color of your choice)
- Crochet hook (suitable for your yarn)
- Scissors
- Needle
- Stitch Marker (optional)
Pattern
Gauge:
4 double crochets (dc) x 4 rows in shell stitch pattern = 2″ x 2″ (adjust hook size to achieve gauge)
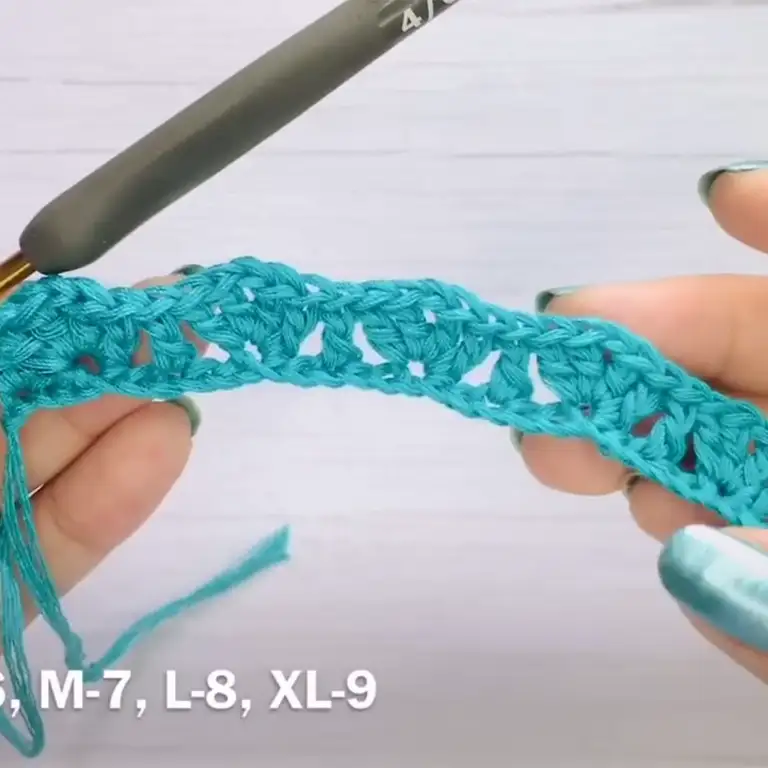

Notes:
- Chain (ch) counts at the beginning of rows do not count as a stitch.
- This pattern is worked flat from the bottom up.
- Turning chains are not included in stitch counts.
Body:
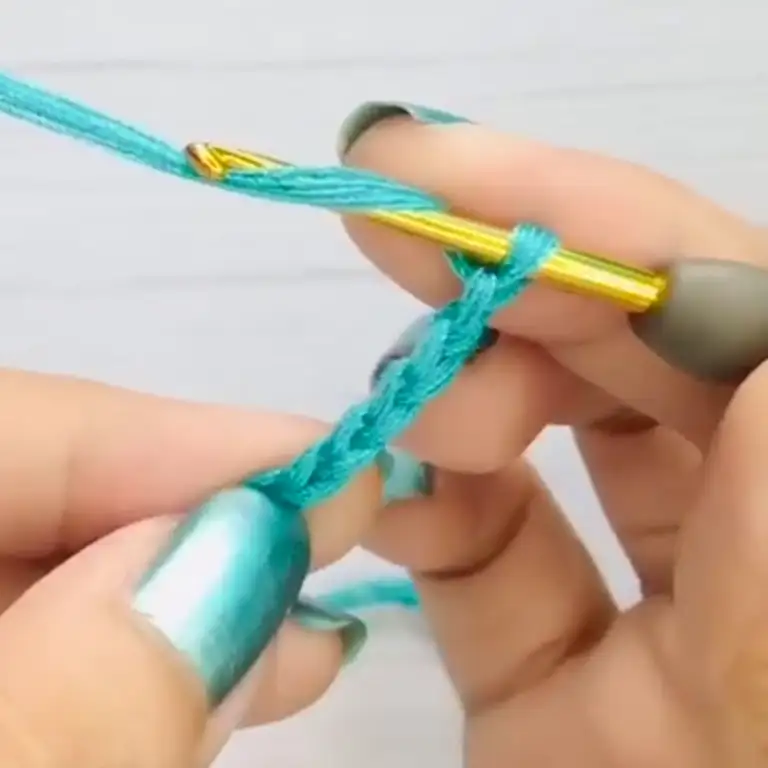
- Starting Chain: Chain a multiple of 6 + 3 (e.g., 33 for a small size, 39 for a medium size, 45 for a large size).
- Row 1: ch 2 (does not count as a stitch), dc in second ch from hook, dc in each ch across, turn. (34 dc)
- Row 2: ch 2 (does not count as a stitch), 2 dc in first dc, ch 2, skip 2 dc, 2 dc in next dc repeat across to last 3 dc, 2 dc in each of the last 3 dc, turn. (Shell stitch row begins)
- Row 3: ch 2 (does not count as a stitch), fpdc in first ch-2 space, ch 2, skip 2 ch-2 spaces, bpdc in next ch-2 space repeat across to last ch-2 space, fpdc in last ch-2 space, turn. (Creates a textured row)
- Row 4: ch 2 (does not count as a stitch), dc in first space, ch 2, skip 2 dc, 2 dc in next space repeat across, turn. (Shell stitch row)
- Repeat Rows 3-5 until desired length for the body is reached.


Armholes:
- Decrease Row 1: Work following Row 4 instructions, but skip the last 3 dc. Turn. (31 dc)
- Decrease Row 2: ch 2, dc in first space, ch 2, skip 2 dc, 2 dc in next space repeat across, skipping the last 2 dc. Turn. (28 dc)
- Continue Decrease Rows: Repeat Row 2, decreasing by 2 dc on each side every other row until 16-18 dc stitches remain (depending on desired armhole size).
Body Shaping (Optional):
For a more fitted silhouette, you can add subtle shaping to the sides by working alternating decrease rows on each side of the center stitches. Here’s an example:
- Decrease Row (Right Side): ch 2, dc in first space, ch 2, skip 2 dc, 2 dc in next space repeat across until the last 3 dc, dc in each of the last 3 dc, turn.
- Regular Row: Work as established pattern (Row 4).
- Decrease Row (Left Side): ch 2, dc in first space, ch 2, skip 2 dc, 2 dc in next space repeat across, skipping the first 3 dc, turn.
- Repeat Rows 2-3 until desired shaping is achieved.


Neckline Shaping:
- Decrease Row: Work following Row 4 instructions, but decrease evenly across the row by skipping an additional stitch between each shell (e.g., ch 2, skip 3 dc, 2 dc in next space).
- Continue Decrease Rows: Repeat decrease rows, decreasing by 1-2 stitches each row, until only a few stitches remain. Tie off and weave in ends.
Straps:
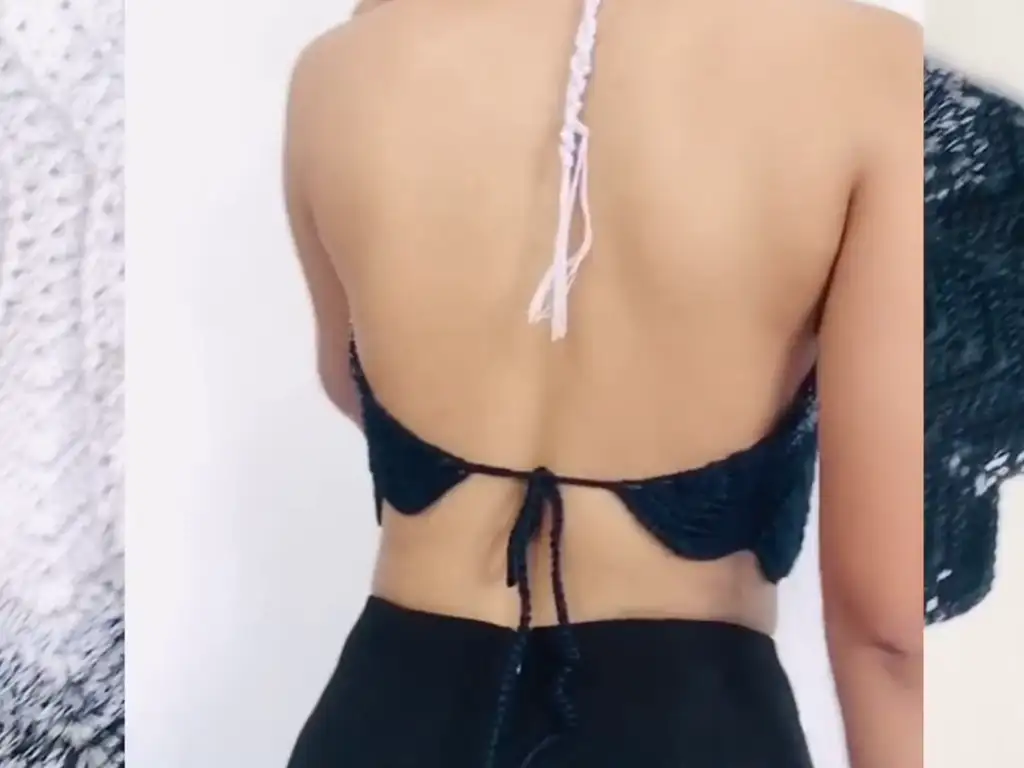
With a new piece of yarn, chain a desired length for the strap (adjust for preference). Work single crochet (sc) stitches along the entire length of the chain. You can make two identical straps or crochet one long strap and sew the ends together to create a halter top style. Sew the straps securely to the top corners of the body.
Congratulations! You’ve crocheted your very own lace top.
Important Notes:
- Tension: Try a practice swatch to ensure your stitches are the right size.
- Counting: Especially for beginners, counting your stitches carefully will prevent mistakes.


Styling Your Crochet Lace Top: From Beach to Brunch
This versatile top can be styled in countless ways! Here are a few ideas:
- Beachy: Pair with denim shorts and sandals for a laid-back look.
- Bohemian: Layer over a flowy maxi skirt and accessorize with earthy jewelry.
- Casual Chic: Tuck into high-waisted jeans and add a statement necklace.
Other Crochet Projects You’ll Love
Inspired to crochet more? Here are some other beginner-friendly patterns that you might enjoy:
I hope this blog post has empowered you to create your very own crochet lace top! If you get stuck, be sure to check out the wonderful tutorial by @YarnsandFins on YouTube ([https://www.youtube.com/watch?v=DP01sYMIr-Q]). Remember to be patient with yourself, celebrate your progress along the way, and most importantly – have fun! Please share your finished tops on Instagram by tagging @tubacrochet_ or on TikTok @tubacrochet. I’d love to see your creations and cheer you on!


