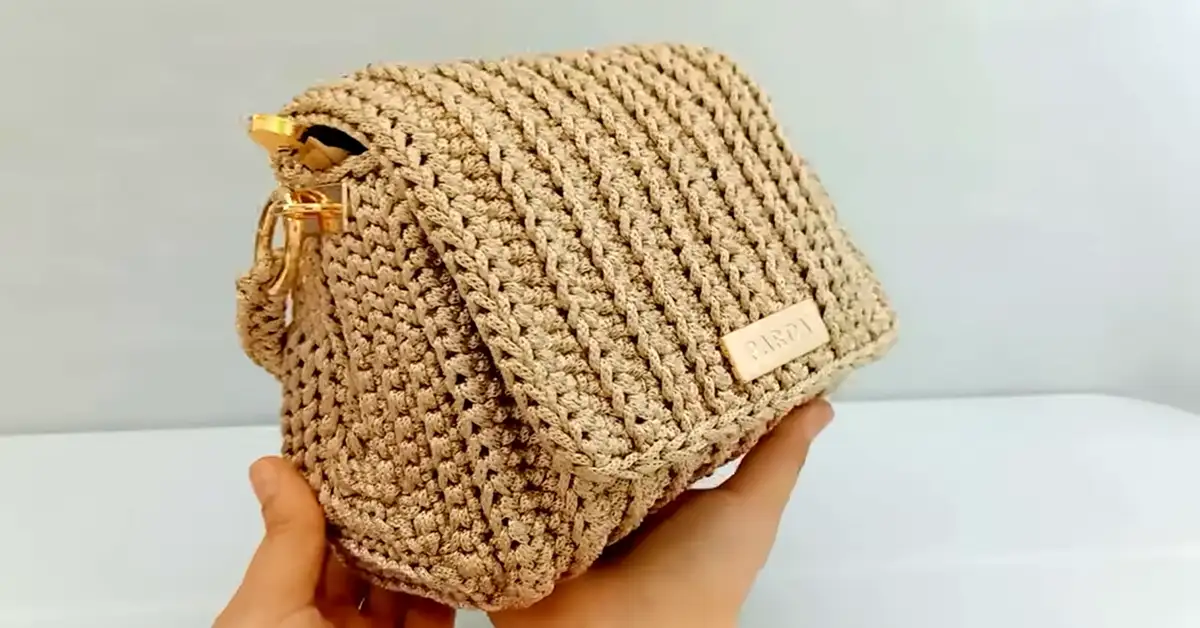
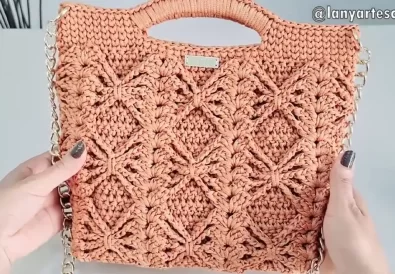
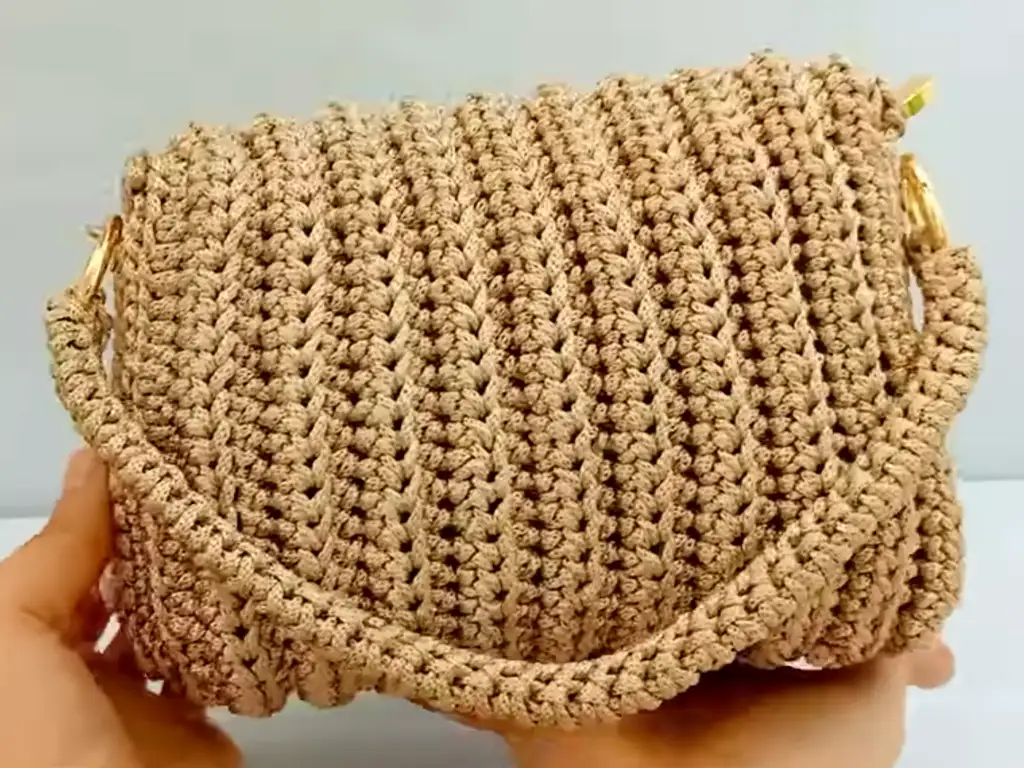
Are you ready to dive into the world of crochet? I’m thrilled to share a beginner friendly pattern that will have you crafting your own stylish crochet shoulder bag in no time! This project is perfect for those new to crochet, offering a chance to learn basic stitches and macrame inspired techniques. The end result is a versatile and chic bag you can use every day.
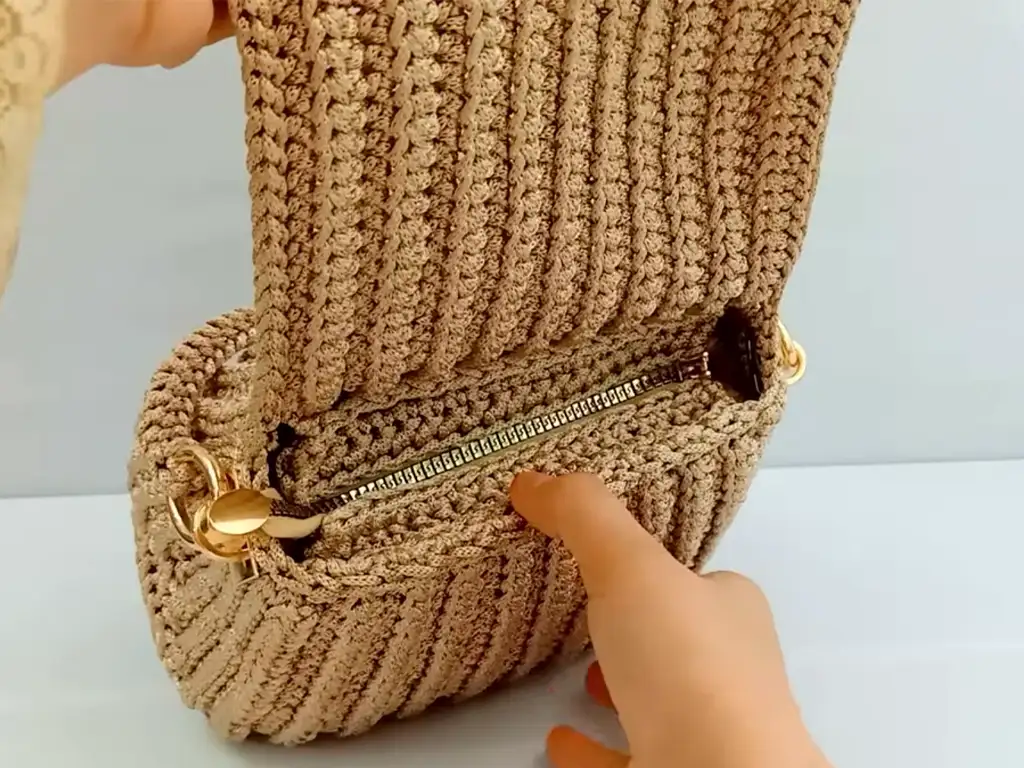
This crochet shoulder bag project is perfect for those new to the craft. It uses basic crochet stitches and simple shaping techniques, making it an enjoyable and stress free experience. The finished bag is both stylish and practical, with a roomy interior, comfortable shoulder straps, and a touch of handmade charm.
Materials for Your Crochet Shoulder Bag: Get Started
Before you begin, gather your supplies:
- Polyester Macrame Thread: Choose your favorite color! I recommend a 3mm thickness for a sturdy bag.
- Crochet Hook: A 5mm hook works perfectly with this yarn.
- Scissors
- Tapestry Needle: For weaving in ends.
- Stitch Markers (optional): To help keep track of your stitches.
Crochet Shoulder Bag Basics: Essential Techniques
If you’re new to crochet, here are the basic techniques you’ll need:
- Chain Stitch (ch): The foundation for most crochet projects.
- Slip Stitch (sl st): For joining pieces or creating a finished edge.
- Half Double Crochet (hdc): A versatile mid-height stitch.
- Single Crochet (sc): A basic, compact stitch.
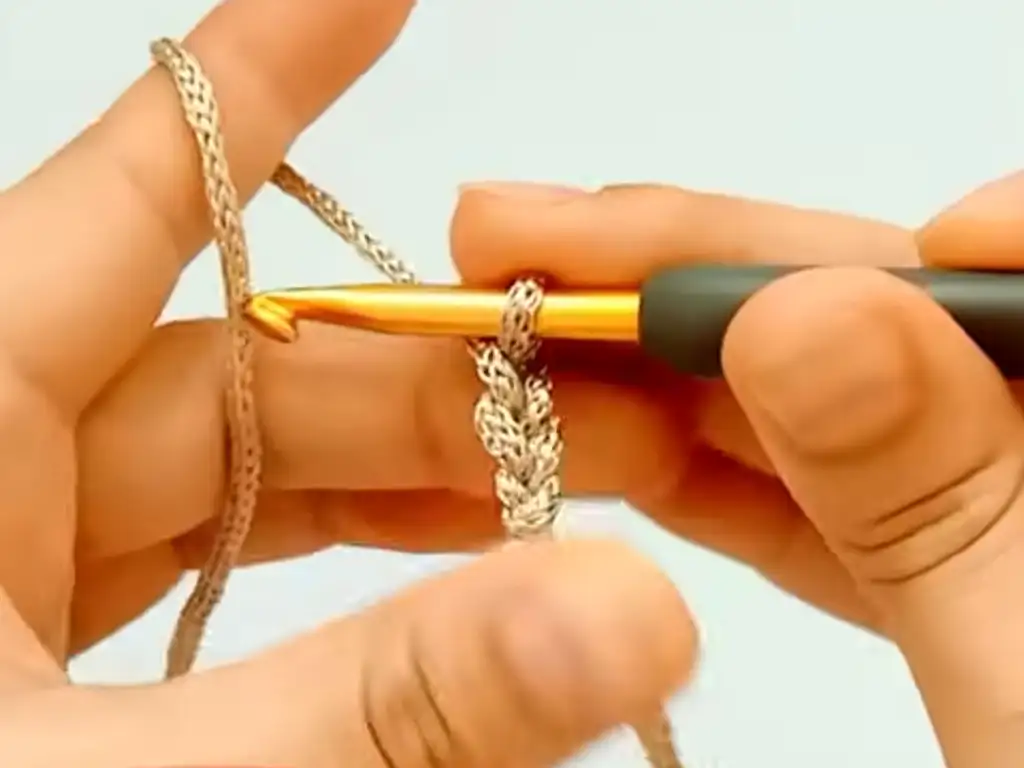
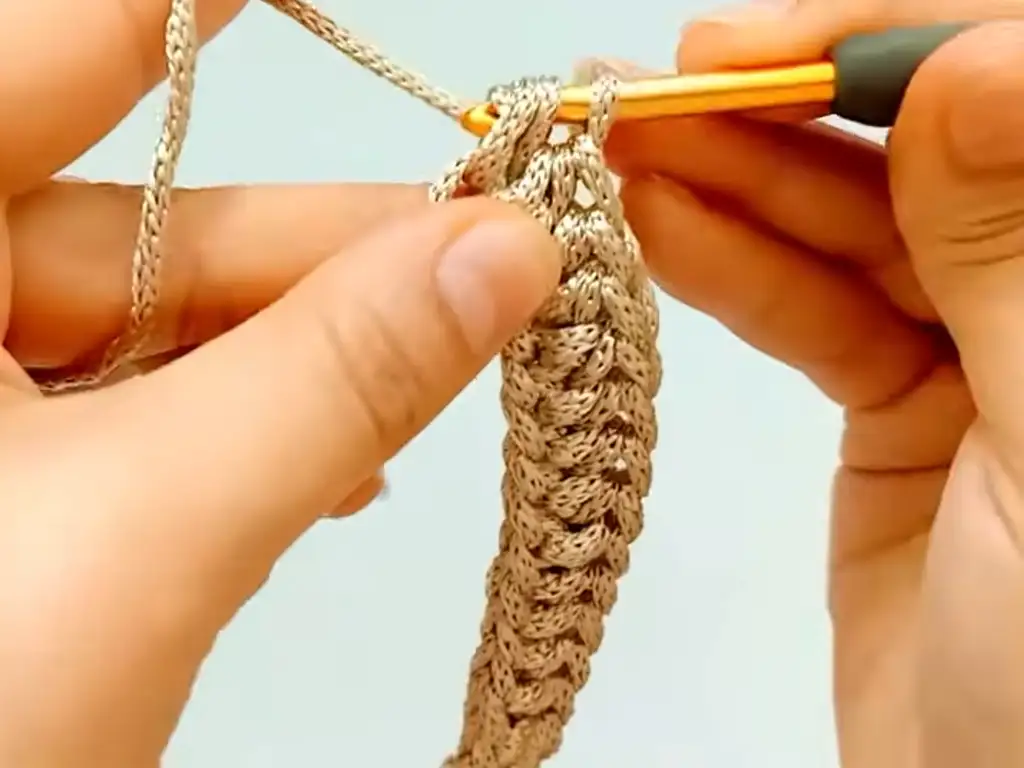
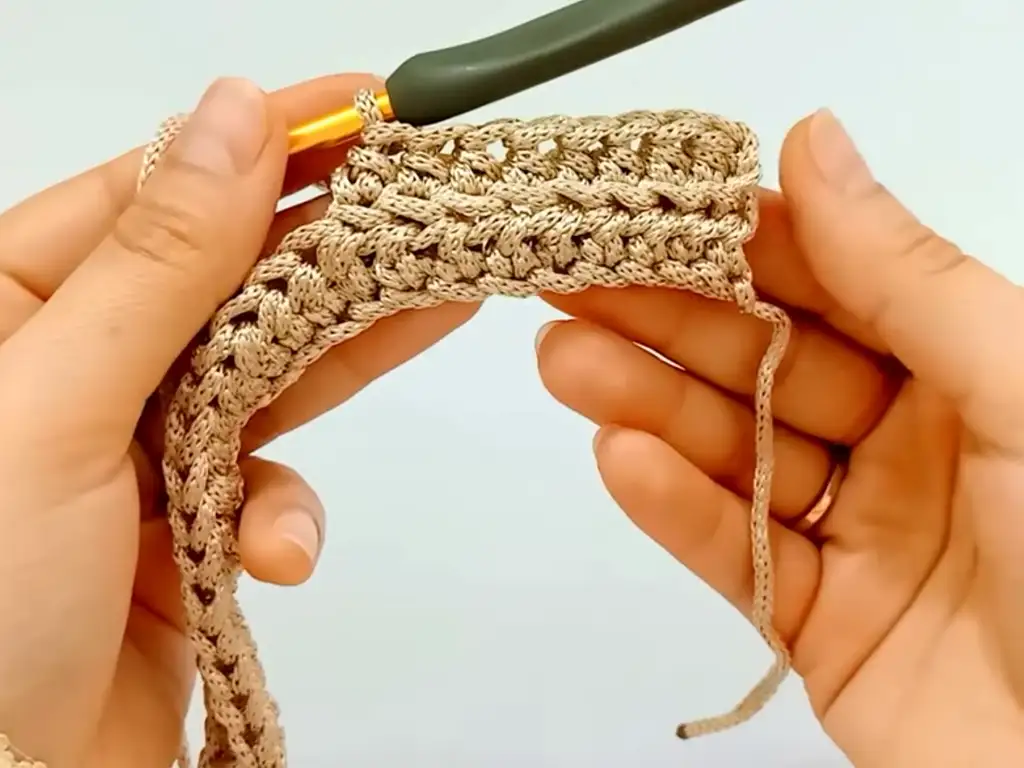
Shaping Your Crochet Shoulder Bag: Step by Step Guide
Now, let’s break down the pattern step-by-step. Remember, you can always reference the original video by @bagscrochet on YouTube ([https://www.youtube.com/watch?v=0jNZrtepV3Y]) for visual guidance.
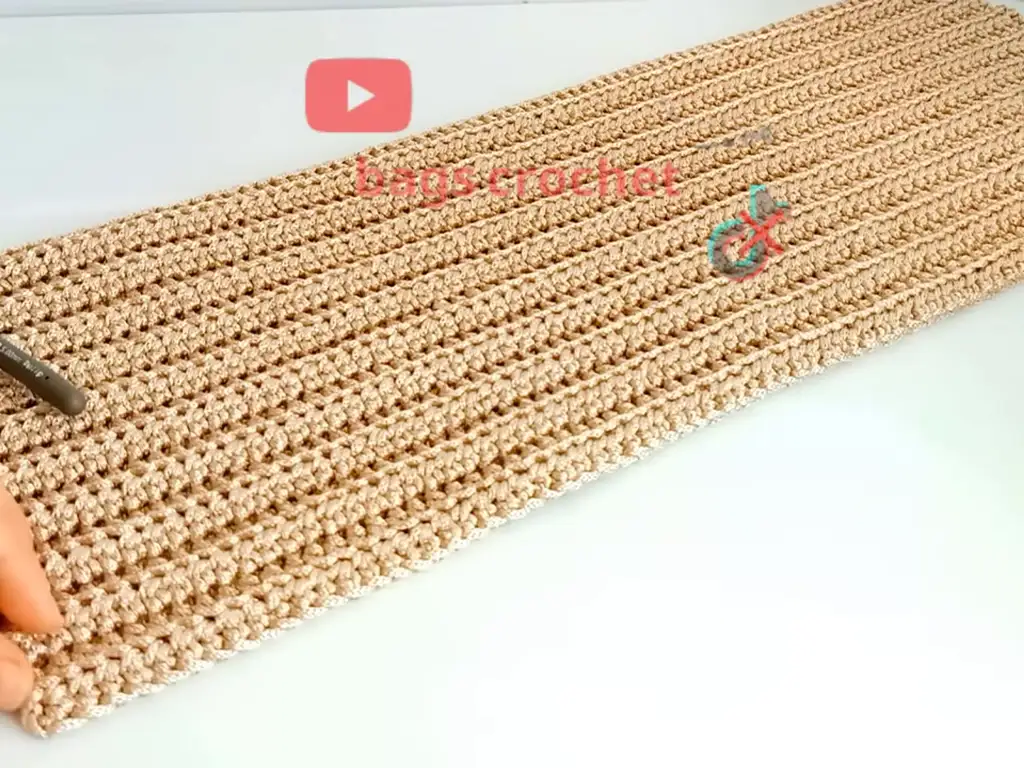
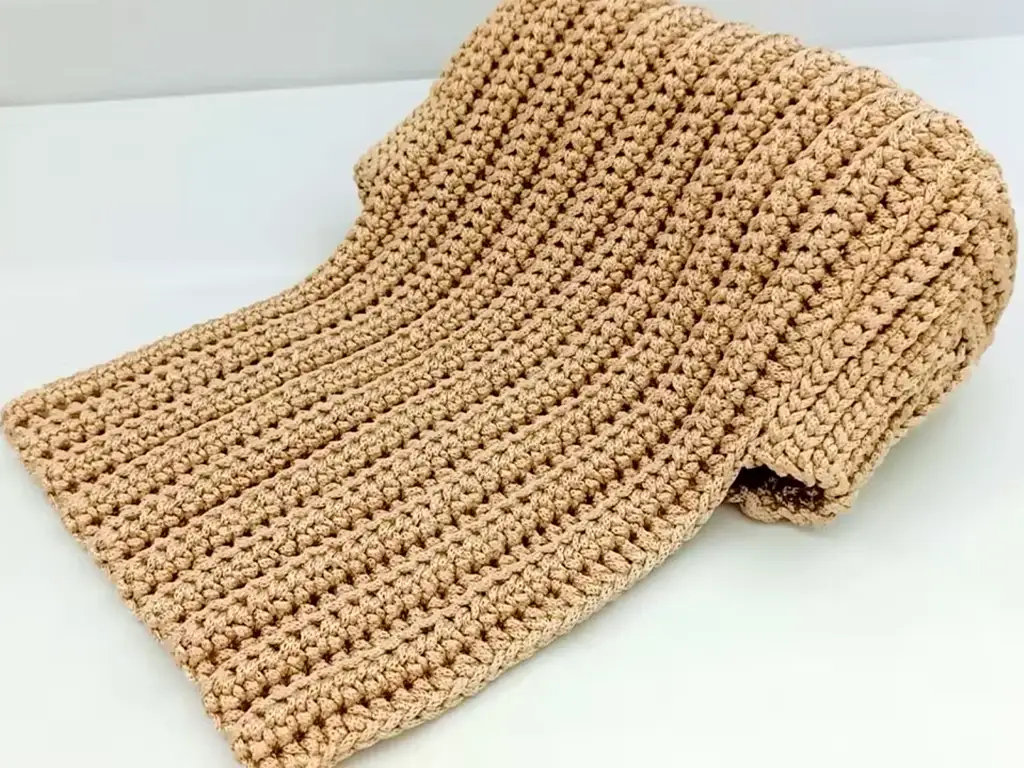
- The Base: Start with a chain of 82 stitches. Work 20 rows of half-double crochet, creating a rectangular base for your bag.
- Shaping the Top: Here’s where the fun shaping begins! Each row has a specific pattern of decreases (skipping stitches) to form the bag’s tapered look. Check the video for a clear visual of this process.
- Repeat for the Second Side: Create a matching piece following the same steps.
- Joining the Sides: Sew the two shaped pieces together along their sides.
Finishing Touches: Adding Handles to Your Crochet Shoulder Bag
- Handle Construction: Crochet two long strips (approximately 40 stitches wide) for your handles. Close them by sewing or using slip stitches for a seamless look.
- Attaching the Handles: Securely sew the handles to the top of your crochet shoulder bag.
Customize Your Crochet Shoulder Bag: Ideas for Variations
- Play with Colors: Explore different macrame thread colors or even create stripes!
- Add Embellishments: Incorporate beads, charms, or tassels for a unique touch.
- Adjust the Size: Modify the starting chain and number of rows to make a smaller or larger bag.

Written Pattern
Notes:
- This pattern creates two rectangular pieces that are sewn together to form the bag.
- The shaping of the bag is achieved by strategically decreasing stitches in specific rows.
- Always carry the yarn tail loosely throughout the project to weave in ends later.
Bag Base:
- Start with a foundation chain of 82 stitches.
- Row 1: Chain 2 (counts as first hdc), hdc in each stitch across, turn (82 hdc).
- Rows 2-20: Repeat Row 1, working 20 total rows of half-double crochet to create the base of your bag.
Shaping the Top:
We will now decrease stitches in specific rows to form the tapered top of the bag.
- Row 21: ch 2, hdc in the first 25 stitches, skip 1 stitch, hdc in the next stitch, repeat (skip 1 stitch, hdc in the next stitch) 24 more times, hdc in the last 26 stitches, turn (58 hdc).
- Row 22: ch 2, sc in each stitch across, turn (58 sc).
Descending Rows (Repeat this sequence until there are 2 stitches remaining in the center):
- Row 23: ch 2, sc in the first 8 stitches, sc 2 stitches together, sc in the next 8 stitches, sc 2 stitches together, sc in the remaining stitches, turn (56 sc).
- Row 24: ch 2, sc in each stitch across, turn (56 sc).
Repeat Rows 23 and 24, decreasing by 2 stitches in the center every other row.
- Final Row: ch 2, sc in the first stitch, sl st in the next stitch, fasten off and weave in ends.
Second Side:
- Repeat steps 1-8 to create a matching second side for your bag.
Finishing Touches:
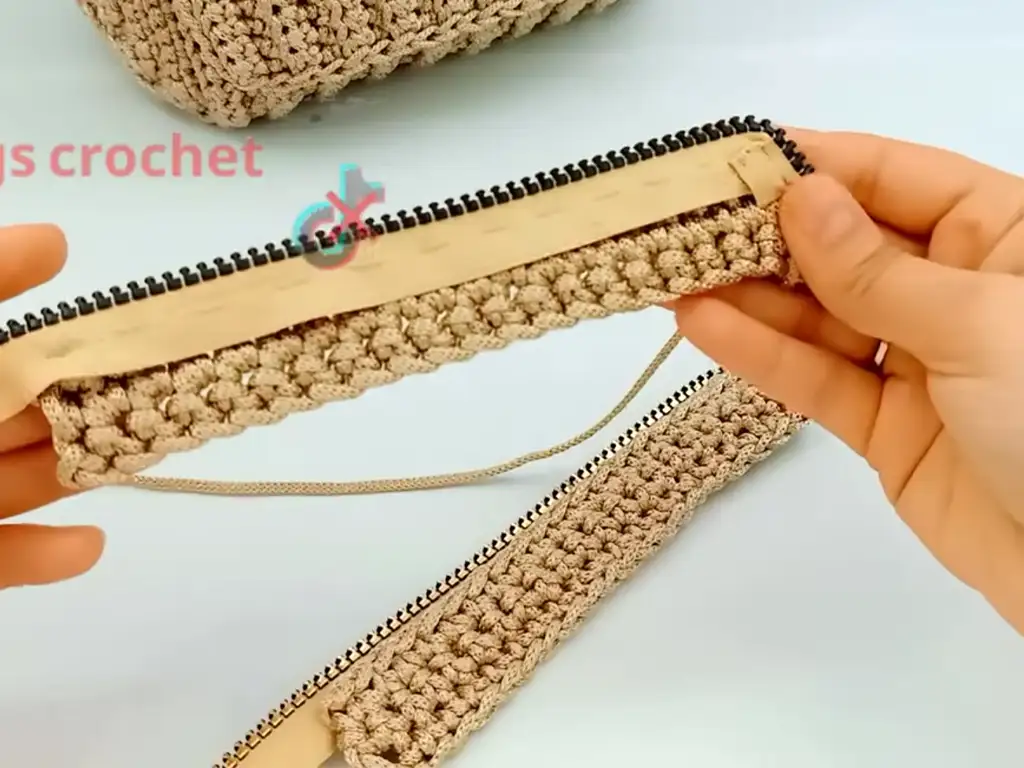
- Sew the two bag pieces together along the side seams using a tapestry needle and matching yarn.
- Handle Construction: Crochet two long strips (approximately 40 stitches wide and desired length) for the handles. Close them by sewing the short ends together or using slip stitches for a clean finish.
- Attach the Handles: Securely sew the handles to the top of your completed crochet shoulder bag.
Congratulations! You’ve crocheted a beautiful and functional shoulder bag!
Important Note: The tricks and detailed instructions in this pattern are inspired by the amazing work of @bagscrochet on YouTube. Be sure to check out their channel ([https://www.youtube.com/@bagscrochet]) for more fantastic crochet ideas!

Let’s Get Social!
I’d love to see your finished crochet shoulder bags! Share photos on Instagram and TikTok using the tags @tubacrochet_ and #crochetshoulderbag.
Other Crochet Projects You’ll Love
Inspired to crochet more? Here are some additional beginner-friendly projects to try:
Crocheting is a relaxing and rewarding hobby. I hope this DIY crochet shoulder bag pattern ignited your creativity. Let me know in the comments if you have any questions – happy crocheting!

