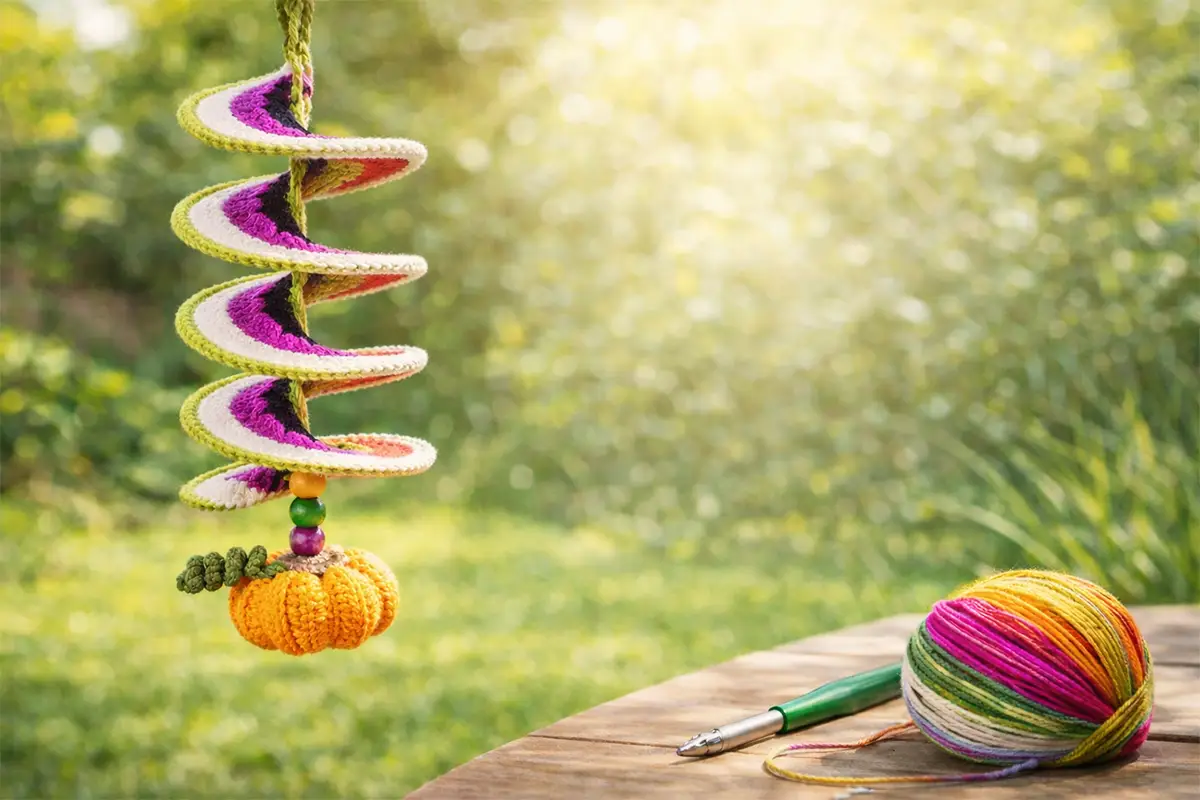
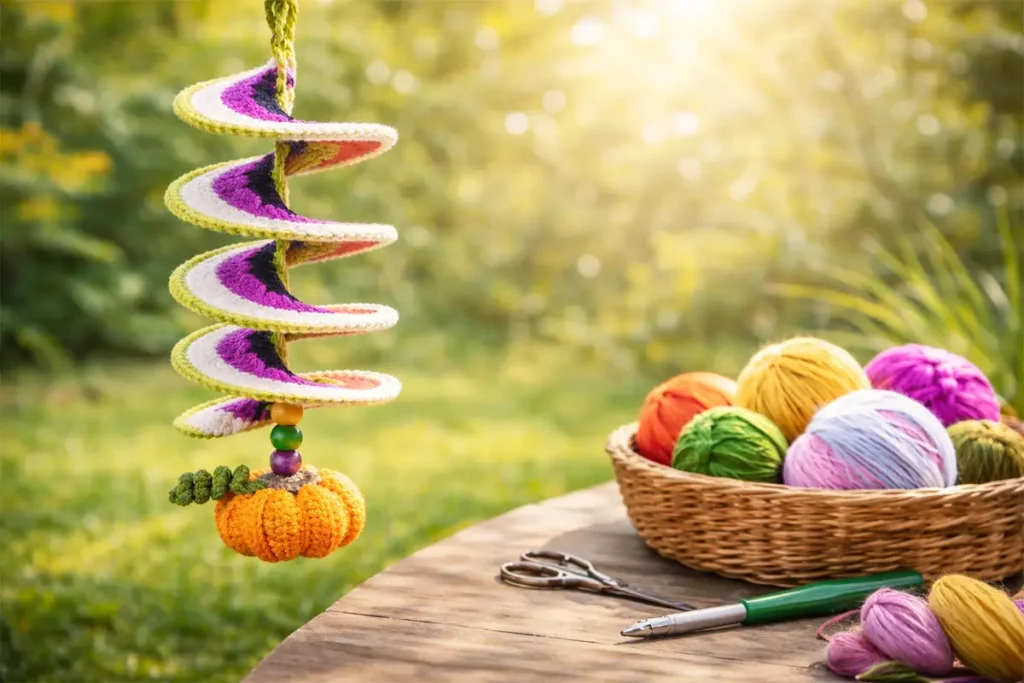
If you’re looking for a relaxing and eye-catching crochet project, this easy crochet wind spinner is a perfect choice. It’s beginner-friendly, works up in simple rows, and transforms into a beautiful spiral with just a gentle twist.
This project is ideal for decorating your balcony, garden, or even indoor spaces. Plus, you can fully customize it with beads, flowers, or seasonal motifs to match your personal style.
👉 You can follow the full video tutorial here:
📄 Prefer a printable version? Get the written pattern PDF here:
🧵 Easy Crochet Wind Spinner Materials You’ll Need
To make this easy crochet wind spinner, you’ll need:
- Medium-weight yarn (50% cotton, 50% acrylic)
- 2.5 mm crochet hook
- Tapestry needle
- Scissors
- Optional: beads, pearls, motifs, hanging cord
This simple material list makes the project very accessible, especially for beginners.
✨ Why This Easy Crochet Wind Spinner Is Great for Beginners
- Beginner-friendly and easy to follow
- Works up quickly in simple rows
- Fully customizable design
- Perfect DIY garden decor
- Great handmade gift idea
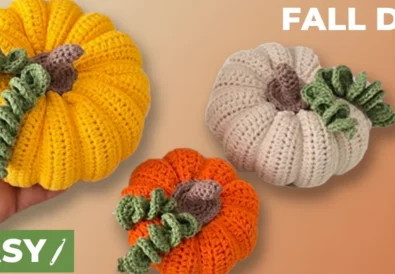
If you enjoy small decorative crochet projects, you might also like:
These projects pair beautifully with your wind spinner for a cohesive handmade collection.
🪡 Easy Crochet Wind Spinner Pattern Step by Step
This easy crochet wind spinner pattern is worked in rows and then shaped into a spiral.
Row 1 – Foundation
Start with 95 chains.
Work single crochet across the row, beginning in the second chain from your hook.
Row 2 – V-Stitch Row
Join your second color.
Work (hdc, ch 1, hdc) in each stitch across to create V-stitches.
Row 3 – Treble Crochet Row
Join your third color.
Work 3 treble crochets into each V-stitch space across the row.
Row 4 – Increase Row
Join your fourth color.
Work 2 treble crochets into each stitch across.
This is the row that creates fullness and helps the spiral form.
Row 5 – Finishing Row
Switch back to your first color.
Work (ch 1, slip stitch) across the row for a clean edge.
🌀 How to Shape Your Easy Crochet Wind Spinner
Once your strip is complete, the magic happens.
- Hold the top edge (where your color begins)
- Gently twist the piece to the right
- Open it slightly to let the spiral form naturally
💡 Tip: Don’t twist too tightly all at once. A gentle, gradual twist gives the best shape.
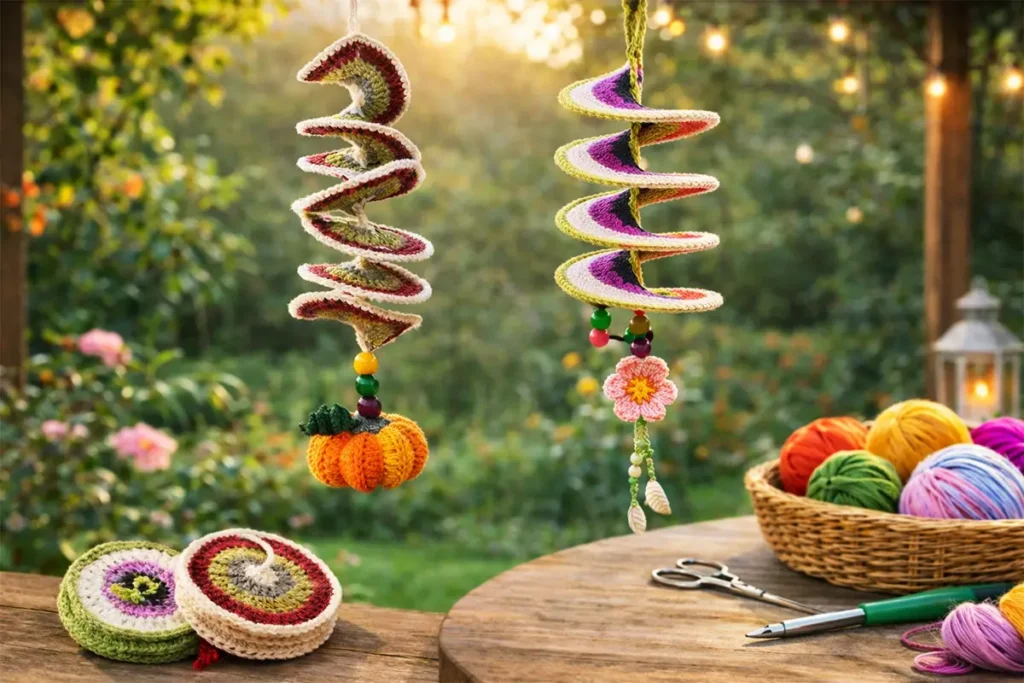
🌸 Easy Crochet Wind Spinner Decoration Ideas (Summer Theme Friendly)
Although the sample uses pumpkin motifs, you can easily adapt this project for a summer garden look.
Try decorating your wind spinner with:
- Small crochet flowers
- Seashell-inspired motifs
- Pearls or colorful beads
- Leaf details
- Tassels
This makes your easy crochet wind spinner suitable for any season.
🔗 Easy Crochet Wind Spinner Hanging Loop Instructions
- Use yarn or chains to create a loop at the top
- Adjust the length as needed
- Secure it tightly
You can hang your spinner:
- On a balcony
- In your garden
- Near a window
- On a porch
❓ Easy Crochet Wind Spinner FAQ
What type of yarn and hook size do I need for this project?
A medium-weight yarn with a 2.5 mm crochet hook works best. A cotton-acrylic blend gives structure while staying soft.
Is this project suitable for beginners?
Yes! This is an easy crochet project with repetitive stitches, making it perfect for beginners.
How long will the finished wind spinner be?
With 95 chains, the base is about 34 cm (13.4 inches). The final length depends on your tension and yarn choice.
How do I get the spinner to take its spiral shape?
Simply twist the finished strip gently to the right and open it slightly. The shape forms naturally.
Can I customize the decorations at the bottom?
Absolutely. You can use beads, flowers, shells, or any motif you like.
Do I have to cut the yarn for every color change?
No. You can carry the yarn if you prefer, but cutting gives a cleaner look.
Why does the fourth row feel so much longer than the others?
Because you are increasing stitches (2 treble crochets per stitch). This creates the fullness needed for the spiral effect.
💡 Pro Tips for Better Results
- Keep your tension consistent
- Use stitch markers if needed
- Twist slowly when shaping
- Block lightly for a smoother finish
- Choose high-contrast colors for a vibrant look
📺 Learn More & Follow
For more easy crochet tutorials and ideas:
🎥 YouTube
📸 Instagram
📘 Facebook
📌 Pinterest
🧡 Final Thoughts
This easy crochet wind spinner is one of those projects that looks complex but is surprisingly simple once you get started. With just a few rows and a little shaping, you can create a stunning decorative piece.
Whether you keep it for your own space or gift it to someone special, this project is a beautiful way to enjoy crochet.
💬 Which colors would you choose for your wind spinner? Let me know in the comments!