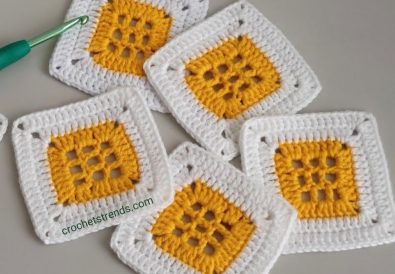
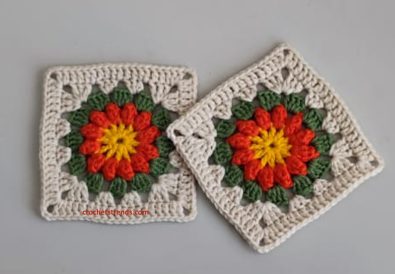
Are you ready to explore the wonderful world of crochet? If so, the classic granny square is the perfect place to start! This timeless pattern is simple enough for beginners but offers endless possibilities for creativity. In this blog post, I’ll guide you through a slightly modernized version of the basic granny square pattern – a design that’s perfect for blankets, bags, and so much more.
What You’ll Create
By the end of this tutorial, you’ll have a beautiful granny square with a unique cross pattern that adds a special touch. This project is beginner-friendly, and I’ll explain all the essential techniques you need to know.
Materials
- Yarn: Alize Cotton Gold (or similar weight yarn, any color you like) – Color A (main color), Color B (contrasting color)
- Hook: A 2.75 mm crochet hook.
- Scissors
- Needle (for weaving in ends)
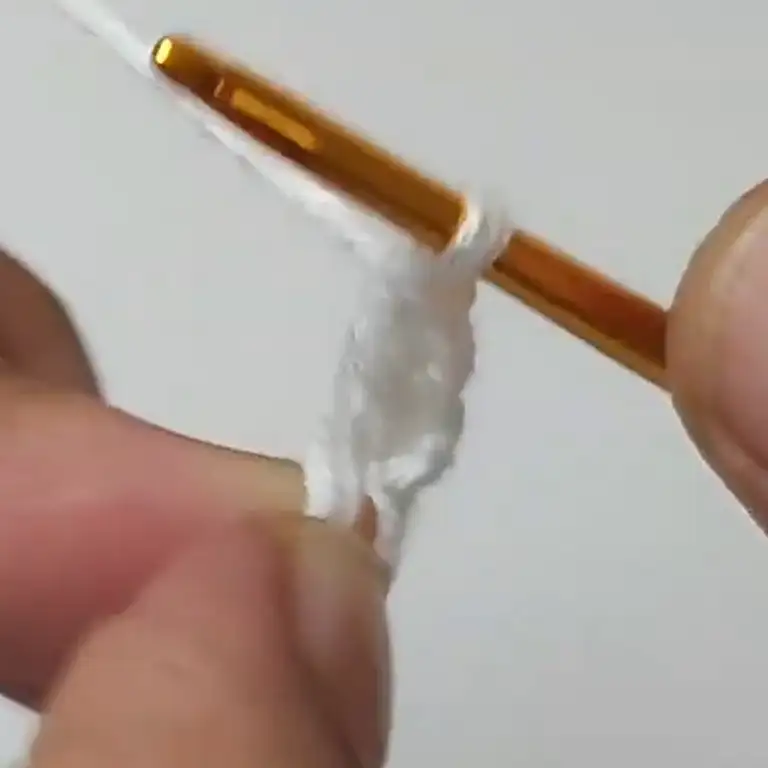
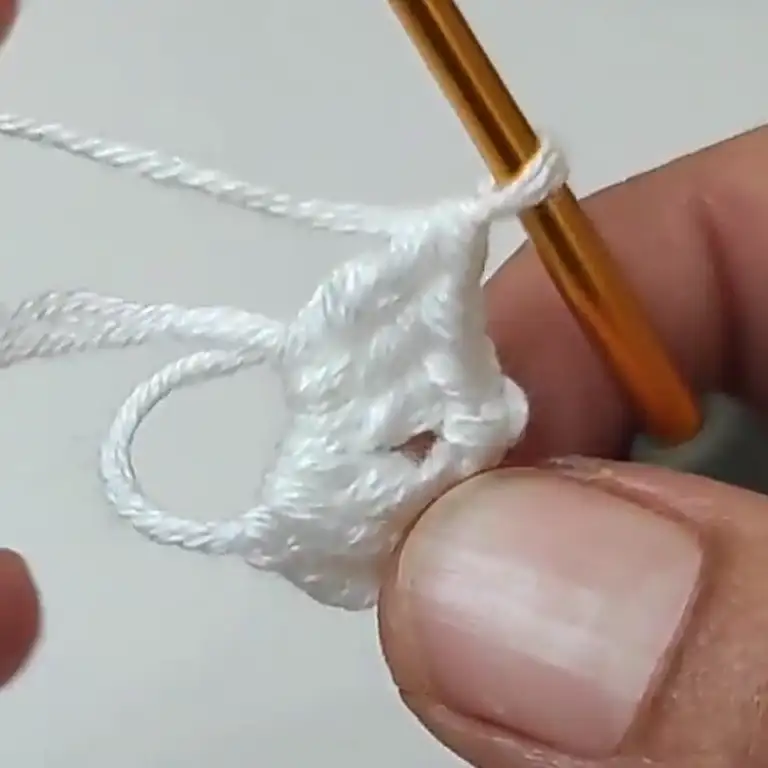
Crocheting the Granny Square: A Step by Step Guide
Let’s dive in! If you’re new to crochet, here are some quick explanations of the basic terms I’ll use:
- Chain Stitch (ch): Yarn over, pull through loop on hook, repeat for additional chains.
- Double Crochet (dc): Yarn over twice, insert hook into stitch or space indicated, yarn over, pull through 2 loops, yarn over, pull through 3 loops on hook.
- Single Crochet (sc): Yarn over, insert hook into stitch or space indicated, yarn over, pull through 1 loop, yarn over, pull through 2 loops on hook.
- Slip Stitch (sl st): Insert hook into stitch indicated, yarn over, pull through both loops on hook.
Notes:
- Each round begins with a chain (ch) that counts as the first stitch (dc or sc depending on the round).
- When changing colors, fasten the new color by pulling the new yarn through the last loop on your hook. Weave in ends with a yarn needle.
Written Pattern:
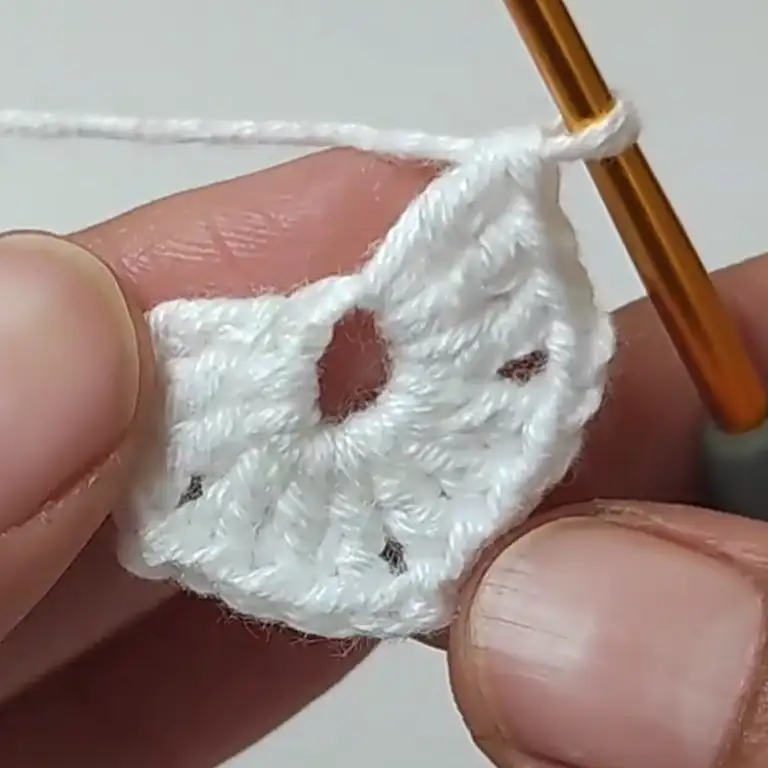
1. (Color A):
- Magic ring (learn how to make a magic ring if needed).
- Ch 3 (counts as first dc), 2 dc in the ring, ch 2, 3 dc in the ring, ch 2 repeat from * to * two more times (total of 4 corner spaces).
- Sl st to the top of the first ch 3 (joins the round).
2. (Color B):
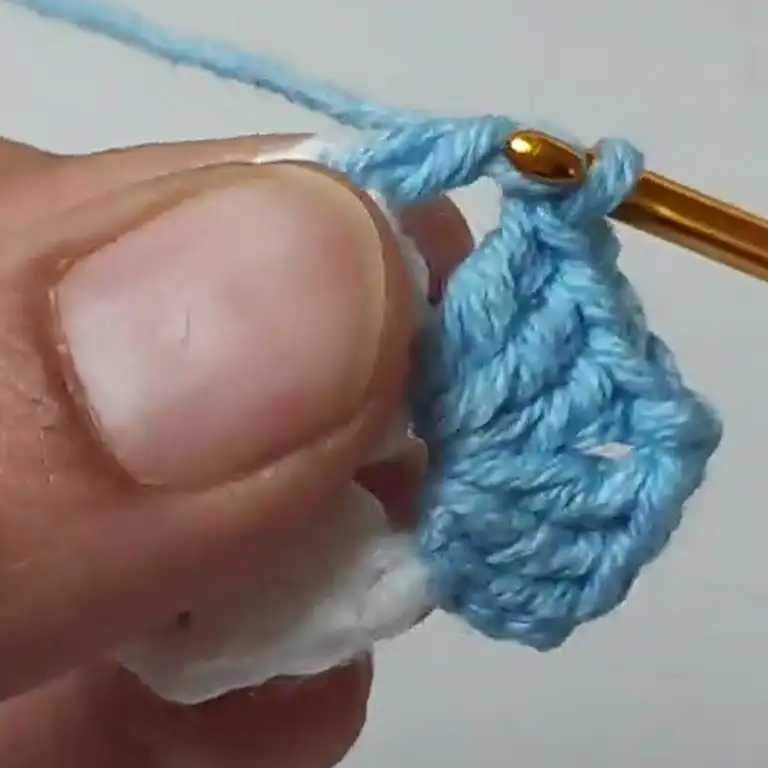
- Ch 3, 2 dc in the same space (first corner), ch 2, 3 dc in the next ch-2 space (creates a corner).
- Ch 1, skip the next single crochet in the side of the previous round, 3 dc in the next stitch (creates the base of the cross).
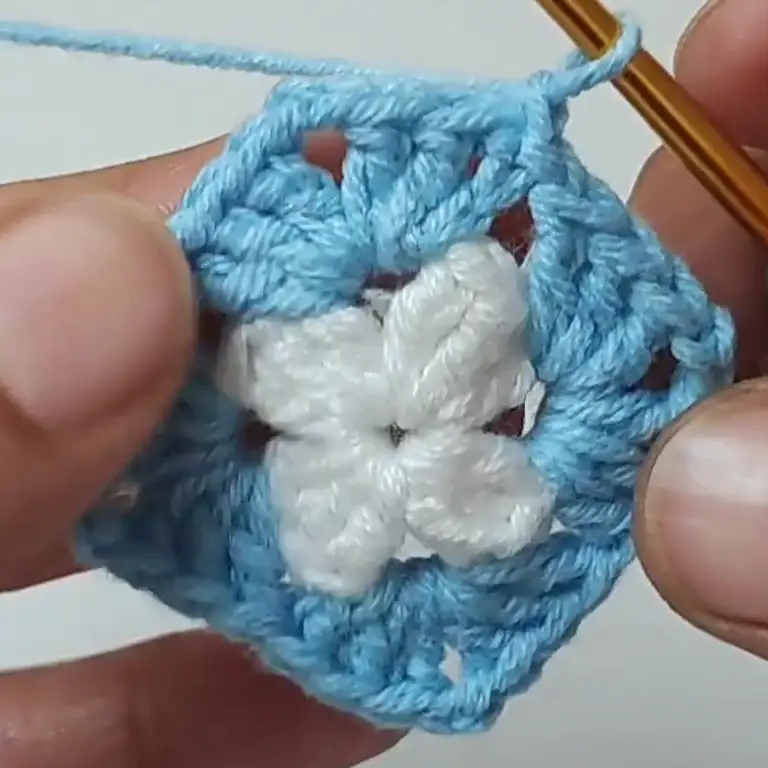
- Ch 4, quadruple crochet (4 dc in one stitch) in the third double crochet from the top of the corner group in the previous round (Color A), ch 3.
- 3 dc in the next stitch (completes the base of the cross), ch 1, skip the next single crochet in the side of the previous round, 3 dc in the next stitch.
- Continue this pattern (ch 2, 3 dc in corner space, ch 1, skip sc, 3 dc, ch 4, quadruple dc in 3rd dc from top corner (Color A), ch 3, 3 dc, ch 1, skip sc, 3 dc) around the entire round, until you reach the last corner space.
- For the last corner space: 2 dc in the same space, ch 2, 3 dc in the top of the starting chain 3 from round 1.
- Sl st to the top of the first ch 3 (joins the round).
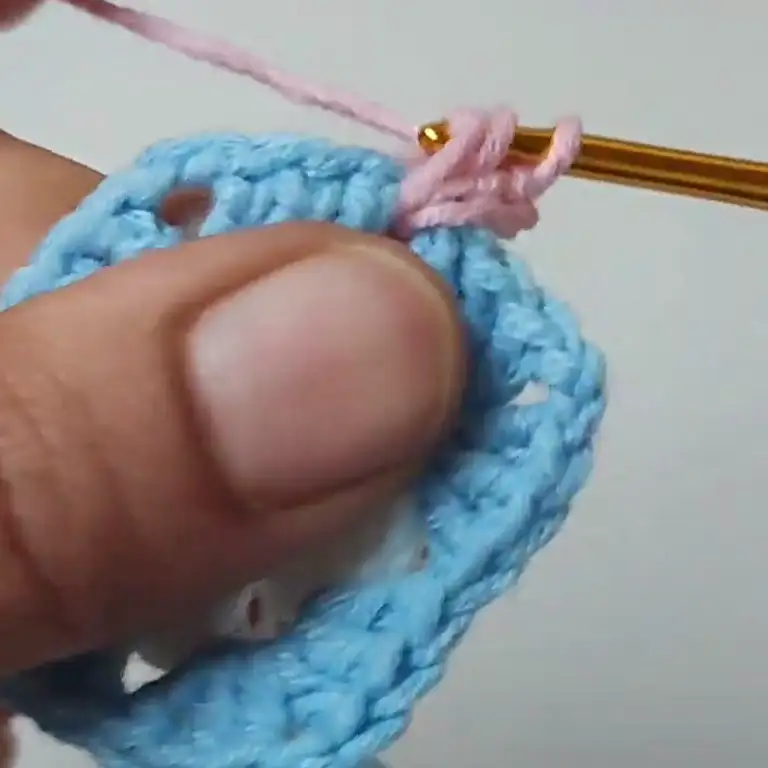
3. (Color A):
- Ch 1, 2 sc in the top of the corner dc cluster from the previous round, 3 sc in the next side space, 2 sc in the top of the next corner dc cluster.
- Repeat from * to * around the entire round, until you reach the base of the cross.
- For the base of the cross: 3 sc in the top of the ch-3 space from the previous round.
- Continue the pattern (3 sc in side space, 2 sc in corner) until you reach the end of the round.
- Sl st to the top of the first ch 1 (joins the round).
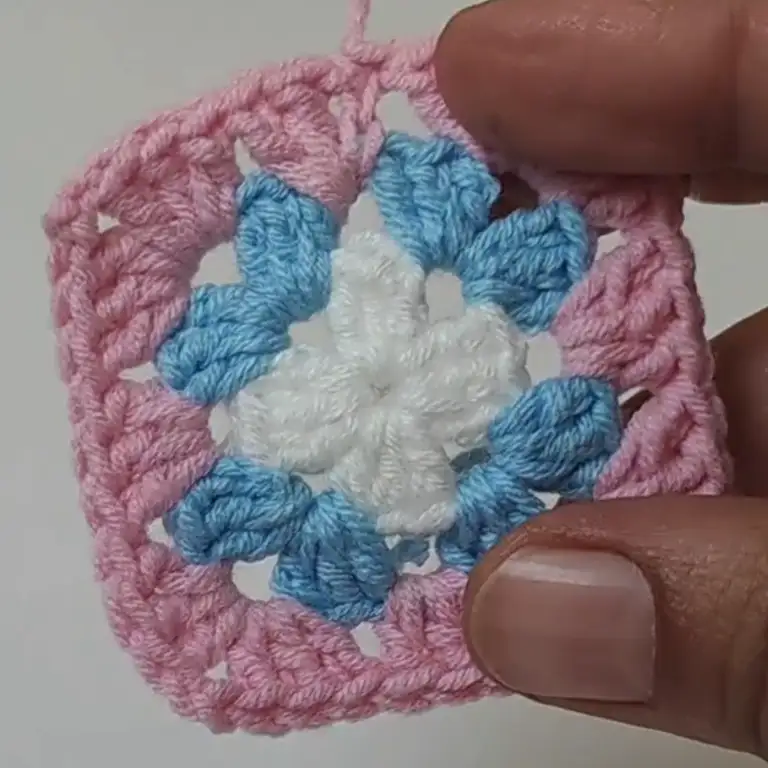
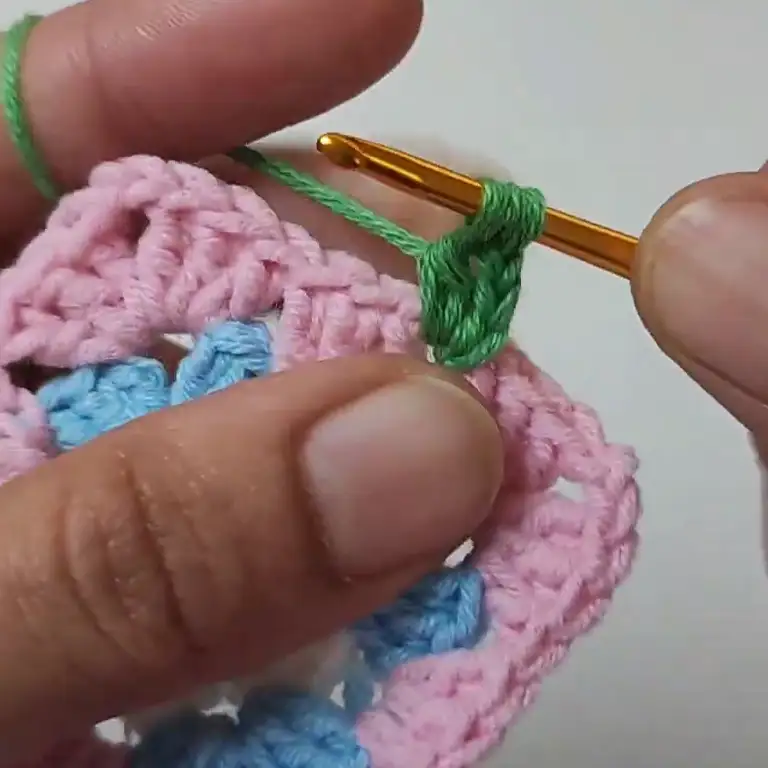

Repeat Rounds 2 and 3:
- Alternate Color B and Color A in each round, following the instructions for Round 2 (Color B) and Round 3 (Color A).
- As you continue working rounds, the granny square will begin to grow outwards. The single crochet stitches in Round 3 create the flat sides of the square, while the corner spaces and dc clusters in Round 2 build the height.
Increasing Rows (optional):
- To make a larger square, you can add “increasing rows” in between your color rounds.
- An increasing row would involve working two double crochets in each chain-2 space and side space instead of just one.
- You can add as many increasing rows as needed to achieve your desired square size.


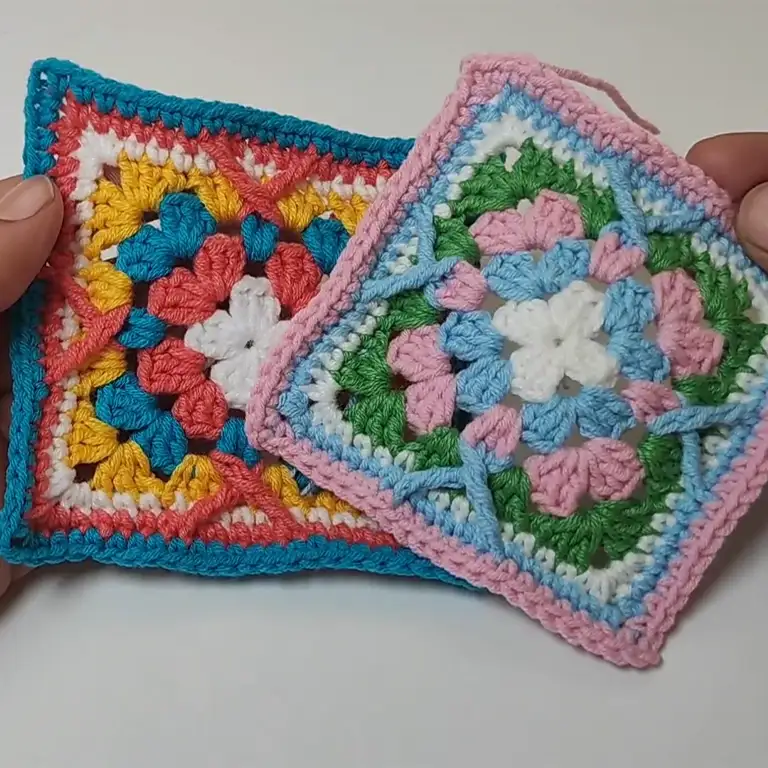
Descending Rows (Shaping):
Once your square reaches the desired size, you can add a few rounds with slight modifications to create a scalloped edge and a more finished look:
Round X (MC):
- Ch 3 (counts as first dc), 2 sc in the corner sp, sc decrease: sc in each of the next 2 sp, ch 1, sc in the next sp. Repeat the sc decrease sequence in each corner sp until the end of the round.
- Sl st to the top of the beginning ch-3 to join the round. (Decrease in stitch count)
Round X+1 (CC):
- Follow the same pattern as Round X (MC), substituting sc for dc.
Repeat Rounds X & X+1 until you reach the desired finished edge shape.
Tips:
- Counting Stitches: Double-check your stitch counts to ensure your square stays even.
- Tension: Keep your stitches consistent, not too tight or too loose.
Classic Granny Square Pattern with a Modern Twist
The unique touch in this pattern is the cross motif created in later rounds. It adds a lovely visual element without being overly complicated. This design is a fantastic way to add a touch of vintage charm with a contemporary twist to all your crochet projects.
Customizing Your Granny Square Pattern: Color & Design Ideas
The beauty of the granny square is its versatility! Get creative with these ideas:
- Play with Color: Use bold combinations, soft pastels, or a single color for a chic look.
- Size Matters: Adjust your hook size or yarn for bigger or smaller squares.
- Join Your Squares: Create blankets, scarves, or bags by connecting multiple squares.
Beyond the Basics: Advanced Granny Square Variations
Once you master the basic granny square, explore exciting variations! Try different stitch combinations, add embellishments, or experiment with unique shapes. The possibilities are truly endless!
Granny Square Projects: Inspiration for Blankets, Bags & More
Granny squares are perfect for countless projects. Here are some ideas to spark your creativity:
- Cozy Blankets: The classic granny square blanket is always in style.
- Stylish Bags: Crochet a trendy bag or tote with granny squares.
- Home Décor: Coasters, table runners, and more!
Other Crochet Projects You’ll Love
Inspired and looking for more? This pattern is by the wonderful TubaCrochet! Browse her YouTube channel ([https://www.youtube.com/@TubaCrochet]) for other brilliant crochet projects. Also, be sure to follow her on Instagram ([https://www.instagram.com/tubacrochet_]) and TikTok (tiktok.com/@tubacrochet) for crochet fun.
Share Your Creations & Join the Community
We love seeing your work! Share your awesome granny square projects on social media and tag TubaCrochet. Let’s build a vibrant community of crochet enthusiasts – leave a comment below and tell us your favorite granny square project ideas!
Other Crochet Projects You’ll Love
If you enjoyed this crochet granny square pattern, you’ll definitely love exploring more! Here are a few ideas to inspire your next crocheting adventure:
The granny square is a true testament to crochet’s accessibility and charm. It’s a fantastic pattern to learn, and with endless possibilities, it’s easy to see why it’s a favorite! Don’t hesitate to ask if you have any questions – happy crocheting!


