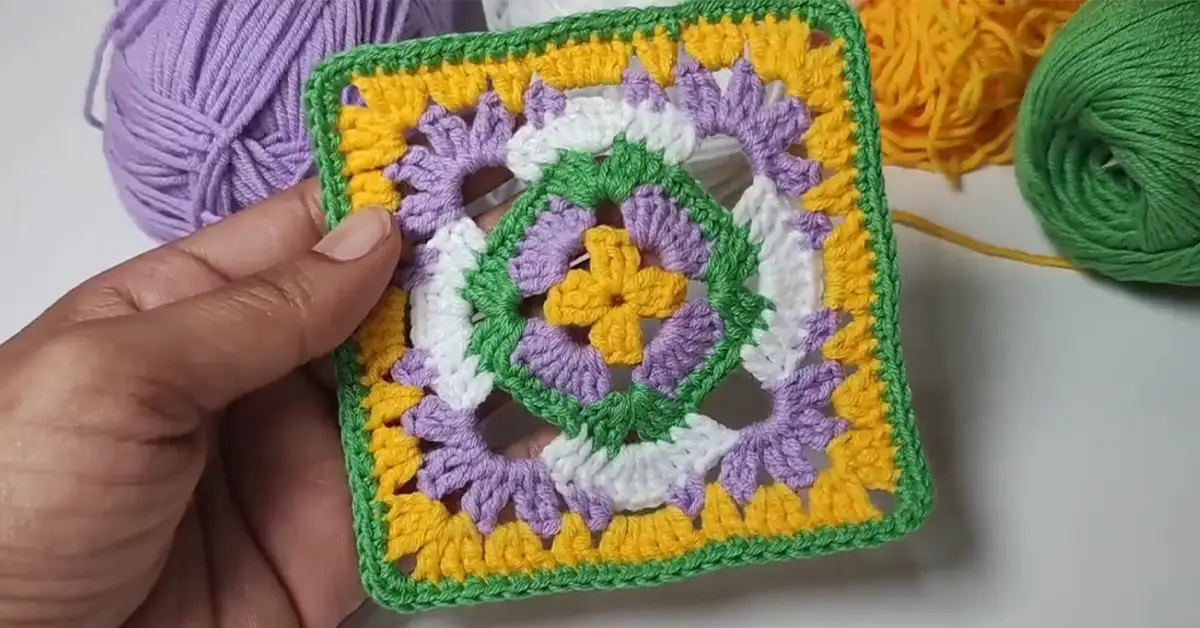
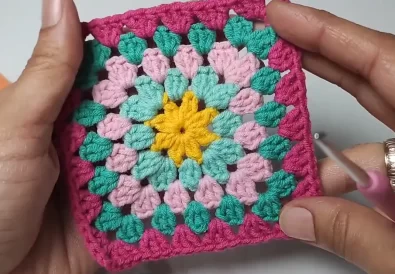
Firstly, let’s talk about why the granny square is so beloved. Indeed, it’s a versatile crochet square that can be used in countless ways, from blankets and afghans to bags, pillows, and even clothing. Most importantly, it’s an excellent beginner crochet project because it uses simple stitches and repetitive patterns. In other words, you’ll be creating beautiful squares in no time! To begin with, this basic granny square pattern is perfect for those just starting their crochet journey. To put it another way, it’s a fantastic way to learn fundamental stitches and build confidence.
Now that you know a bit about the project, let’s dive into the materials and steps!
Learn the Basic Granny Square Pattern: A Beginner’s Guide
Let’s get started by understanding what makes a granny square. In short, it’s a square motif built upon a central ring, with clusters of stitches forming the corners and open spaces in between. In this tutorial, we’ll be using a variation of the classic granny square that incorporates vibrant color changes, creating a modern crochet square motif that’s both eye-catching and fun to make.
Getting Started
To begin, gather your materials:
- Yarn: We’ll be using cotton yarn in various colors. The example from the video by @TubaCrochet uses cotton thread, but you can experiment with different weights and fibers. For instance, sport weight or DK weight yarn would work well. Choose colors that inspire you!
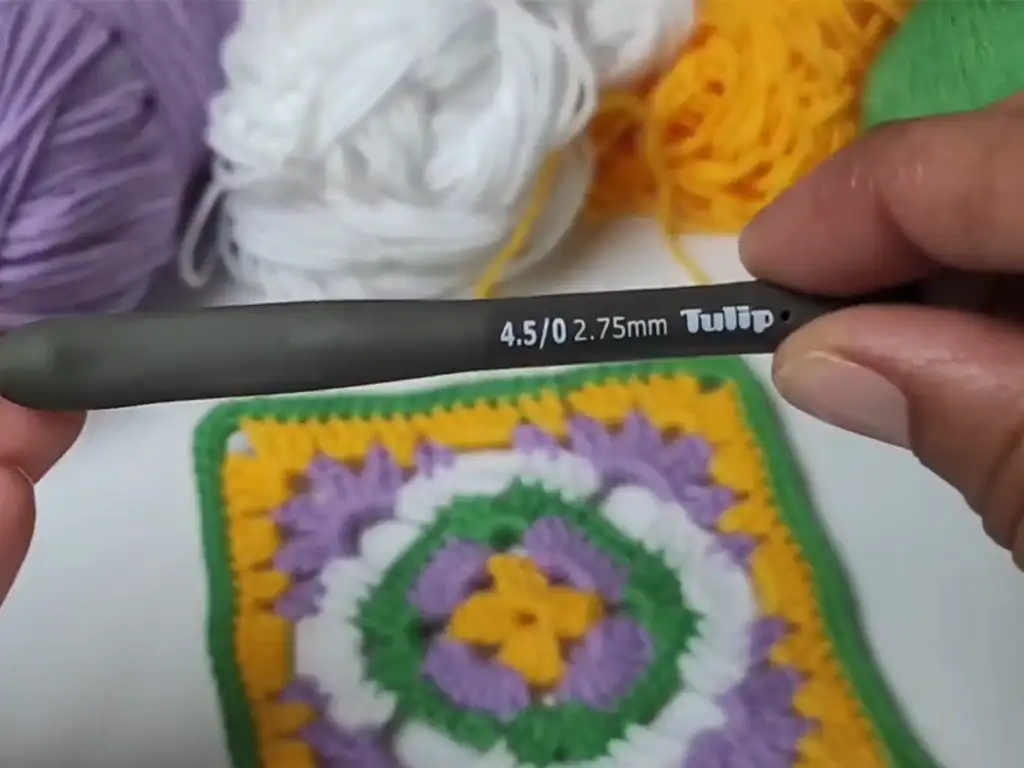
- Hook: A 2.75 mm crochet hook is recommended for this pattern. However, you can adjust the hook size based on your yarn choice to achieve the desired gauge.
- Scissors: Essential for snipping yarn.
- Yarn Needle: Helpful for weaving in ends.
To start, make sure you have all your materials ready. Choose a comfortable spot and good lighting. Moving on, it’s helpful to watch the video tutorial by @TubaCrochet on YouTube: [https://www.youtube.com/watch?v=BoyXhvc1-wY].
Step by Step Tutorial
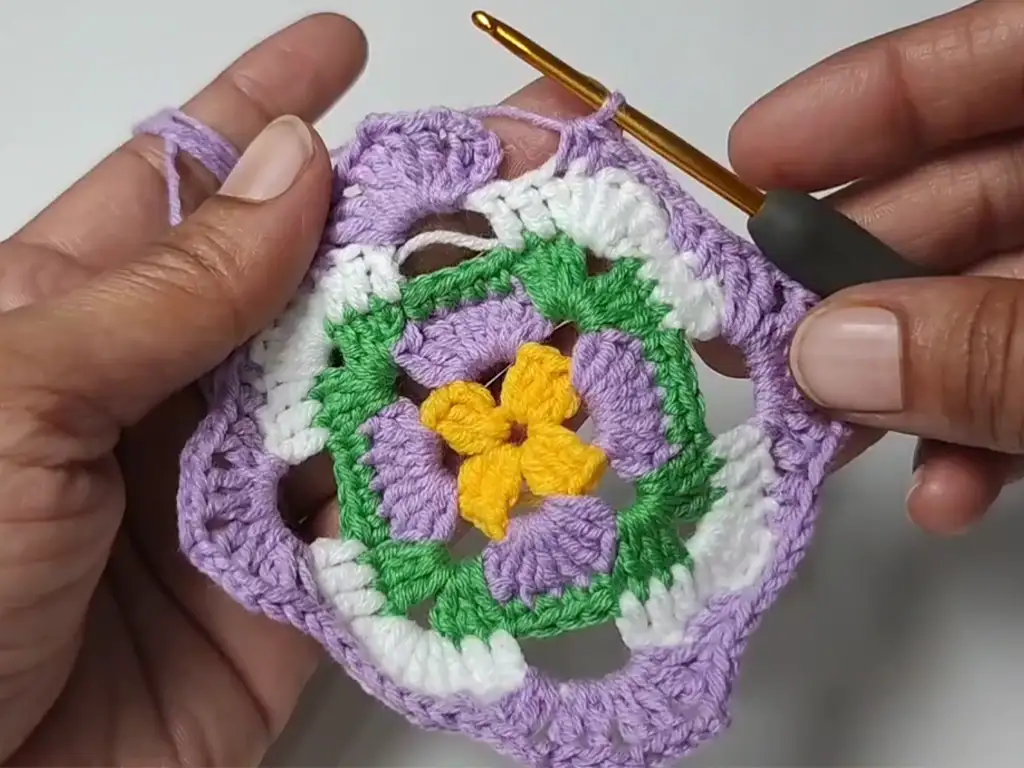
Now, let’s move on to the pattern itself! In fact, each round will be worked in a different color, so choose at least four colors you love.
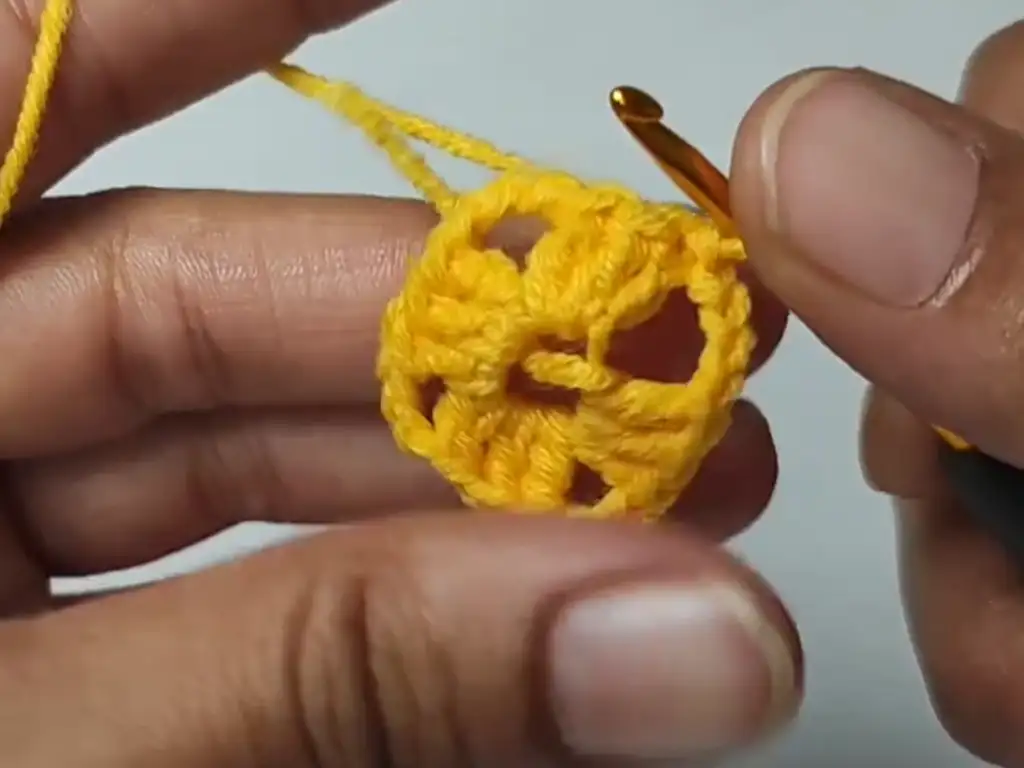
Round 1 (Color A):
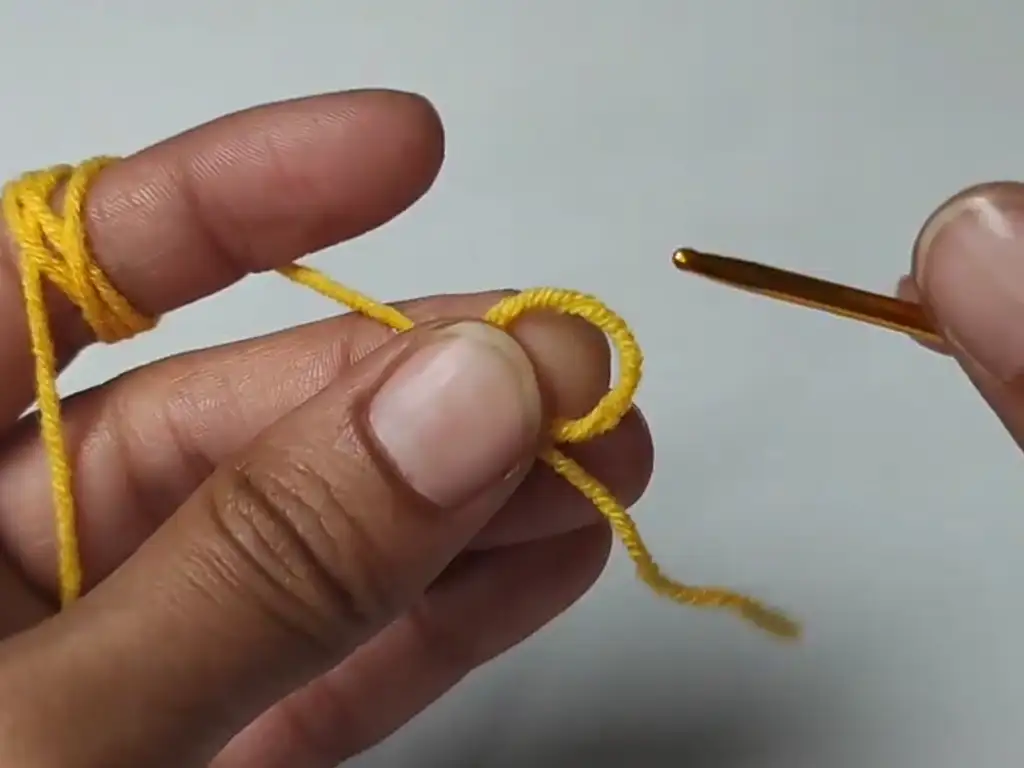
- Make a magic ring.
- Ch 3 (counts as a dc), 2 dc in ring, ch 3, 3 dc in ring.
- Repeat step 2 three times.
- Ch 3, sl st in top of beginning ch-3. (You should have 4 dc groups).
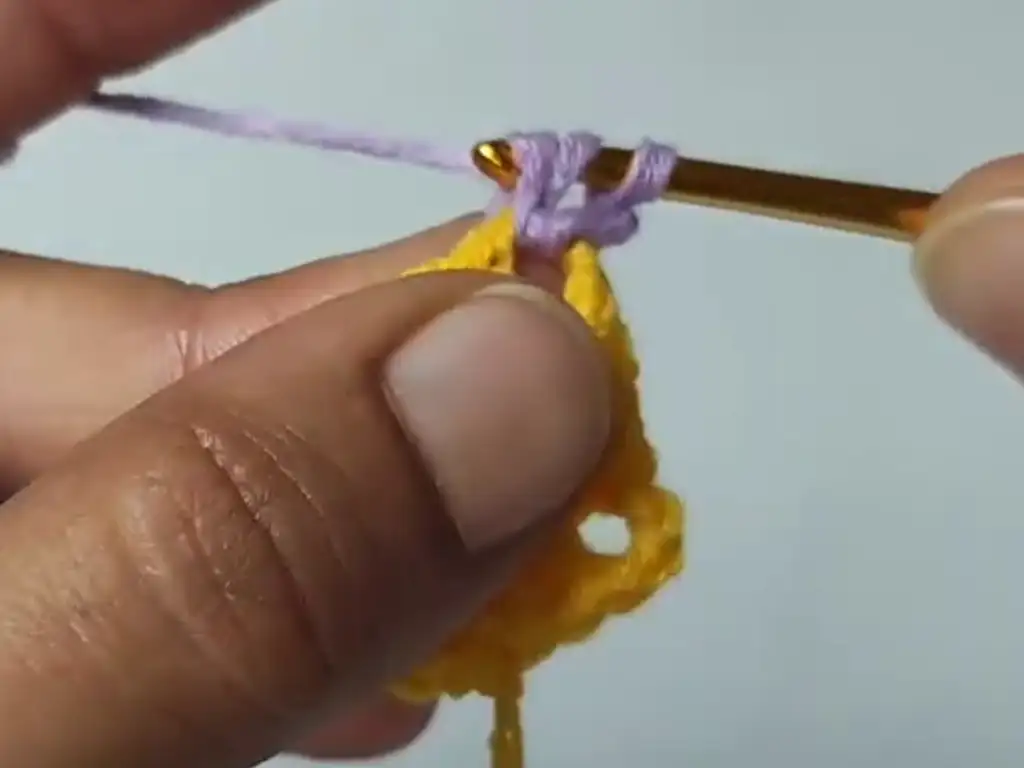
Round 2 (Color B):
- Ch 1, sl st in any ch-3 space.
- Ch 3, 7 dc in same ch-3 space (8 dc total, including starting ch-3).
- Ch 1, 8 dc in next ch-3 space.
- Repeat step 3 around (8 dc in each corner).
- Sl st in first st.
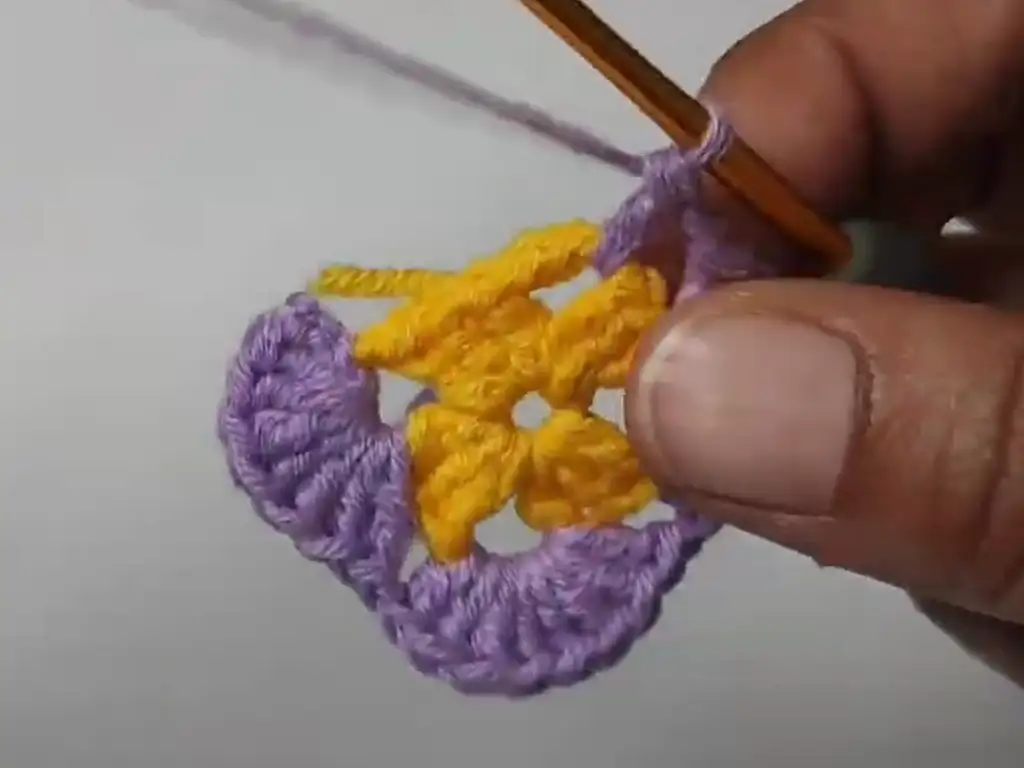
Row 3 (Color C):
- Ch 1, sl st in any ch-1 space.
- Ch 3, 2 dc, ch 2, 3 dc in same ch-1 space.
- Skip next 2 sts, 4 sc in next 4 sts.
- Ch 3, 2 dc, ch 2, 3 dc in next ch-1 space.
- Repeat steps 3-4 around.
- Sl st in first st.
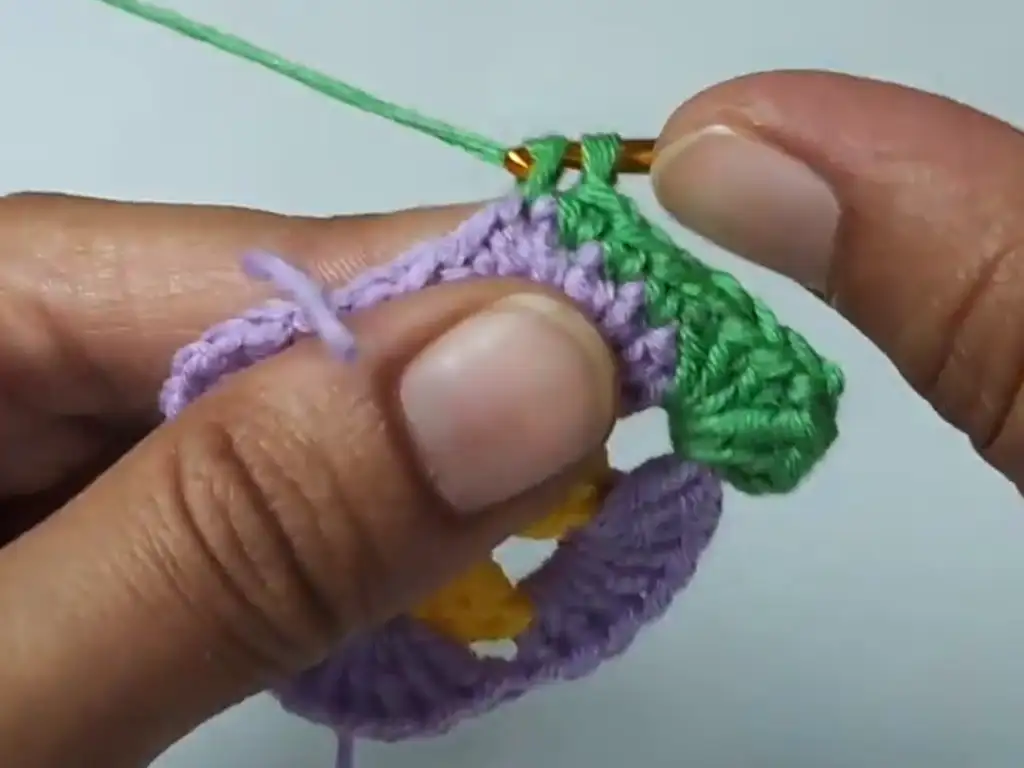
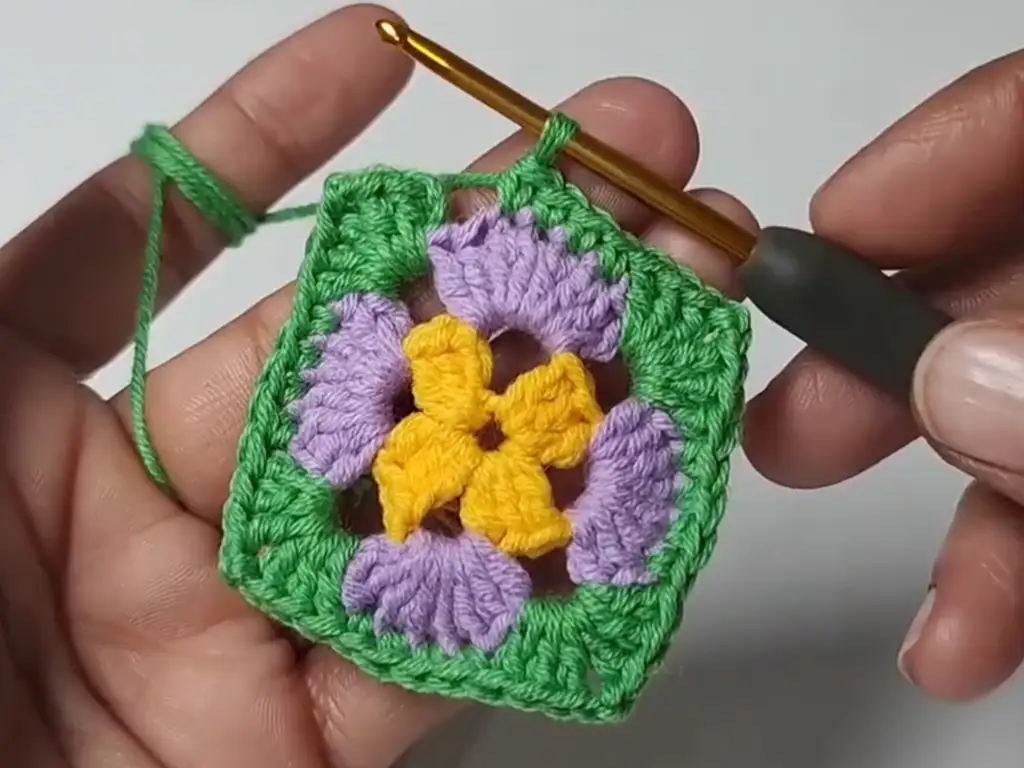
Row 4 (Color A):
- Ch 1, sl st in any corner ch-2 space.
- Ch 3, 4 dc in same ch-2 space (5 dc total, including starting ch-3).
- 3 dc in top of each of next 3 dc from Round 3.
- Ch 4, skip next 4 sc, 3 dc in top of each of next 3 dc.
- 5 dc in next corner ch-2 space.
- Repeat steps 3-5 around.
- Sl st in first st.
Round 5 (Color B):
- Ch 1, sl st in any ch-4 space.
- Ch 4, 1 tr, ch 2, 2 tr, ch 2, 2 tr, ch 2, 2 tr in same ch-4 space (4 tr clusters separated by ch-2 spaces).
- Skip next 2 sts, 2 hdc in next 2 sts.
- Ch 3, skip next 3 sts, 2 hdc in next 2 sts.
- Repeat steps 2-4 around, working 4-tr clusters in each ch-4 space.
- Sl st in first st.
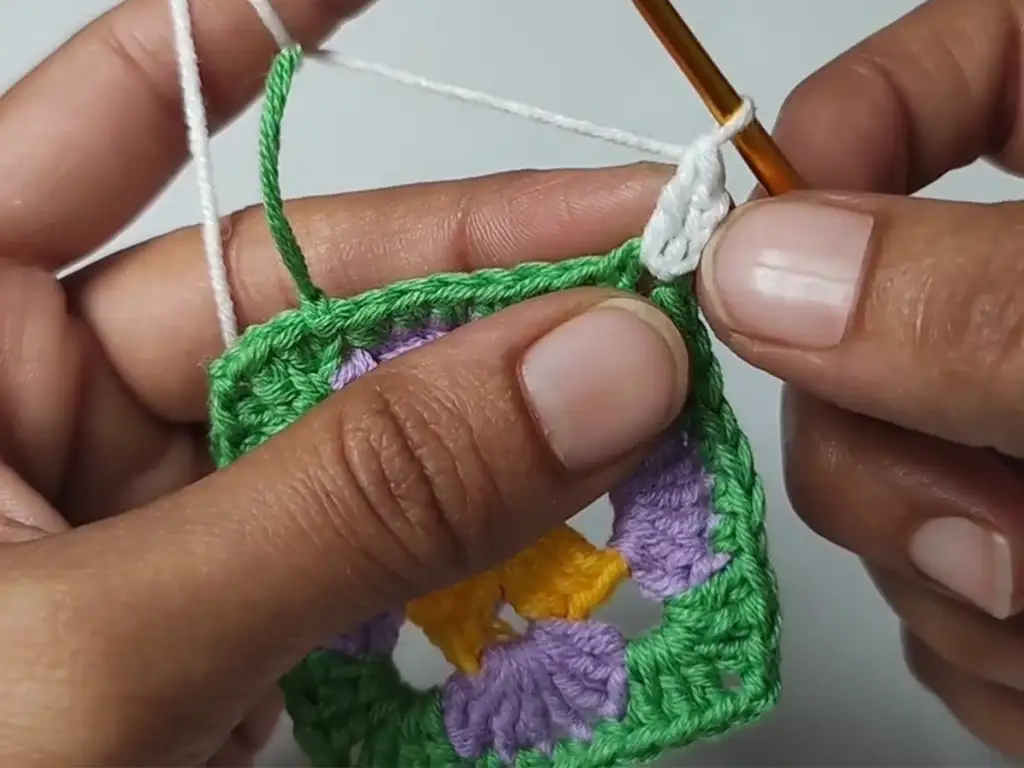
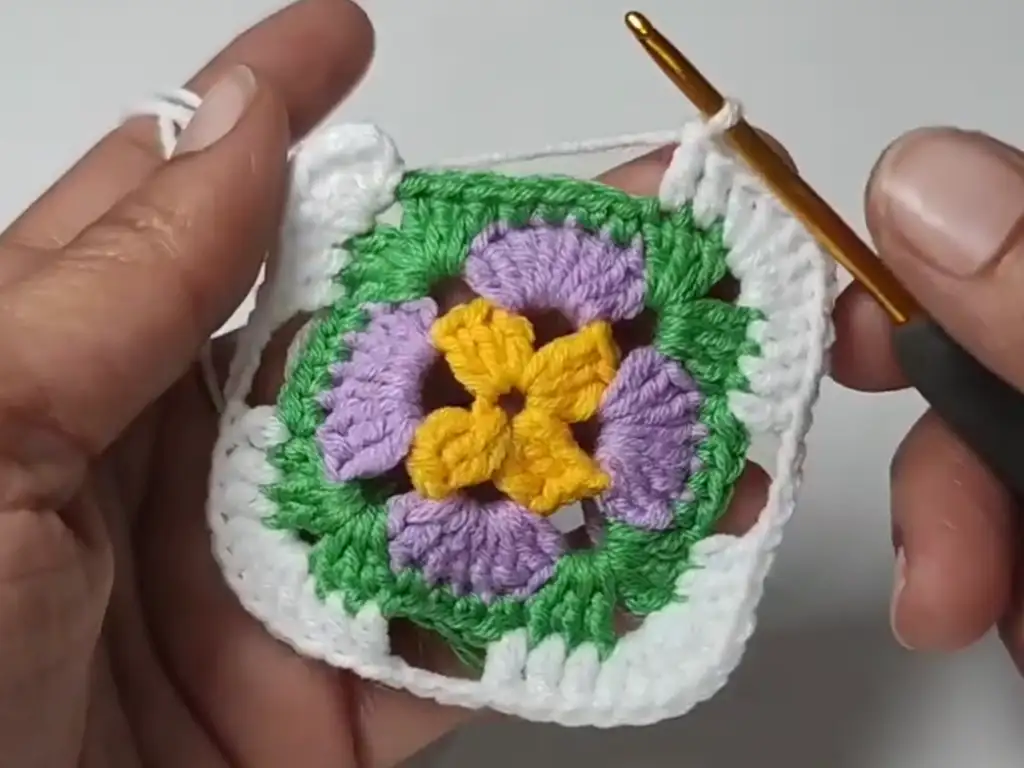
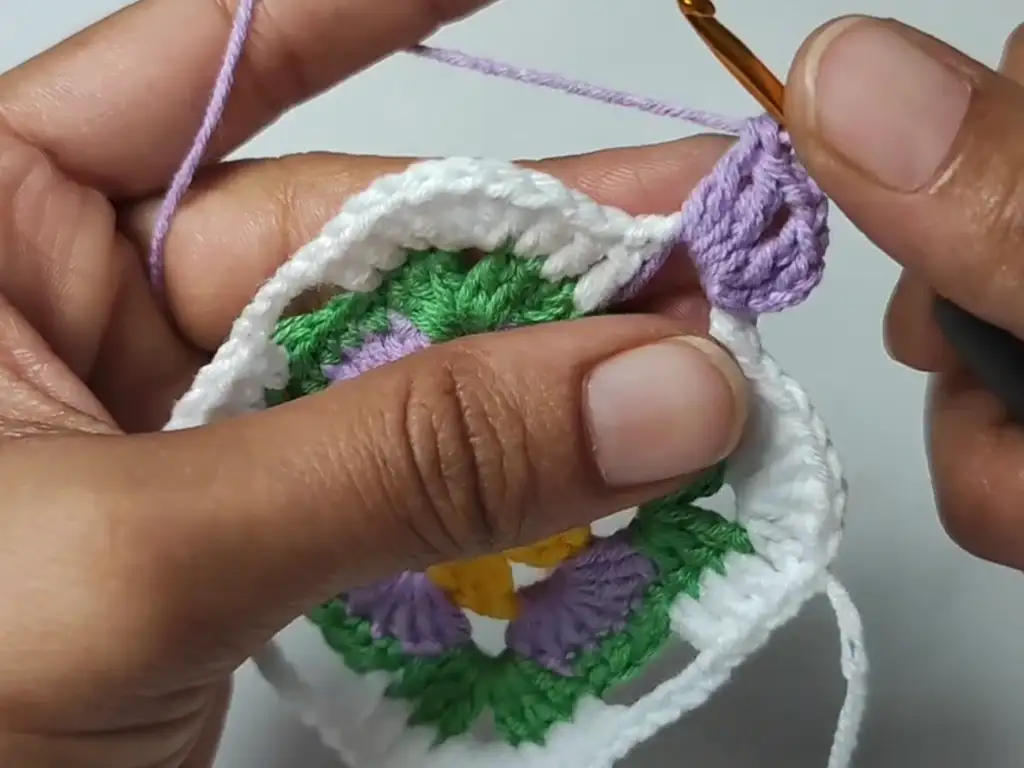
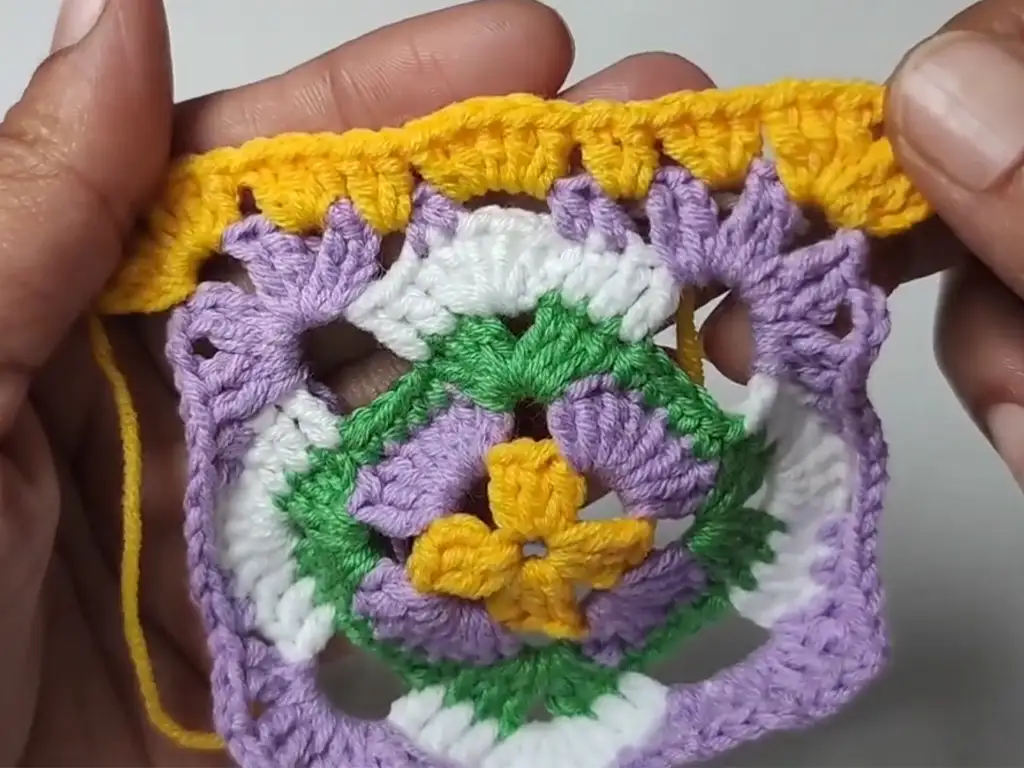
Round 6 (Color A):
- Ch 1, sl st in any corner ch-2 space.
- Ch 3, 2 tr in same ch-2 space, ch 2, 3 tr in same space.
- 3 dc in each of the next two ch-2 spaces.
- 2 dc in space between tr cluster and hdc from previous round.
- 5 dc in next 3 ch spaces.
- 2 dc in space between next tr cluster and hdc.
- 3 dc in each of next two ch-2 spaces.
- Ch 2, 3 tr, ch 2, 3 tr in next corner ch-2 space.
- Repeat steps 3-8 around.
- Sl st in first st.
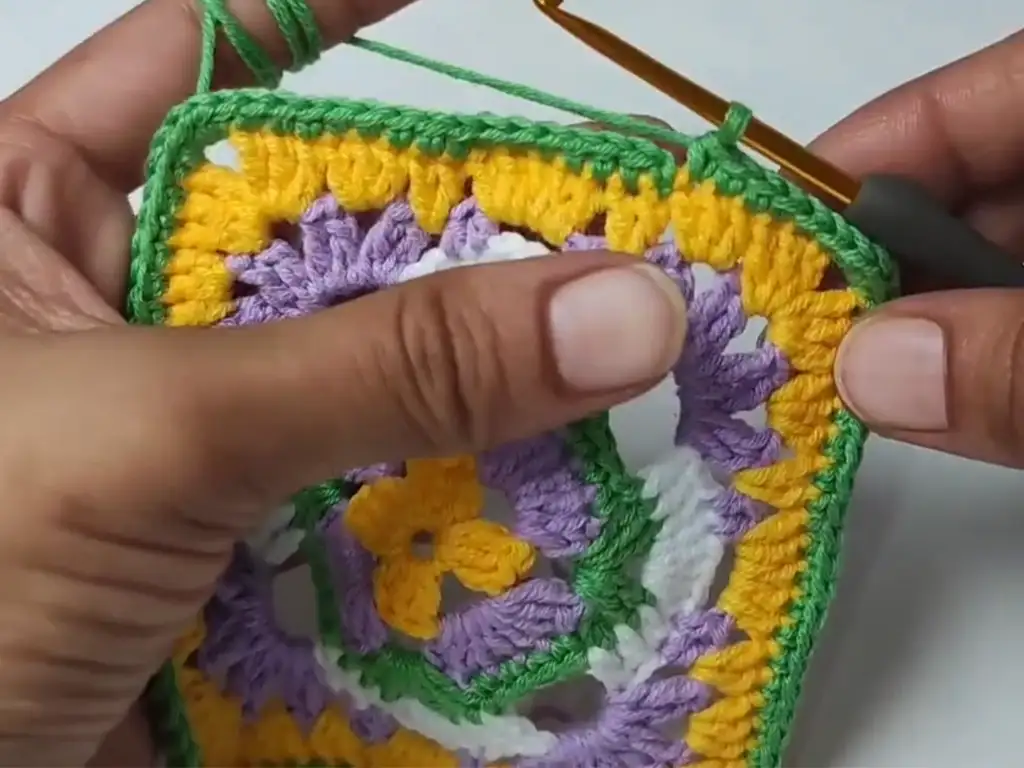
Row 7 (Color C):
- Ch 1, sl st in any stitch.
- Ch 1, sc in each stitch around, working 4 (or 5) sc in each corner chain space.
- Sl st in first st.
Fasten off and weave in all loose ends.
DIY Crochet Square Motif: Mastering the Basic Granny Square
To illustrate, let’s take a closer look at some of the techniques involved in this basic granny square pattern:
- Magic Ring: This technique creates a tight center for your square. To begin, wrap the yarn around your finger, then insert your hook through the loop and pull up a loop. Continue as if you were working into a regular chain.
- Double Crochet (dc): Yarn over, insert your hook into the stitch, yarn over and pull up a loop, yarn over and pull through two loops, yarn over and pull through the remaining two loops.
- Chain Spaces (ch-sp): These spaces create the openwork design of the granny square.
Colorful Crochet Square: Variations on the Basic Granny Square Pattern
Undoubtedly, one of the best things about the granny square is its versatility. Besides changing colors, you can also experiment with different stitch combinations to create unique textures and patterns. For example, try replacing some double crochets with triple crochets or half double crochets.
Beyond the Basics: Creative Uses for Your Granny Square Motifs
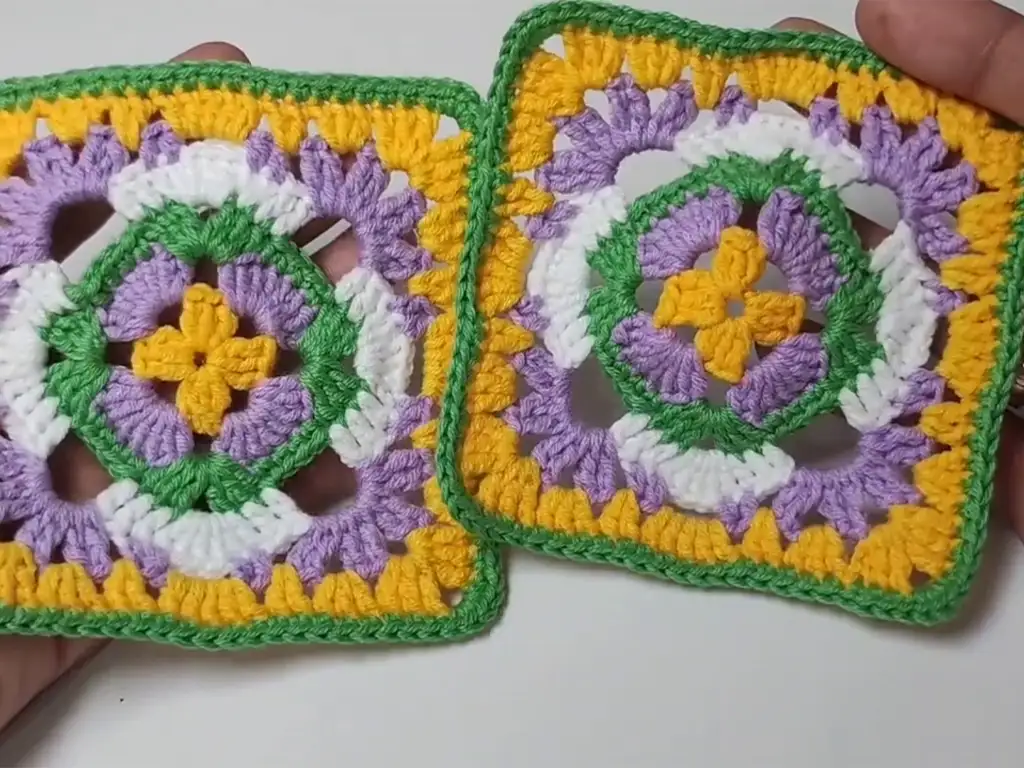
After that, once you’ve mastered the basic granny square pattern, the possibilities are endless! As you can see, these squares can be joined together to create blankets, afghans, bags, pillows, and more. Additionally, they can be used as appliques on clothing or incorporated into other crochet projects.
Understanding the Basic Granny Square Pattern Structure
In particular, pay attention to the corner spaces. These are formed by clusters of double crochets and are key to creating the square shape.
Tips and Tricks for a Perfect Basic Granny Square
- Tension: Maintaining consistent tension throughout your square is key to achieving a polished look. Be mindful of how tightly or loosely you’re crocheting, especially when switching between colors.
- Counting Stitches: It’s easy to lose track of stitches, especially as your square grows. To stay on track, count your stitches at the end of each round. This is especially crucial when working on corner increases.
- Blocking: Blocking your granny squares is a game-changer! It helps even out any inconsistencies in tension and gives your squares a crisp, professional finish. To block, simply pin your squares to a foam board or towel, mist them lightly with water, and let them dry completely.
Adding Color to
Now, let’s talk about color! Because of its repetitive nature, the granny square is the perfect canvas for playing with different color combinations. Due to the multiple rounds, you can create stripes, gradients, or even intricate color patterns.
From Basic Granny Square to Stunning Crochet Projects
Congratulations! You’ve mastered the basic granny square. Now, what can you create with it? The possibilities are truly limitless:
- Blankets: Sew together multiple squares to create cozy blankets and afghans.
- Bags: Use sturdy yarn and a sturdy lining to craft stylish totes and purses.
- Pillows: Crochet squares in different colors and textures to make decorative pillows for your home.
- Scarves: Join squares diagonally or in a rectangular shape to create eye-catching scarves and wraps.
- Amigurumi: Use small granny squares as the base for adorable amigurumi animals or whimsical characters.
Exploring Different Basic Granny Square Variations
In addition to the basic granny square pattern, there are countless variations you can explore. There are solid granny squares, lacy granny squares, and even floral granny squares.
Troubleshooting Common Basic Granny Square Mistakes
To wrap up, here are a few common mistakes to watch out for:
- Uneven Edges: This usually occurs due to inconsistent tension. Try to be more mindful of your tension as you crochet, and block your squares for a more polished look.
- Adding or Missing Stitches: Count your stitches at the end of each round, especially after corner increases, to ensure you’re on track. If you find an extra stitch, you can often discreetly decrease it in the next round. If you’re missing a stitch, carefully frog back and redo the round.
- Twisting Squares: This often happens when you forget to turn your work at the end of a round. Double-check that you’re turning your square before starting each new round.
Other Crochet Projects You’ll Love:
There are so many creative things you can make with crochet! Here are some other projects you might enjoy:
Connect with Us!
Finally, don’t forget to check out the tutorial by @TubaCrochet on YouTube here. Moreover, share your projects on Instagram, TikTok, and Facebook to connect with other crochet enthusiasts.
- Instagram: “https://www.instagram.com/tubacrochet_”
- TikTok: “tiktok.com/@tubacrochet”
- Facebook: “https://www.facebook.com/tubacrochet/”
We can’t wait to see what you create!
Conclusion: To sum up, the basic granny square pattern is a timeless classic that every crocheter should know. In conclusion, it’s a versatile and enjoyable project that offers endless possibilities for creativity. We hope this tutorial has inspired you to give it a try! Finally, don’t forget to leave a comment below and let us know what you think!

