Free Crochet Bolero Shrug Pattern: Perfect for Summer Style
Are you ready to elevate your summer wardrobe with a touch of handmade elegance? Look no further than this free crochet bolero shrug pattern! Whether you’re a seasoned crocheter or a complete beginner eager to learn, this simple and easy crochet bolero tutorial will guide you step by step in creating a stunning crochet bolero shrug perfect for sunny days and breezy evenings. With its lightweight and airy mesh crochet bolero design, this versatile piece can be dressed up or down, making it a must-have addition to your closet. So grab your crochet hook and let’s dive into this delightful crochet bolero pattern for beginners!
Why You’ll Love This Crochet Bolero Shrug Pattern
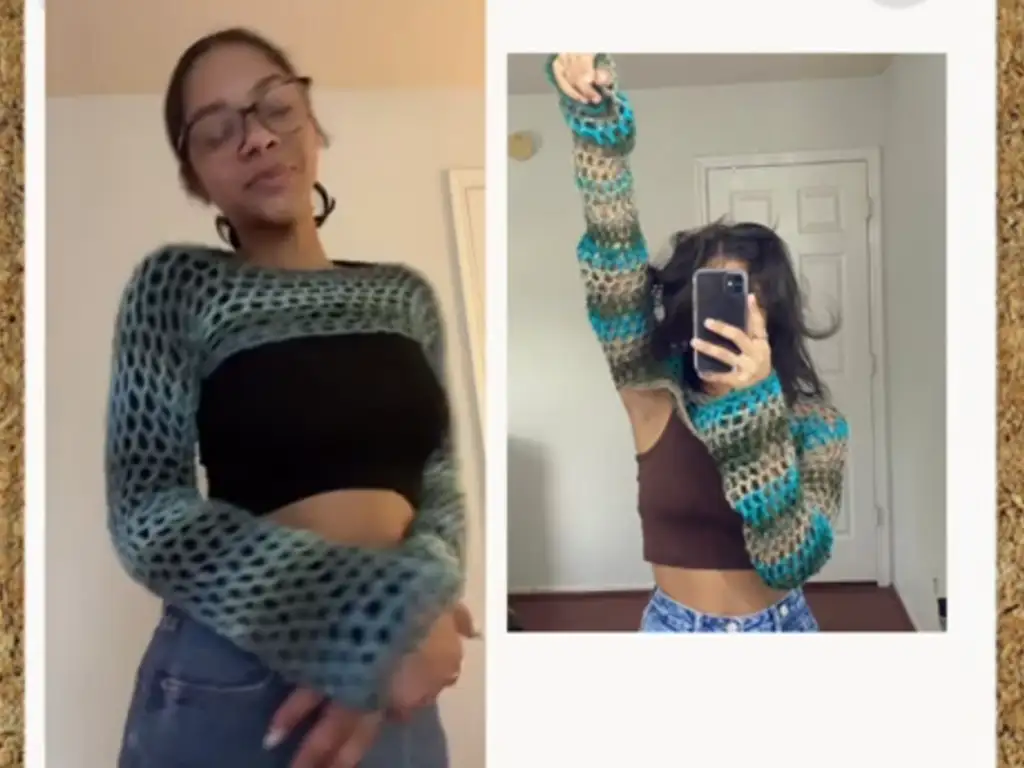
This crochet bolero shrug pattern is designed with the beginner crocheter in mind. It’s a simple crochet bolero that utilizes a beautiful mesh stitch, creating a light and airy fabric perfect for summer. You’ll also love the quick and easy assembly, making it a great project to whip up in a weekend. In addition to its ease, this crochet bolero shrug is incredibly versatile. It can be dressed up or down, and it’s perfect for layering over a variety of outfits. Plus, you can personalize it with your favorite colors and yarn textures, making it truly your own.
Materials You’ll Need for Your Crochet Bolero Shrug
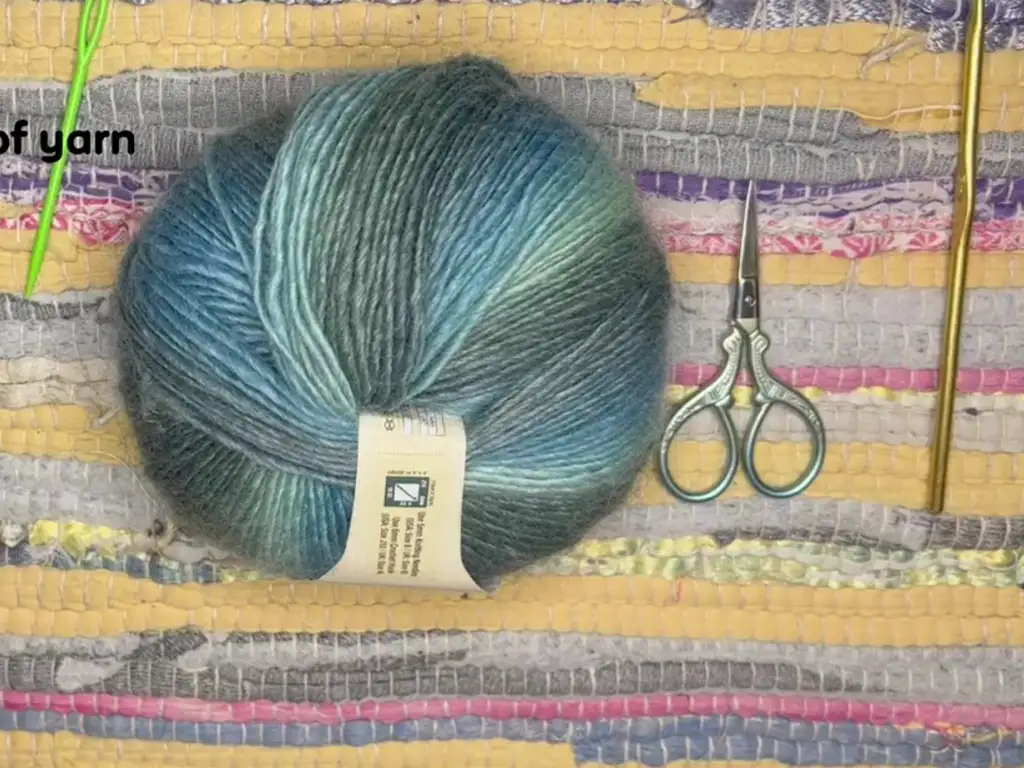
- Yarn: 100g (3.50g/270yds) of yarn. The video uses Jade Tefeda from Hobby Lobby, brand Yarn Bee. However, you can use any yarn you like! You can even mix and match colors for a unique look. If you want a lightweight summer crochet bolero, opt for a thinner yarn like cotton or linen. For a warmer crochet bolero that can be worn in cooler weather, choose a thicker yarn like wool or acrylic.
- Crochet hook: 4.25 mm
- Scissors: For cutting yarn
- Darning needle: For weaving in ends
- Measuring Tape: To check your gauge and ensure the perfect fit.
Crochet Bolero Shrug Abbreviations and Stitches
This crochet bolero pattern uses US crochet terminology. Here’s a quick rundown of the stitches:
- ch: Chain
- dc: Double crochet
- st: Stitch
- sl st: Slip stitch
Step by Step Guide: Crochet Bolero Shrug Instructions
Note: This crochet bolero shrug pattern is written for a size small. Adjustments for other sizes are provided in the next section.
First, let’s create the front panel:
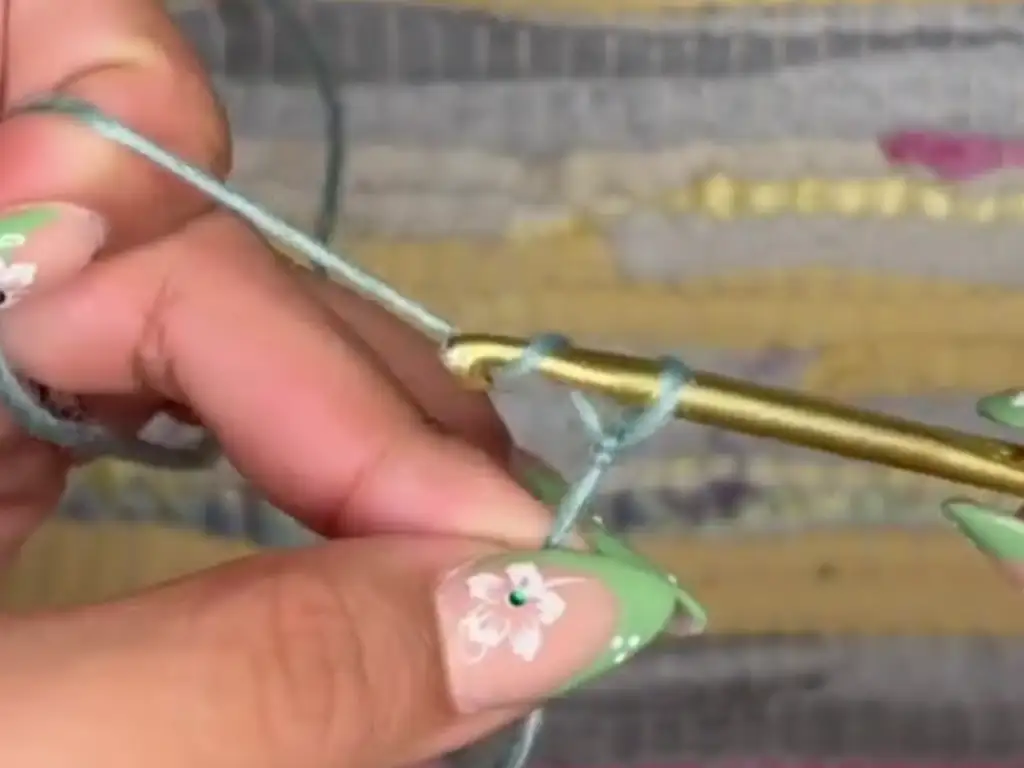
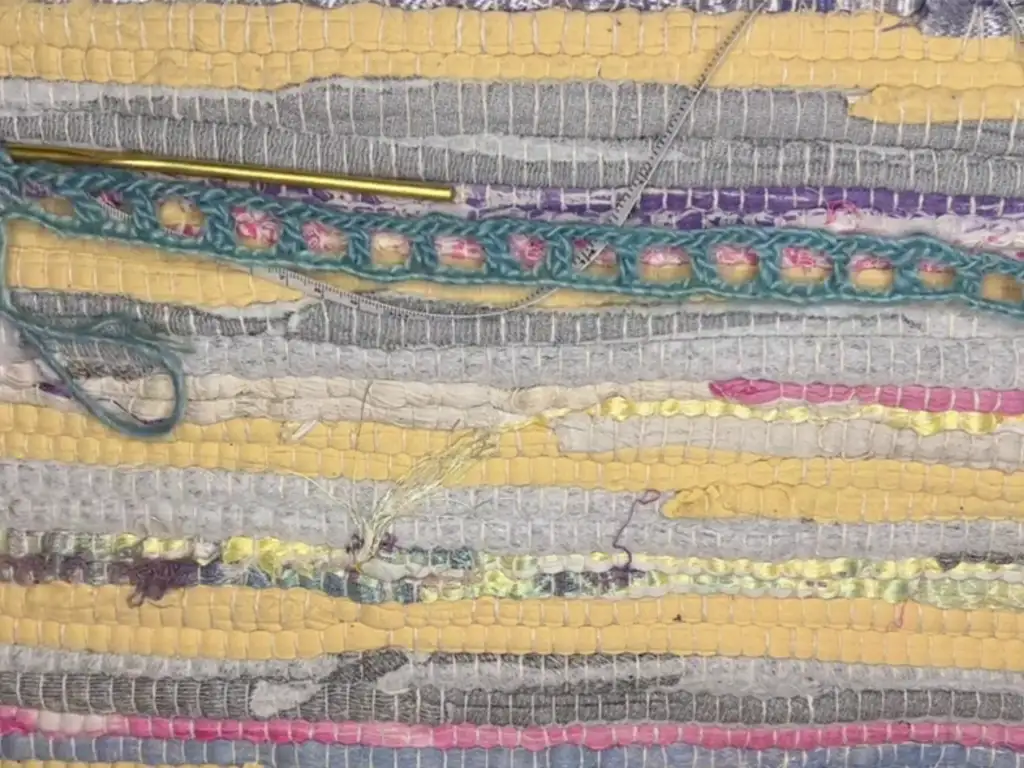
- Chain: Start by chaining half of your bust measurement. In the video, @KamrynCain chains 75 stitches.
- Mesh Stitch: Now, work a mesh stitch pattern across the chained row. To do this, you’ll chain 3, skip 3 stitches, and work a double crochet into the fourth stitch. Repeat this process until you reach the end of the row.
- Back Panel: Chain a calculated amount based on your shoulder measurement and stitch count. This will ensure that the front and back panels align perfectly.
- Shoulder Seams: Connect the front and back panels with slip stitches until they fit comfortably around the armpits.
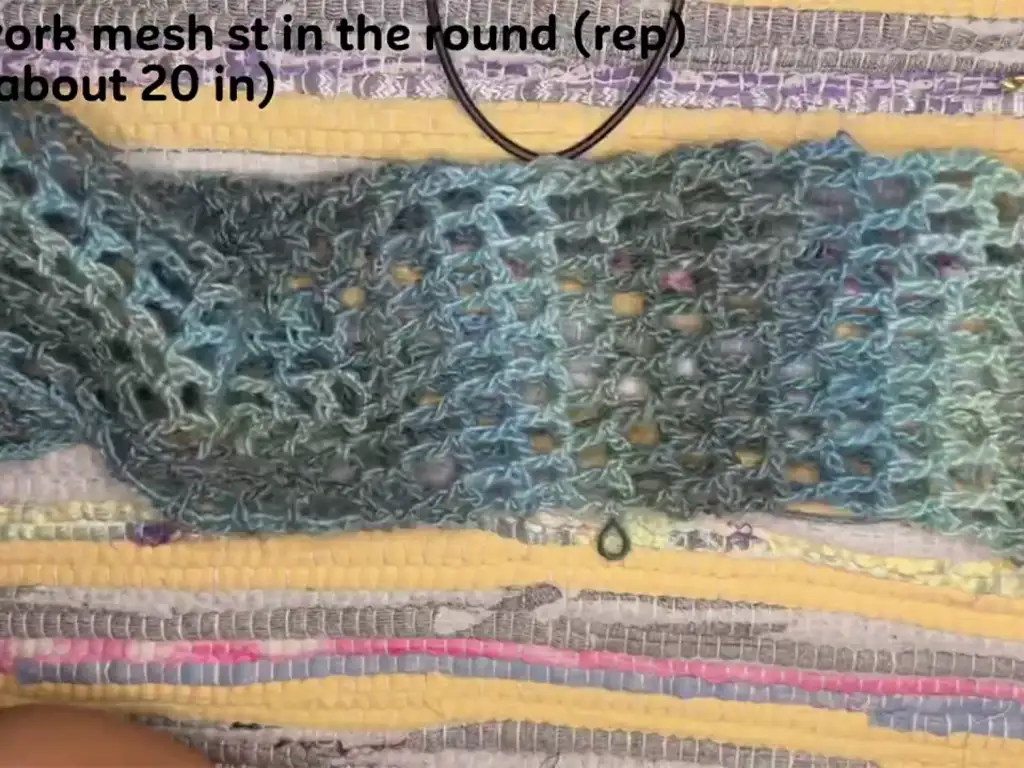
- Sleeves: Work mesh stitches in a round (circular) fashion, beginning at the shoulder seam and working around the arm opening.
Shaping Your Crochet Bolero Shrug: Front and Back Panels
Shoulder Straps:
- Row 1: ch 6, turn. Work 1 dc in each of the next 5 ch-3 spaces (or desired number for shoulder width).
- Rows 2 – 9: Repeat Row 1 to create a matching shoulder strap on the other side.
Connecting the Panels:
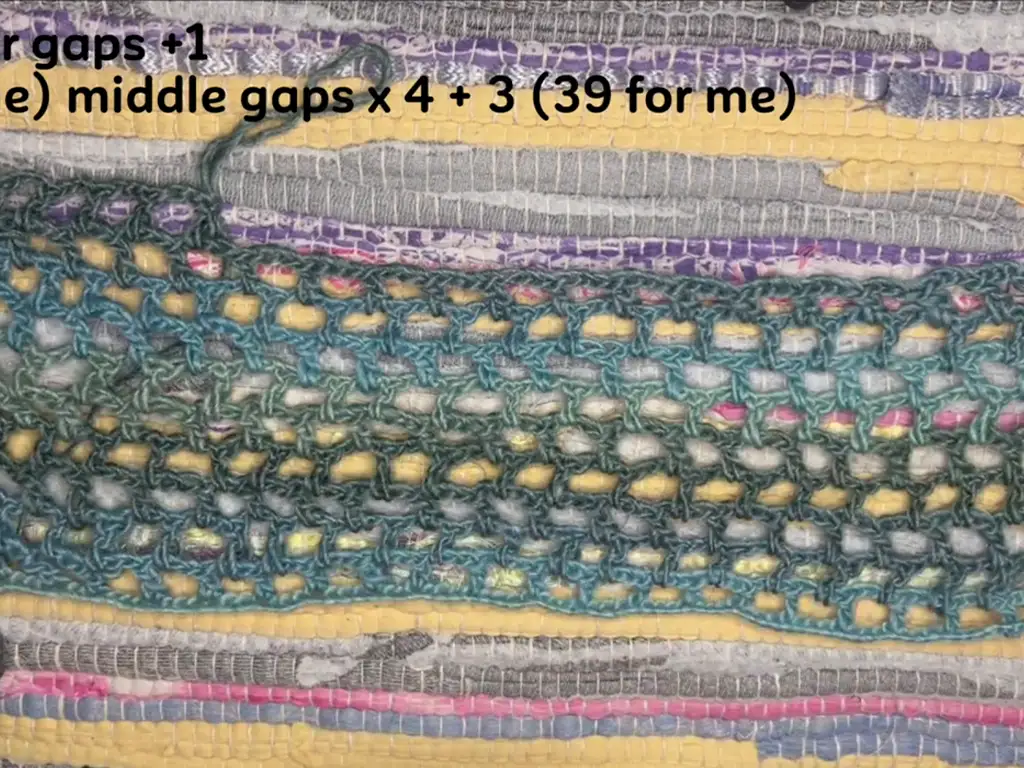
- Now comes a bit of math! Count the number of ch-3 spaces on your shoulder strap. Let’s say it’s 5.
- Count 6 more ch-3 spaces across from your shoulder strap on the back panel.
- Count the total number of ch-3 spaces between those two points. Multiply that number by 4 and add 3. This will be the length of your connecting chain.
- For example: If you have 9 ch-3 spaces between your shoulder strap and marked point, you would chain (9 x 4) + 3 = 39 chains.
- ch the calculated number.
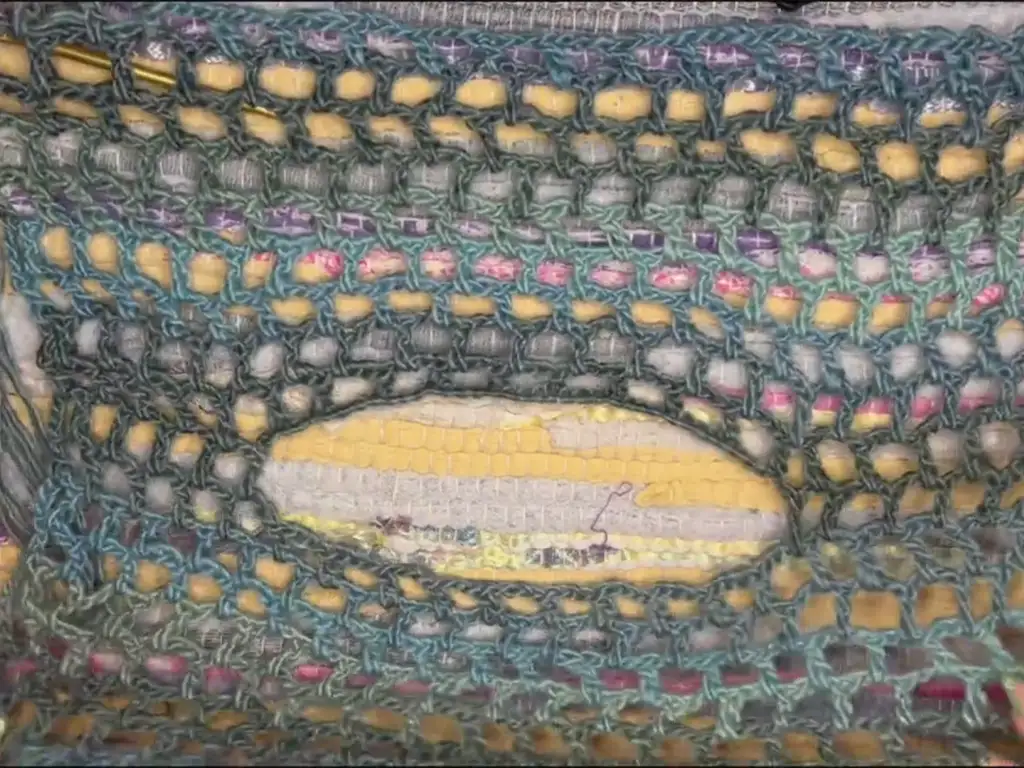
- With the wrong side facing you, carefully fold your bolero in half, aligning the shoulder straps.
- Insert your hook into the 6th ch-3 space from your shoulder strap on the opposite side, and work a dc to connect.
- Continue working the ch 3, skip 3, dc in the next ch pattern across the chain you made, joining the front and back panels.
Sleeves:
- To make the sleeves, you’ll be working in the round. Join your yarn to the edge of the armhole opening with a slip stitch.
- Round 1: ch 3 (counts as a dc), work dc into each ch-3 space around the armhole. Join with a sl st to the top of the beginning ch 3.
- Rounds 2 – Desired Length: ch 3, 1 dc in same ch-3 space as join, ch 3, skip the next ch-3 space, 1 dc in next ch-3 space, ch 3, skip the next ch-3 space. Repeat from * to * around. Sl st to join.
- Continue working in the round until your sleeve reaches your desired length.
Finishing:
- Fasten off yarn and weave in all loose ends.
- Block your crochet bolero for a polished look by lightly spraying it with water and pinning it to your desired shape. Allow it to dry completely.
Crochet Bolero Shrug Sizing and Customization Tips
- To adjust the width: Increase or decrease the number of chains in your foundation chain.
- To adjust the length: Add or subtract rows in the body panels.
- Want wider sleeves? Add extra “ch 3, dc in same ch-3 space” repeats in your sleeve rounds.
Styling Your New Crochet Bolero Shrug: Outfit Inspiration
- Casual Chic: Throw it over a tank top, t-shirt, or cami paired with your favorite jeans or shorts.
- Boho Vibes: Layer it over a flowy maxi dress or skirt and add some sandals or boots.
- Dressy Occasion: Pair it with a simple dress and heels for a touch of handmade elegance
A Special Thanks
A huge thank you to @KamrynCain on YouTube for the inspiration behind this pattern! You can find her video tutorial here: https://www.youtube.com/watch?v=oTMtI_0wDnQ.
Share Your Creations!
We’d love to see your finished crochet bolero shrugs! Share your photos on Instagram and tag us at https://www.instagram.com/tubacrochet_ or on TikTok at tiktok.com/@tubacrochet. We can’t wait to see your beautiful creations!
Other Crochet Projects You’ll Love
Are you looking for more crochet projects to add to your handmade wardrobe? You can also find free patterns for crochet tops, dresses, crochet shorts, and more on the internet!
Let’s Get Hooking! Now that you have all the information and inspiration you need, it’s time to start crocheting your own summer crochet bolero. Remember, this is just a guideline – feel free to personalize your bolero to make it your own. Happy crocheting!


