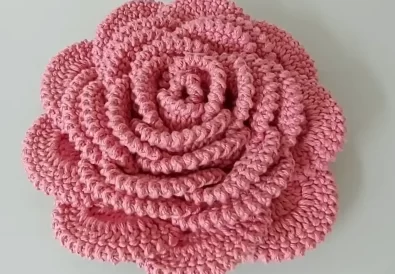
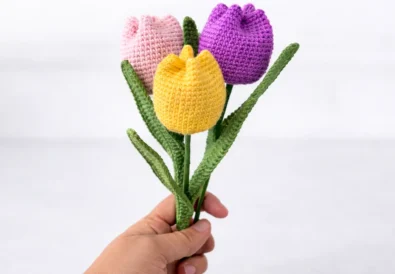
Are you looking for a fun and rewarding crochet project that’s perfect for beginners? Look no further than this free crochet rose pattern! Not only is it easy to follow, but it also yields stunning results that you can use to embellish your home, create thoughtful gifts, or even sell at craft fairs. Whether you’re a crochet rose novice or a seasoned pro, this crochet flower pattern is sure to delight and inspire you. Let’s dive into the wonderful world of crochet roses!
This pattern, inspired by the talented Silva Artes Crochê, is not only aesthetically pleasing but also remarkably simple. In fact, it’s one of the best crochet rose patterns for beginners I’ve come across. The finished crochet rose can be used in countless ways – as an applique on clothing or accessories, as part of a larger project like a crocheted rose bouquet, or even as a standalone decoration. The possibilities are endless!
Free Crochet Rose Pattern: Materials & Tools You’ll Need
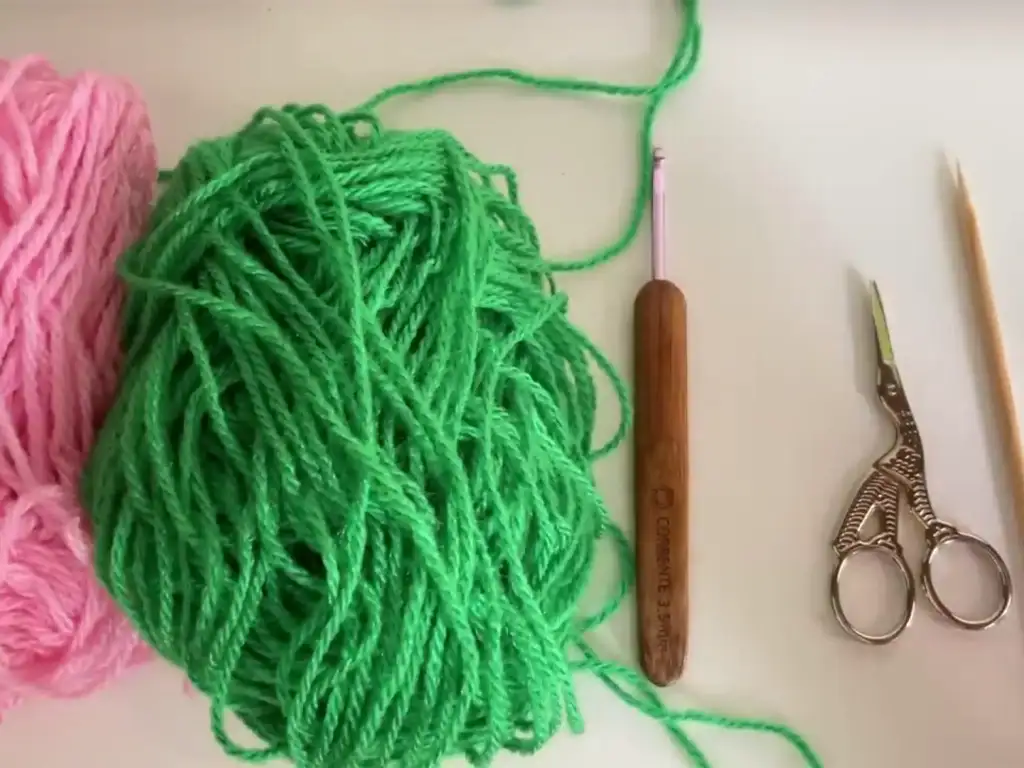
First of all, let’s gather our materials. You’ll need:
Yarn:
- Pink: Choose a worsted weight (#4) or lighter yarn in your desired shade of pink. Acrylic yarn works well for this pattern, providing a smooth finish and vibrant color. Approximately 20 grams should be sufficient.
- Green: Select a similar weight yarn in green for the stem and leaves. You’ll only need a small amount, around 10 grams.
Crochet Hook: Use a 3mm crochet hook or a size that corresponds to the yarn weight you’ve chosen. Remember, a smaller hook will create a tighter stitch, while a larger hook will produce a looser stitch.
Scissors: A sharp pair of scissors is essential for snipping yarn neatly.
Wooden Skewer: A bamboo skewer is ideal for creating a sturdy stem, but a regular BBQ skewer will also work.
Hot Glue Gun & Glue Sticks: Hot glue is our secret weapon for assembling the rose and securing the stem.
Lighter (Optional): If using acrylic yarn, a lighter can be used to carefully singe any stray fibers for a polished look.
How to Crochet a Rose: Basic Techniques & Stitches
If you’re new to crochet, don’t worry! This crochet rose pattern for beginners uses basic stitches that are easy to learn. Here’s a quick overview:
- Chain stitch (ch): The foundation of most crochet projects.
- Single crochet (sc): A short, compact stitch used for joining and finishing rows.
- Slip stitch (sl st): Used for joining rounds and creating a smooth, invisible finish.
- Half double crochet (hdc): A stitch taller than single crochet but shorter than double crochet.
- Double crochet (dc): A taller stitch that adds height and texture to your work.
- Magic ring: A technique for starting projects in the round, like the center of our rose.
Sizing Tips:
To adjust the size of the hexagon, you can increase or decrease the number of rounds. More rounds will create a larger hexagon, while fewer rounds will create a smaller hexagon. Use a larger hook for a looser and larger motif, or a smaller hook for a tighter and smaller motif.
Special Stitches:
- “Vizinho” (neighbor): dc, ch 2, dc all in the same stitch.
- “Leque” (fan): dc twice, ch 2, dc twice all in the same stitch or space.


Step by Step Guide: How to Crochet a Rose
Now that we’ve covered the basics, let’s put our skills to the test and create our beautiful crochet rose! Don’t worry; we’ll break down each step, making it easy to follow along.
Rose Petals (Pink Yarn):
- Row 1: Ch 75. (Make sure your chain is loose enough to allow for the increase in the next row.)
- Row 2: Skip first 3 ch, dc in 4th ch from hook, dc in next ch, repeat across to the last 3 ch, skip last 2 ch, dc in last ch. (72 dc)
- Round 3: Ch 5, turn, skip first 2 dc, dc in 3rd dc, ch 2, skip 1 dc, dc in next dc, repeat across to the last 2 dc, skip last dc, dc in last dc. (36 dc, 36 ch-2 spaces)
- Round 4: Ch 3, turn (counts as dc), dc in first dc, ch 2, skip dc, dc in next dc, repeat across, ending with dc in last dc. (36 dc, 36 ch-2 spaces)
- Row 5: Ch 3, turn (counts as dc), dc in next dc, ch 2, skip dc, repeat across ending with dc in last dc. (36 dc, 36 ch-2 spaces)
- Row 6 – Row 90: Repeat Row 5 until you reach the desired length for your rose.
- Round 91 – Row 98: Ch 3, turn (counts as dc), dc in first dc, dc in next 2 dc, ch 2, skip 2 dc, dc in next dc, repeat across ending with dc in last dc. (36 dc, 36 ch-2 spaces)
- Round 99 – Row 130: Repeat Row 5 until you reach the desired length for your rose.
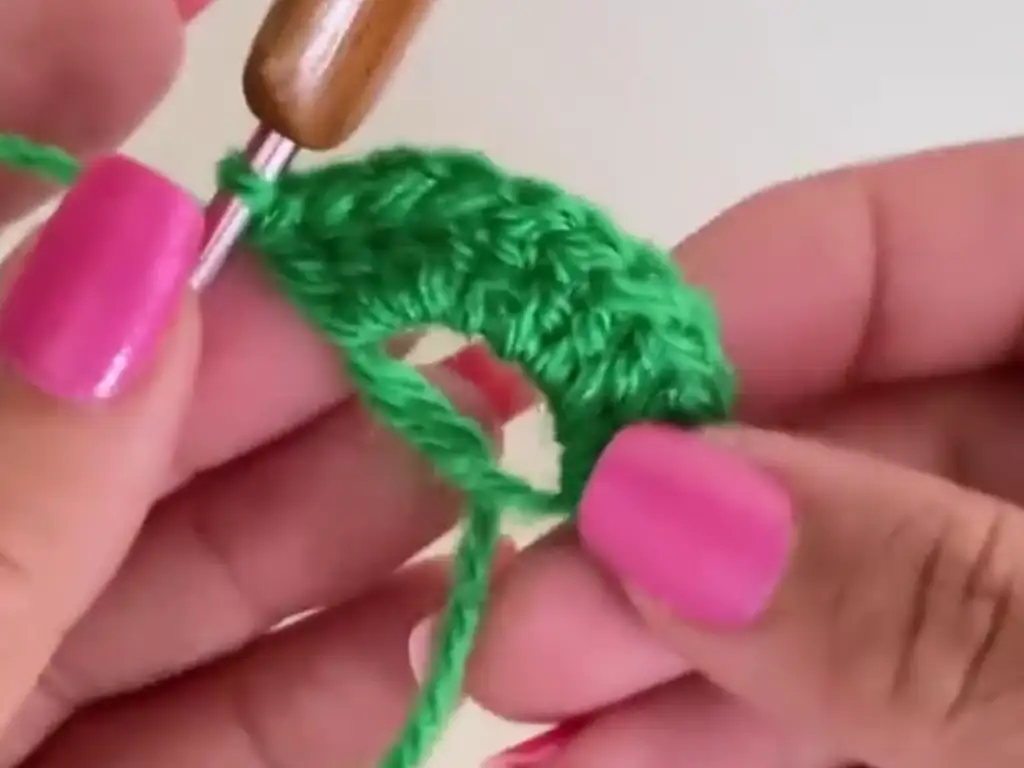
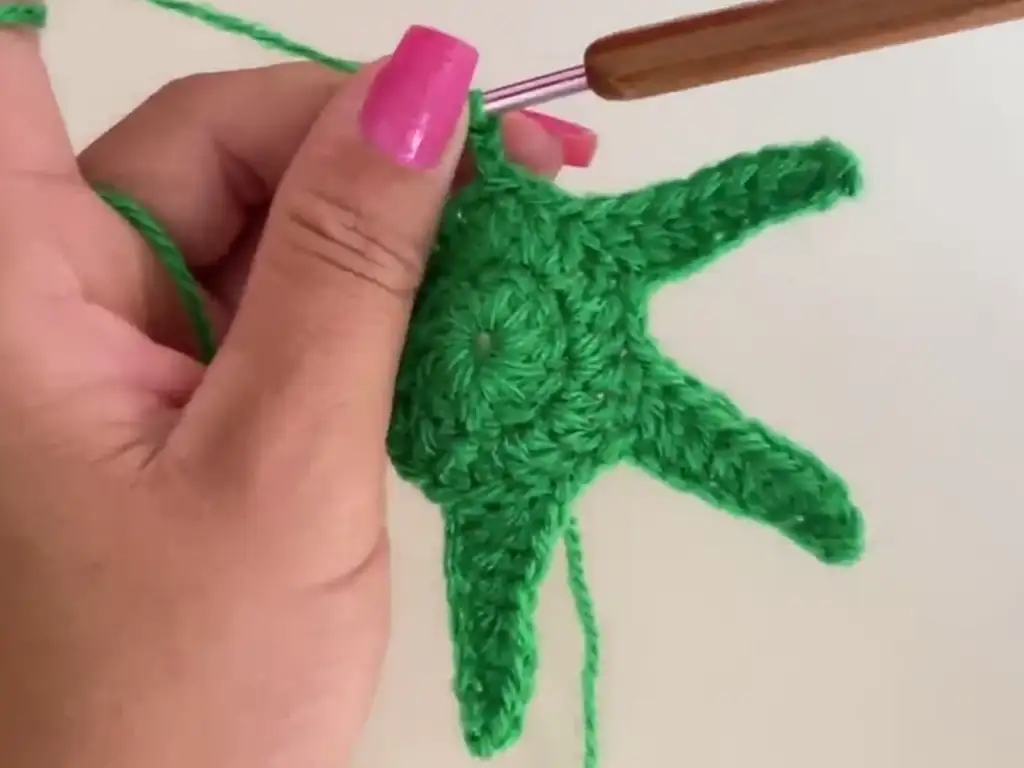

Rose Stem (Green Yarn):
- Ch 20 (adjust length based on your preference for the stem).
- sc in second ch from hook and in each ch across.
Attaching the Stem and Forming the Rose:
- Use hot glue to attach the stem to the base of the rose, making sure the stem is straight.
- To make the rose, begin at the bottom of the base and roll the petals gently around the stem, using hot glue to secure them as you go.
- Remember: Leave the top of the rose open for the final petal shaping.
Adding the Leaves (Green Yarn):
- To create a leaf, ch 5.
- sc in second ch from hook and in each ch across.
- Turn your work and sc in each stitch of the chain.
- Use hot glue to attach the leaves to the stem.
Finishing Touches:
- Cut the yarn and use a slip stitch to join the last loop to the first loop to create a secure closure.
- Trim any excess yarn.


Important Notes:
- Sizing: The number of rows you crochet for the rose will determine its size. The more rows you work, the larger the rose. You can always adjust the number of rows to create a rose that fits your design needs.
- Increasing & Decreasing: The process of increasing and decreasing stitches allows you to shape the petals of the rose. In this pattern, you increase stitches in the initial rows to create a wider base for the petals, and you maintain the same number of stitches for the majority of the rose to create a consistent petal length. You can adjust the amount of increase and decrease if you’d like to create a different shape for the rose.
- Color Variations: You can, of course, experiment with different colors of yarn to create unique roses, but the classic pink and green combo will always be a beautiful choice.
Mastering the Crochet Rose Pattern: From Petals to Stem
As you get more comfortable with this crochet rose pattern, you can experiment with different techniques to create a variety of rose styles!
- For example, you can create a more realistic rose by using a different stitch for the petals, such as the half-double crochet (hdc).
- Similarly, you can create different sizes of roses by adjusting the number of chains and stitches in the initial rows.
- In addition, you can experiment with different colors of yarn to create a unique collection of roses.
Tips and Tricks for Perfect Crochet Rose Patterns
- Work Loosely: A looser crochet tension will give your rose a more delicate and realistic look.
- Use a Hook Size that Fits Your Yarn: If your yarn is too thick for your hook, the stitches will be tight. If your yarn is too thin for your hook, the stitches will be loose. Find the right balance to achieve beautiful results.
- Don’t Be Afraid to Experiment: Crochet is all about creativity! Feel free to experiment with different techniques and colors to create unique roses that reflect your personal style.
Common Mistakes to Avoid in Crochet Flower Patterns
- Skipping Stitches: It’s essential to pay close attention to your stitch count and make sure you’re working into the correct loops.
- Inconsistent Tension: Try to keep your tension even throughout the project, or your rose may end up lopsided.
- Not Securing the Petals: Use hot glue generously to ensure that the petals are securely attached to the stem.
Perfect for Gifts & Home Decor
Besides adding a touch of elegance to your home, this crochet rose pattern is perfect for creating beautiful gifts! Imagine the joy of giving a handmade rose to a loved one or using it to create a unique and personal touch for a wedding or birthday. You can also use these roses to decorate your home. Add them to vases, wreaths, or even use them to create a beautiful centerpiece.
DIY Projects & Inspiration
Now, let’s explore some creative ways to showcase these beautiful crochet roses!
- You can use them to decorate your home, making beautiful wreaths, centerpieces, or simply adding a touch of elegance to your shelves.
- You can also use them to create unique accessories, such as brooches, headbands, or even use them to embellish clothing.
- Furthermore, you can even use these roses to create festive decorations for a wedding or birthday party.
Share Your Crochet Rose Pattern Creations: Join the Community
Finally, don’t forget to share your beautiful crochet rose pattern creations with the world! Use the hashtag #tubacrochet on Instagram and TikTok to show off your work and connect with other crocheters. Share your tips, techniques, and inspiration, and let’s create a vibrant community of crochet enthusiasts.
Other Crochet Projects You’ll Love
In the same way, you can use this crochet rose pattern to inspire you to create even more beautiful crochet projects. You can try other crochet flower patterns, sunflowers. You can also try crocheting other decorative items, such as blankets, scarves, or even amigurumi toys.
In conclusion, crocheting a rose is an amazing way to add a touch of beauty and personalization to your home or gifts. With this simple crochet rose pattern, you’ll be able to create beautiful, intricate roses with ease. So, grab your yarn and crochet hook, and let’s get creative!
A Big Thank You to silvaartescrochê10!
A special thank you to silvaartescrochê10 (www.youtube.com/c/silvaartescrochê10) for the inspiration for this beautiful crochet rose pattern. Be sure to check out their YouTube channel for the original video tutorial here: https://www.youtube.com/watch?v=bri88PxwbVU
Conclusion
In conclusion, this crochet rose pattern is a perfect project for beginners. With patience and practice, you’ll create beautiful roses that impress everyone. Check out silvaartescrochê10‘s YouTube channel here for more inspiration. Watch the video tutorial here and start your crochet journey today! Remember, crochet is not just a hobby; it’s a way to express creativity. Happy crocheting!


