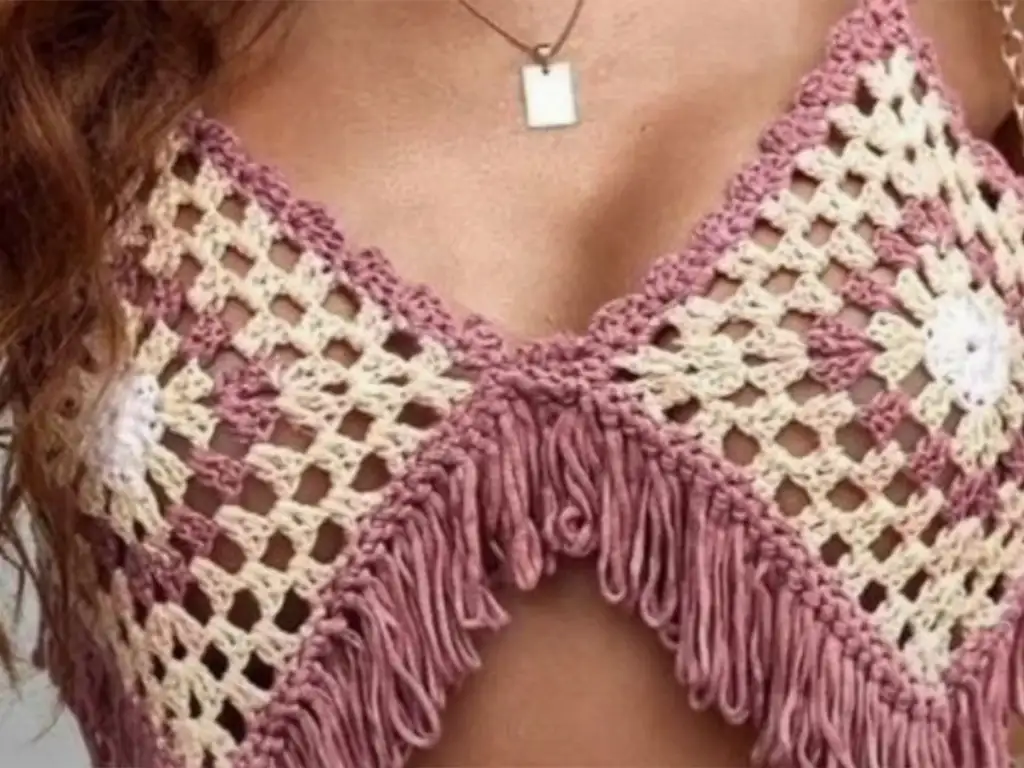
Crocheting your own clothing is a fantastic way to express your creativity and add unique pieces to your wardrobe. If you’re new to crochet, starting with a simple project like a granny square top is a great way to get started. This versatile design can be dressed up or down, making it perfect for everything from beach days to casual get-togethers.
In this blog post, I’ll share an easy crochet pattern for creating your very own granny square top with fringe. This project is beginner friendly, so even if you’re a novice crocheter, you can achieve beautiful results. Let’s get started!

Materials
- Yarn: Choose a lightweight yarn in a fiber you love, such as cotton or acrylic. For a summery look, I suggest a yarn in a light color. I used two contrasting colors, but you can get creative with a single color or even stripes!
- Crochet Hook: A 4.5mm hook is recommended, but adjust as needed based on your chosen yarn.
- Scissors
- Tapestry Needle: For weaving in ends.
- Stitch Markers (optional): To help keep track of your stitches.


Written Pattern Granny Square Top with Fringe
Skill Level
Beginner. This pattern uses basic crochet stitches: chain, single crochet, and double crochet.
Granny Square Basics
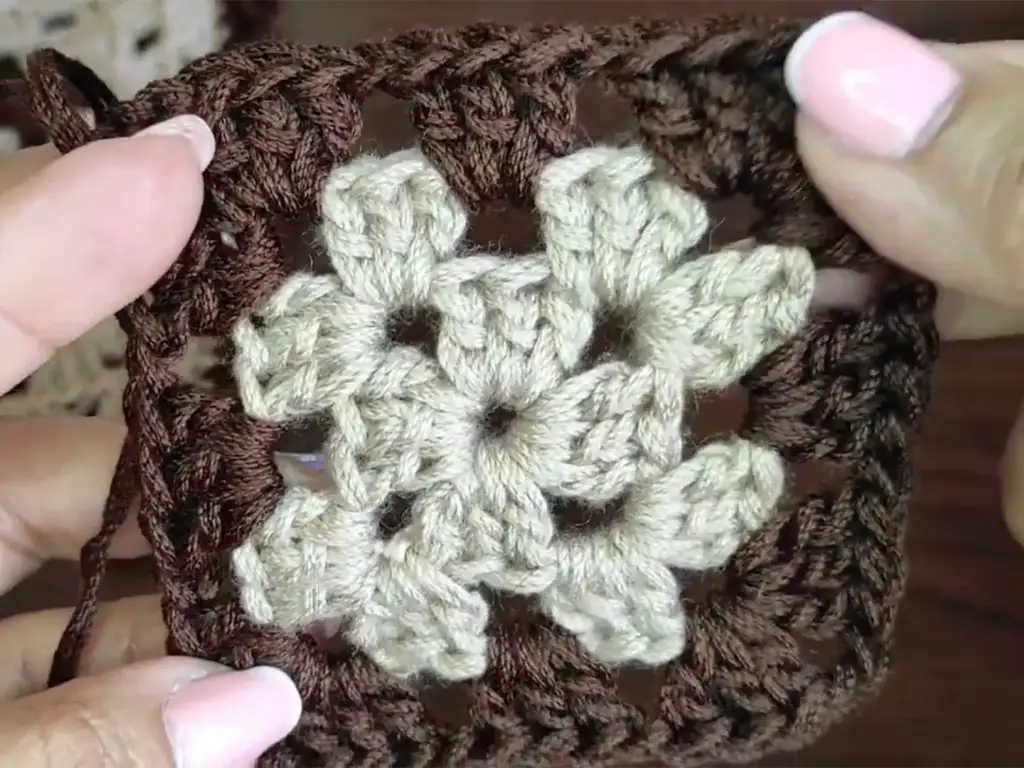
The foundation of this top is the classic granny square. Here’s a quick refresher on how to make a simple one:
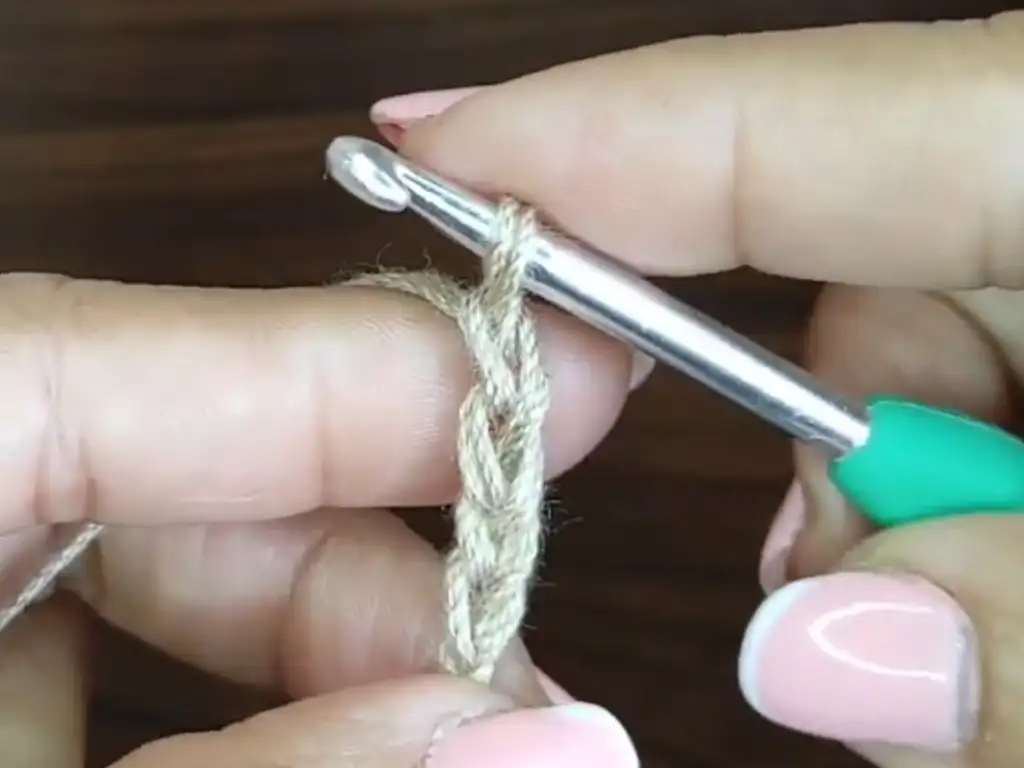
- Magic Ring: Begin with a magic ring or chain 4 and slip stitch to close.
- Round 1: Work 3 chain stitches (this counts as your first dc), then 2 more dc into the magic circle. Chain 2, and work 3 dc into the circle. Repeat this sequence (chain 2, 3 dc) two more times. Finish the round by slip stitching into the top of the initial 3 chain stitches.
- Round 2: Start in any chain-2 space. Work 3 dc, chain 1, and another 3 dc (this forms a cluster). Chain 2, skip the next space, and work a cluster (3 dc, ch 1, 3 dc) into the following chain-2 space. Repeat this sequence around the square. Join with a slip stitch into the top of the starting cluster.
- Rounds 3-4: Continue in the same pattern, working clusters in each chain-2 space and chaining 2 in between. Increase the size of your granny square until it reaches your desired dimensions.
- Finishing the Square: Create a neat border by working one single crochet (sc) into each stitch around the edge. Slip stitch to join with the first sc.
You’ll need a total of four granny squares for this top. Feel free to experiment with different color combinations for a truly unique look!


Assembling Your Granny Square Top
Now that you have your granny squares ready, let’s put them together!
- Joining: Lay out your squares in a diamond shape. Connect adjacent squares using single crochet stitches through the back loops only. Join all four squares to achieve the basic top structure.
- Straps: On the top edge of your diamond, work a row of single crochets evenly across. Chain to the desired length of your strap (try it on for comfort!). Continue with single crochets back down the other side. Repeat for the second strap.
Flirty Fringe
- Prep: Cut multiple lengths of yarn, roughly double the desired length of your fringe.
- Attach: Fold a strand of yarn in half. Push the loop through a stitch at the base of your top. Pull the yarn ends through the loop and tighten to secure the fringe.
- Repeat: Continue adding fringe across the entire bottom edge for a playful finish.
Creating the Straps
- From a corner of the top, chain stitch until you reach your desired strap length (approximately 35 cm).
- Work single crochet stitches back along the chain to create a sturdy strap. Repeat for the second strap.
Finishing Touches
- Weave in all loose ends. Your gorgeous granny square top is now ready to wear!


Tips
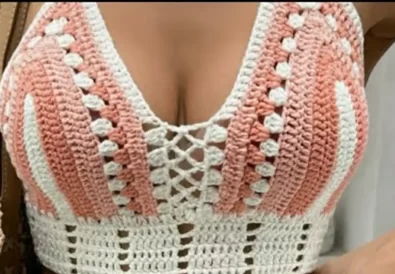
- Customization: Play with different yarn colors and fringe lengths to make your top unique.
- Sizing: Easily adjust the size by making more or fewer granny squares.
- Watch & Learn: If you’re a visual learner, check out the Maschenanschlag YouTube channel: https://www.youtube.com/@maschenanschlag or this tutorial: [https://www.youtube.com/watch?v=lHu5awsYSRM]
Share Your Creations!
I’d love to see your finished tops! Share photos on Instagram and tag @tubacrochet_: https://www.instagram.com/tubacrochet_ or on TikTok @tubacrochet: tiktok.com/@tubacrochet.
Conclusion I hope you enjoy making your own granny square crochet top. Your creativity knows no bounds! Let me know in the comments if you have any questions. Happy crocheting!


