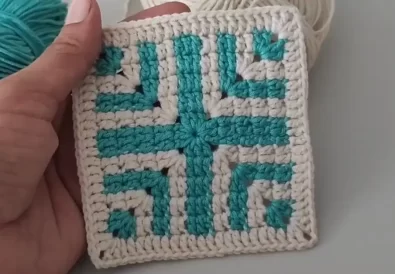
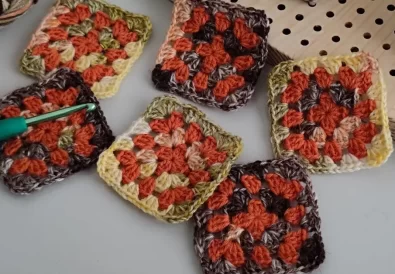
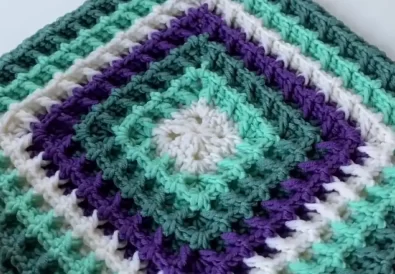
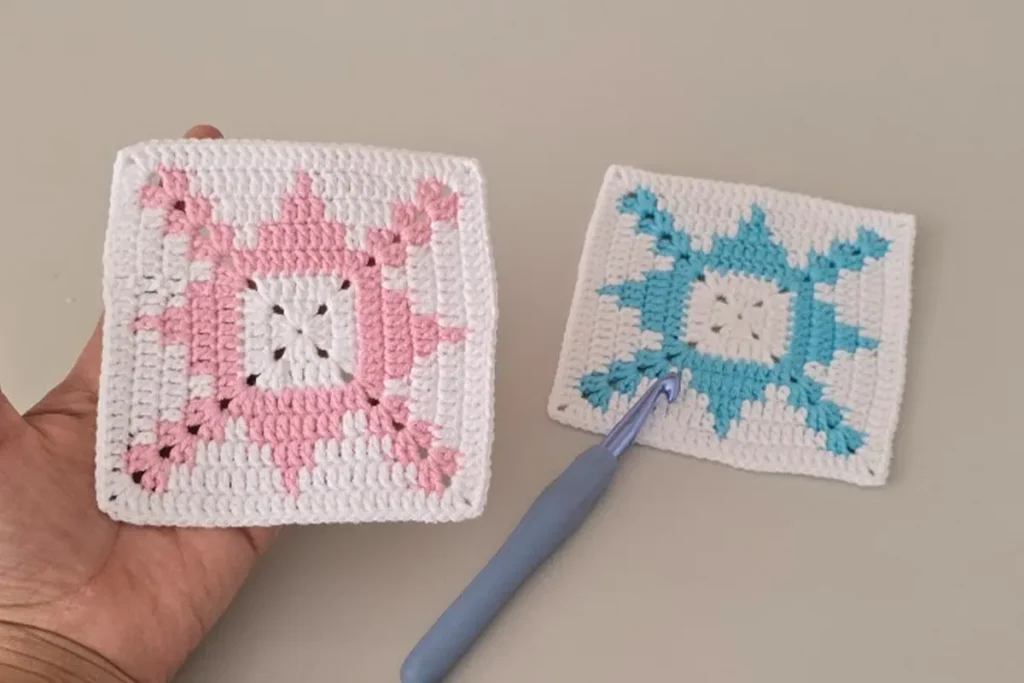
If you’re new to crochet, making an easy crochet granny square is a great place to start. This classic pattern is simple to master and offers endless possibilities for different crochet projects. In this guide, we’ll walk you through each step so you can create your own beautiful crochet squares!

Materials You’ll Need:
- Alize Cotton Gold yarn (or yarn of your choice)
- 2.75 mm crochet hook
- Scissors and yarn needle (for weaving in ends)
Step-by-Step Instructions for an Easy Crochet Granny Square
1: Starting with the Magic Ring
To begin, create a magic ring with your yarn. This ring will serve as the base of your square.
- Chain 3 (this counts as your first double crochet).
- Into the magic ring, make 2 double crochets and then chain 2.
2: First Round (Creating 4 Groups)
Now, let’s make 4 groups of double crochets:
- Make 3 double crochets into the magic ring.
- Chain 2, and repeat this step to create a total of 4 groups of 3 double crochets. Each group will have 2 chains between them.
- Once you finish the round, slip stitch into the top of the first chain.
3: Second Round (Making the Corners)
For this round, we’ll form the corners:
- Chain 3 (counts as your first double crochet).
- In each chain space, work: 2 double crochets, 2 chains, and 2 double crochets.
- Continue this process all around, ensuring you create corners in every chain space.
4: Third Round (Changing Colors)
Let’s add a new color to the square:
- Attach your second color in any corner.
- Chain 3 and make 2 more double crochets in the same space.
- Continue with double crochets along the edges until you reach the next corner. In each corner, work: 2 double crochets, 2 chains, and 2 double crochets.
5: Fourth Round (Adding More Color)
Now, alternate between colors as you go around the square:
- Continue adding extra double crochets along the sides.
- In each corner, work 2 double crochets, 2 chains, and 2 double crochets, changing colors as needed.
6: Fifth Round (Increasing Double Crochets)
For this round, make 3 double crochets side by side in each space:
- Repeat this pattern along the sides.
- In the corners, continue with 2 double crochets, 2 chains, and 2 double crochets.
7: Sixth Round (Reducing Yellow)
Make 4 double crochets side by side:
- Continue along the sides with more double crochets, following the corner pattern.
- Don’t forget to change to yellow at the appropriate spots.
8: Final Round (Finishing the Square)

In the final round, we’ll complete the edges and corners:
- Work double crochets along the edges, and complete each corner with 2 double crochets, 2 chains, and 2 double crochets.
- Slip stitch into the top of the first chain to finish the square.
- Cut the yarn and weave in the ends.
Other Crochet Projects You’ll Love:
- How to Crochet a Flower Motif – A simple flower motif that adds a lovely touch to your crochet projects.
- Easy Crochet Square Blanket Tutorial – Learn how to create a cozy square blanket using easy crochet granny squares.
- Granny Square Pillow Cover – Use your granny squares to create a stylish pillow cover for any room.
- Simple Crochet Beanie – Perfect for beginners, learn to crochet a comfy beanie with simple stitches.
Frequently Asked Questions (FAQ)
1. What is the easiest crochet square for beginners?
- The easy crochet granny square is one of the simplest patterns for beginners. It uses basic stitches like double crochet and is a great way to practice your skills.
2. How do I change colors in a granny square?
- Changing colors in a granny square is simple. When you reach the point where you want to change colors, simply drop the old yarn and attach the new one. Make sure to carry the yarn neatly to avoid tangles.
3. How do I make the square bigger?
- To make the square bigger, you can continue adding rounds, repeating the corner pattern and increasing the number of double crochets along the edges.
4. Can I use any yarn for a granny square?
- Yes! You can use any yarn you like. However, it’s important to match the yarn to the recommended hook size for the best result.
5. How do I join granny squares?
- To join granny squares, you can use the whip stitch or slip stitch method, joining the squares together in the way that works best for your project.
Pin This Project to Your Crochet Board!
Don’t forget to pin this easy crochet granny square tutorial to your Pinterest board for future reference! This will help you easily access the pattern whenever you want to work on your next crochet project.

I hope this guide to making an easy crochet granny square has been helpful! Feel free to share your completed squares on Instagram, TikTok, or Facebook by tagging @TubaCrochet. For more patterns and tutorials, check out my website at crochetstrends.com, and don’t forget to download the free Geometric Granny Square PDF pattern here.
Happy crocheting!