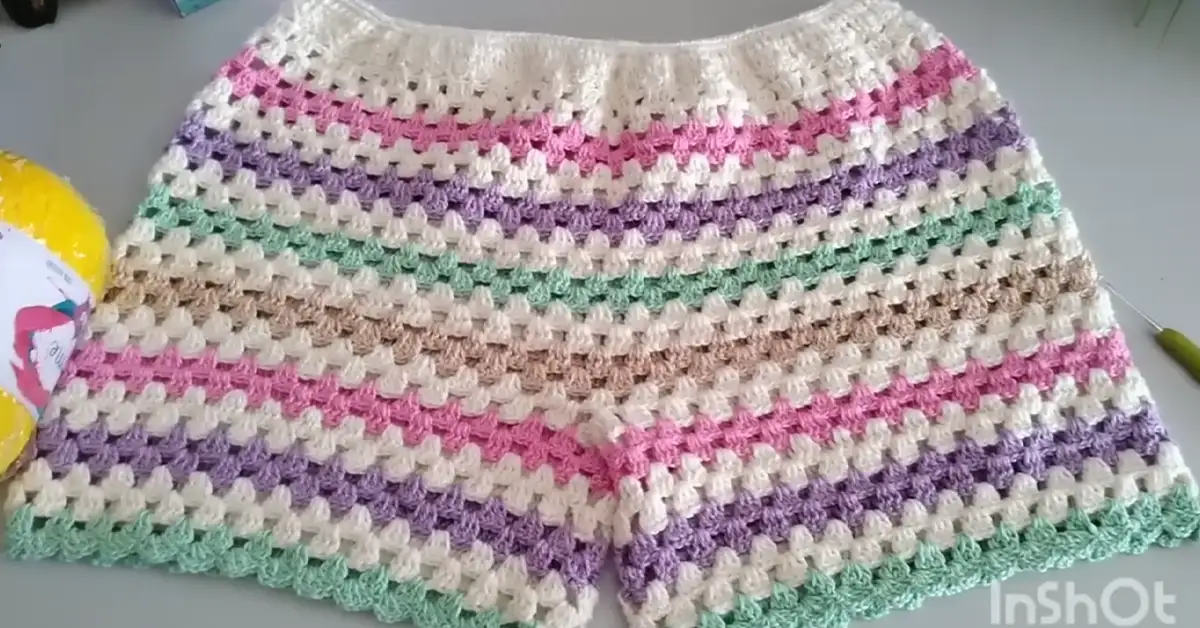
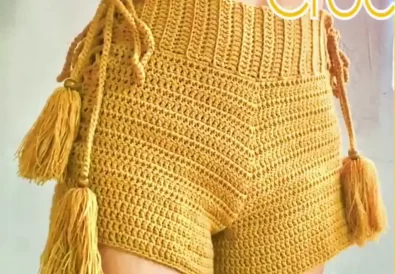
Get ready to embrace the summer vibes with a handmade touch! In this blog post, we’ll guide you through crafting your very own pair of stylish Crochet Shorts for Women with a comfortable elastic waistband. This project is perfect for beginners who are eager to learn a new skill. The result? A beautiful and unique piece that can be worn as a crochet bikini cover up, for a crochet festival, a day at the beach, or simply to elevate your everyday summer style.
A Summer Must-Have
Crocheted shorts offer a blend of comfort and fashion, making them a summer staple. High waisted crochet shorts patterns, especially, are incredibly popular for their flattering fit and ability to be dressed up or down. You can find countless crochet shorts tutorials online, but this one focuses on a simple yet chic design that anyone can master. We’ll be incorporating the tombadinho stitch, a beautiful crochet edging technique, for a polished look.
What You’ll Need
Crochet Thread: Choose a cotton blend or a yarn that’s soft and comfortable to wear. The video uses a variety of colors, so feel free to get creative! You’ll need a moderate weight yarn, not too thick nor too thin.
Crochet Hook: Select the size recommended for your chosen yarn. The video uses a hook size that’s appropriate for the chosen yarn.
Scissors: For cutting your yarn.
Measuring Tape: To measure your waist and hips.
Elastic: 9mm wide elastic for the waistband.
Marker: A felt-tip pen to mark the center of your shorts.
Tapestry Needle: For sewing the elastic and joining the ends.
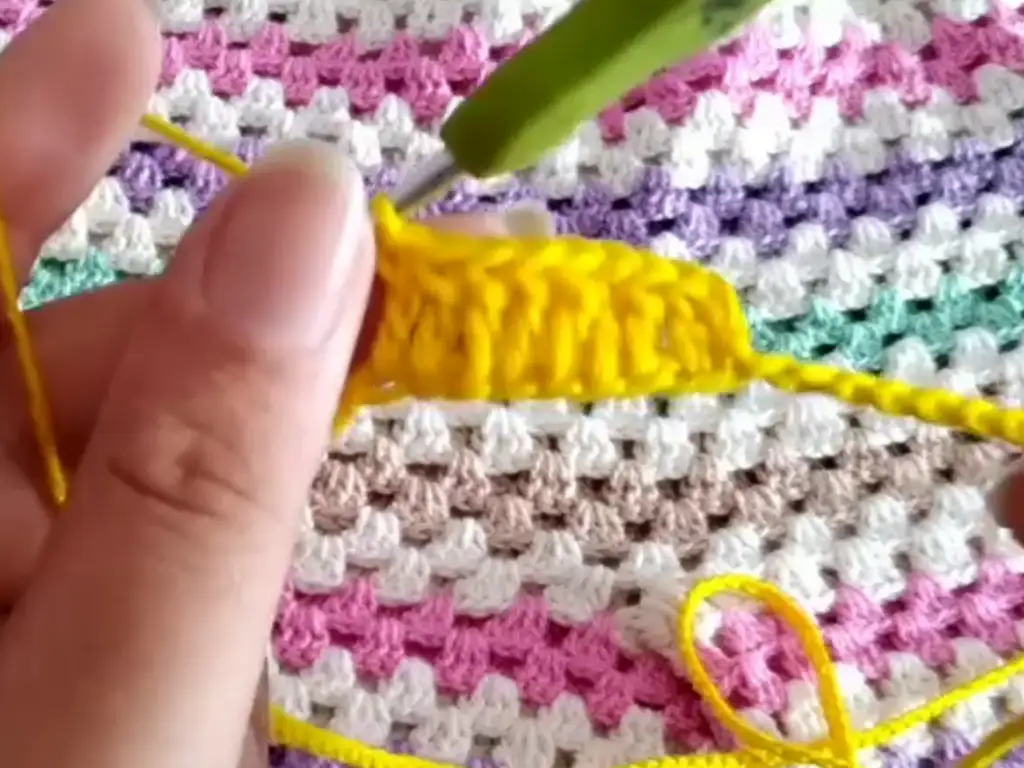
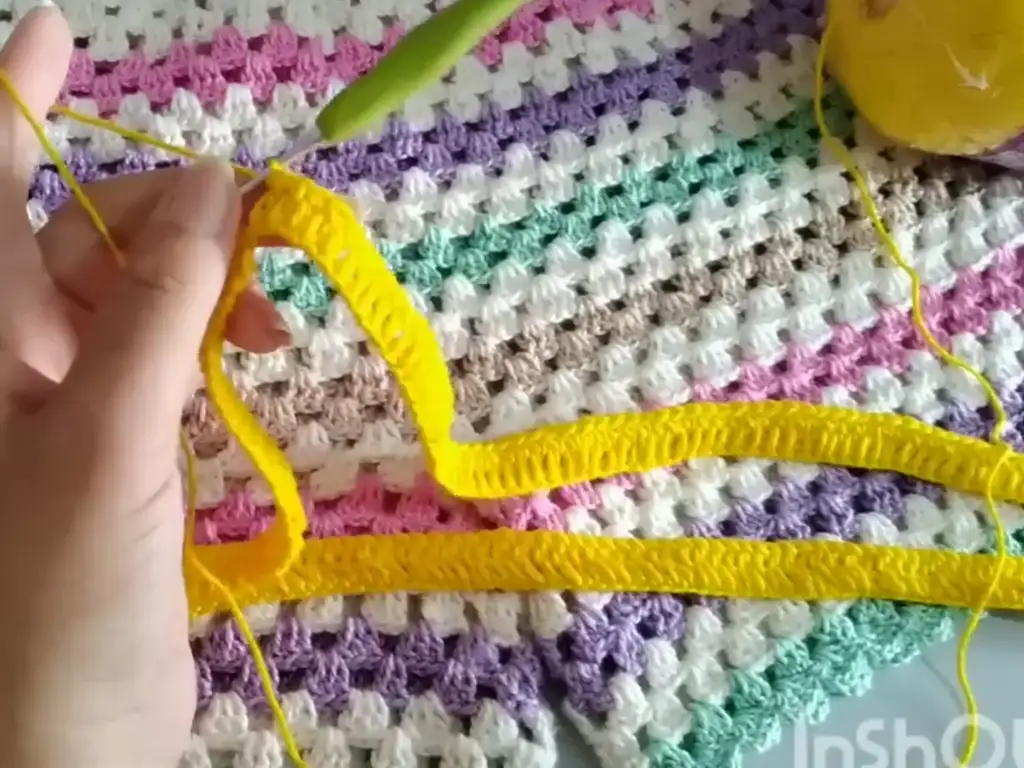
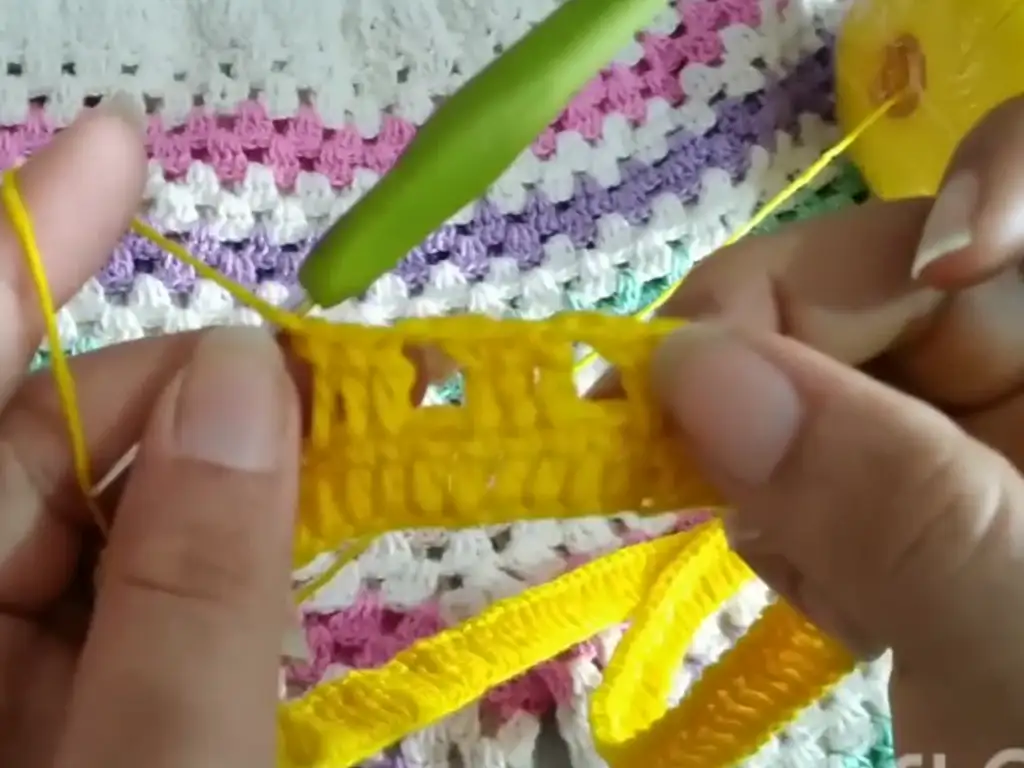
Starting with the Waistband
First, we’ll create the foundation of our crochet shorts, starting with the waistband. This technique involves a simple chain stitch, which forms the base of the design.
- Chain Stitch: Use your crochet hook and yarn to create a chain of stitches that matches your waist measurement.
- Joining the Chain: Once you have the desired chain length, join the first and last stitches together to form a circle. This creates the waistband of your crochet shorts.
Creating Body: Working the Pattern
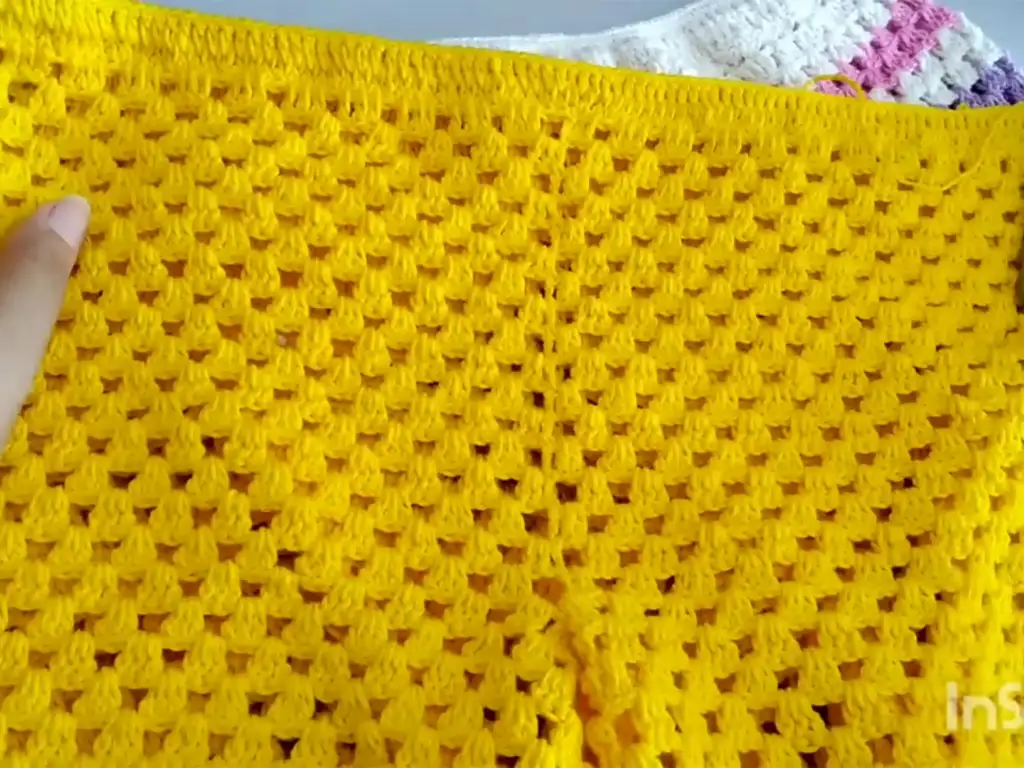
- Understanding the Block Stitch: This crochet shorts pattern primarily uses a “block stitch” made of three double crochets. To make a block stitch: work three double crochets into the same stitch, then skip the next stitch, and work another block stitch into the following stitch. Repeat this sequence around.
- Continue working rows of the block stitch pattern until you reach the desired length for your shorts. The video tutorial, created by the talented @passoapassodacriart, suggests working 16-17 rows for a size small to medium. Feel free to adjust this based on your measurements and desired length.
- Repeat the Pattern: Continue working in this pattern until you reach your desired length. The high waisted crochet shorts pattern is designed to hit just above your belly button, but you can adjust the length to your preference.
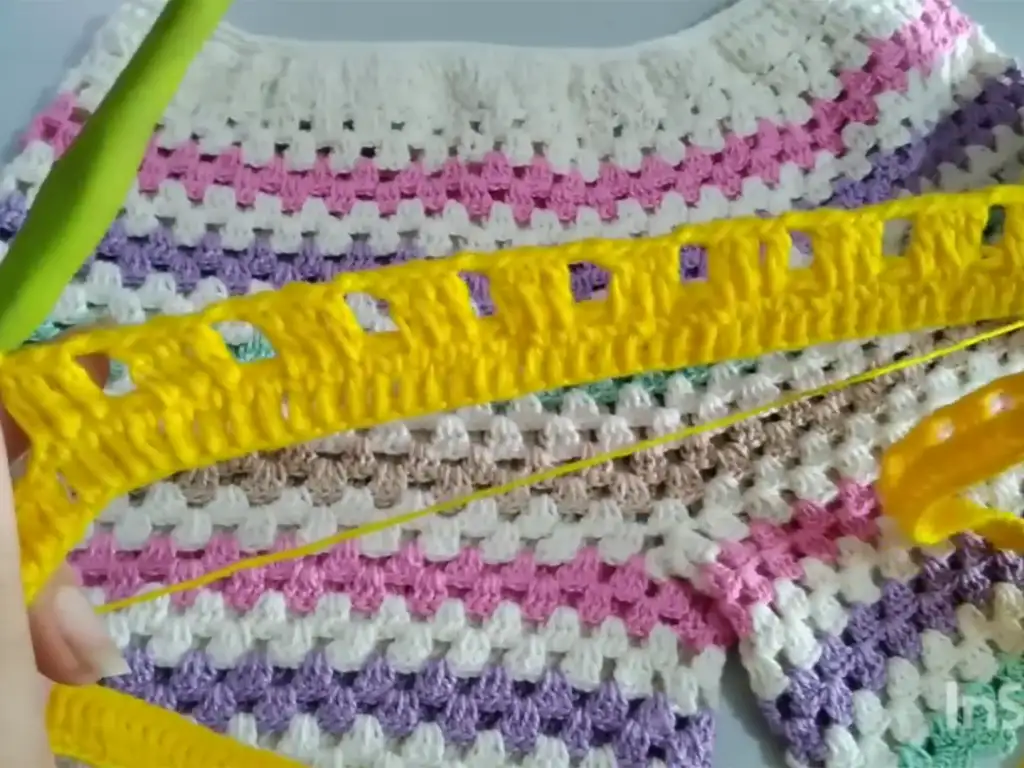
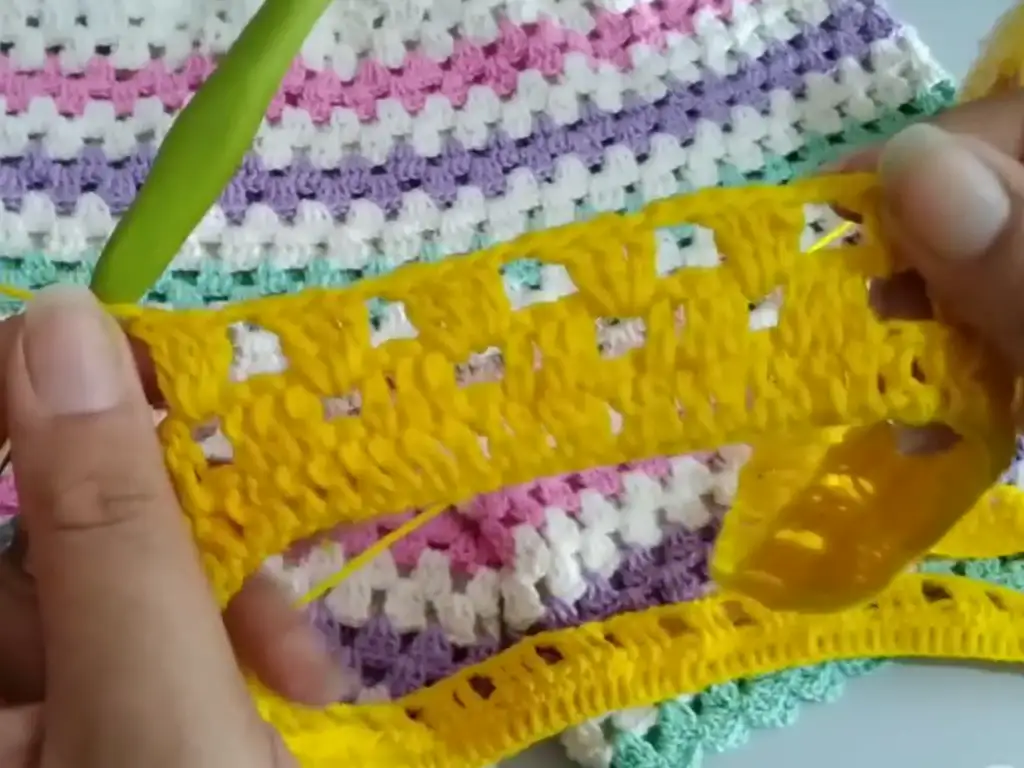
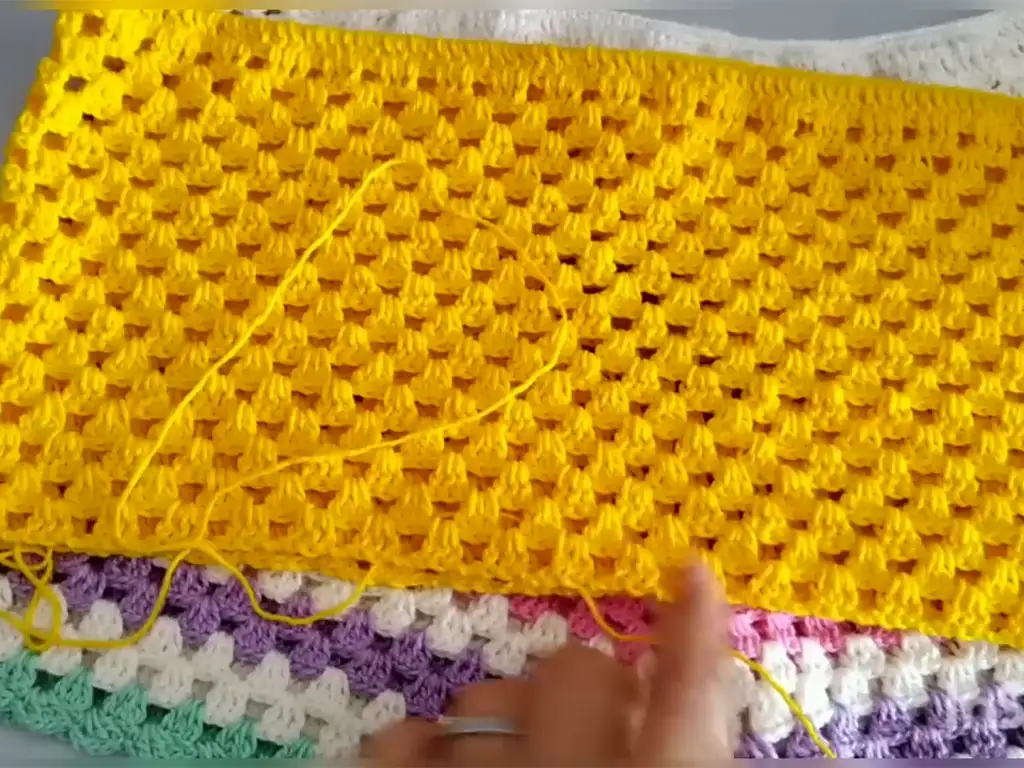
Shaping Your Shorts: The Side Decreases
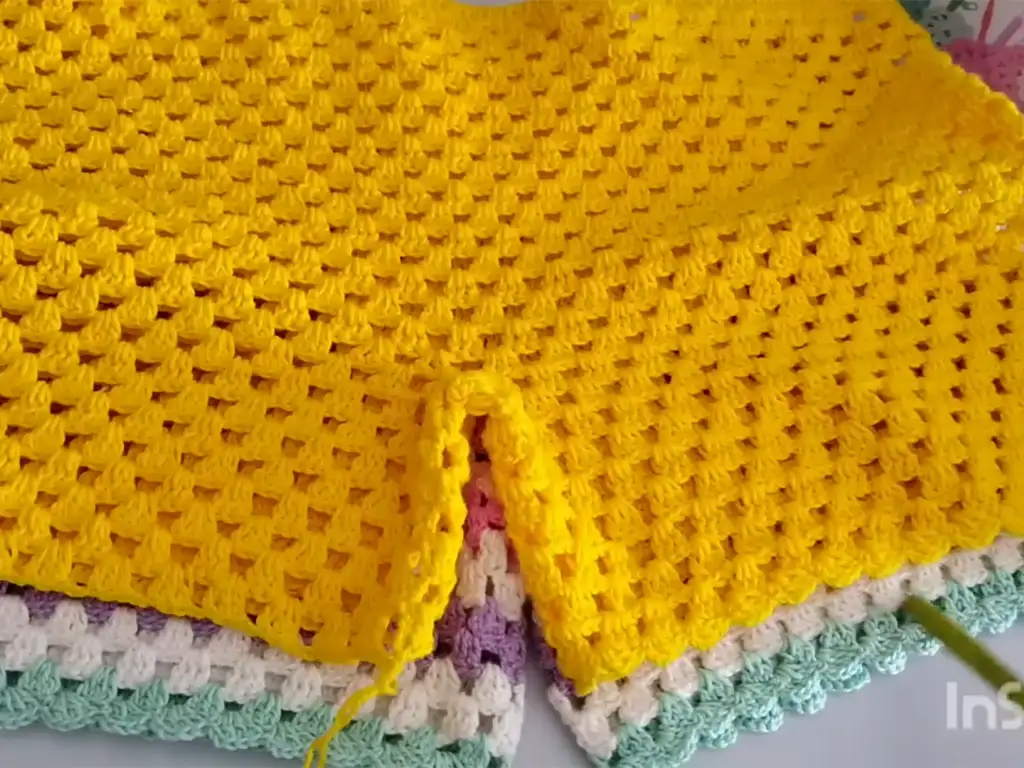
- Dividing for the Legs: Fold your work in half to find the center points on either side. Mark these with stitch markers.
- Chain 18 and attach it to the center point on one side using a slip stitch. This creates the separation for one leg opening.
- Work a row of single crochets along this chain, then join it to the center point on the opposite side with a slip stitch. You’ve now divided your work into two leg sections.
- Decreasing on the Sides: To create a more fitted shape for the legs, we’ll be decreasing stitches as we work up.
- From the center point of the leg opening, work a row of block stitches along the leg section. However, when you reach the last few stitches on either side, skip one block stitch. This creates a subtle inward curve.
- Continue working rows in this manner, decreasing one block stitch on each side per row, until you’ve reached your desired length for the leg section. The video tutorial suggests working about 9 rows for each leg.
- Repeat the shaping process for the other leg section.
Adding the Elastic: Finishing the Waistband
- Work one row of single crochet stitches around the top edge of the waistband.
- Cut a piece of elastic slightly smaller than your waist measurement.
- Attach the elastic to the waistband by working single crochet stitches around it. Be sure to stretch the elastic as you go to create a gathered effect.
Crochet Shorts Edging: A Polished Look
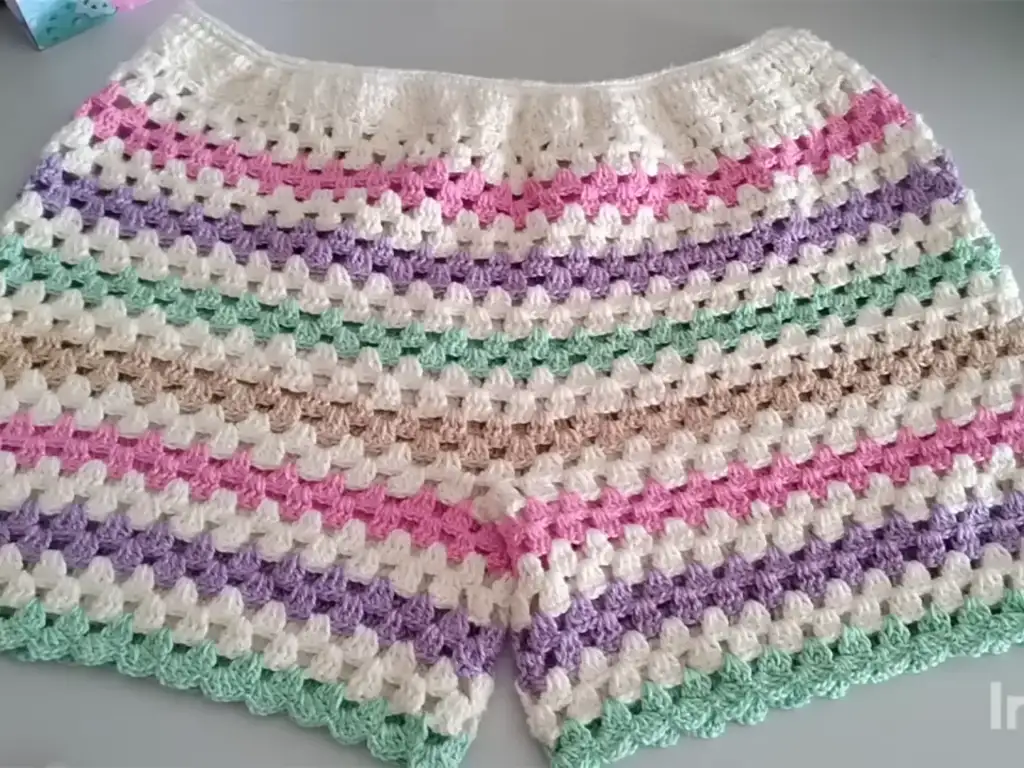
- The Tombadinho Stitch: To add a beautiful finishing touch, we’ll use the “tombadinho stitch” for edging.
- To work the tombadinho stitch: chain 3, work 3 double crochets into the same stitch, skip the next stitch, single crochet into the following stitch. Repeat this sequence around the entire bottom edge of the shorts and along the leg openings.
Tip: The tombadinho stitch is similar to a shell stitch, creating a pretty, scalloped edge.
Styling Your Crochet Shorts: Outfit Inspiration
Your beautiful handmade crochet shorts are now complete! There are endless ways to style them:
- Boho Crochet Shorts: Pair your crochet shorts with a flowy top and sandals for a bohemian vibe.
- Festival Crochet Shorts: Add a fun crop top and some jewelry for a playful festival look.
- Beach Crochet Shorts: Wear them with your swimsuit for a stylish beach cover-up.
- Crochet Shorts for Summer: Style them with a cute tank top and sneakers for a casual summer outfit.
Crochet Shorts Tutorial: Step-by-Step Guide
To further assist you, we’re providing a concise written pattern for the shorts:
- Chain Stitch: Chain a length that matches your waist measurement.
- Join the Chain: Join the first and last stitch with a slip stitch.
- Round 1: Work a single crochet stitch into each chain stitch around the waistband. Join the round with a slip stitch.
- Round 2: Work a double crochet stitch into each single crochet stitch. Join the round with a slip stitch.
- Round 3: Work the following pattern around the waist: skip one stitch, work a double crochet cluster into the next stitch, skip the next stitch, work another double crochet cluster. Repeat this pattern around the entire waist.
- Continue working the pattern, adding more decreases in each row to shape the legs of the shorts.
- Add the Elastic: Secure one end of the elastic to the waistband. Work a single crochet stitch around the waistband, incorporating the elastic as you go.
- Crochet Shorts Edging: Work a “tombadinho” stitch around the bottom edge of your crochet shorts.
Tips:
- Use a marker to keep track of your stitch count and decreases.
- Take breaks if needed, and don’t be afraid to adjust the pattern to your personal style.
Crochet Shorts: Show Off Your Style!
We love seeing your creations! Share your crochet shorts on Instagram with #https://www.instagram.com/tubacrochet_ and TikTok #tiktok.com/@tubacrochet.
Other Crochet Projects You’ll Love
- Don’t stop there! For women,
- Crochet Crop Top: Design a matching crochet crop top for a complete handmade outfit.
- Crochet Tote Bag: Craft a spacious tote to carry all your summer essentials.
Let’s Chat!
We’d love to hear your feedback, questions, or any tips you have for crocheting women’s crochet shorts. Leave a comment below, and let’s connect!
Conclusion
Crocheting high waisted crochet shorts is a fun and rewarding project that you can wear with pride. With this easy step-by-step guide, you’ll be ready to create a stylish and comfortable pair of crochet shorts for summer.
So grab your crochet hook, choose your favorite yarn, and let’s get creative! Happy crocheting!

