Are you dreaming of a breezy, handmade wardrobe staple perfect for warm weather? A stylish crochet summer top might be just the project you need! Whether you’re a seasoned crocheter or a curious beginner, this pattern is a fantastic way to add a unique, comfortable piece to your closet. And of course, it’s ideal for all those crochet tops for women enthusiasts out there.
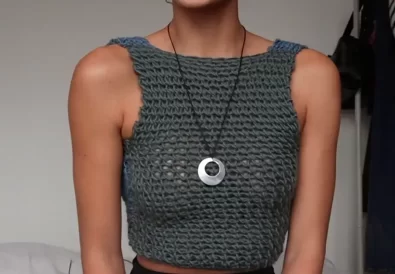
In this blog post, I’ll guide you through creating a beautiful crochet summer top. The design features a charming repeating pattern and slightly flared sleeves, resulting in an effortlessly chic garment. Best of all, the pattern is surprisingly beginner-friendly! Even if you’re new to crochet, you’ll be able to master this top and enjoy the satisfaction of wearing your own handmade creation. The top is perfect for festivals, beach days, or just casual summer styling.
Let’s get started!
Crochet Summer Top Essentials: Materials and Tools
Before diving in, gather your supplies:
- Yarn: I recommend a lightweight yarn like bamboo or cotton for breathability in warm weather. Consider a fun summer color or a classic neutral – the choice is yours!
- Crochet hook: Choose a hook size appropriate for your yarn weight. The pattern instructions usually offer a recommendation.
- Scissors
- Yarn needle: For weaving in ends.
- Stitch markers (optional): Helpful for keeping track of your rows and stitches.
Mastering the Basic Stitches for Your Crochet Summer Top
If you’re a crochet newbie, let’s cover the essential stitches used in this pattern:
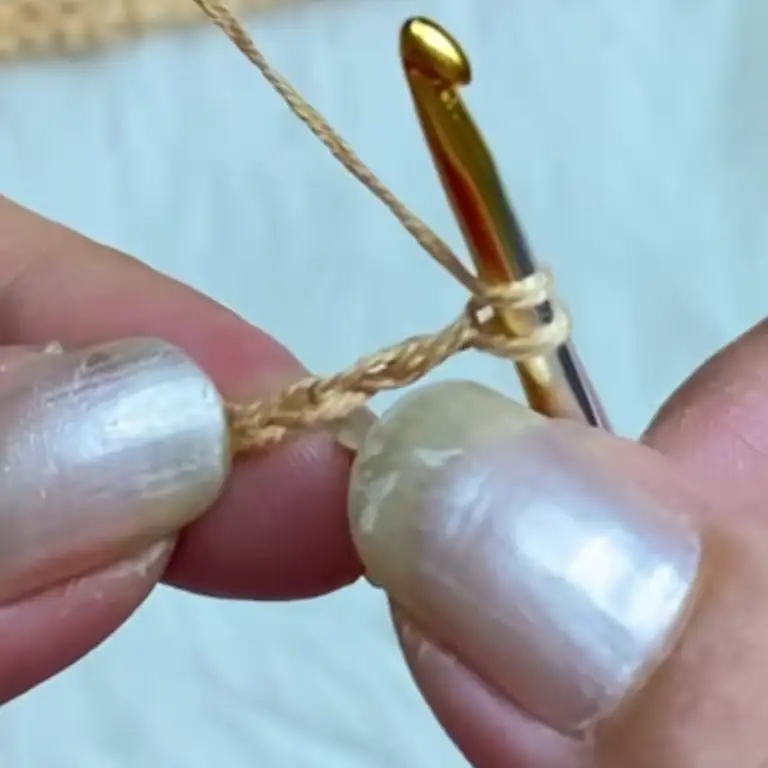
- Chain stitch (ch): The foundation of most crochet projects.
- Double crochet (dc): A versatile stitch that creates a fabric with nice drape.
Even if you only know these basics, you’re ready to tackle this summer top! For visual learners, there are countless fantastic tutorials online that demonstrate these techniques.


Crochet Summer Top Pattern: Step by Step Guide
Now for the fun part – let’s craft your top! Below is a written pattern detailing each step. Additionally, I highly recommend watching the original video tutorial on EcemceOrgulersd’s YouTube channel ([https://www.youtube.com/@EcemceOrgulersd]) for extra visual guidance.
Notes:
- This pattern is worked in continuous rounds unless otherwise specified.
- The starting chain multiples will depend on your desired finished chest circumference. A multiple of 4 + 3 is recommended.
- Stitch markers can be helpful for keeping track of the beginning of rounds.
Back Panel:
- Start: Chain a multiple of 4 + 3 (e.g., 23 sts for a small size). Turn.
- Row 1: Dc in each ch (24 sts). Turn.
- Row 2: Ch 2 (counts as first dc), dc in each dc across. Turn.
- Repeat Row 2 until you reach desired length for the back panel (measure from shoulder to desired hemline).


Shaping the Armholes:
- Row (decrease row): Ch 2, dc in each dc until the last 3 sts. Dc in the next 2 sts together, dc in the last st. Turn. (22 sts)
- Repeat Row (decrease row) two more times. (20 sts)
- Continue crocheting straight (without decreasing) until the armhole measures half the desired width (measure from shoulder down).
Shaping the Neckline:
- Row (decrease row): Ch 2, dc in each dc until the last 5 sts. Dc in the next 2 sts together, dc twice in the next st, dc in the next 2 sts together, dc in the last st. Turn. (18 sts)
- Repeat Row (decrease row) one more time. (16 sts)
- Continue crocheting straight for a few rows to create a slight neck curve.
Finishing the Back Panel:
- Cut yarn, leaving a long tail for weaving in ends.
- Weave in ends securely.
Front Panel:
Follow instructions for the Back Panel, BUT:
- Skip the first 3 sts of each row to create a v-neckline shaping.
Sleeves:
- Chain a number of stitches slightly more than the desired sleeve width (e.g., 40 sts). Turn.
- Row 1: Dc in each ch (40 sts). Turn.
- Repeat Row 2 from the Back Panel instructions for the desired sleeve length.
- Decrease Row: Ch 2, dc in each dc until the last 3 sts. Dc in the next 2 sts together, dc in the last st. Turn. (39 sts)
- Repeat Decrease Row until there are a few stitches remaining.
- Cut yarn, leaving a long tail for weaving in ends.
- Sew the seam along the underside of the sleeve.
- Repeat steps 1-7 to create the second sleeve.
Assembly:
- Lay the back panel flat.
- Place the sleeves on either side, matching the shoulder seams.
- Sew the shoulder seams together.
- Sew the side seams from the bottom hem up to the armholes.
- Sew the underarm seams of the sleeves.
Finishing Touches:
- Optional: Crochet a single crochet or other edging around the neckline and armholes for a polished look.
- Weave in all ends securely.


Customizing Your Crochet Summer Top: Design Variations
Get creative with these customizations!
- Play with length: Easily adjust the length for a cropped or longer top.
- Experiment with sleeves: Try different sleeve lengths or styles for a unique twist.
- Color your world: Explore different yarn colors to match your personal style.
Styling Your Crochet Summer Top: Outfit Inspiration
Your new crochet top is a wardrobe chameleon! Pair it with:
- High-waisted denim shorts and sandals for a relaxed summer vibe.
- A flowy maxi skirt for bohemian elegance.
- Your favourite jeans for everyday casual chic.
Tips and Tricks
- Practice tension: Even stitch tension makes for a polished finish.
- Count your stitches: It ensures your rows stay consistent.
- Blocking: This optional step helps shape and even out your finished piece.
Other Crochet Projects You’ll Love
Inspired to keep crocheting? Here are more ideas:
I hope you discovered the joys of creating your own crochet summer top! Tag @tubacrochet_ on Instagram and tiktok.com/@tubacrochet to show off your finished creations and be part of the crochet community. Remember, crochet is a journey of learning and creativity. Don’t be afraid to experiment and have fun!


