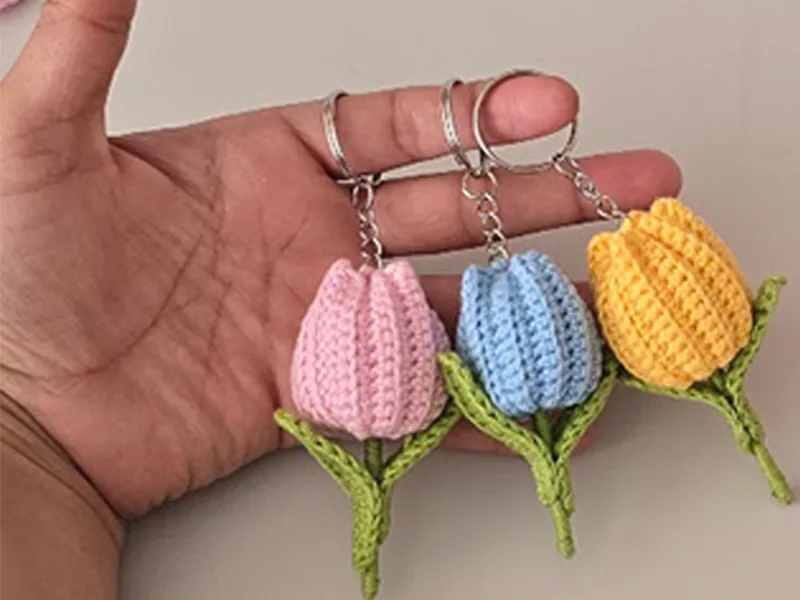
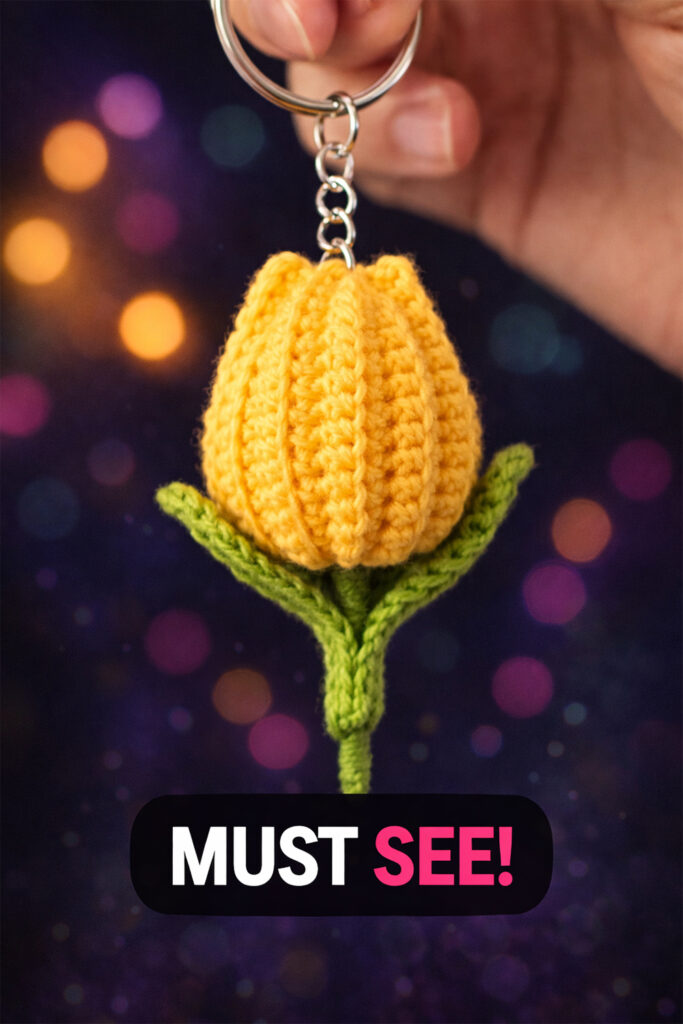
If you’re looking for an easy crochet tulip keychain, this project is a perfect “quick win.” It’s beginner-friendly, uses simple stitches, and you can pick any colors you love. Even better, you can easily adjust the size by adding a few chains or extra rows.
In this tutorial, you’ll crochet a small tulip body, shape it neatly, then add a wrapped stem and two simple leaves (with optional wire support). Let’s get started.
Materials and Tools
Here’s what you’ll need for this easy crochet tulip keychain:
- Yarn: medium weight cotton/acrylic blend (tulip color + green)
- Hook: 2.20 mm crochet hook
- Tapestry/yarn needle (for gathering and sewing)
- Fiberfill stuffing
- Keychain clasp (or keyring hardware)
- Craft wire (copper) for leaves (use a thickness you can crochet over comfortably)
- Toothpick / matchstick / small wooden stick (for the stem core)
- Silicone glue (or strong craft glue), scissors
If you love quick and beginner-friendly crochet gifts, don’t forget to grab the free PDF pattern and save this tutorial for later.
Stitch Abbreviations (US Terms)
- ch = chain
- sc = single crochet
- hdc = half double crochet
- sl st = slip stitch
- BLO = back loop only (the loop furthest from you on the top of the stitch)
Written Crochet Pattern: Tulip Body
Step 1: Foundation Chain (Tulip Height)
- Make a slip knot.
- Ch 15.
- This chain length sets your tulip height.
- Want it longer? Add more chains.
Size note (from the transcript): a short chain segment was measured around 5.5 cm (2.17″), and you can adjust up to about 6–6.5 cm (2.36–2.56″) depending on your tension.
Step 2: Row 1
- Sc in the 2nd ch from the hook, then sc across.
- You should have 14 sc.
3: Rows 2–22 (BLO Texture)
- Ch 1, turn.
- BLO sc 14 across.
- Repeat the same row until you reach 22 rows total.
Checkpoint: You’ll have a rectangle.
- Length is about 9 cm (3.54″) (may vary with yarn/hook/tension).
- The width will become the tulip diameter once shaped.
Step 4: Fold and Join the Rectangle
- Ch 1, leave a tail, cut yarn.
- Fold the rectangle in half.
- Using sl st, join the edges by matching stitches.
- Align carefully before you continue.
- Join through the front loops to keep the seam neat.
- Keep slip stitching across, matching both edges.
When the seam is complete, ch 1 and pull the tail through to secure.
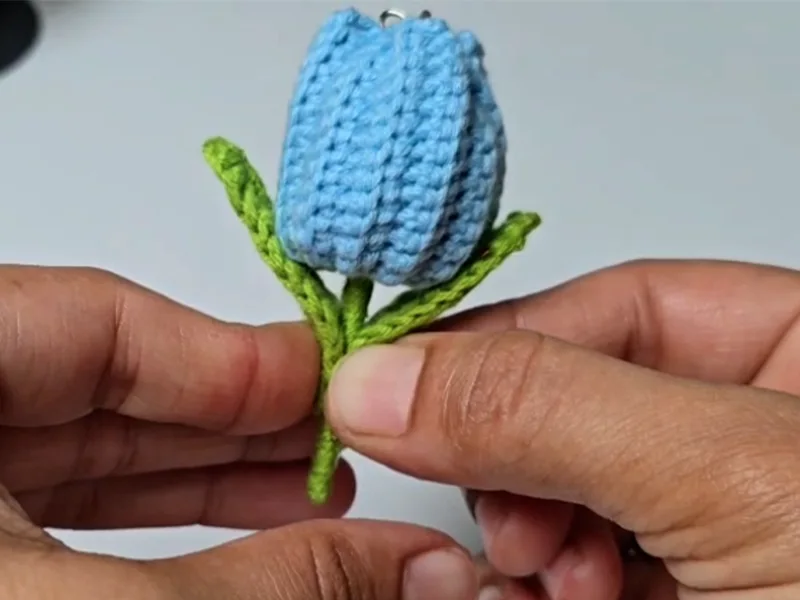
Step 5: Gather the Top (Tulip Shape)
- Thread your yarn needle with the tail.
- Run the needle through the top edge stitches in a zigzag path.
- Pull tight to cinch and gather the top.
Now push the body slightly from the inside to the outside to help it puff and form a tulip shape.
Stem + Stuffing
6: Make the Stem
- Wrap green yarn around your toothpick/matchstick (or small wooden stick) to form a neat stem.
- Insert the stem through the opening so it sits centered.
- Keep it slightly extended—not too high.
Step 7: Glue + Stuff
- Apply a bit of glue inside the tulip.
- Add fiberfill little by little (pause and adjust as needed).
- Match stitches and sew the lower area neatly so the tulip holds its shape.
Step 8: Attach the Keychain Clasp
Attach your clasp at the top of the tulip (through the gathered section). For extra security, stitch the hardware in place or add a jump ring.
If you love quick crochet gifts like this, save this pattern and follow our tutorials for more beginner-friendly projects.
Written Crochet Pattern: Leaves (Make 2)
These leaves use a simple shape and optional wire so you can pose them.
1: Start
- With green yarn, ch 12.
Step 2: Crochet Over the Wire (Optional)
- Place the wire along the chain and crochet around it as you work (so it’s hidden inside).
Step 3: Work One Side
- Sc in 2nd ch from hook, then sc 3
- Hdc 5
- Sc 3
4: Leaf Tip
- Ch 2
- Work sc again into the last sc space to begin the return side.
Step 5: Return Side (Mirror)
- That sc counts as sc #1 on the way back.
- Sc 2 more (total 3 sc)
- Hdc 5
- Sc 3 to finish
Step 6: Fasten Off
- Ch 2, cut yarn, and make an invisible join for a clean finish.
Make 2 leaves, then glue them onto the stem. Press and hold for a moment, then set aside to dry.
Pattern Video Tutorial
Watch on YouTube: https://youtu.be/Bb7S6Piw02o
Channel: @CrochetCraftsmann
Downloadable PDF Pattern
Download the free PDF pattern:
Watch the video tutorial:https://youtu.be/Bb7S6Piw02o
Pin This Project
Want to save this easy crochet tulip keychain for later?
Tips and Variations
- Use two tulip colors for a striped look.
- Make it larger by adding a few chains for height and a few extra rows for width.
- Prefer sturdier leaves? Use wire, or use tighter tension with the same yarn.
- Turn it into a bouquet: make 3–5 tulips in different colors.
Other Crochet Projects You’ll Love
If you enjoyed this, you may also like:
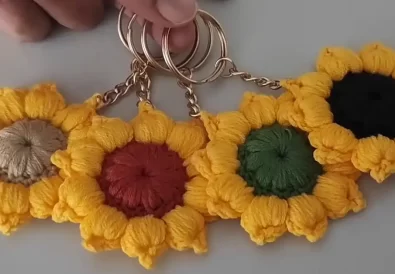
- Crochet Sunflower Keychain – Easy & Adorable Gift Idea
- Create a Crochet Heart Keychain: Free Tutorial for Beginners
- Crochet Tulip Flower Bouquet (Beginner-Friendly)
Frequently Asked Questions
Is this easy crochet tulip keychain beginner-friendly?
Yes. The tulip body is built with simple rows of single crochet, and the shaping is done by a basic gather seam. It’s a great first “small amigurumi-style” keychain.
What yarn should I use?
A medium weight cotton/acrylic blend works well for a clean stitch look and a sturdy finish. If you want a softer tulip, choose a smoother acrylic; if you want crisp definition, cotton is excellent.
Can I make the tulip bigger or smaller?
Absolutely. Add or reduce chains to change the height, and add or reduce rows to change the width. Keep the stitch count consistent across rows so assembly stays easy.