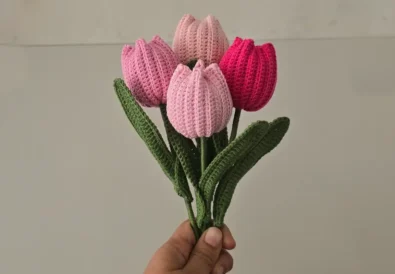
If you want a soft, realistic-looking crochet flower bouquet that works for home decor, weddings, and gifts for her, this easy crochet tulip bouquet is a perfect project. You’ll crochet a smooth tulip body, add wire-shaped leaves, and assemble everything into a beautiful bouquet you can also sell online or at craft fairs.
Video Tutorial + PDF Pattern
Use these two resources while you crochet:
🎥 Video Tutorial:
https://youtu.be/e0VPE5sxE2A
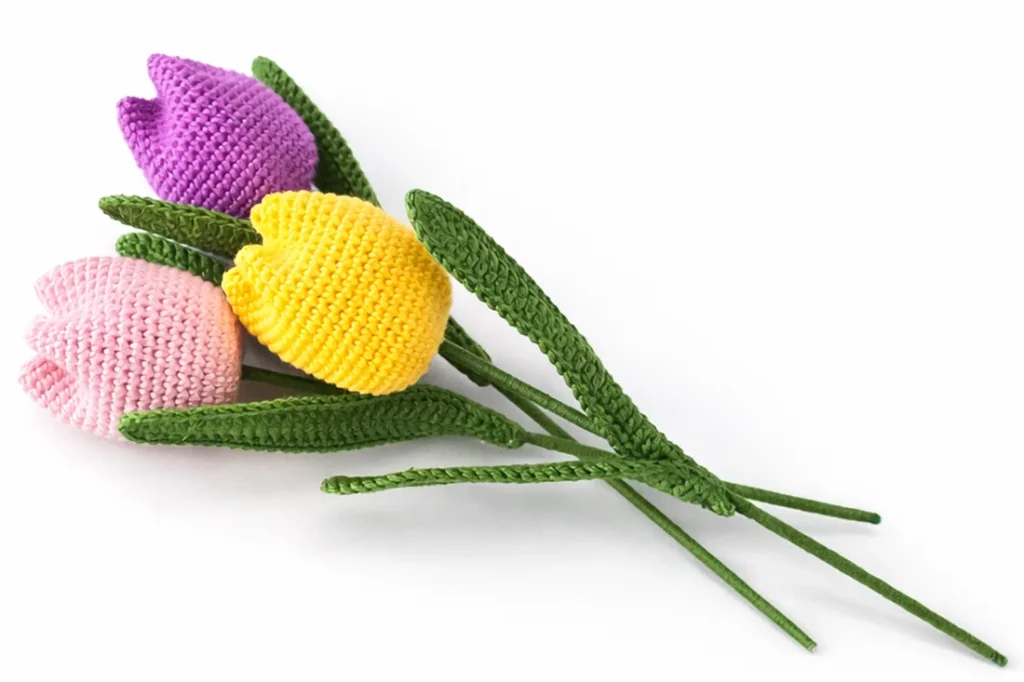
What You’ll Make (Crochet Flower Bouquet for Beginners)
A beginner-friendly easy crochet tulip bouquet:
- 1 tulip body
- 2 leaves
- Stem + stuffing + shaping
👉 Repeat the tulip and leaves to build a fuller bouquet in any color palette you love.
Materials for an Easy Crochet Tulip Bouquet (Yarn, Hook, Wire)
- Medium weight yarn (worsted): 50% cotton / 50% acrylic
(tulip color + green for leaves) - 2.20 mm crochet hook (US B/1)
- Wooden skewer (stem)
- Tapestry/yarn needle
- Polyester fiberfill
- Copper wire (5 mm) for shaping leaves
- Optional: hot glue (assembly)
Crochet Abbreviations (US Terms) for Tulip Bouquet Pattern
- ch = chain
- sl st = slip stitch
- sc = single crochet
- hdc = half double crochet
- dc = double crochet
- st(s) = stitch(es)
Stitch Notes (ch-1 Doesn’t Count + Join to First sc)
ch-1 does NOT count as a stitch. At the end of each round, join with a sl st to the first sc.
Easy Crochet Tulip Bouquet Written Pattern (Step-by-Step)
Crochet Tulip Body Pattern (Rounds 1–5 Increases)
Round 1
Make a magic ring, ch 1, work 8 sc into the ring.
Pull the tail to close tightly. Join with sl st to the first sc. (8 sts)
Round 2
ch 1, work 2 sc in each st around. Join. (16 sts)
Round 3
ch 1, (2 sc in next st, 1 sc in next st) repeat around. Join. (24 sts)
Round 4
ch 1, (2 sc in next st, 1 sc in next 2 sts) repeat around. Join. (32 sts)
Round 5
ch 1, (2 sc in next st, 1 sc in next 3 sts) repeat around. Join. (40 sts)
Crochet Tulip Body Pattern (Rounds 6–22: 40 sc Each Round)
From here on, crochet 40 sc in each round (no increases).
At the end of each round, join with sl st to the first sc.
Continue until you have 22 rounds total from the magic ring. (40 sts each round)
How to Finish the Tulip Body (Tail for Sewing + Closing)
Join, ch 1, leave a long tail for closing/sewing, cut yarn, and secure.
Crochet Leaf Pattern for Tulip Bouquet (Make 2 Leaves)
Easy Crochet Leaf Foundation Chain (ch 30 + Sizing Tip)
With green yarn: make a slip knot, then ch 30.
Want bigger leaves? Add more chains.
Crochet Leaf Row 1 (sc, hdc, dc Shaping)
- sc in 2nd ch from hook, sc in next ch
- hdc in next 2 chains (one each)
- hdc in next 20 chains (one each)
- hdc in next 2 chains
- sc in next 2 chains
- In the last chain: work 3 sc (turn corner)
Row 1 (other side of foundation)
- sc in next 2 chains
- hdc in next 2 chains
- hdc in next 2 chains
- dc in next 20 chains
- hdc in next 2 chains
- sc in next 1 chain
- In the first corner/starting space: work 2 sc to turn
(You’ll have 3 sc in this corner in total.)
Single Crochet Edge Round (Clean Leaf Edge)
Work sc evenly around the entire edge to clean up the shape.
Add wire while edging (as shown)
- Use a thin, bendable wire.
- Make a sl st into the first chain area while securing the wire.
- ch 1, then work sc across, gently guiding the wire through your stitches.
- At the corner where you made 3 sc, find the middle (2nd) sc and work 3 sc into that middle stitch to round smoothly.
- Keep going with sc, guiding the wire as you go.
- At the last stitch, work 2 sc in the same stitch for a neat finish.
- Finish with sl st to the top of the first chain.
Crochet Leaf with Wire (Poseable Leaf Tutorial)
ch 1, cut yarn, fasten off.
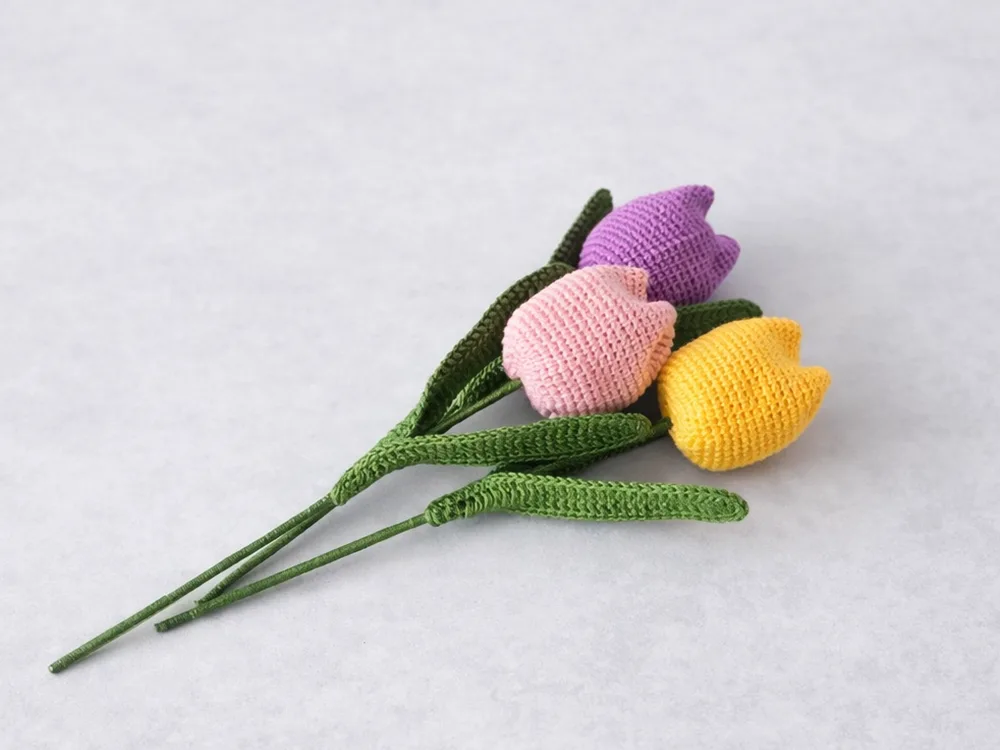
Leaf size (from the video):
- ~ 11 cm long (~4.33 in)
- ~ 2.5 cm wide (~0.98 in)
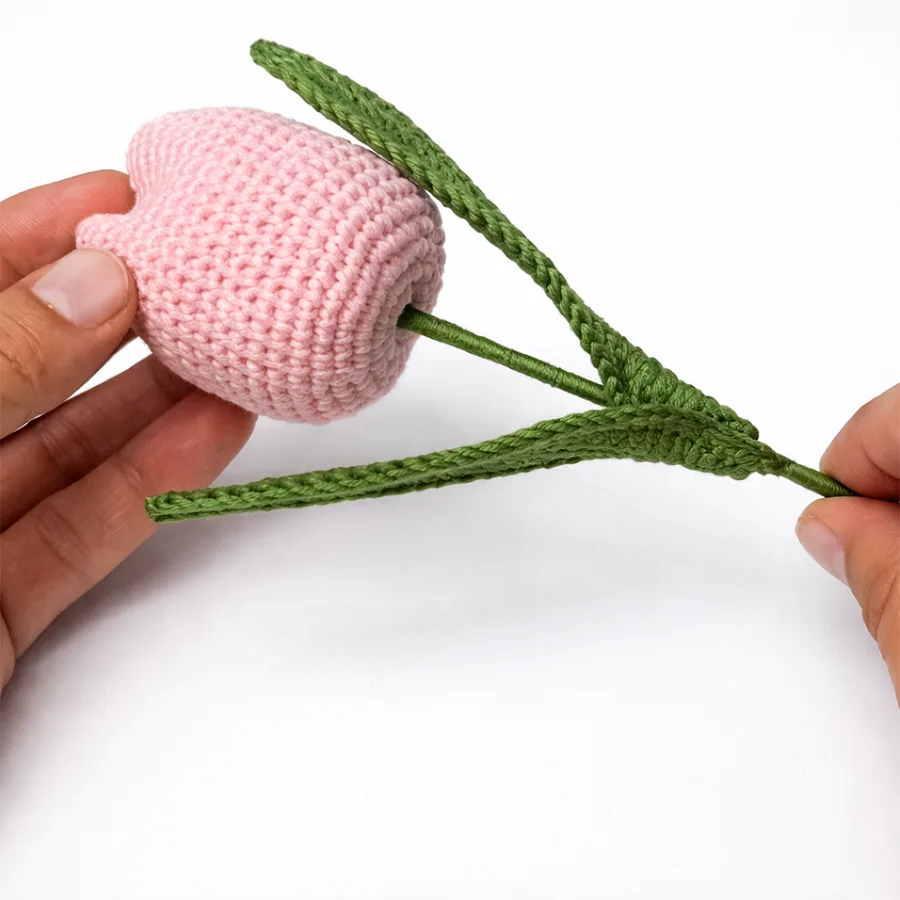
Part 3 — Stem + Final Assembly
- Take your wooden skewer.
- Slide it through the magic ring opening at the base of the tulip.
- Add a little hot glue inside (optional, but used in the tutorial).
- Stuff with polyester fiberfill to shape the tulip top.
- Attach leaves wherever you like, then gently bend and pose them using the wire.
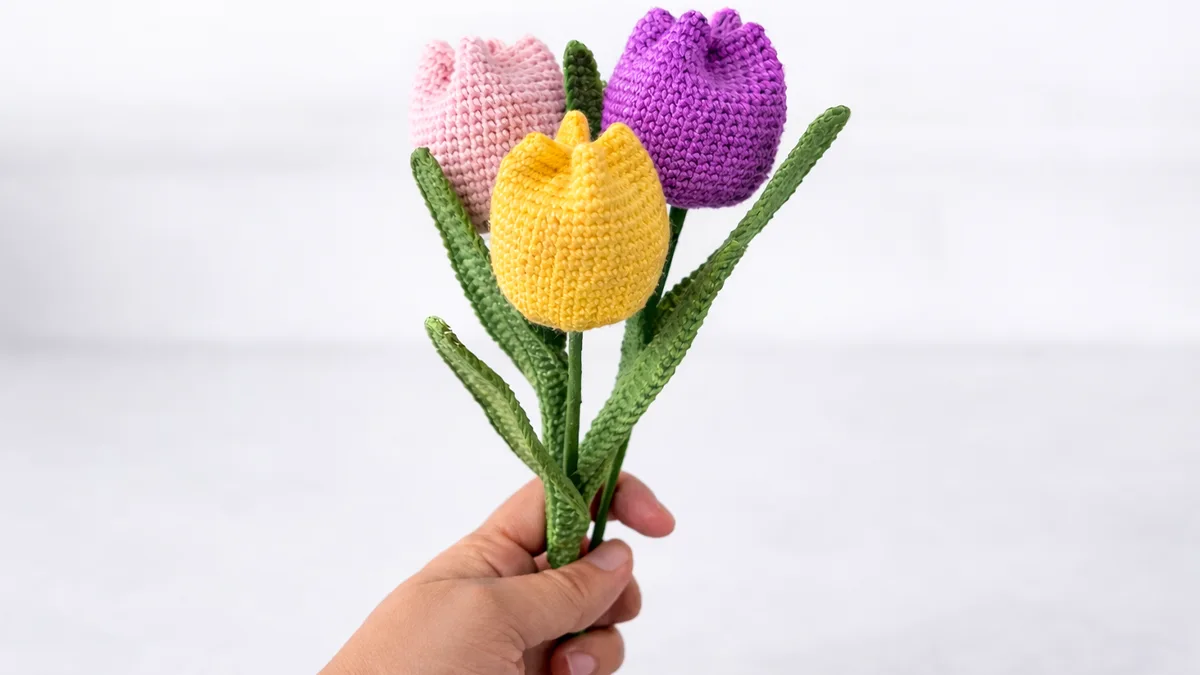
✨ Tip: Make tulips in different colors and repeat the pieces to build a full, layered bouquet.
Customization Tips (Quick Wins)
- Bigger leaves: start with more than ch 30.
- Taller tulip: add a few extra rounds after Round 22.
- Fuller bouquet: crochet multiple tulips and vary your colors (pastels look especially realistic).
- More “natural” shaping: don’t overstuff—add fiberfill slowly and shape as you go.
Related Crochet Flower Patterns on CrochetStrends (Internal Links)
If you enjoyed this easy crochet tulip bouquet, you may also love these beginner-friendly projects on CrochetStrends:
- Crochet Tulip Keychain Pattern (great for quick gifts)
- Amigurumi Tulip Flower Tutorial (cute, small, and fast)
- Crochet Tulip Coaster Pattern (perfect spring/summer decor)
- Crochet Sunflower Keychain Ideas (mini bouquet-style projects)
Troubleshooting (Beginner-Safe Fixes)
- Tulip looks bumpy: your tension may be uneven—try to keep your sc consistent and avoid pulling too tight.
- Tulip top won’t hold shape: add a bit more fiberfill and shape with your fingers before it cools/sets.
- Leaf won’t curve nicely: make sure the wire is guided through the stitches smoothly, and use a thinner, flexible wire if needed.
- Edges look messy: the final sc clean-up round is what makes it crisp—work evenly and don’t skip it.
Easy Crochet Tulip Bouquet Pattern Questions
1) Is this easy crochet tulip bouquet beginner-friendly?
Yes. The tulip body uses simple single crochet increases, and the leaf is worked with basic stitches (sc, hdc, dc). If you can make a magic ring and single crochet, you can do this project.
2) What yarn is best for a crochet tulip bouquet?
A medium weight (worsted) yarn with a 50% cotton / 50% acrylic blend works beautifully. It helps the tulips feel soft and look natural, and it holds shape well for bouquet styling.
3) Can I use a different hook size?
You can, but your tulip size and tightness will change. The tutorial uses a 2.20 mm (US B/1) hook for a firm, clean shape. If you size up, expect a looser fabric and you may need more stuffing.
4) How do I make the leaves bigger?
Simply increase the starting chain length (ch 30 in the pattern). A longer foundation chain will create a longer leaf.
5) Do I have to use wire in the leaves?
No. The wire is optional, but it helps the leaves hold their form and makes the bouquet look more realistic. Without wire, the leaves will be softer and less poseable.
6) How do I make the tulip taller?
After Round 5, keep working 40 sc per round for a few extra rounds before finishing. This increases tulip height without changing the shape.
7) Can I make and sell this crochet tulip bouquet?
In general, many makers sell finished handmade items based on patterns/tutorials. If you plan to sell, it’s best to mention “pattern by CrochetStrends / tutorial credit” and avoid reselling the PDF itself.
8) Why does my tulip top look flat or uneven?
This is usually a stuffing issue. Add fiberfill slowly, shape the top with your fingers, and adjust until it looks like a tulip. A little extra shaping time makes a big difference.
Final Notes + Next Steps
That’s everything for this easy crochet tulip bouquet—from the smooth tulip body to the wire-shaped leaves and final assembly. If you make it, try a fun color combo and leave a comment under the video telling me which colors you chose.