Learn how to crochet a classic granny square with this easy, step-by-step tutorial – perfect for beginners!
The granny square is a timeless crochet motif that’s beloved for its simplicity, versatility, and classic charm. If you’re new to crochet, this is an excellent starting point. Granny squares are quick to work up, and they can be used to create endless projects like blankets, bags, sweaters, and more! This beginner-friendly tutorial will guide you through every step, from choosing materials to assembling your finished square.
Materials
- Yarn: For this tutorial, we’ll use Gazzal Baby Cotton, a soft and durable yarn with beautiful color options. Feel free to experiment with different weights and fibers.
- Crochet hook: A 2.75mm hook is perfect for this pattern. Adjust the hook size if you’re using a different yarn weight.
- Scissors: For cutting your yarn.
- Yarn needle: To weave in ends neatly.
Basic Crochet Techniques
Let’s quickly review the essential techniques you’ll need for this granny square pattern:
- Magic ring: A way to start projects worked in the round.
- Chain stitch (ch): Creates height and spaces in your crochet fabric.
- Double crochet (dc): Adds height and structure to your work.
- Slip stitch (sl st): Used for joining rounds or moving across stitches.
Step by Step Pattern


Row 1:
- Start with a magic ring.
- Ch 3 (counts as the first dc), then work 2 dc into the ring.
- Ch 2, then 3 more dc into the ring. Repeat this sequence (3 dc, ch 2) two more times.
- Ch 2, sl st into the top of the first ch 3 to join the round.


Row 2:
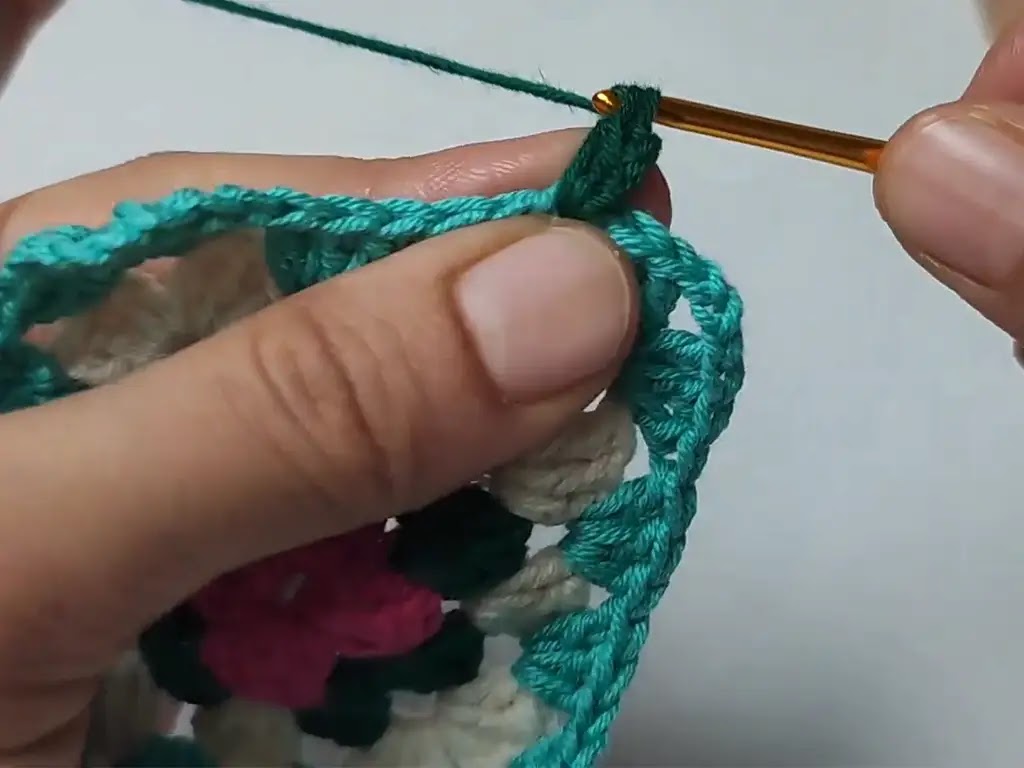
- Ch 1, cut the yarn and join a new color.
- Start in any corner ch-2 space.
- Work (3 dc, ch 3, 3 dc) into the same space.
- In the next ch-2 space, work 3 dc. Do this in each ch-2 space around.
- Sl st into the top of the first ch 3 to join the round.


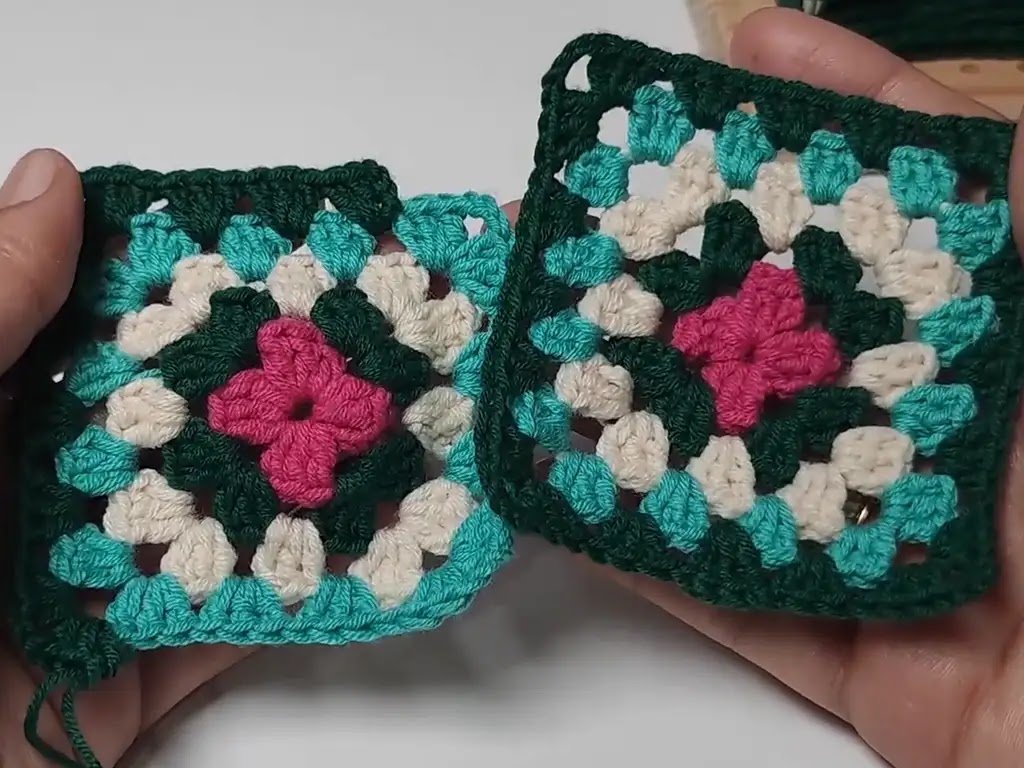
Repeat Rows 3-5: Continue following the pattern above, changing colors as desired, until your granny square reaches your preferred size. For this tutorial, we’ll stop after five rows. Remember:
- Start each new row in the center of a ch-3 space.
- Work (3 dc, ch 3, 3 dc) in each corner space.
- Work 3 dc into each side space.
Finishing:
- Ch 1, cut the yarn, and weave in the end securely.
Tips and Tricks
- Counting is key: Keep track of your stitches, especially the chains between your groups of double crochets.
- Tension matters: Try to maintain even tension for a neat and consistent look in your square.
- Have fun with colors: Get creative! Experiment with bright colors, subtle tones, or a classic combination.
What to Make With Granny Squares
The possibilities are endless! Here are a few ideas:
- Blankets and throws: Cozy up with a handmade blanket stitched together from granny squares.
- Bags and totes: Design a unique bag with a granny square base and sides.
- Cardigans and sweaters: Add a vintage touch to your wardrobe with a granny square garment.
Join the Community
I hope this tutorial has inspired you to try crocheting a granny square! If you create a project using this pattern, be sure to share it on Instagram and tag @tubacrochets or on TikTok @tubacrochet – I’d love to see your work. For more detailed video instructions, check out my YouTube channel, TubaCrochet, and watch my complete granny square tutorial [https://www.youtube.com/watch?v=GIIHBW8JXC0].
Happy crocheting!


