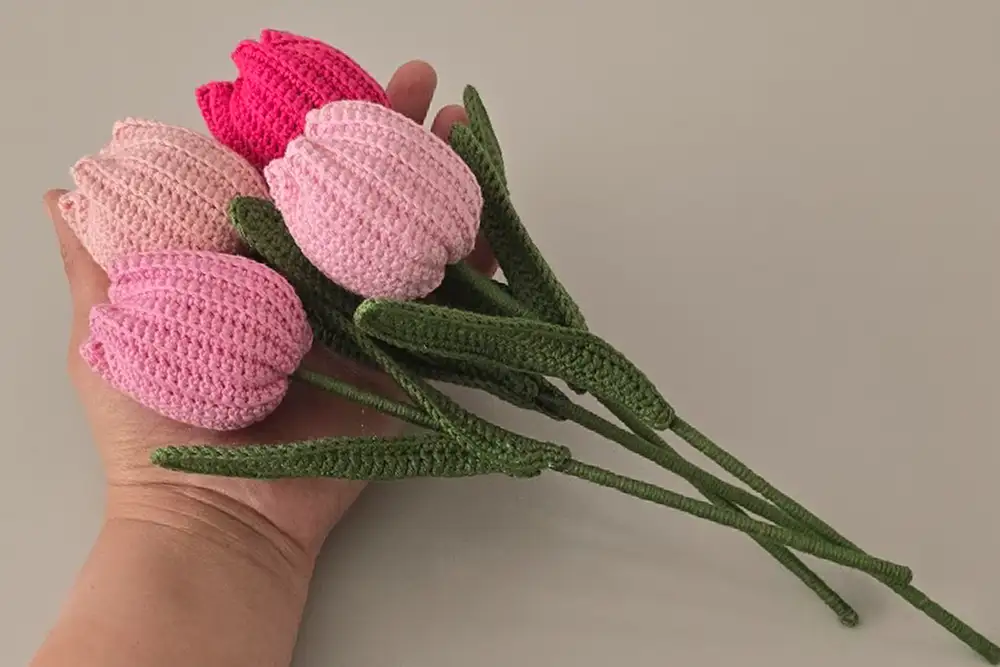
If you’re looking for a charming, beginner-friendly crochet project that doubles as a heartfelt gift or seasonal decoration, this crochet tulip pattern is just for you! In this tutorial inspired by the @CrochetCraftsmann video, you’ll learn step-by-step how to make a tulip crochet bouquet using simple stitches, realistic shaping, and soft wire reinforcement. Whether you want to brighten up your desk or craft a gift that lasts, these pink tulips are a joy to make and display.
Materials You’ll Need
- Yarn: Medium-weight (Category 3 or 4) yarn
- Color A: Pink (Petals)
- Color B: Green (Leaves & Stem)
- Fiber Content: 50% Acrylic, 50% Polyester
- Hook Size: 2.20 mm crochet hook
- Accessories: Thin floral wire, scissors, yarn needle, stuffing, glue
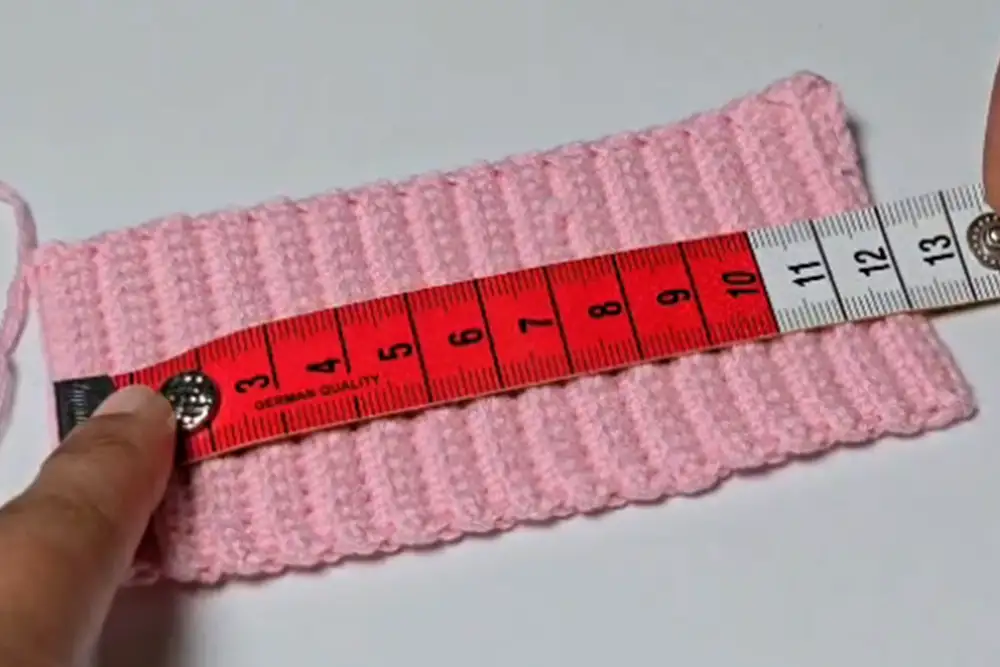
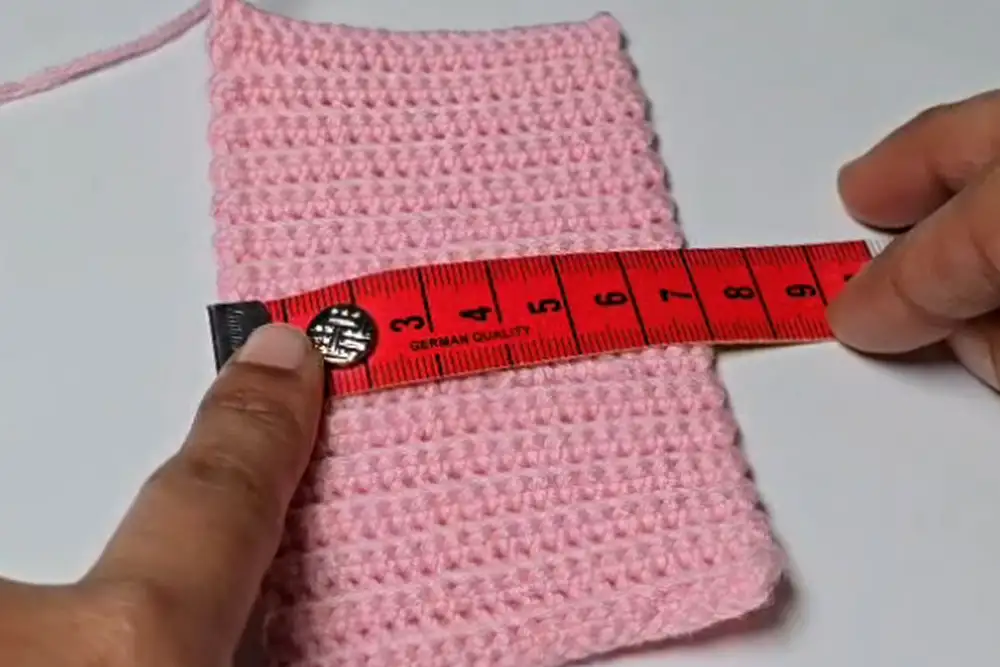
Finished Measurements
- Tulip base (rectangle): 7 cm wide x 12 cm tall
- Leaf: 11 cm long x 2.5 cm wide
How to Crochet a Tulip Flower Bouquet (Step-by-Step Pattern)
Create the Petal Rectangle
- With Color A, make a slip knot and ch 21 (not too tight).
- Row 1: Sc in 2nd ch from hook and across. (20 sc) Ch 1, turn.
- Rows 2–32: Sc in back loop only across. (20 sc) Ch 1, turn.
- After Row 32, ch 1, leave a tail and fasten off.
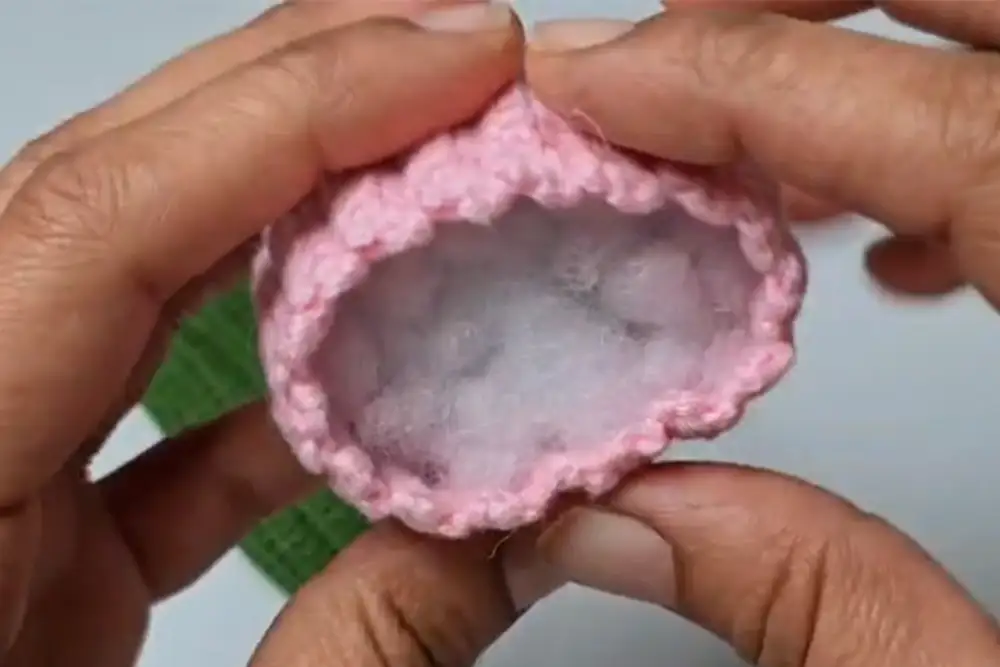
Shape the Tulip
- Fold the rectangle in half lengthwise and sew the side seam through the back loops.
- Gather the top edge by weaving yarn around and pulling tight.
- Stuff the tulip with fiberfill.
Make the Leaf
- With Color B, ch 30.
- Sc in 2nd and 3rd ch, hdc in next 2 ch, hdc in next 20 ch.
- Hdc in next 2 ch, sc in next 2 ch.
- Work 3 sc in last ch to round the tip.
- Work along the other side: sc in next 2 sts, hdc in next 4 sts, dc in next 20 sts.
- Hdc in 2 sts, sc in 1 st.
- Insert wire, join with sl st to first ch.
- Ch 1, sc around entire edge while enclosing the wire.
- At curved tip, work 3 sc in center stitch.
- Sl st to finish and cut yarn.


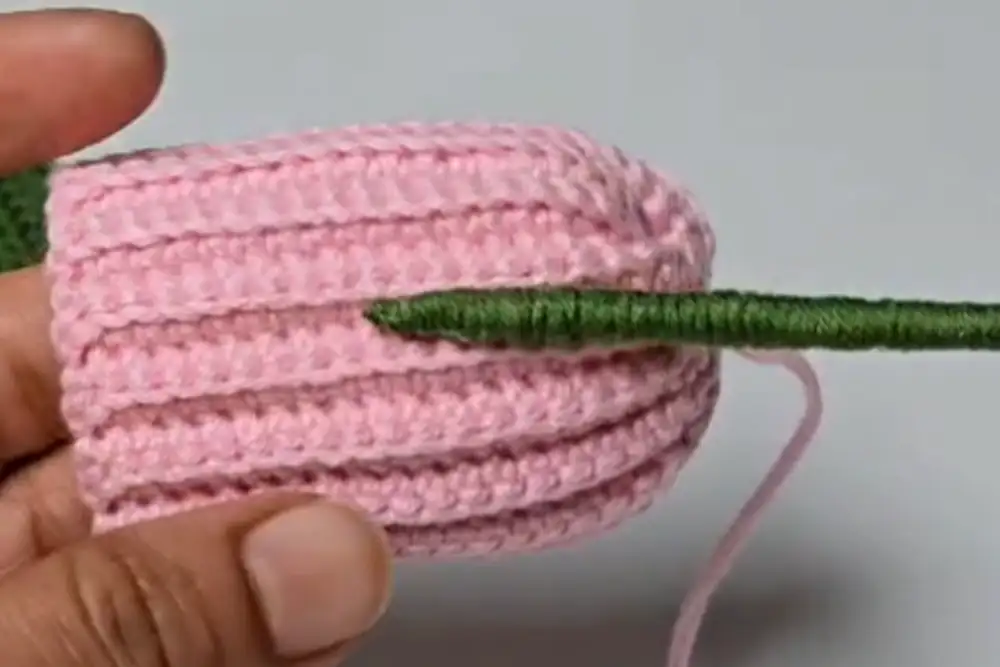
Assemble the Tulip
- Insert the stem wire through the tulip center.
- Stuff and flatten the base by folding and sewing it closed.
- Glue or sew the leaves to the base.
- Repeat to create more tulips for your bouquet!
Helpful Tips for Beautiful Results
- Keep your chains loose to avoid curling.
- Use soft wire that’s easy to bend and shape.
- Adjust the size of your tulips by adding or subtracting rows or chains.
- Try other yarn colors to create a mixed bouquet!
We’d Love to See Your Tulips!
Now you know how to make a crochet bouquet that will never wilt! Whether you use your tulips for home decor or as a gift, they’re sure to spread joy. This pattern was inspired by this video tutorial from the @CrochetCraftsmann channel — don’t forget to check it out!
Share your tulip projects with us! Tag @tubacrochet on:
Grab the free PDF pattern:
Download here
Other Crochet Projects You’ll Love
- Try the Easy Crochet Rose Coaster Pattern — a floral accent perfect for spring.
- Explore the 3D Rose Bouquet Table Mat — elegant and beginner-friendly!
Frequently Asked Questions (FAQ)
What type of yarn works best for crochet tulips?
Medium-weight cotton-blend yarn is ideal for good stitch definition and structure.
Can I make larger tulips with this pattern?
Yes! Simply increase the number of chains and rows when working the petal rectangle.
Is the floral wire required?
No, but it helps shape the leaves and stem for a more realistic look.
Can beginners follow this pattern? Absolutely! This project uses only basic stitches and is perfect for beginners.