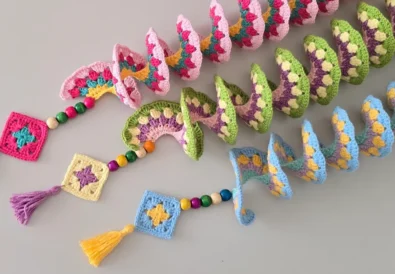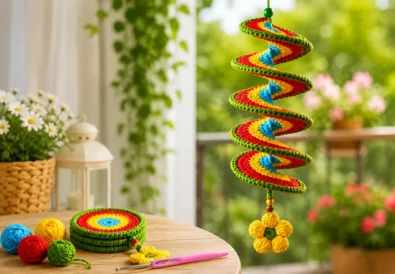

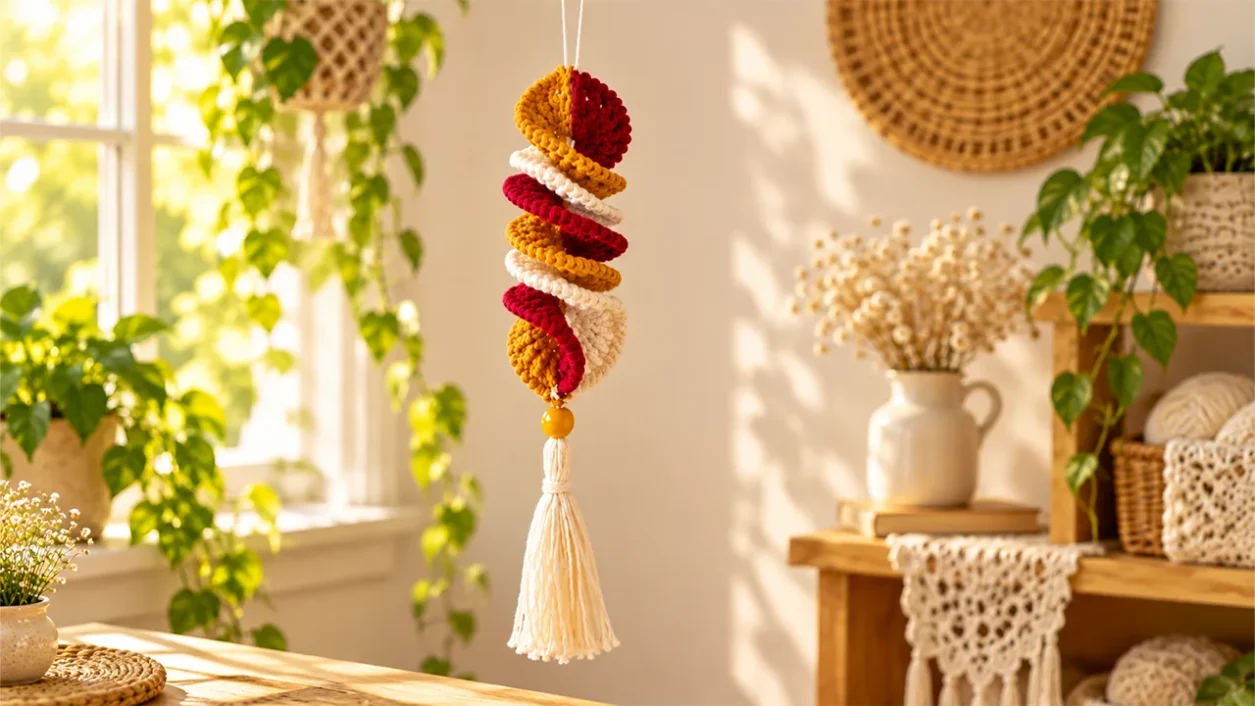
This crochet wind spinner starts with a narrow foundation and builds into three separate color sections, all worked with the same four-row stitch sequence. Once the sections are finished, one full twist brings the layers together and creates the spiral shape of the finished piece.
The pattern uses cotton yarn and a 2.5 mm crochet hook, with half double crochet, double crochet, front and back post double crochet, and reverse single crochet for texture. A bead, tassel, and simple hanging loop finish the project.
If you prefer to crochet along visually, follow the complete step-by-step tutorial:
Watch the Crochet Wind Spinner video tutorial:
You can also keep the printable pattern beside you while you work:
Download the Crochet Wind Spinner PDF Pattern
Crochet Wind Spinner Pattern Overview
The sample uses five foundation groups. After the foundation is complete, three color sections are worked into different spaces along the same foundation.
Each color section follows the same four-row structure:
- Row 1 builds the section with half double crochet.
- Row 2 increases with double crochet.
- Row 3 uses alternating front post and back post double crochet.
- Row 4 finishes the edge with reverse single crochet.
All three color sections should face the same direction before the spinner is assembled.
Materials
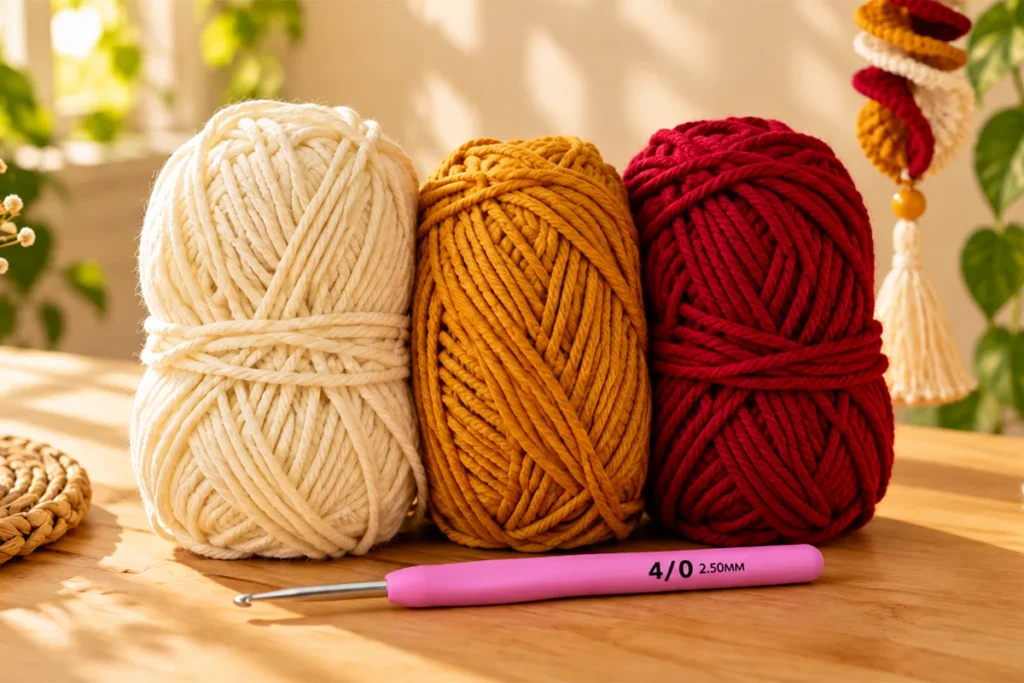
You will need:
- Cotton yarn in three colors
- 2.5 mm crochet hook
- Bead
- Finished tassel
Stitches and Abbreviations
This pattern uses US crochet terminology.
- ch – chain
- st / sts – stitch / stitches
- HDC – half double crochet
- DC – double crochet
- FPDC – front post double crochet
- BPDC – back post double crochet
- reverse sc – reverse single crochet, also known as crab stitch
Before You Start
The sample uses five foundation groups.
Each color section is worked into a different space of the same foundation groups.
When starting a new color section, keep the same side of the project facing you. The cut yarn end should stay at the top, and the starting chain should stay on your left.
On Row 2, ch 2 counts as 1 DC.
The two unfinished double crochets used in the foundation are worked into the same first chain and closed together. They are not worked across two separate stitches as a decrease.
How to Crochet a Wind Spinner Step by Step
Foundation
Make a slip knot.
Ch 5.
Go back to the first chain.
Work 2 unfinished DC into the first chain.
After the second unfinished double crochet, pull through all the loops on your hook together.
This completes the first foundation group.
Ch 5 again.
Work another 2 unfinished DC into the first chain, then pull through all the loops together.
Continue repeating the same sequence until you have 5 foundation groups in total.
First Color Section
Row 1
After completing the final foundation group:
Ch 2.
Work 6 HDC into the center space of each foundation group.
Continue across until you have worked into every group.
Row 2
Ch 2 and turn.
The ch 2 counts as 1 DC.
Work:
- 2 DC in the first stitch
- 3 DC in each remaining stitch
Continue across the row.
Row 3
Ch 3 and turn.
Work around the posts of the double crochets from the previous row.
Alternate:
1 FPDC, 1 BPDC
across the row.
Finish with a BPDC around the last post.
Row 4
Ch 1 and turn.
Starting in the first stitch, work reverse single crochet across the row.
Work a reverse single crochet into the top of the last chain as well.
Then:
Ch 1 and cut the yarn.
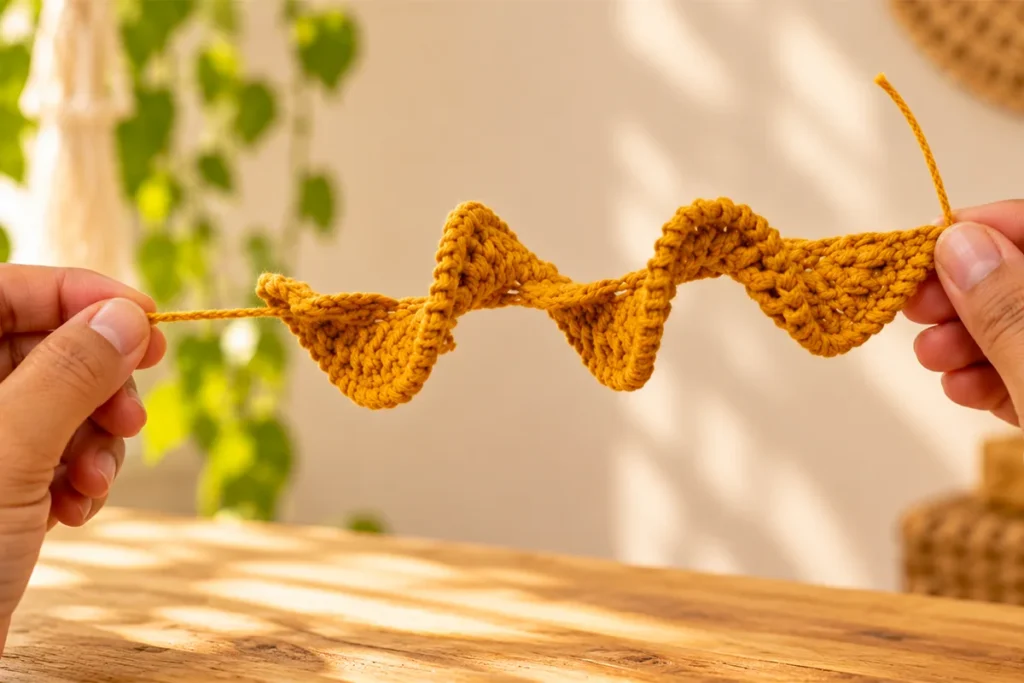
The first section should now be starting to form its spiral shape.
Second Color Section
Keep the same side of the work facing you.
The cut yarn end should stay at the top, and the starting chain should remain on your left.
Row 1
Join the second color in the middle space.
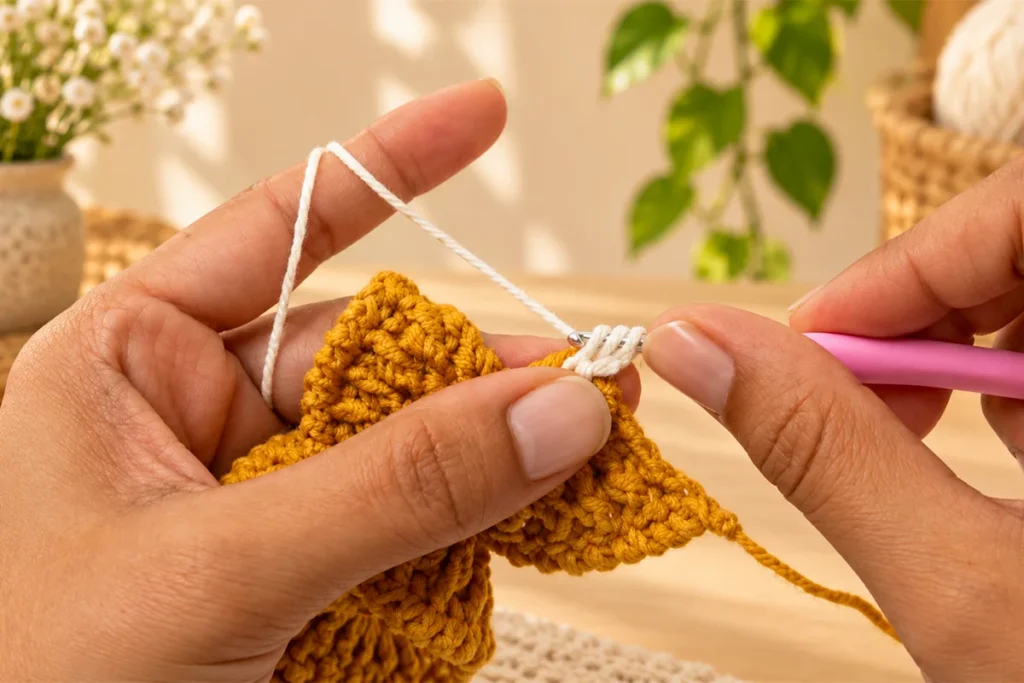
Ch 2.
Work 6 HDC into the corresponding space in each foundation group.
Continue in the same way across the section.
Work 6 HDC in the last group as well, then:
Ch 2 and turn.
Row 2
The ch 2 counts as 1 DC.
Work:
- 2 DC in the first stitch
- 3 DC in each remaining stitch
Continue across the row.
Row 3
Repeat Row 3 from the first color section.
Alternate FPDC and BPDC across the row and finish with BPDC.
Row 4
Repeat Row 4 from the first color section.
Work reverse single crochet across and into the top of the final turning chain.
Then:
Ch 1 and cut the yarn.
Third Color Section
Return to the beginning of the foundation.
Keep the starting chain on your left.
Row 1
Join the third color in the remaining foundation space.
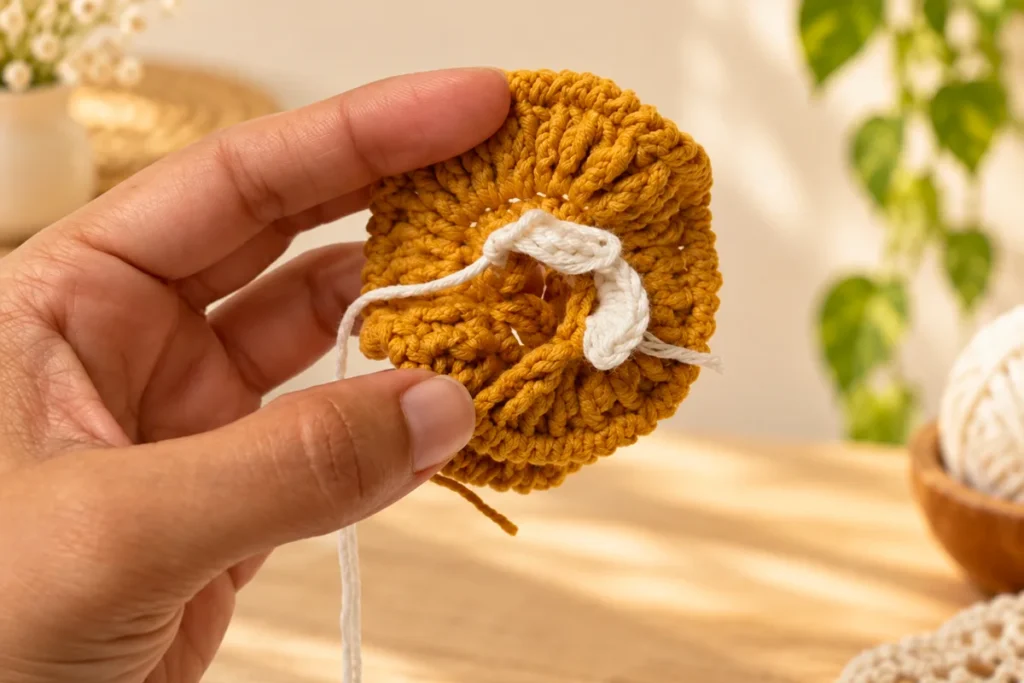
Ch 2.
Work 6 HDC into the remaining space.
Move to the next corresponding space and continue working 6 HDC into each corresponding space across the foundation.
Row 2
Repeat the same double crochet row:
- Ch 2 counts as 1 DC
- 2 DC in the first stitch
- 3 DC in each remaining stitch
Row 3
Repeat Row 3 from the first color section.
Alternate FPDC and BPDC across the row and finish with BPDC.
Row 4
Repeat Row 4 from the first color section.
Work reverse single crochet across the row and into the top of the final turning chain.
Then:
Ch 1 and cut the yarn.
How to Assemble the Crochet Wind Spinner
Check that all three colored sections are facing the same direction.
Tie the three starting yarn tails together.
Weave the yarn end through the stitches on the back until it is neatly hidden.
Add the bead to the finished tassel, then attach the tassel at the point where the yarn ends were tied together.
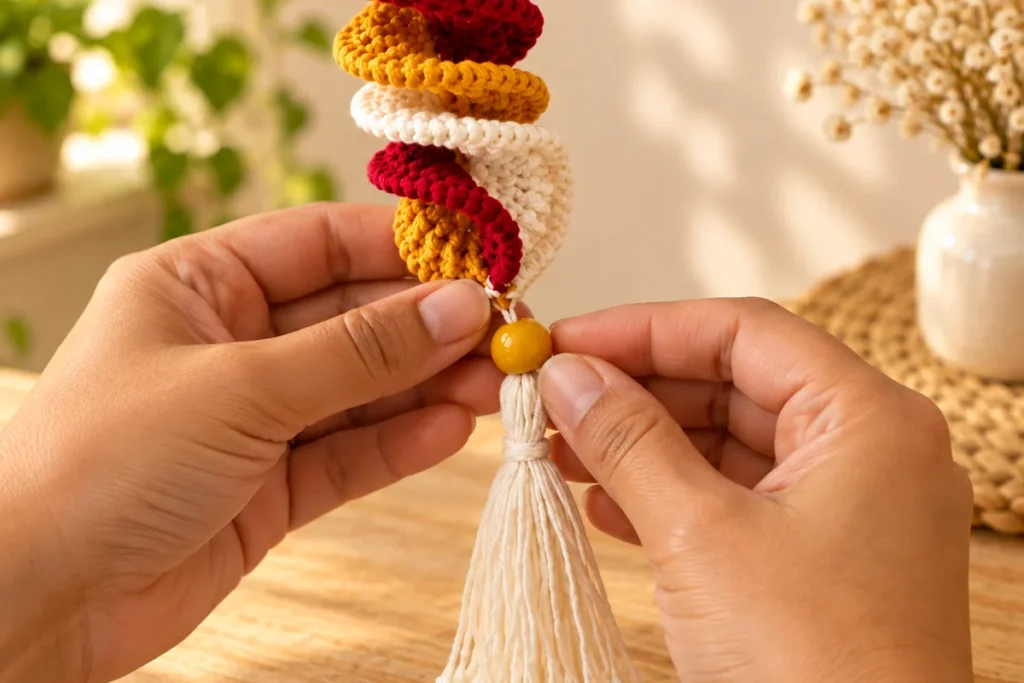
Use the remaining yarn to make the hanging loop.
Bring the three top points together and secure them with a knot.
How to Shape the Crochet Wind Spinner Spiral
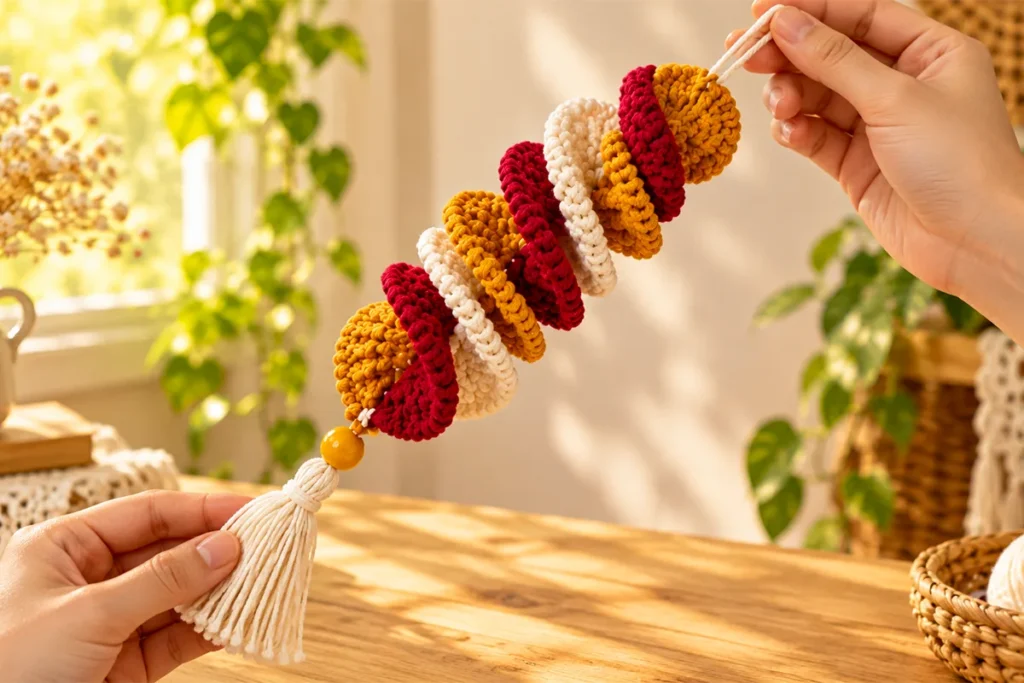
Once the three sections are joined and the hanging loop is finished, hold the three colored layers together.
Twist the layers one full turn.
Gently open them out and let the sections settle into the spiral shape.
Your three-color crochet wind spinner is finished.
Crochet Wind Spinner Video Tutorial
The video is especially helpful for seeing the foundation spaces, post-stitch placement, and final shaping.
Watch the full Crochet Wind Spinner tutorial on YouTube
Download the Crochet Wind Spinner PDF Pattern
If you prefer a printable version, you can save the written pattern and keep it beside you while you crochet.
Download the printable Crochet Wind Spinner PDF
More Crochet Home Decor Patterns
If you enjoy handmade hanging decorations, browse more projects in the Crochet Home Decor collection.
You may also like these related projects:
Easy Crochet Wind Spinner with Butterfly Pattern
Easy Crochet Wind Spinner Tutorial for Scrap Yarn Decor
Crochet Wind Spinner: A Fun and Easy Summer Crochet Project
Crochet Wind Spinner Frequently Asked Questions
1. What yarn and hook do I need for this crochet wind spinner?
You’ll need cotton yarn in three colors and a 2.5 mm crochet hook. The finished project also uses a bead and a tassel.
2. How many foundation groups should I make?
The sample shown in the tutorial uses five foundation groups.
3. Does the chain 2 count as a double crochet in Row 2?
Yes. The chain 2 counts as 1 double crochet. Then work 2 double crochets into the first stitch and 3 double crochets into each remaining stitch.
4. Where do I work the 6 HDC stitches?
Work 6 half double crochets into the corresponding foundation space in each group. Each color section is worked into a different foundation space.
5. How should I hold the work when starting a new color?
Keep the same side facing you. The cut yarn end should stay at the top, and the starting chain should stay on your left.
6. Where do I join the second and third colors?
Join the second color in the middle space of the foundation. The third color is worked into the remaining space, using the same four-row sequence.
7. What are FPDC and BPDC?
FPDC means front post double crochet, and BPDC means back post double crochet. In Row 3, they are worked alternately around the posts of the double crochets below.
8. What is reverse single crochet?
Reverse single crochet, also called crab stitch, is used for Row 4. Work it across the row and into the top of the final turning chain before chaining 1 and cutting the yarn.
9. How do I make the finished wind spinner form a spiral?
After the three sections are assembled, twist the three layers one full turn, then open them out gently to form the spiral shape.
Final Thoughts
The same four-row sequence is repeated across three color sections, then the final twist brings those layers together into the finished spiral.
If you make one, try choosing three colors that look good side by side.
For more step-by-step crochet tutorials and new project ideas, follow Crochet Craftsman here: