
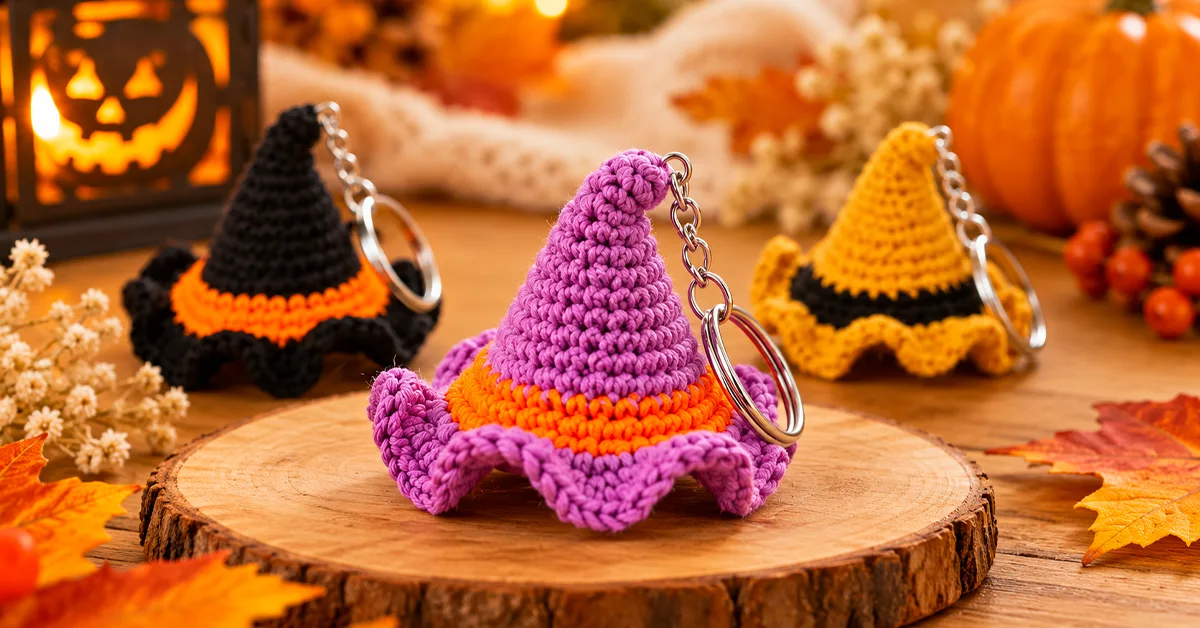
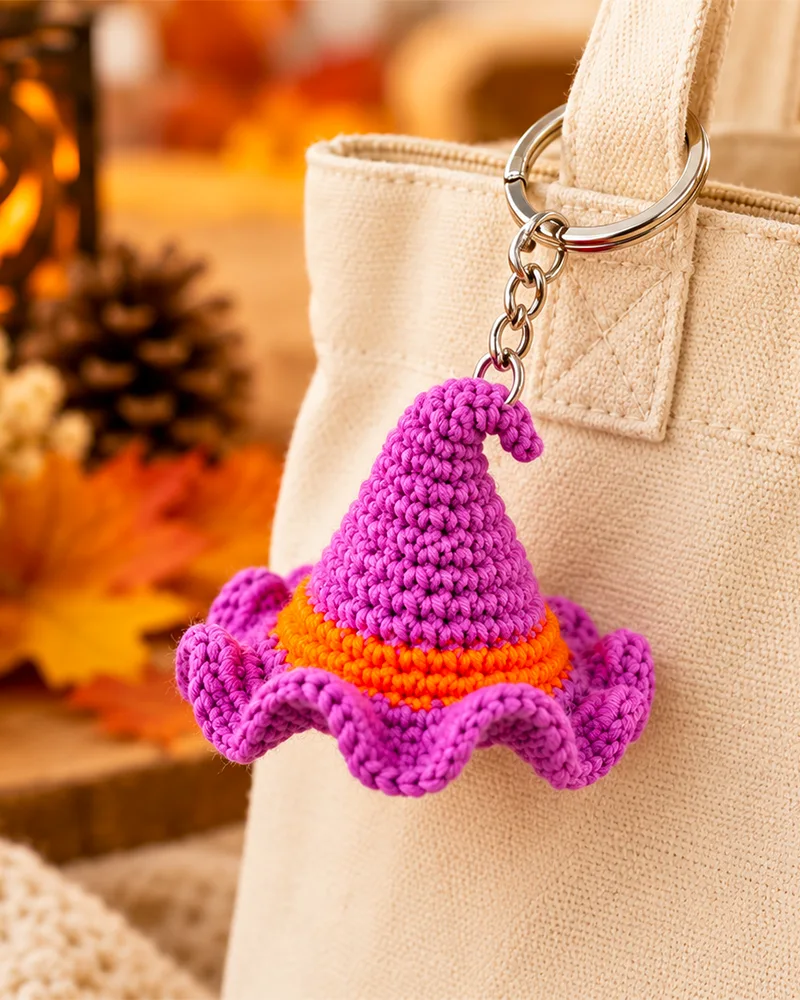
Crochet Witch Hat Keychain is a fun Halloween crochet project with a little surprise hidden inside. A piece of wire placed inside the finished hat helps give the pointed top its curved witch-hat shape.
In this tutorial, I’ll walk you through the project step by step. We’ll crochet the cone from the top down, add a contrasting color band, make the wavy brim, attach the keychain clip, and finish by shaping the tip from the inside.
The pattern uses US crochet terms and is built mainly with single crochet, slip stitches, and simple increases. If you’re comfortable making a magic ring and working in joined rounds, you should be able to follow the instructions below.
Why You’ll Love This Crochet Witch Hat Keychain
The construction is simple, but the finished shape has plenty of character.
The hat begins with just four single crochets and gradually gets wider as you work down the cone. A contrasting band adds a nice color break before the final rounds form the brim.
The last step is what makes this project a little different. A folded piece of copper wire sits inside the hat and helps the tip curve into shape.
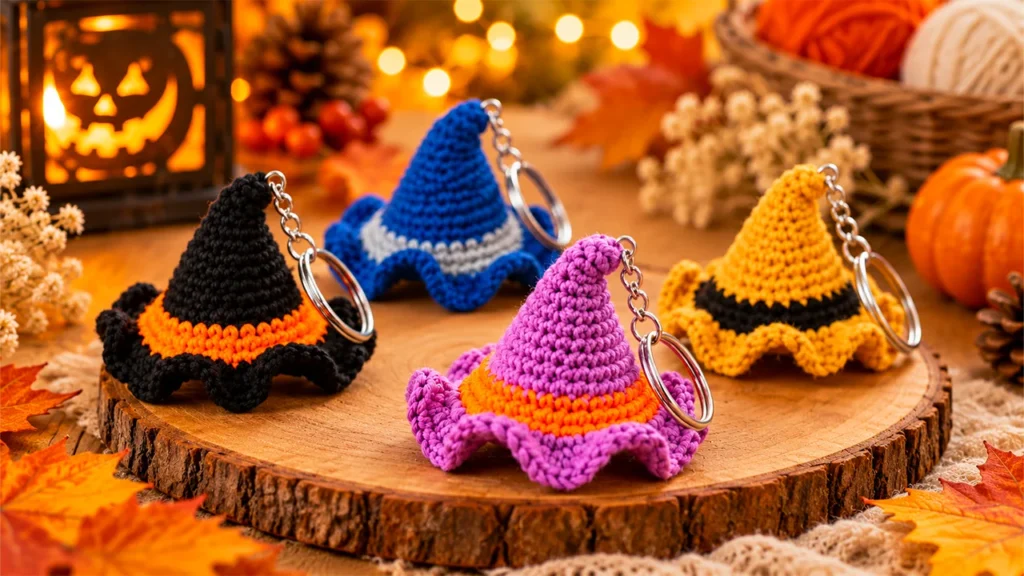
You can also change the colors to make each hat look completely different.
If you enjoy small crochet accessories, browse the Crochet Keychains collection for more ideas.
Materials for This Crochet Witch Hat Keychain
For the version shown in the tutorial, you’ll need:
- 5-ply yarn, medium in thickness
- 50% cotton and 50% acrylic yarn was used in the tutorial
- 2.2 mm crochet hook
- Keychain clip
- 3 mm copper wire for shaping
A 2.0 mm or 2.5 mm crochet hook can also be used.
For the tutorial colors:
Color A: Purple
Color B: Orange
You can use any color combination you like.
Watch the Crochet Witch Hat Keychain Video Tutorial
If you prefer to see each step while you work, follow along with the full video tutorial.
Watch the Crochet Witch Hat Keychain video tutorial
The video is especially helpful for the color changes, invisible join, keychain attachment, and final wire-shaping step.
Download the Printable Crochet Witch Hat Keychain Pattern
Prefer to keep the instructions beside you while you crochet?
Download the Crochet Witch Hat Keychain PDF pattern
You can keep the written pattern open while using the video whenever you want a closer look at a step.
Crochet Witch Hat Keychain Written Pattern
US Crochet Abbreviations
ch = chain
sc = single crochet
sl st = slip stitch
Pattern Notes
- The hat is worked from the top down in joined rounds.
- Work Rounds 1–12 in Color A.
- The beginning chain 1 is not included in the stitch count.
- Join each round with a slip stitch into the first single crochet unless otherwise noted.
- The stitch count is shown at the end of every round.
- Counting your stitches before starting the next round will make it easier to catch a missed stitch or extra increase.
Crochet the Witch Hat Cone
Round 1 – 4 sc
Before making your magic ring, leave a tail long enough to attach the keychain clip later.
Make a magic ring.
Chain 1.
Work 4 sc into the magic ring.
Pull the ring closed.
Slip stitch into the first single crochet to join.
Stitch count: 4 sc
Round 2 – 6 sc
Chain 1. Work 2 sc in the first stitch, 1 sc in the next stitch, 2 sc in the next stitch, then 1 sc in the last stitch.
Slip stitch into the first single crochet to join.
Stitch count: 6 sc
Round 3 – 6 sc
Chain 1.
Starting in the first stitch, work 1 sc in each stitch around.
Slip stitch into the first single crochet to join.
Stitch count: 6 sc
Round 4 – 9 sc
Chain 1. Work 2 sc in the first stitch, then 1 sc in the next stitch. Repeat this sequence 3 times around.
Slip stitch into the first single crochet to join.
Stitch count: 9 sc
Round 6 – 12 sc
Chain 1. Work 2 sc in the first stitch, then 1 sc in each of the next 2 stitches. Repeat this sequence 3 times around.
Slip stitch into the first single crochet to join.
Stitch count: 12 sc
Round 8 – 15 sc
Chain 1. Work 2 sc in the first stitch, then 1 sc in each of the next 3 stitches. Repeat this sequence 3 times around.
Slip stitch into the first single crochet to join.
Stitch count: 15 sc
Round 10 – 18 sc
Chain 1. Work 2 sc in the first stitch, then 1 sc in each of the next 4 stitches. Repeat this sequence 3 times around.
Slip stitch into the first single crochet to join.
Stitch count: 18 sc
Round 11 – 21 sc
Chain 1. Work 2 sc in the first stitch, then 1 sc in each of the next 5 stitches. Repeat this sequence 3 times around.
Slip stitch into the first single crochet to join.
Stitch count: 21 sc
Round 12 – 24 sc
Chain 1. Work 2 sc in the first stitch, then 1 sc in each of the next 6 stitches. Repeat this sequence 3 times around.
Stitch count: 24 sc
Slip stitch into the first single crochet to join, switching to Color B as you make the joining slip stitch.
Add the Color Band to the Crochet Witch Hat
Round 13 – Color B – 24 sc
Chain 1. Starting in the same stitch, work 1 sc in each stitch around.
After the 24th single crochet, slip stitch into the first single crochet, carrying Color A up as you join.
Stitch count: 24 sc
Rounds 12 and 13 each have 24 single crochets.
Round 14 – Color B – 30 sc
Chain 1. Work 2 sc into the same stitch, then 1 sc in each of the next 3 stitches. Repeat this sequence 6 times total around.
Slip stitch into the first single crochet to join.
Stitch count: 30 sc
Round 15 – Color B – 30 sc
Chain 1. Starting in the same stitch, work 1 sc in each stitch around.
Stitch count: 30 sc
Slip stitch into the first single crochet, switching back to Color A as you make the slip stitch.
You now have three rounds in Color B.
Make the Wavy Brim
Round 16 – Color A – 45 sc
Chain 1. Work 2 sc into the same stitch, then 1 sc in the next stitch. Repeat this sequence 15 times total around.
You’re finished with Color B, so you can cut that yarn now.
Slip stitch into the first single crochet to join.
Stitch count: 45 sc
Round 17 – Final Round – 90 sc
Chain 1. Work 2 sc in every stitch around.
Continue until you have worked into all 45 stitches from Round 16.
Stitch count: 90 sc
After the final 2 single crochets, cut the yarn.
Use the yarn end to make an invisible join at the first single crochet, then hide the yarn ends at the back.
The crochet portion of the hat is now finished.
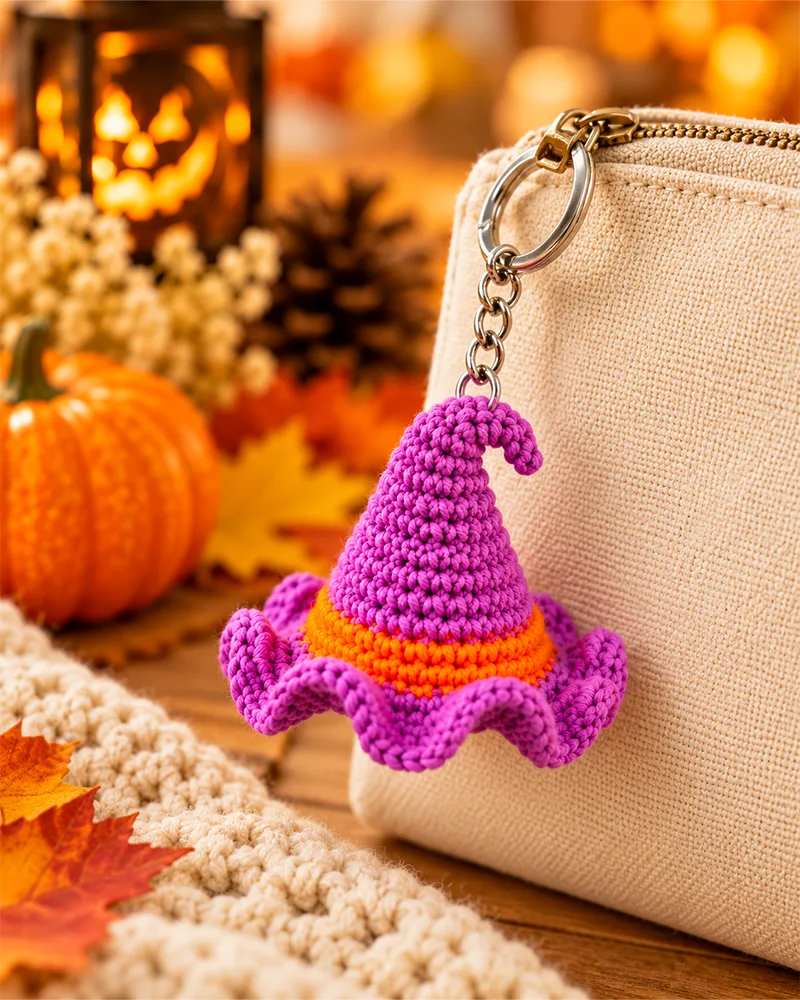
Attach the Crochet Witch Hat Keychain Clip
Remember the yarn tail you left when you made the magic ring?
Bring that tail from the magic ring up to the top point of the hat.
Use it to attach the keychain clip.
Add the Hidden Wire and Shape the Witch Hat
To give the top more shape, use 3 mm copper wire.
You can use another type of support here if you prefer.
Fold the copper wire in half.
Once folded, it should not be longer than the hat.
Make sure the wire sits fully against the inside of the hat.
Then bend the tip slightly to the right.
The wire will help the tip curve into shape.
Your witch hat keychain is finished.
Tips for a Neater Crochet Witch Hat Keychain
Check your stitch count before starting the next round, especially after an increase round.
Make each color change during the joining slip stitch, following the pattern instructions for Rounds 12 and 15.
Pay close attention to Rounds 16 and 17 because the stitch count increases quickly from 30 to 45, then from 45 to 90.
Before shaping the tip, make sure the folded wire fits fully inside the hat and is not longer than the crochet piece.
More Crochet Keychain Patterns to Try
If you enjoyed making this Halloween project, try the Crochet Pumpkin Keychain Pattern for another seasonal keychain.
If you like miniature hat projects, take a look at the Easy Crochet Hat Keychain Pattern.
For a different small accessory, try the Easy Crochet Cactus Keychain Pattern.
You can also browse the full Crochet Keychains collection for more projects.
Crochet Witch Hat Keychain FAQ
Is this crochet witch hat keychain beginner-friendly?
This pattern uses basic US crochet stitches, including chains, single crochet, slip stitches, and simple increases.
If you’re comfortable making a magic ring and working in joined rounds, the step-by-step instructions should be easy to follow.
What yarn should I use for this crochet witch hat keychain?
The tutorial uses 5-ply yarn that is medium in thickness and made from 50% cotton and 50% acrylic.
What crochet hook size do I need?
The tutorial uses a 2.2 mm crochet hook.
A 2.0 mm or 2.5 mm hook can also be used.
Can I make the witch hat in different colors?
Yes. You can use any color combination you like.
The tutorial uses purple as the main color and orange for the contrasting band, but you can choose your own combination.
Why is there wire inside the crochet witch hat?
The wire helps give the pointed top its curved shape.
After the wire is positioned inside the hat, bending the tip slightly helps create the curved witch-hat look.
What kind of wire is used inside the hat?
The tutorial uses 3 mm copper wire.
Fold the wire in half before placing it inside the hat. Once folded, it should not be longer than the hat.
When do I change colors?
The first color change happens at the end of Round 12.
Switch to Color B as you make the joining slip stitch.
Work Rounds 13, 14, and 15 in Color B.
At the end of Round 15, switch back to Color A as you make the joining slip stitch.
How many stitches are in the final round?
Round 17 ends with 90 single crochets.
Work 2 sc in each of the 45 stitches from Round 16 to reach the final stitch count.
How do I attach the keychain clip?
Leave a yarn tail when you make the magic ring at the beginning of the project.
After the hat is finished, bring that tail from the magic ring up to the top point of the hat and use it to attach the keychain clip.
Final Thoughts on This Crochet Witch Hat Keychain
The hidden wire is a simple finishing detail, but it gives the pointed top that curved witch-hat shape shown in the tutorial.
Try the pattern in your favorite color combination and make one for your keys, bag, or Halloween crochet collection.
For more step-by-step crochet tutorials and small handmade projects, follow Crochet Craftsman:
YouTube – Crochet Craftsman
Instagram – @tubacrochet_
Facebook – Crochet Craftsman
Pinterest – Tuba Crochet
Happy crocheting!