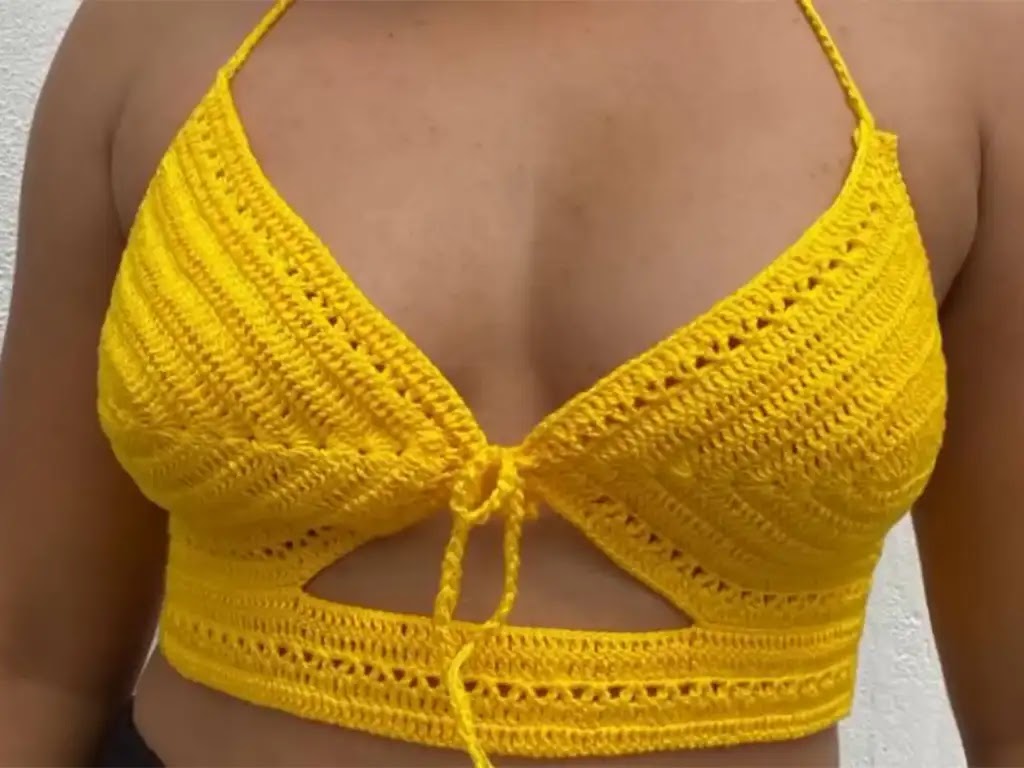
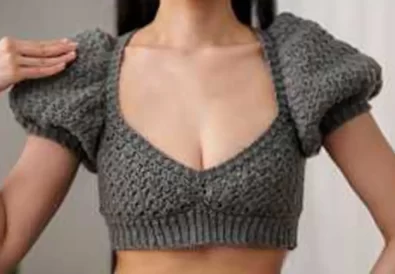
Learn how to crochet a simple summer top with this easy, step-by-step tutorial. Perfect for beginners, this DIY crochet crop top pattern is quick and stylish.
Hello everyone, and welcome to my crochet corner! Today, I’m thrilled to share a super easy crochet crop top pattern that’s absolutely perfect for those warm summer days. This design is beginner-friendly, stylish, and works up so quickly – you’ll have a new wardrobe favorite in no time!
Overview
- Difficulty Level: Beginner
- Potential Uses: Casual outings, beachwear, music festivals, layered under jackets in cooler weather.
- Yarn: Anne yarn by Circulo (any similar weight yarn will work!)
- Crochet Hook: 2mm
- Other Materials: Scissors, stitch markers (optional), sewing needle.
Introduction to Crochet
If you’re new to crochet, don’t worry! This pattern uses basic stitches that are easy to master. Here’s a quick refresher:
- Chain Stitch (ch): The foundation for most crochet projects.
- Single Crochet (sc): A versatile and sturdy stitch.
- Double Crochet (dc): Creates taller stitches for an airier look.
You can find tons of helpful tutorials on YouTube channels like [https://www.youtube.com/@crocheteriacs] – they’re a fantastic way to visualize these techniques.
Notes:
- This pattern is worked from the bottom up, starting with the bust cups.
- Adjust the number of chain stitches and rows to achieve your desired size and fit.
- Try on the piece as you go for best results.
Let’s Get Started!
Part 1: Creating the Bust Cups
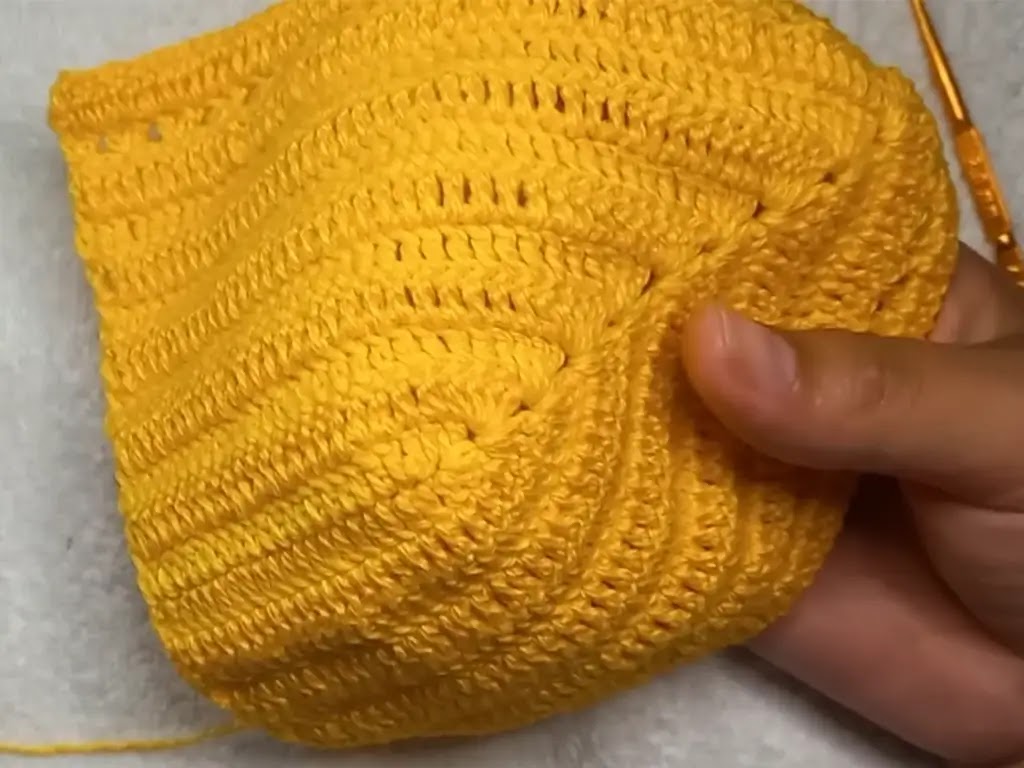
This crochet top starts with the two “cups” that form the bust area. They’re simple to create, and I’ll walk you through each step:
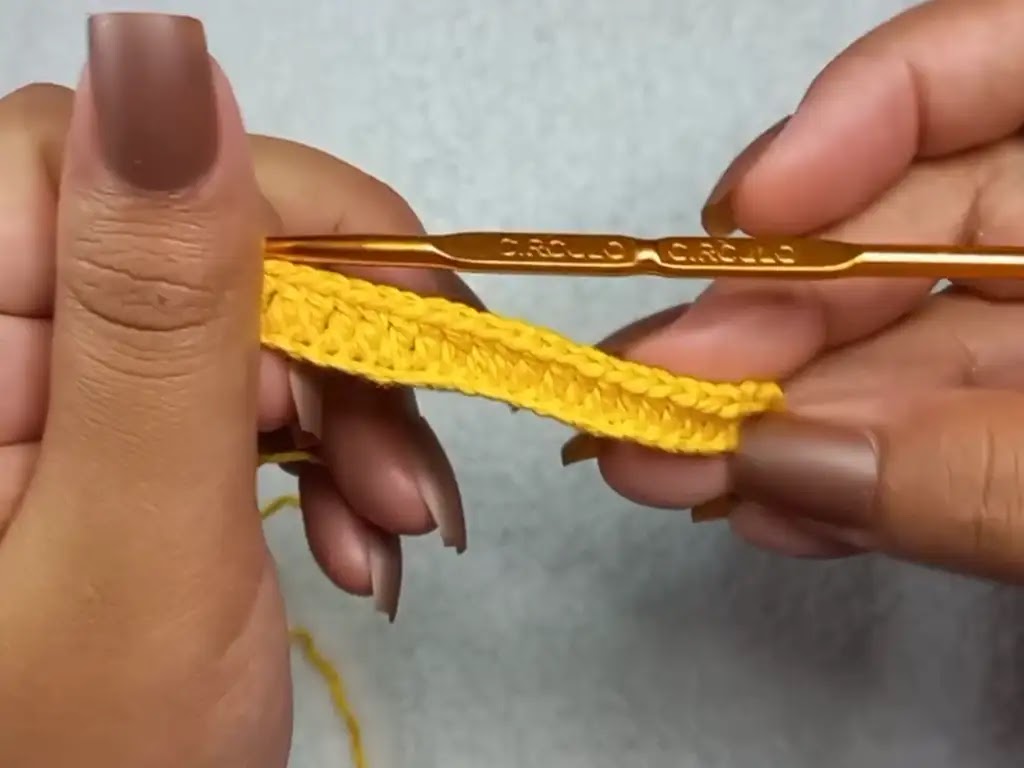
- Foundation Chain: Create a chain of stitches to start the base of your cup. For a medium size, chain 23.
- First Row: Work single crochet stitches across all chain stitches. (23 sc)
- Second Row: Chain 3 (counts as a first double crochet). Double crochet across the entire row. (24 dc)
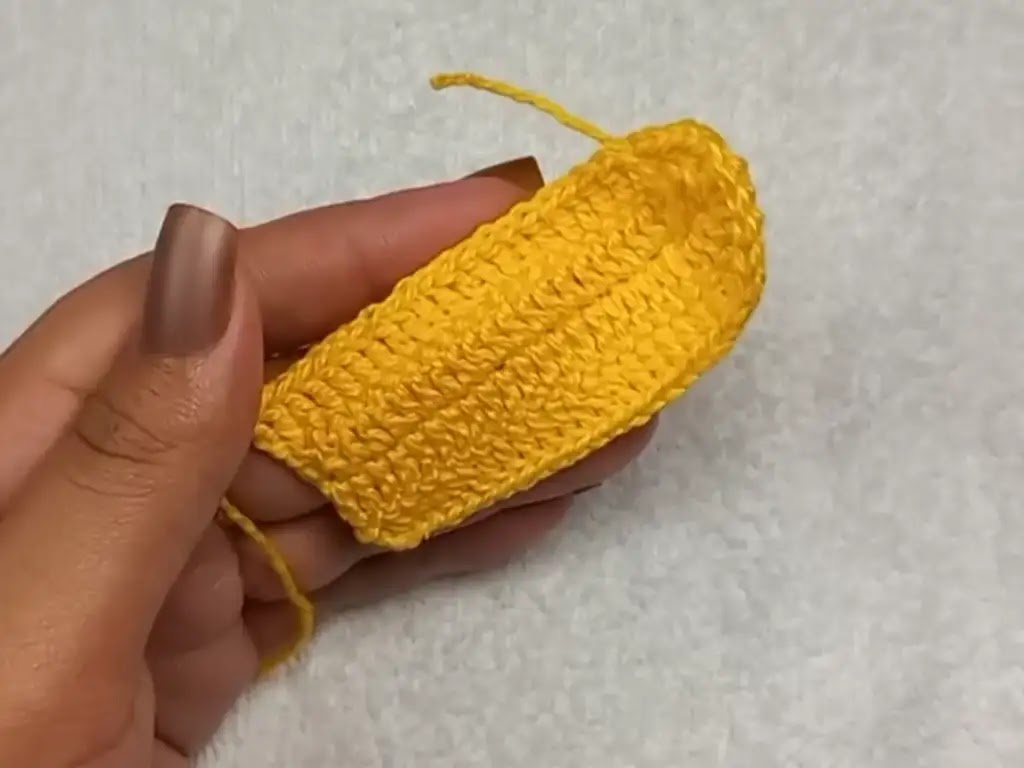
- Increase Row: Chain 2. In the first stitch from the previous row, work two double crochets together (2 dc tog). Continue with double crochet stitches across the entire row. (24 dc)
- Body Rows: Repeat rows 3 and 4 (chain 2, 2 dc tog in first stitch, dc across) for approximately 8-10 rows, or until your cup reaches the desired height.
Tip: Try on the cup as you go to ensure the perfect fit!
Shaping the Sides
- Attach Yarn: With the right side of your cup facing you, use a slip stitch to join your yarn to the top corner edge of the cup.
- Side Single Crochets: Chain 1 (counts as a first sc) and work single crochet stitches along the entire side of the cup, stopping at the bottom corner.
- Shaping the Bottom: In the next row, decrease one stitch by skipping the first single crochet from the previous row and crocheting a single crochet in the second stitch. Continue working single crochets across the row.
- Continue Decreasing: Repeat row 3, decreasing one stitch at the beginning of each row, until you have a total of about 10-12 stitches remaining on the side. These remaining stitches will form the bottom edge of your crop top.
- Work Straight: Continue working single crochets across the remaining stitches for a few rows to create a straight bottom edge.
The Back Cup
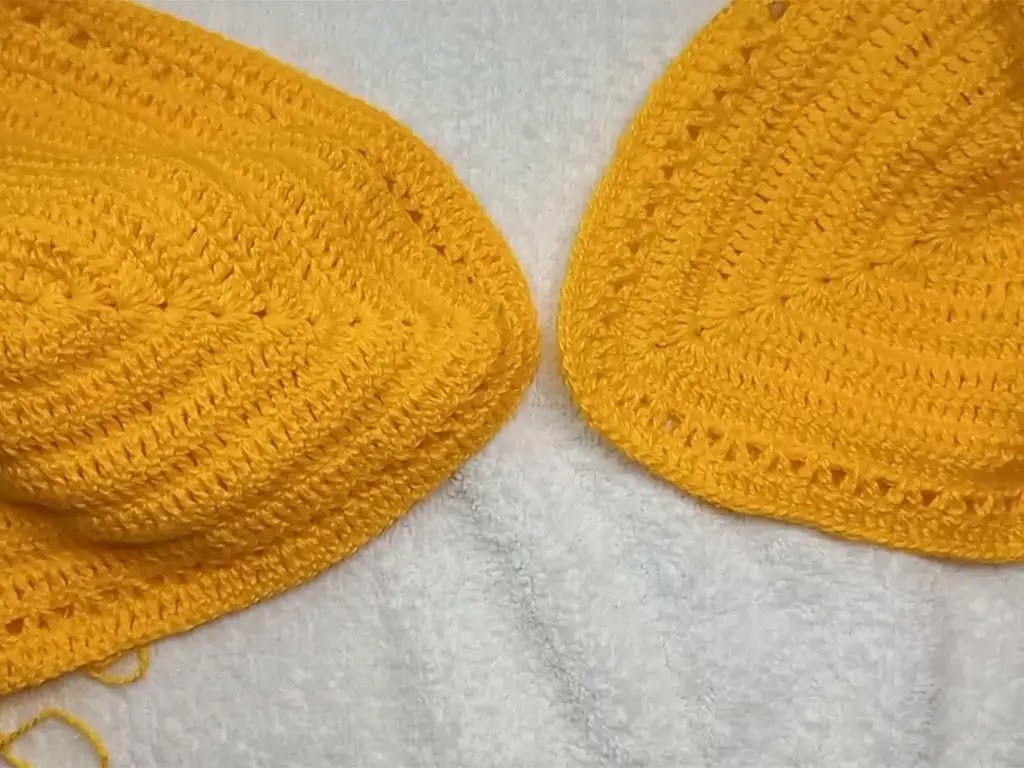
Repeat Steps 1-5: Repeat all the steps from Part 2 (attach yarn, side single crochets, shaping the bottom, work straight) on the other side of the cup to create the back of your top. Tip: You can use stitch markers to mark the center stitch on each side to ensure your cups are symmetrical.
Part 4: Joining the Cups and Straps
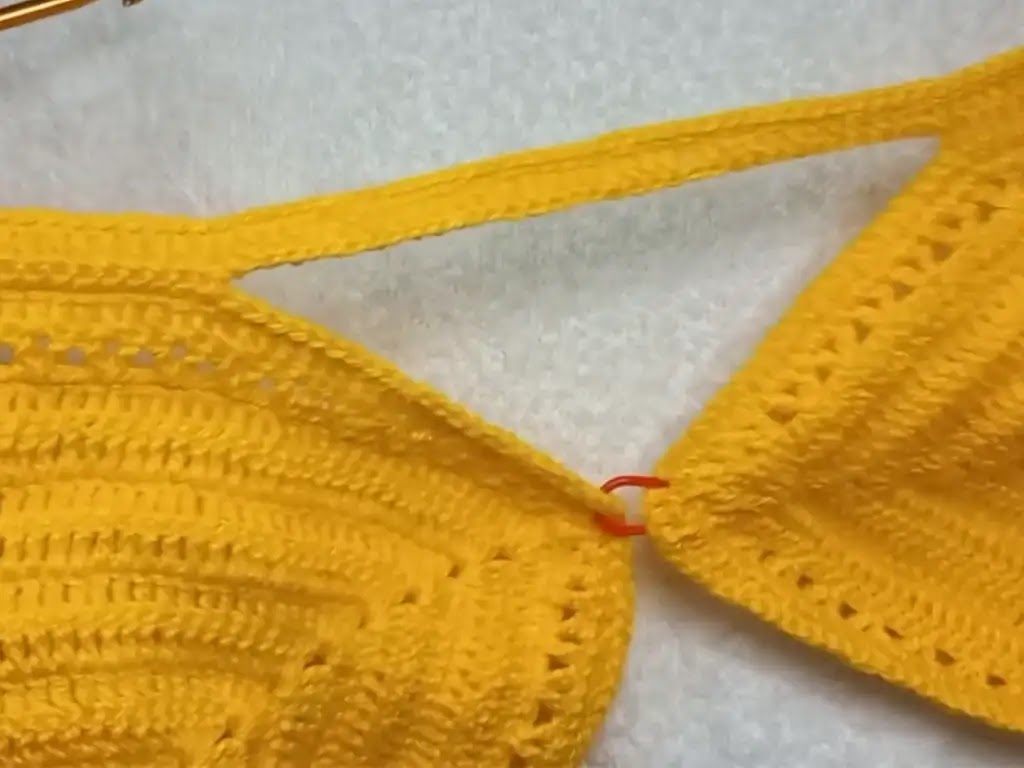
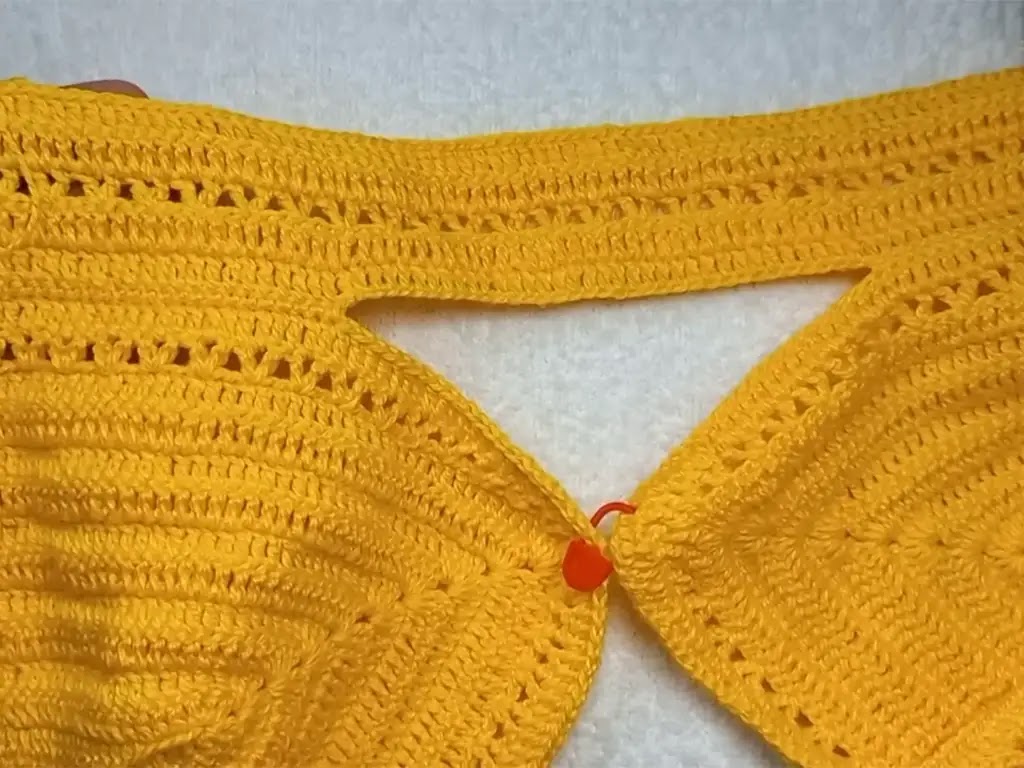
- Skip Side Stitches: With the right sides of your top facing each other, skip the first and last few stitches on each side (typically 2-3 stitches on each side).
- Join with Single Crochets: Working along the top edges of both cups, use single crochets to join them together. Fasten off your yarn and weave in the end securely.
- Create Straps: Attach your yarn to the top corner edge of one cup (near the join you just created). Chain the desired length for your strap (typically 20-30 chains). Fasten off your yarn and weave in the end. Repeat this process on the other side to create the second strap.
Part 5: Optional – Adding a Back Tie
- Long Chain: Create a long chain (50-60 chains) to use as a back tie.
- Attach the Tie: Attach the chain to the center top of your back bodice using a slip stitch. You can also loop the chain through the top stitches of the back bodice for a more secure attachment.
Finishing Touches
- Weave in Ends: Use your tapestry needle to carefully weave in all remaining loose yarn ends.
- Blocking (Optional): For a neater and more even finish, you can lightly block your crop top. This involves wetting the piece slightly and pinning it out to its desired shape until dry.
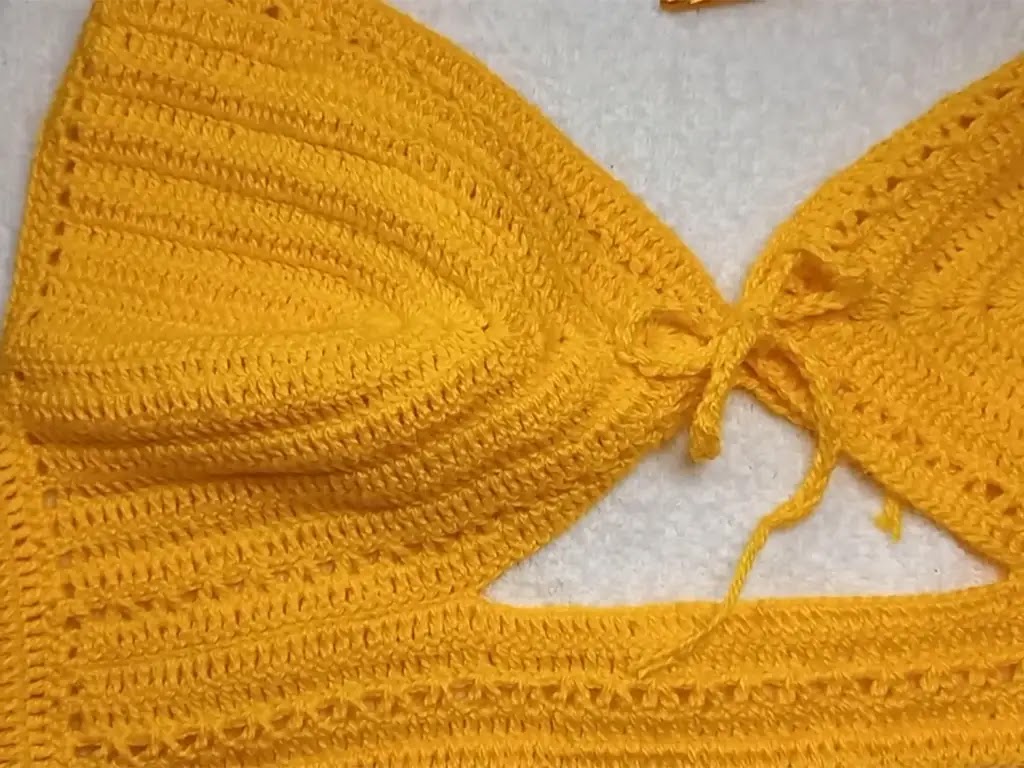
Customizing Your Top
This pattern offers endless possibilities for customization! Here are some ideas:
- Color Play: Experiment with different yarn colors or create a striped effect.
- Stitch Variations: Use
Let’s Connect!
I hope you loved this crochet crop top pattern. If you make one, please share it on Instagram and tag me @tubacrochet_: https://www.instagram.com/tubacrochet_/ or use the hashtag #tubacrochet – I can’t wait to see your creations! Feel free to leave comments or questions below – let’s build a crochet community together.
Want more inspiration? Check out my YouTube channel [(https://www.youtube.com/watch?v=1oPOCffZxxU&t=4s) for more tutorials and TikTok ([tiktok.com/@tubacrochet]) for quick crochet tips!
Happy crocheting!

