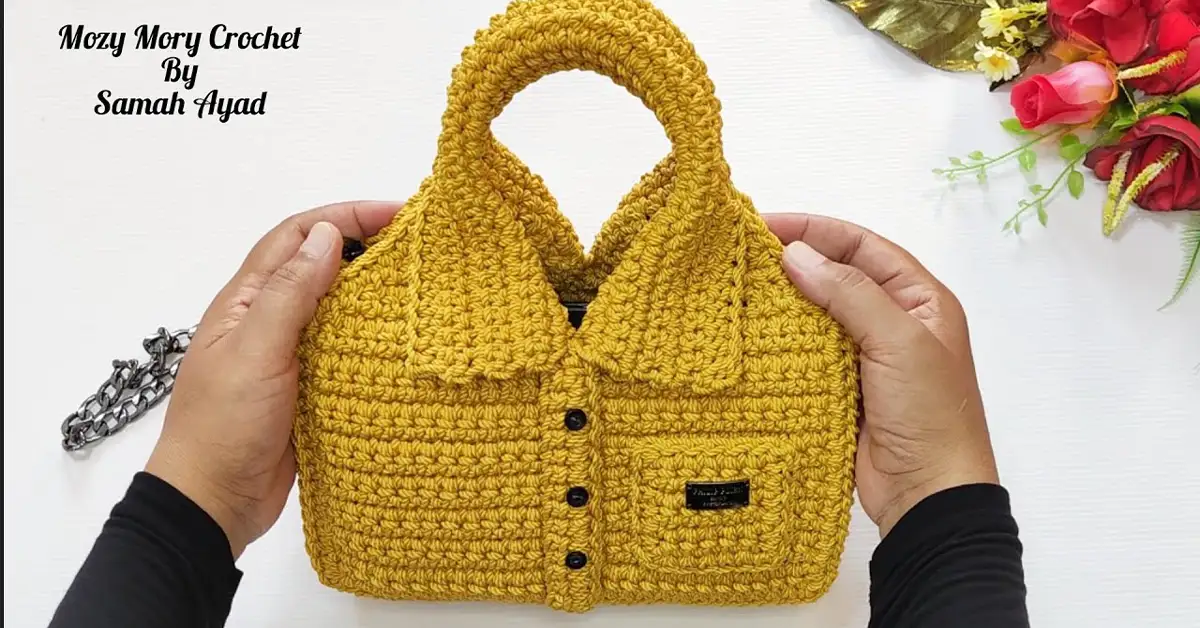
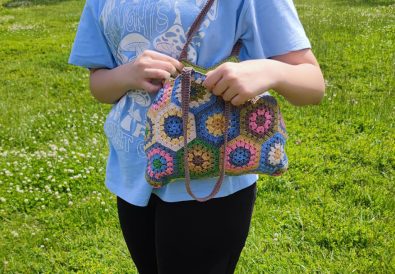
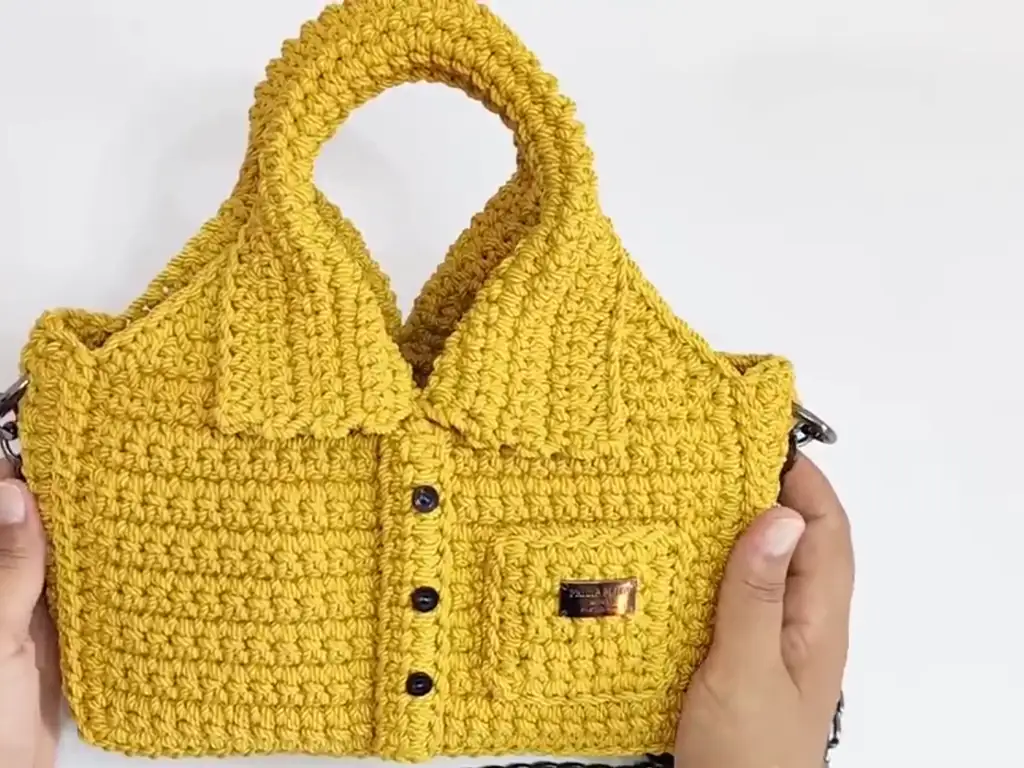
Welcome, fellow yarn enthusiasts! Are you ready to embark on a creative journey and craft your very own stylish and functional crochet bag? In this tutorial, we’ll explore a fantastic beginner crochet bag pattern that’s perfect for those just starting their crochet adventure. Firstly, let’s delve into the details of this charming project! This easy crochet bag pattern results in a lovely tote bag, ideal for carrying everyday essentials, hitting the market, or even adding a touch of handmade charm to your outfit. Most importantly, it’s designed with beginners in mind, featuring simple stitches and clear instructions. Indeed, you’ll be amazed at how quickly you can create your own crochet bag!
Specifically, this DIY crochet bag is not only practical but also incredibly versatile. In addition to its everyday use, it makes a thoughtful handmade gift. Furthermore, you can customize it with different colors, yarns, and embellishments to match your personal style. Due to its simple construction, this bag is a great way to practice your basic crochet stitches and build confidence in your skills. To begin with, let’s dive into the materials you’ll need!
Crochet Bag Pattern Beginner: Getting Started
Initially, let’s lay the foundation for success! Before we jump into the stitches, let’s familiarize ourselves with some common crochet abbreviations and essential techniques. Now that you know the basics, you’ll be well-equipped to tackle this easy crochet bag pattern.
Understanding Crochet Abbreviations
In short, crochet patterns often use abbreviations to keep instructions concise. For instance,
- ch: chain
- sc: single crochet
- dc: double crochet
- sl st: slip stitch
- BLO: back loop only
- st(s): stitch(es)
To illustrate, we’ll use these abbreviations throughout this tutorial.
Choosing the Right Yarn for Your Bag
Similarly, selecting the right yarn is essential for achieving the desired look and feel of your crochet bag. As you can see from the video tutorial by @CrochetMozyMory_SamahAyad (https://www.youtube.com/@CrochetMozyMory_SamahAyad), a medium-weight yarn, like a worsted weight cotton or acrylic blend, is recommended for this beginner crochet bag pattern. As well as considering the weight, think about the color and texture you prefer.
Essential Crochet Stitches for Beginners
This easy crochet bag pattern primarily uses three basic crochet stitches:
- Chain Stitch (ch): The chain stitch is the foundation of most crochet projects. It creates a chain of loops that form the base for subsequent rows.
- Single Crochet Stitch (sc): The single crochet stitch is a versatile stitch that creates a dense, textured fabric.
- Double Crochet Stitch (dc): The double crochet stitch is taller than the single crochet stitch, resulting in a more open and drapey fabric.
We’ll guide you through each of these stitches in detail within the pattern instructions.
Easy Crochet Bag Pattern: Materials You’ll Need
Moving on to the materials, let’s gather everything you’ll need to bring this crochet bag to life! Here’s a breakdown of the essentials:
Recommended Yarn Weights and Types
- Medium-weight yarn (approximately 3 mm thick): This is ideal for a sturdy and durable bag. The original video uses Egyptian macrame thread, but you can substitute with any yarn of similar weight.
- Color: Choose any color you like! This crochet bag pattern looks great in solid colors, variegated yarns, or even stripes.
Crochet Hook Sizes
- 5 mm hook (or corresponding size for your chosen yarn): Ensure your hook size matches your yarn weight for optimal results.
Other Helpful Tools
- Scissors: For snipping yarn.
- Yarn needle: For weaving in ends.
- Stitch markers (optional): To help keep track of your stitches.
- Transparent thread (optional): For securing certain parts of the bag.
Step-by-Step Guide: Crochet Bag Pattern Beginner
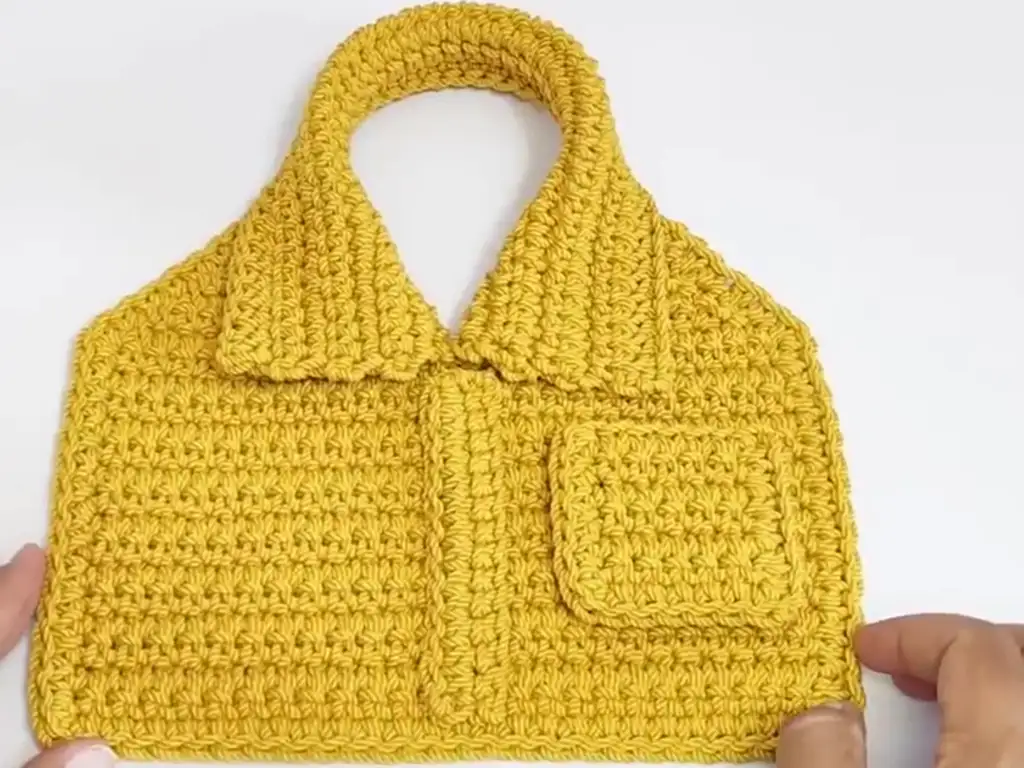
Now, let’s dive into the crochet bag pattern beginner step-by-step guide! This pattern involves creating the base of the bag, working the sides, shaping the bag with decreases, and adding a pocket.
Gauge:
To ensure your bag turns out the right size, it’s a good idea to check your gauge. Gauge refers to the number of stitches and rows you create per inch using a specific yarn and hook size.
For this pattern:
- 26 chains = approximately 10 inches
- 14 rows of double crochet = approximately 5 inches
If your gauge is off, you may need to adjust your hook size. Using a larger hook will create larger stitches and a looser fabric, while a smaller hook will create smaller stitches and a tighter fabric.
Creating the Bag Base
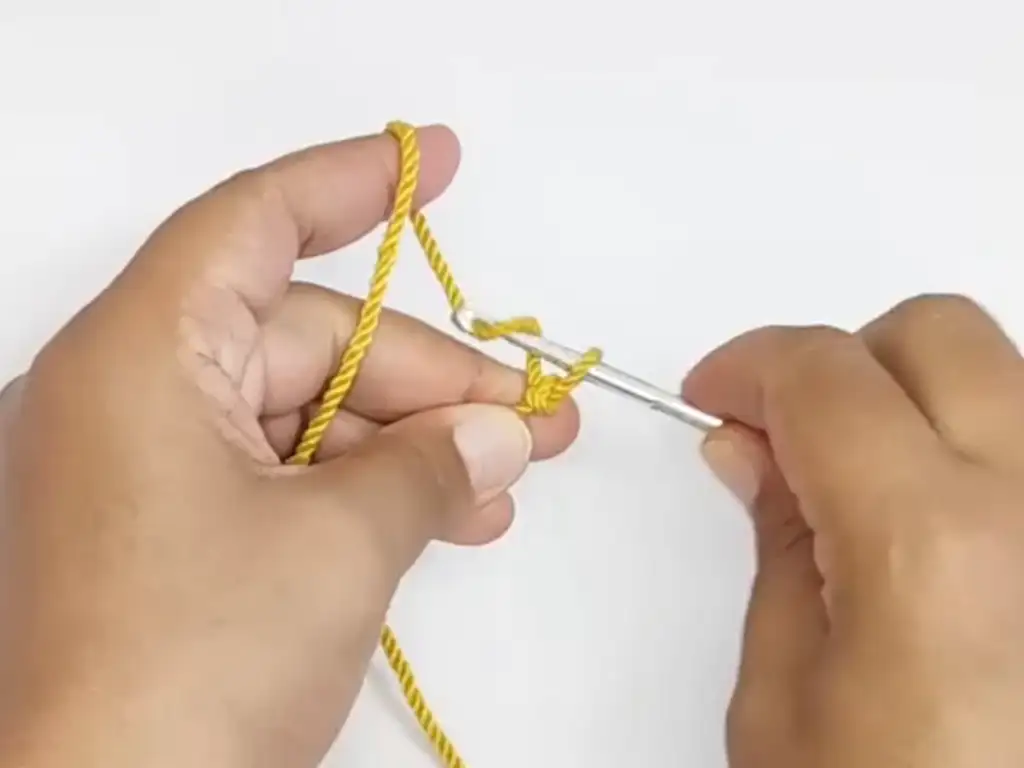
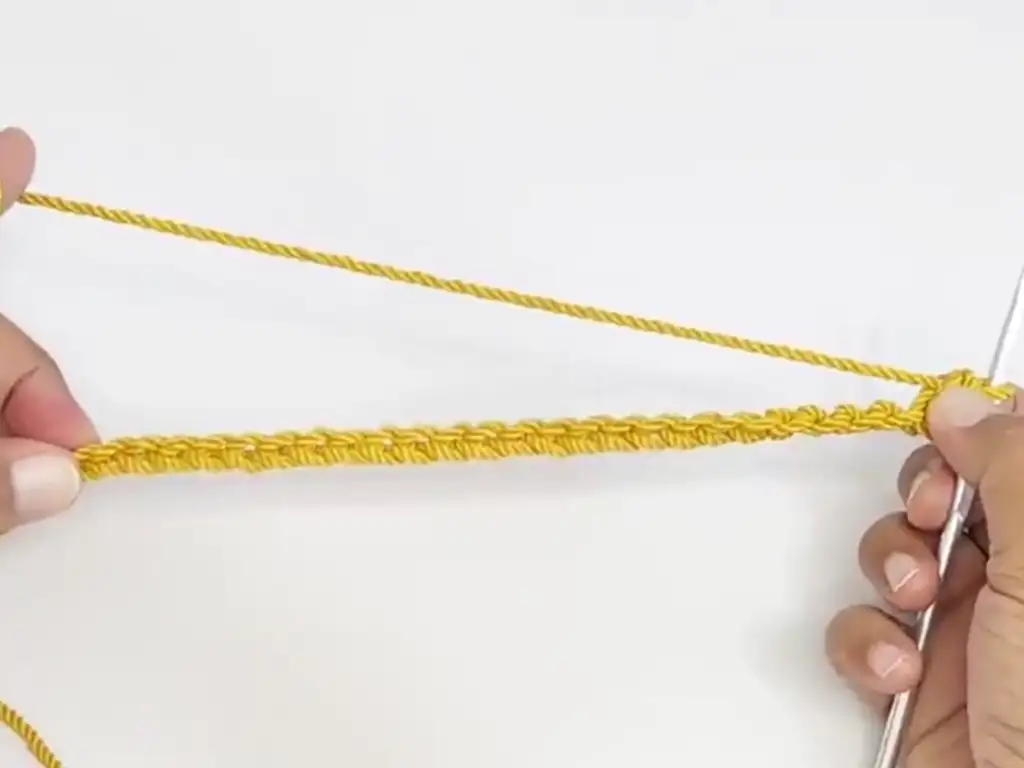
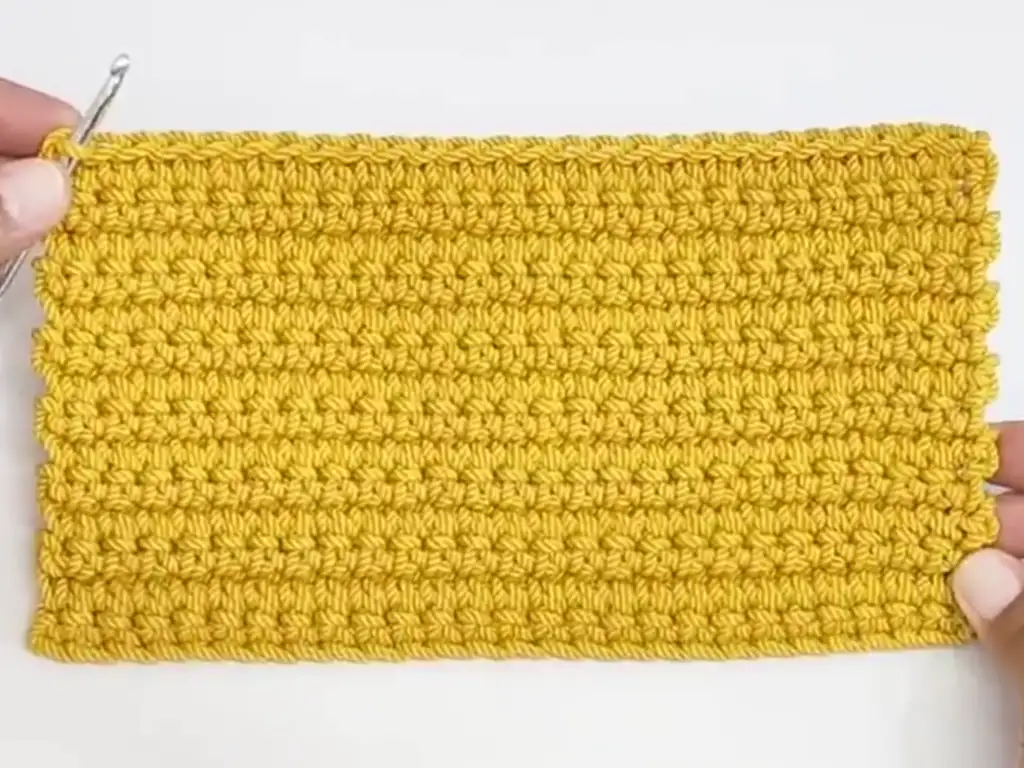
- Chain Stitch Foundation: Start by crocheting a chain of 26 stitches (ch 26). Make sure to leave a long tail (about 25 cm) of yarn, which you’ll use for later sewing.
- Row 1: Work a filling stitch (FS) in the second chain from the hook, then work a FS in each remaining chain across. Finally, slip stitch (sl st) in the first chain to join.
- Rows 2-14: Repeat Row 1.
Tips:
- Remember, the filling stitch (FS) is worked in the back loop of the stitch, so be mindful of your loop placement.
- This part of the pattern creates the rectangular base of the bag.
Working the Sides of the Bag
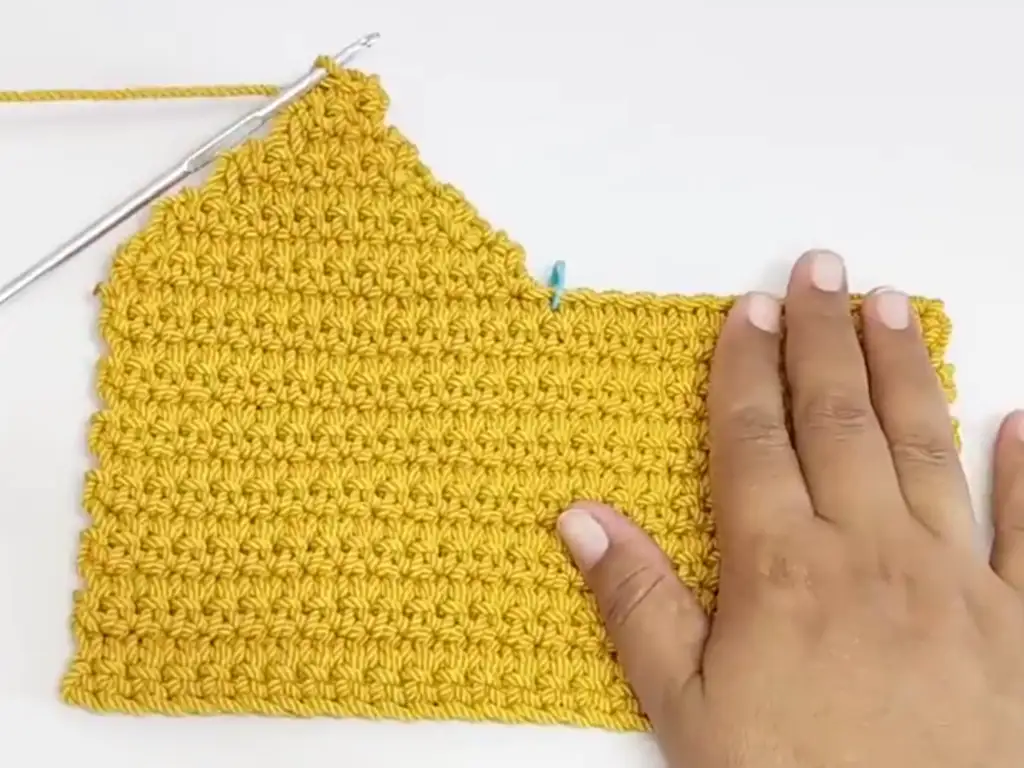
Now it’s time to create the sides of the bag! This involves working rows of filling stitches and decreasing at the beginning and end of each row.
- Row 15: Ch 1, turn. Dc in the BLO of each of the next 13 sts. Place a stitch marker. Dc in the BLO of the next st, place a second stitch marker. Dc in the BLO of the remaining 12 sts. (26 sts, 2 markers placed)
Shaping the Bag with Decreases:
To create the tapered shape of the bag, we’ll use decreases at the edges. Decreases involve combining two stitches into one, gradually reducing the stitch count.
- Row 16: Ch 1, turn. Skip the first st, dc in the BLO of the next st. Dc in the BLO of each st across until you reach the last two sts before the marker. Dc2tog (decrease one stitch). Remove the marker. Dc in the BLO of the next st. Dc2tog. (24 sts)
- Row 17: Ch 1, turn. Skip the first st, dc in the BLO of the next st. Dc in the BLO of each st across until you reach the last two stitches. Dc2tog. (22 sts)
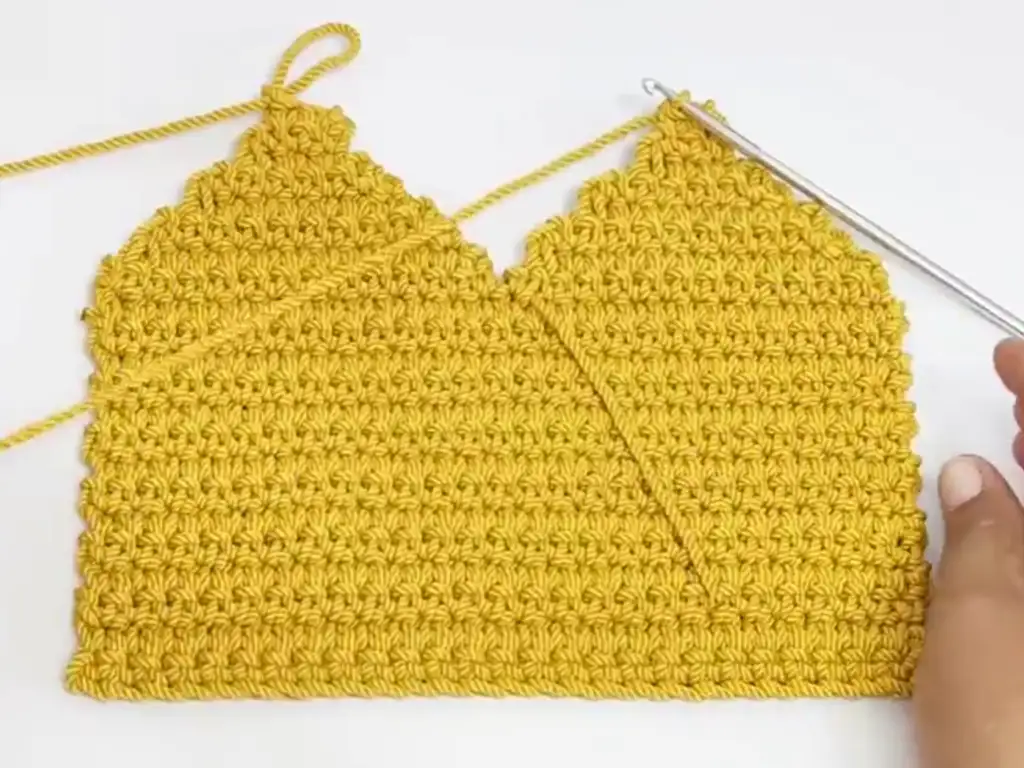
- Rows 18-21: Repeat Row 17, decreasing one stitch at the end of each row. (21 sts, 19 sts, 17 sts, 15 sts)
- Row 22: Ch 1, turn. Skip first st, dc in BLO of the next st. Dc2tog. Dc in BLO of each st across until you reach the last two stitches. Dc2tog. (13 sts)
Row 23:
Ch 1, turn. Skip first st, dc in BLO of next st. Dc2tog. Dc in BLO of each remaining st across. (11 sts)
- Row 24: Ch 1, turn. Skip first st, dc in BLO of next st. Dc2tog. Dc in BLO of the next 5 sts. Dc2tog. (9 sts)
- Row 25: Ch 1, turn. Skip first st, dc in BLO of next st. Dc2tog. Dc in BLO of the next 3 sts. Dc2tog. (7 sts)
- Row 26: Ch 1, turn. Skip first st, dc in BLO of next st. Dc2tog. Dc in BLO of the next st. Dc2tog. (5 sts)
- Row 27: Ch 1, turn. Skip first st, dc in BLO of next st. Dc2tog. (3 sts)
- Row 28: Ch 1, turn. Dc2tog. Fasten off. (1 st)
- Repeat Rows 1-28 to create the second side of the bag.
Adding a Pocket: Crochet Bag Pattern Upgrade
Adding a pocket is a functional and stylish way to elevate your crochet bag.
Simple Crochet Pocket Pattern
We’ll use a simple rectangle pattern for our pocket.
- Row 1: Ch 7, dc in the 2nd ch from the hook and in each ch across. (6 sts)
- Rows 2-6: Ch 1, turn. Dc in each st across. (6 sts)
- Row 7: Ch 1, turn. Dc in first st. Ch 1, skip next st. [2 dc in next st, ch 1, skip next st] twice. Dc in last st. Fasten off.
Attaching the Pocket to Your Bag
- Position your pocket on the desired location on one side of the bag.
- Using a tapestry needle and yarn, sew the pocket to the bag using a whipstitch or your preferred method.
Finishing Touches: Personalizing Your Crochet Bag
Finally, let’s add those finishing touches that will make your crochet bag truly unique! Besides weaving in ends, we’ll explore options for handles and closures.
Weaving in Ends Neatly
Weave in any loose yarn ends using your tapestry needle. This step ensures a polished look and prevents your work from unraveling.
Adding a Button or Closure
A button or closure adds both security and a touch of personality to your bag.
- Determine the best placement for your button based on the bag’s opening.
- Sew your chosen button onto one side of the bag.
- On the opposite side, create a loop using yarn or a fabric loop for the button to fasten through.
Exploring Different Handles and Straps
Handles complete the look and functionality of your bag. Here are some ideas:
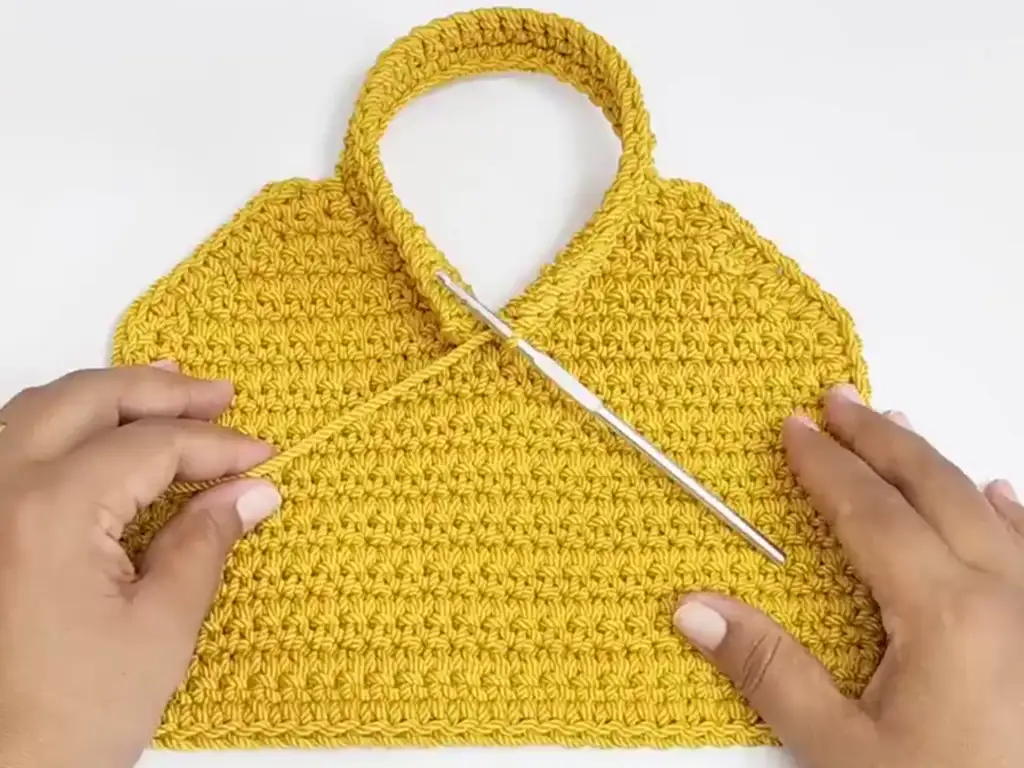
- Crochet Straps: Create matching or contrasting straps using a simple crochet stitch like single crochet or double crochet. Experiment with different lengths and widths to achieve your desired look and feel.
- Upcycled Materials: Repurpose leather belts, fabric scraps, or ribbon to create unique and eco-friendly handles.
- Ready-Made Handles: Explore a variety of ready-made handles available at craft stores. Choose from wooden handles, metal rings, or fabric loops to add a touch of polish.
Tricks of the Trade:
- Use stitch markers: Stitch markers are your best friends when it comes to keeping track of your stitches, especially when working decreases.
- Count your stitches regularly: This will help you avoid mistakes and ensure your bag is the correct size.
- Don’t be afraid to experiment: Try different yarn colors and textures to create a unique bag that reflects your personal style.
Watch the Video Tutorial:
For a visual guide, be sure to check out the original video tutorial by @CrochetMozyMory_SamahAyad on her YouTube channel (https://www.youtube.com/@CrochetMozyMory_SamahAyad). You can find the specific video for this crochet bag pattern beginner here: “https://www.youtube.com/watch?v=HtA9RN-yBbc“.
Share Your Creations:
Share your creations on Instagram at tubacrochet, TikTok at tiktok.com/@tubacrochet, and Facebook at tubacrochet. Also, don’t forget to check out the video by @CrochetMozyMory_SamahAyad on YouTube for more inspiration. You can watch it here.
Join the Conversation:
Let us know in the comments below if you have any questions or tips to share. We encourage you to interact with other crocheters and build a supportive community.
Other Crochet Projects You’ll Love
Now that you’ve mastered this beginner crochet bag pattern, why not explore other exciting crochet projects? Here are a few ideas to get you started:
- Crochet a cozy scarf or blanket.
- Try your hand at amigurumi and create adorable crocheted toys.
- Make a stylish crochet hat or headband.
- Crocheted Coasters.
Conclusion:
This crochet bag pattern beginner is a great way to begin your crochet journey! It’s a fun and rewarding project that allows you to create a beautiful and practical item. With the right tools, the proper yarn, and a little patience, you’ll be able to create a stunning crochet bag. So, gather your supplies and get crocheting! I’m excited to see what you create. Don’t forget to share your projects on social media and tag me. Let’s spread the joy of crochet together!
To sum up, the journey of creating a crochet bag pattern beginner can tackle is both fulfilling and exciting. Happy crocheting!

