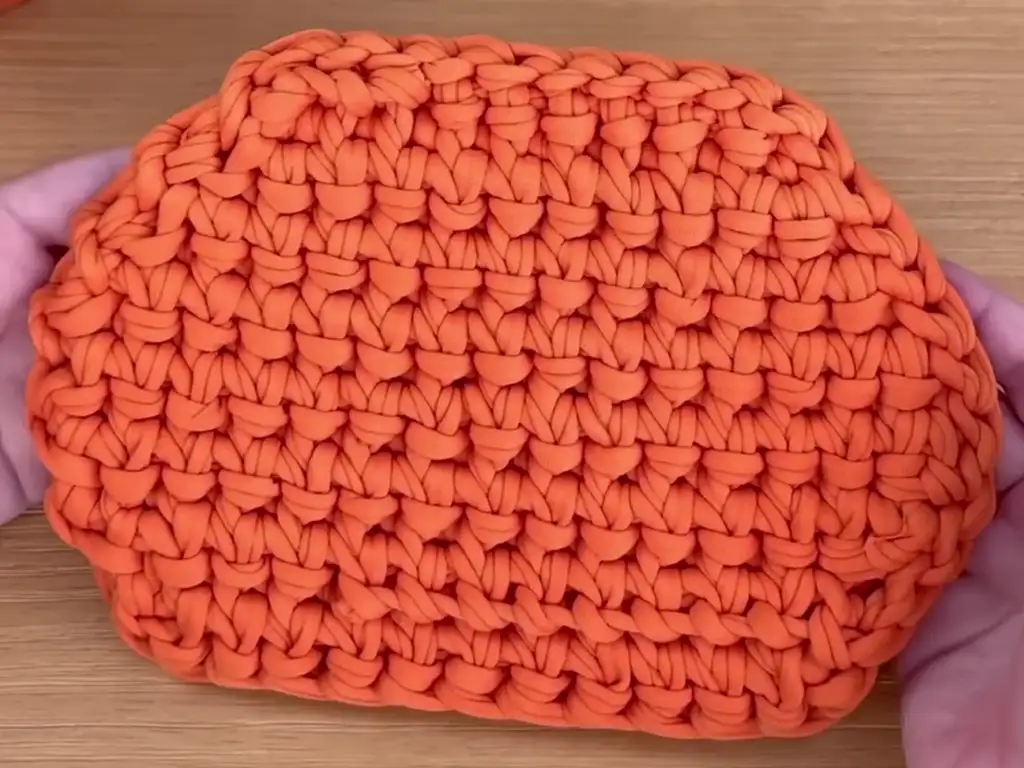
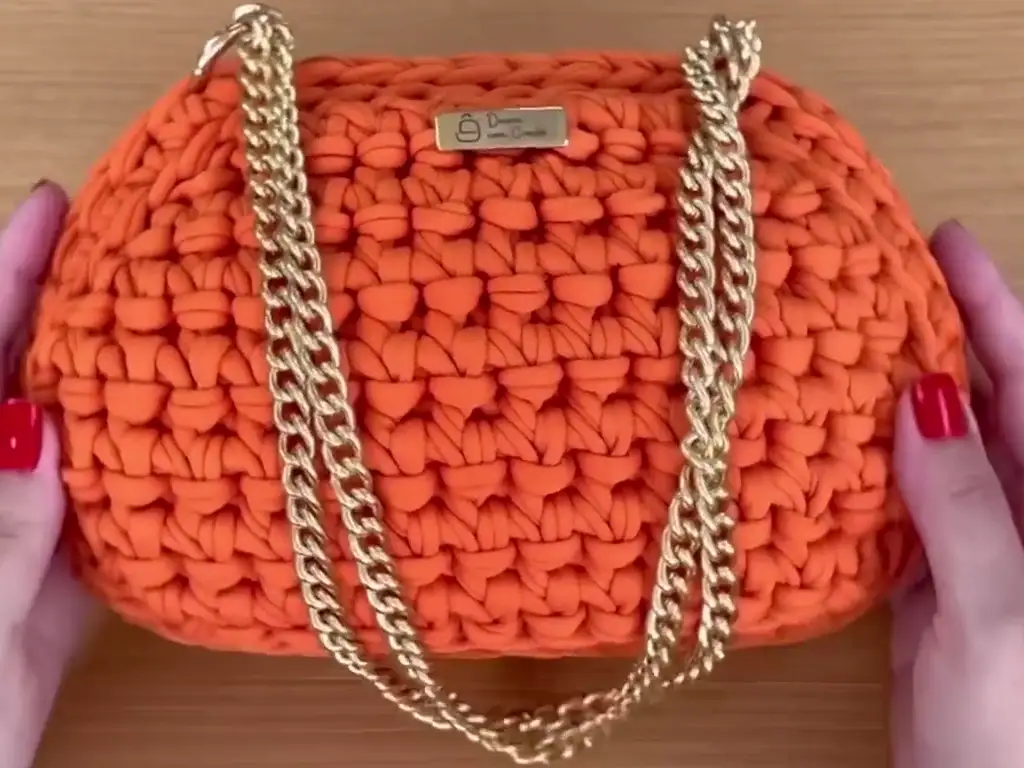
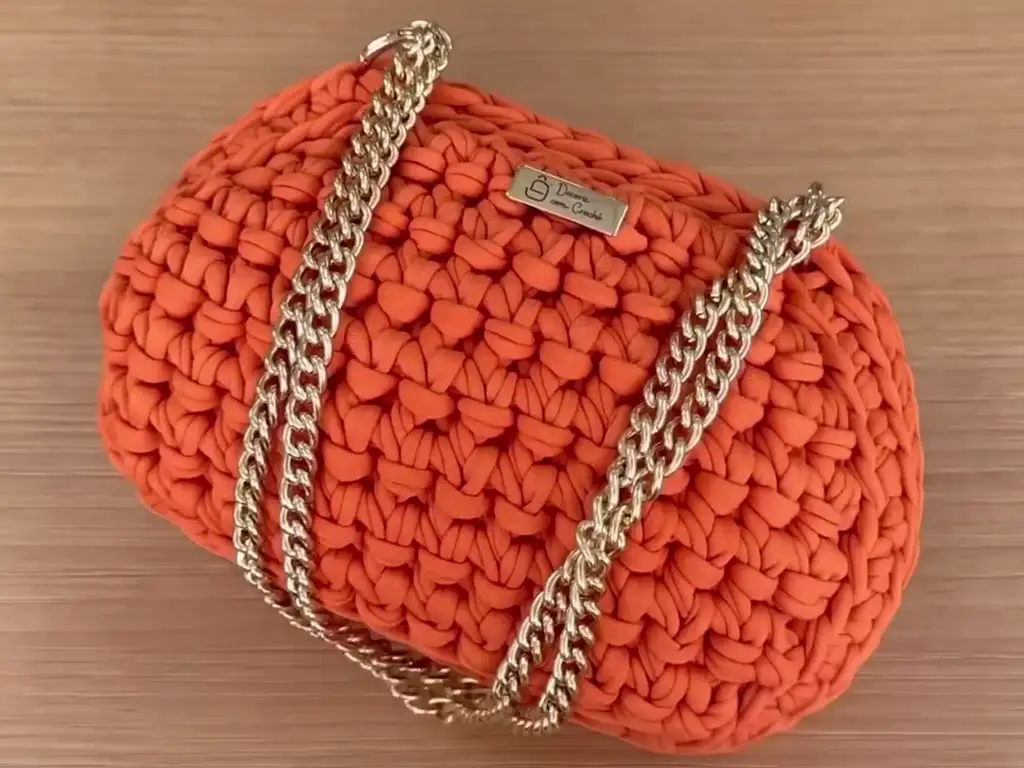
Are you ready to dive into the satisfying world of crochet and create your very own handmade bag? If you’re a beginner or simply in love with modern, trendy designs, this blog post is for you! Today, we’ll guide you through a free and incredibly easy crochet bag pattern. The result? A stylish and personalized accessory that you’ll be proud to carry.
Your Crochet Journey Begins
Creating a handmade crochet bag is a wonderfully rewarding project. Not only will you end up with a unique and functional accessory, but you’ll also enjoy the relaxing and satisfying process of crochet. This pattern is especially beginner friendly, designed to introduce you to basic crochet techniques and guide you towards a beautiful finished project. Think of it as the perfect way to personalize your style and add a touch of handmade charm to your everyday life.
Gather Your Supplies: The Essentials for Your Crochet Bag
Before we start crocheting, let’s gather our tools:
- Yarn: Choose a yarn that suits your style and desired bag durability. For this pattern, a medium weight yarn works best. I recommend cotton or acrylic for beginners.
- Crochet Hook: Match your hook size to your yarn. Check the yarn label for recommendations. For this pattern, around a size 8mm hook is ideal.
- Scissors
- Stitch Marker (Optional): Useful for keeping track of your rows
- Tapestry Needle: For weaving in loose ends
Master Basic Crochet Stitches (Easy for Beginners)
If you’re new to crochet, don’t worry! This pattern uses just a few basic stitches:
- Chain Stitch (ch): The foundation of most crochet projects
- Single Crochet (sc): A versatile and sturdy stitch
- Slip Stitch (sl st): Used for joining rounds or moving across stitches
Plenty of fantastic online resources can help you master these stitches. A quick search will bring up tons of helpful tutorials!
Following the Pattern: Your Step by Step Guide
Here’s a breakdown of the pattern, inspired by the talented @decoracomcroche ([https://www.youtube.com/@decoracomcroche]). Be sure to check out the detailed video tutorial: [https://www.youtube.com/watch?v=PponCnPECr8]


Base of the Bag:
- Start: Chain 9.
- Row 1: Single crochet into the second chain from the hook and into each chain across (total of 9 sc).
- Row 2: Chain 1 (does not count as a stitch), turn your work. Increase in the first stitch by crocheting 2 sc into the first stitch. Single crochet into the next 8 stitches (total of 10 sc).
- Repeat Rows 2 & 3: Continue to repeat rows 2 and 3 for a total of 15 rows. This will create the base of your bag.
Sides of the Bag:
- Row 16: Chain 2 (first chain counts as a turning chain). Single crochet into each stitch across the long side (15 sc). Turning Point
- Row 17: Chain 2 (first chain counts as a turning chain). Single crochet into each stitch across (15 sc). Turning Point
- Repeat Rows 16 & 17: Continue to repeat rows 16 and 17 until your bag reaches your desired height.


Shaping the Top (Optional):
Here, we will create a gentle slant towards the top of the bag for a more finished look. You can choose to skip this step for a straight-up tote style.
- Decrease Row: Chain 2 (first chain counts as a turning chain). Skip the first stitch, single crochet into the next stitch. Skip the next stitch, single crochet into the following stitch. Repeat from * to * across the entire row, decreasing by one stitch. (One stitch less than the previous row)
- Repeat Decrease Row: Repeat the decrease row one or two more times depending on how much shaping you desire.


Finishing Touches:
- Final Row: Chain 1, turn, single crochet into each stitch across the top edge of the bag. This creates a clean finishing edge.
- Weave in Ends: Use your tapestry needle to weave in any loose yarn ends from the beginning and end of rows.
Handles:
There are two options for creating handles for your bag:
- Crocheted Handles: Chain a long chain (length will determine handle drop). Single crochet back down the chain to create a sturdy handle. Repeat to create a second handle. Attach securely to the top corners of the bag using slip stitches or sewing them in place.
- Fabric Handles: Purchase pre-made fabric or leather handles and securely sew them onto the top corners of the bag.
Personalize It: Make Your Crochet Bag Unique
- Colors: Experiment with fun colors or stylish combinations.
- Embellishments: Add buttons, beads, or tassels for extra flair.
- Handles: Crochet your own handles or incorporate leather straps.
Crochet Bag Inspiration: Ideas to Spark Your Creativity
The joy of crochet lies in the endless possibilities! Get inspired by:
- Playing with Textures: Try different yarn types and stitch patterns.
- Exploring Shapes: Create totes, clutches, or even circular bags.
- Seasonal Touches: Adapt your bag’s colors and style to the season.
Community Connection
Don’t forget to share your progress and finished bags! Tag @tubacrochet_ on Instagram and tiktok.com/@tubacrochet to connect with other makers. Let’s inspire each other!
Other Crochet Projects You’ll Love
Once you get hooked on crochet, you’ll be itching to try more projects. Here are some ideas to keep you creating:
- Coasters
- Amigurumi (small crocheted toys)
- Simple scarves and hats
The Joy of Handmade Congratulations on completing your crochet bag! I hope you enjoyed the process and the satisfaction of wearing something you made from scratch. Remember, the journey of creativity is just as rewarding as the final product. Keep exploring, learning, and filling your world with beautiful, handmade items.


