
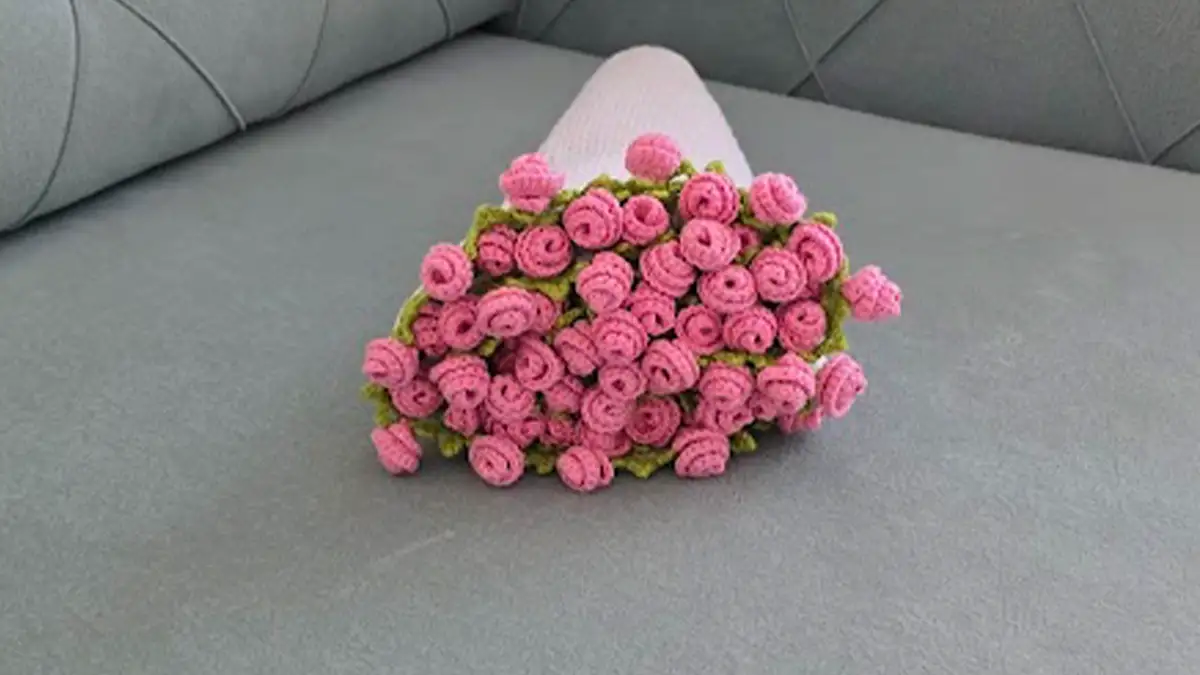
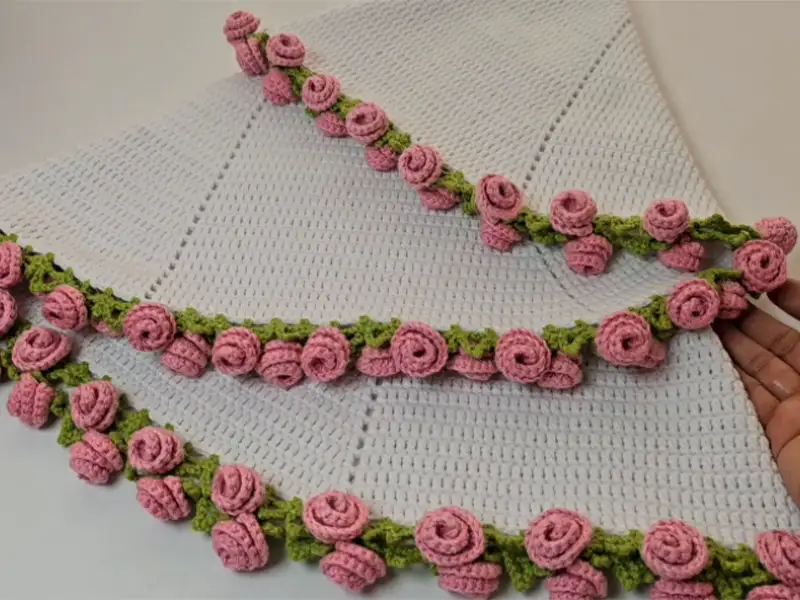
If you’ve ever dreamed of wrapping yourself in blooming roses, this crochet rose blanket pattern is just what you need!
Whether you’re a beginner or a seasoned crocheter, this project is fun, fast, and absolutely stunning.
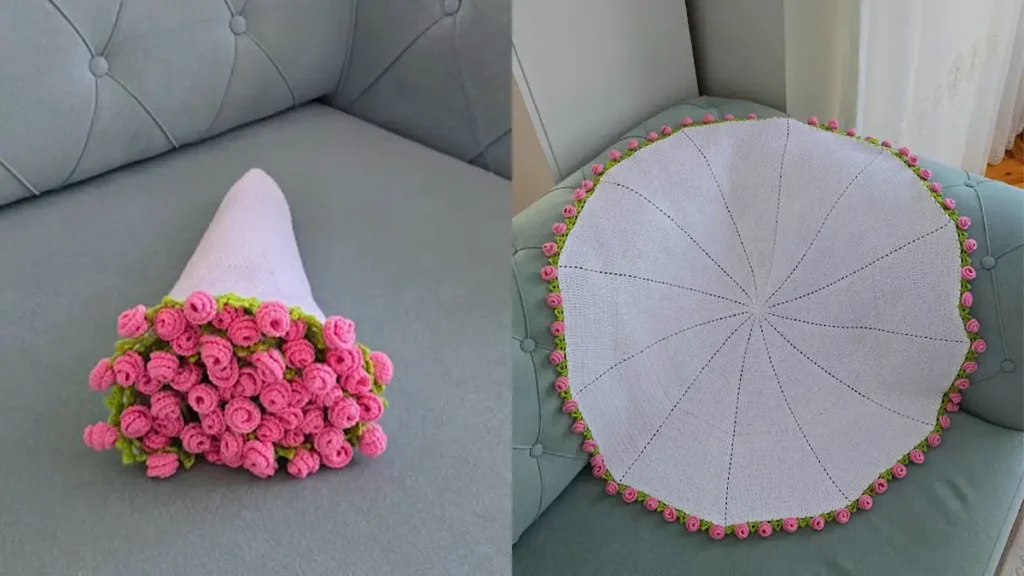
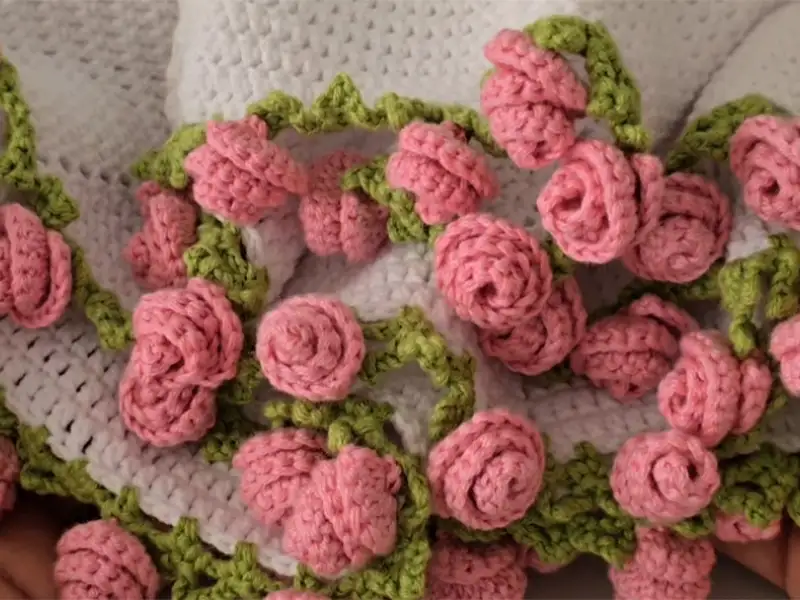
In this tutorial, we’ll crochet a beautiful round blanket filled with soft rose motifs.
It’s not just a cozy layer—it’s a floral masterpiece that makes a perfect gift too.
Using simple stitches and easy rounds, you’ll learn how to crochet a flower blanket that turns heads and warms hearts.
Grab your yarn and hooks… you’re about to start something gorgeous!
Materials You’ll Need for This Crochet Rose Blanket
To crochet a flower blanket that’s both elegant and beginner-friendly, you’ll need the right tools.
Here’s what I used:
- Soft cotton yarn in pink, white, and green
- Hook sizes: 3.00 mm for the base, 2.75 mm for the roses
- Scissors, yarn needle, and stitch markers
- Measuring tape (optional)
Pro tip: Cotton yarn holds rose shapes better than acrylic. Additionally, use a smaller hook for tighter rose petals.
How to Crochet the Base Circle for Your Blanket
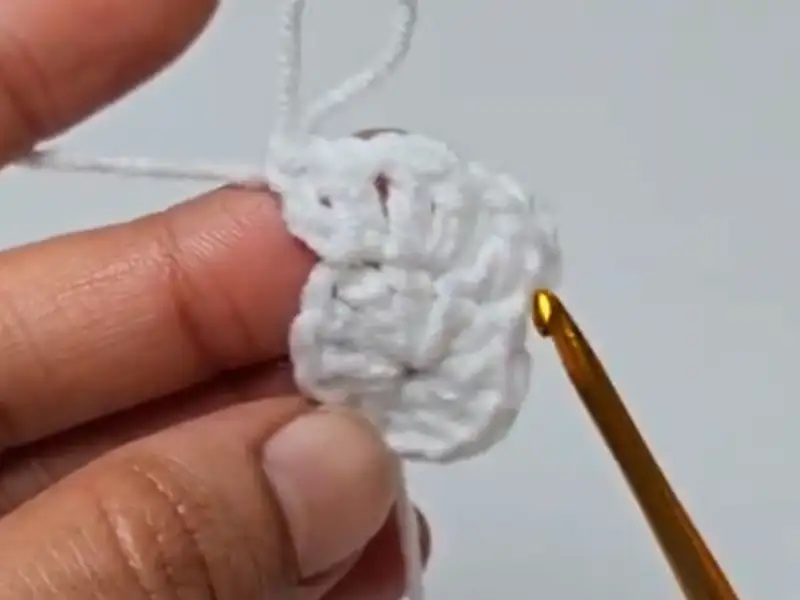
Step 1: Begin With a Magic Ring
Start with a magic ring.
Then, chain 2 and make 12 double crochets into the ring.
Slip stitch to the top of the first chain to close the round.
You now have a neat center to build from!
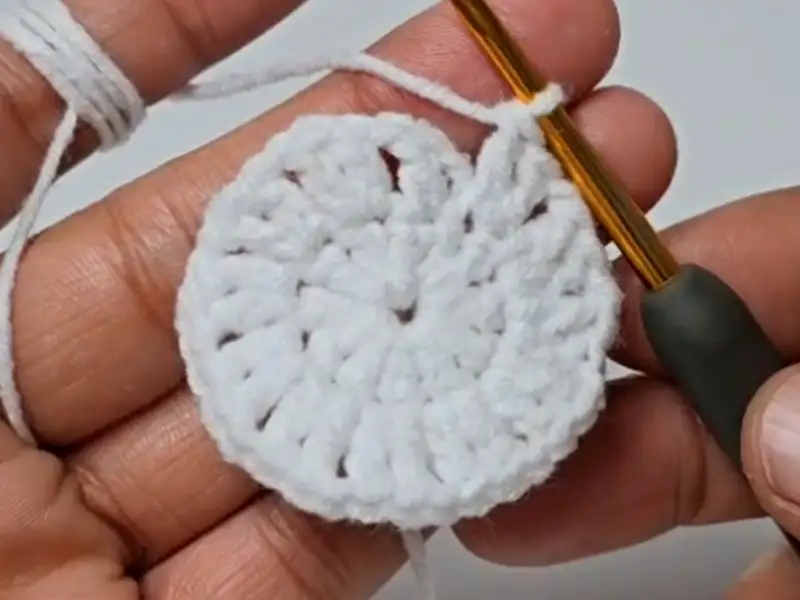
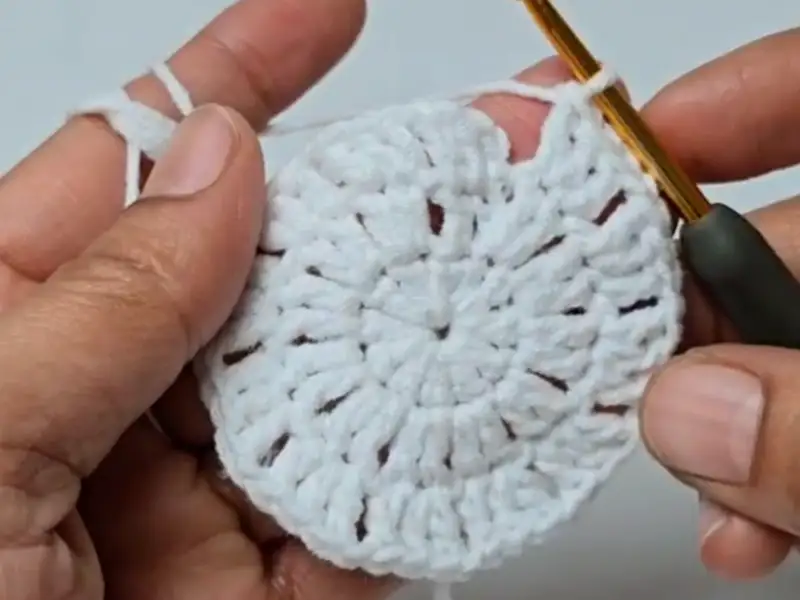
Step 2: Keep Expanding the Circle
Chain 2, and add 2 double crochets in each stitch around—chain 1 between every group.
As a result, you’ll create 12 groups and a smooth, even circle.
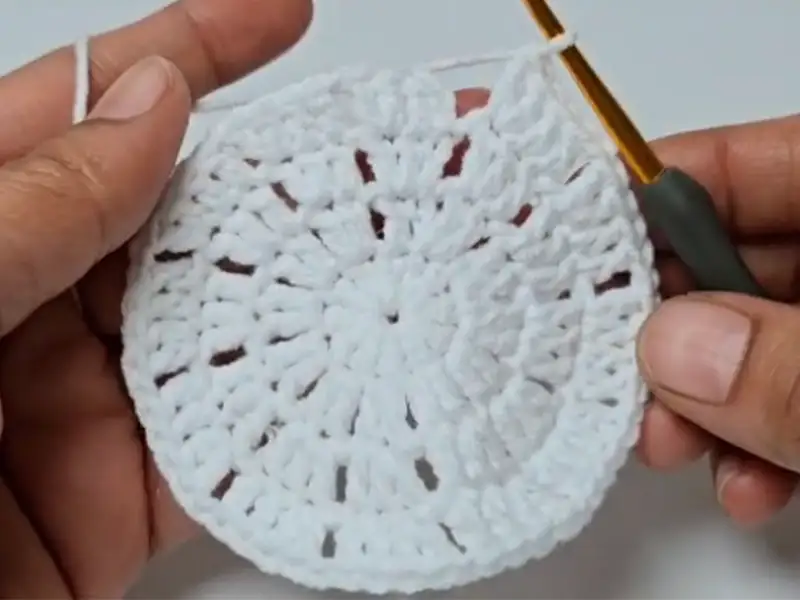
For the next rounds:
- Work 1 double crochet in the first stitch, then 2 in the next
- Chain 1 between each group
- Continue increasing by adding 1 extra stitch per group in each round
Eventually, you’ll have large, evenly spaced petal groups.
This is the base of your crochet rose blanket pattern.
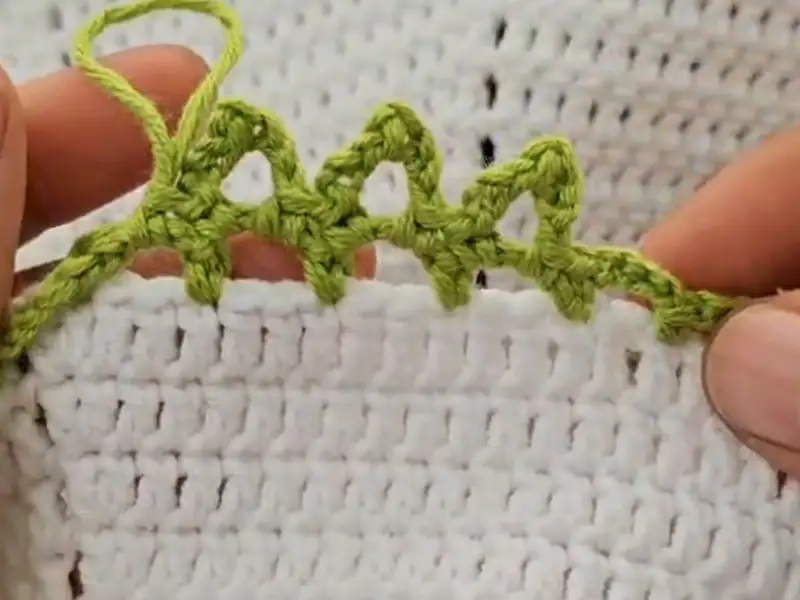
Adding the Green Leaf Loops
Step 3: Switch to Green Yarn
Now, attach your green yarn to any stitch from the last round.
Then, chain 4, skip 2 stitches, and single crochet.
Repeat this pattern all the way around.
Importantly, treat chain spaces between petal groups as stitches too!
These green loops will hold your rose petals later on.
Crocheting the Pink Roses
Step 4: Create Triangle Loops
Single crochet into the first chain space.
Chain 4, slip stitch into the second chain, then chain 3 and single crochet again.
Move to the next space and repeat.
These triangle-shaped loops form the base of each rose bouquet.
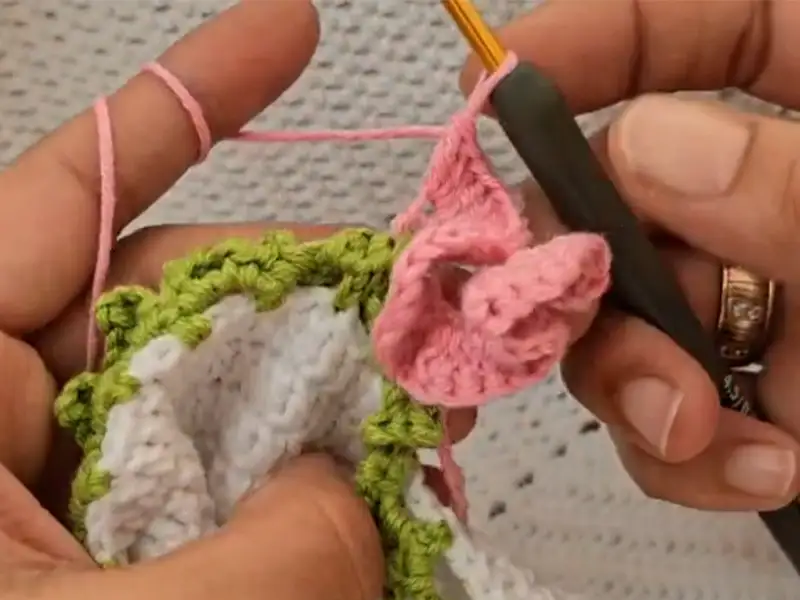
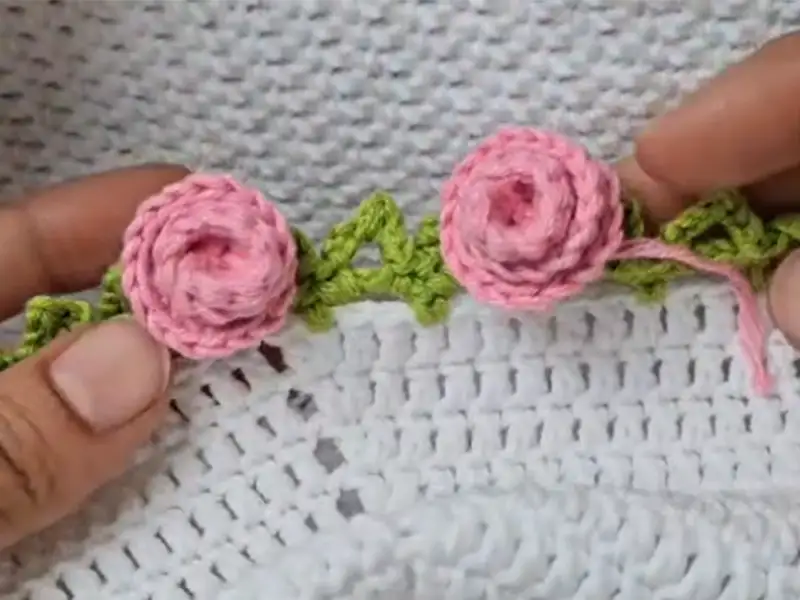
Step 5: Crochet a Rose for Each Loop
Now switch to your smaller hook and pink yarn.
- Start by chaining 18
- In the fourth chain from the hook, crochet 3 double crochets in each stitch across
- At the end, chain 3 and slip stitch to finish the strip
- Roll the strip to form a rose, then slip stitch it in place
Finally, anchor the rose into the triangle loop with another slip stitch.
In fact, each loop will hold one rose. You can skip 2 or 3 loops between roses depending on your style!
Frequently Asked Questions (FAQ)
Q: Is this project beginner-friendly?
A: Yes! The stitches are simple, and you repeat the same steps as the blanket grows.
Q: Can I make this into a baby blanket?
A: Absolutely. This crochet a flower blanket design is perfect for baby gifts—just choose baby-safe yarn.
Q: How many roses do I need?
A: That depends on your blanket’s size. On average, you’ll use 10–15 roses for a medium blanket.
Final Touches and Customizations
Once all your roses are attached, weave in any loose ends with a yarn needle.
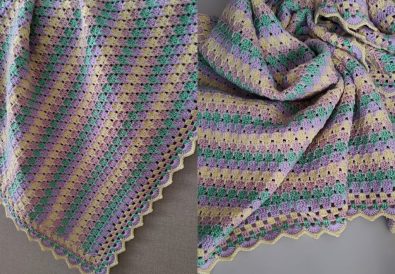
Additionally, feel free to experiment with color variations—red, yellow, even variegated yarns look stunning!
The best part? You can grow your rose blanket as large as you like, simply by continuing the circular pattern before attaching your roses.
Final Thoughts on This Crochet Rose Blanket
We’ve just transformed a simple circle into a crochet rose blanket pattern full of charm and floral beauty. From the soft petal clusters to the delicate leafy loops, every stitch builds something truly elegant.
So, what colors did you choose?
Did you go with classic pink roses—or try bold reds or sunshine yellows?
Let us know in the comments below—your creativity inspires others too!
Watch the Full Video Tutorial!
This pattern was inspired by the beautiful video on the @CrochetCraftsmann YouTube channel.
Watch it here: https://youtu.be/aTHutV-8dzs
Don’t forget to like, comment, and subscribe to support the creator:
@CrochetCraftsmann
You can also download the full written pattern (PDF) for easy offline access:
Pink Rose Bouquet Blanket Pattern
Share Your Projects With Us!
If you tried this crochet a flower blanket project, we’d love to see your results!
Tag your photos or videos on:
- Instagram: @tubacrochet_
- TikTok: @tubacrochet
- Facebook: @tubacrochet
Let’s inspire each other—one rose at a time!
Other Crochet Projects You’ll Love
- Crochet Rosebud Keychain – Perfect for quick gifts
- Crochet Chicken Coaster – A fun kitchen idea
- 3D Macrame Yarn Bag – Soft, sturdy, and stylish


How much yarn did you use for this rose bouquet blanket? I would like to make one but need to know how much of each color to buy. It’s beautiful!
Thank you so much! I’m so happy you love the rose bouquet blanket! Here’s the yarn breakdown I used for mine:
• White (background) – 2 skeins
• Roses (pink or red) – 1 skein
• Leaves/green area – 1 skein
So about 4 skeins in total, but this can vary slightly depending on your yarn weight and tension. I can’t wait to see your version — happy crocheting!
I’m having a little trouble with the instructions. On the third round with increasing, are you doing double crochets in the chain space or just in between the double crochets? Any help is appreciated! Thanks!
hank you for your question! In the third round, you should be placing the double crochets in the stitches, not in the chain spaces. Specifically, you’re working 1 double crochet into the first stitch of the group, and 2 double crochets into the next stitch of the group (increasing by one in each group). Don’t work into the chain spaces between the groups—just the actual stitches. Hope that clears it up! Let me know if you need more help.
I am using thicker yarn, is that why it is waving around round 3? What can I do to fix this?
Yes, using thicker yarn can absolutely cause your project to ruffle or wave, especially around round 3. That happens when there’s too many stitches trying to fit into a tight space, which creates a wavy effect instead of laying flat.
Here’s how you can fix it:
Option 1: Use a smaller hook
Try going down one hook size. A tighter tension can help control the shape.
Option 2: Reduce the number of stitches
If you’re using thicker yarn and want to keep your hook, try reducing the number of:
Double crochets in the magic ring (e.g., instead of 12, try 10 or even 8)
Stitches in later rounds (fewer increases = flatter fabric)
Option 3: Block it
Sometimes a little ruffling is normal and can be fixed by blocking your piece afterward — pin it down and lightly steam it into shape.
It is waving for me, I am using thicker yarn is that why? What can I do to fix this?
Yes, exactly — when your crochet starts waving or ruffling, it’s often because the yarn is too thick for the pattern or you have too many stitches in a round for the yarn weight and hook size you’re using.
✅ Here’s how to fix it:
Try a smaller hook:
Using a smaller hook will tighten the stitches and help flatten the piece.
Use thinner yarn (e.g., DK or Sport weight):
If the pattern is designed for thinner yarn, thicker yarn naturally creates more bulk and curvature.
Adjust the stitch count:
Reduce the number of increases or clusters in each round slightly to reduce excess fabric.
Steam block or wet block:
If the ruffling is mild, gently shape and block your piece with steam or water to flatten it.
When making the roses, do I start off of the main blanket, or should I attach the pink yarn to the piece before chaining? This is a very beautiful blanket!
Thank you so much! I’m so happy you like the blanket!
The roses are made after you finish the main blanket base.
First, complete the blanket entirely.
Then attach the pink yarn directly onto the blanket in the spot where you want each rose, and start chaining from there.
So you don’t begin the roses while working the rows — they’re added later as decorative details.
I hope that helps! Let me know if you need more clarification ✨