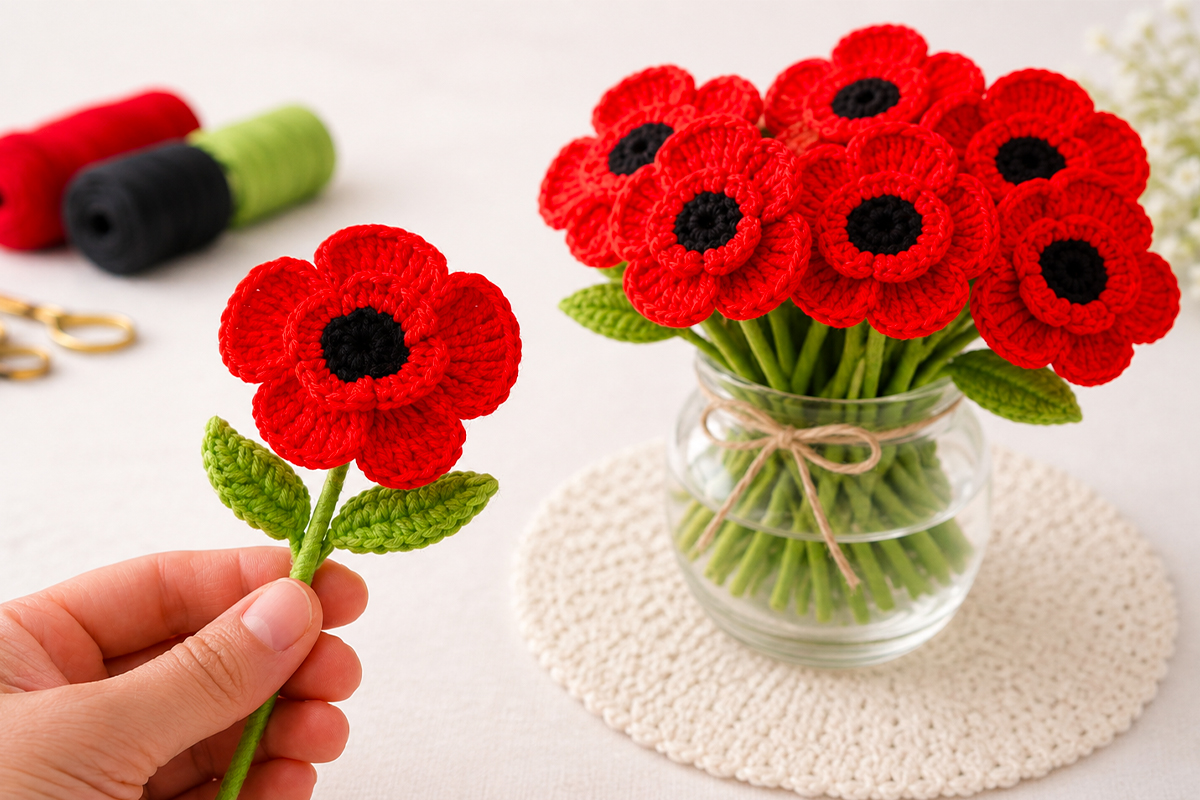
If you love realistic crochet flowers, this crochet poppy flower is a beautiful project to make for bouquets, home decor, spring decorations, or handmade gifts. In this tutorial, you will learn how to crochet a red poppy flower with layered petals, a textured black center, and a simple handmade stem.
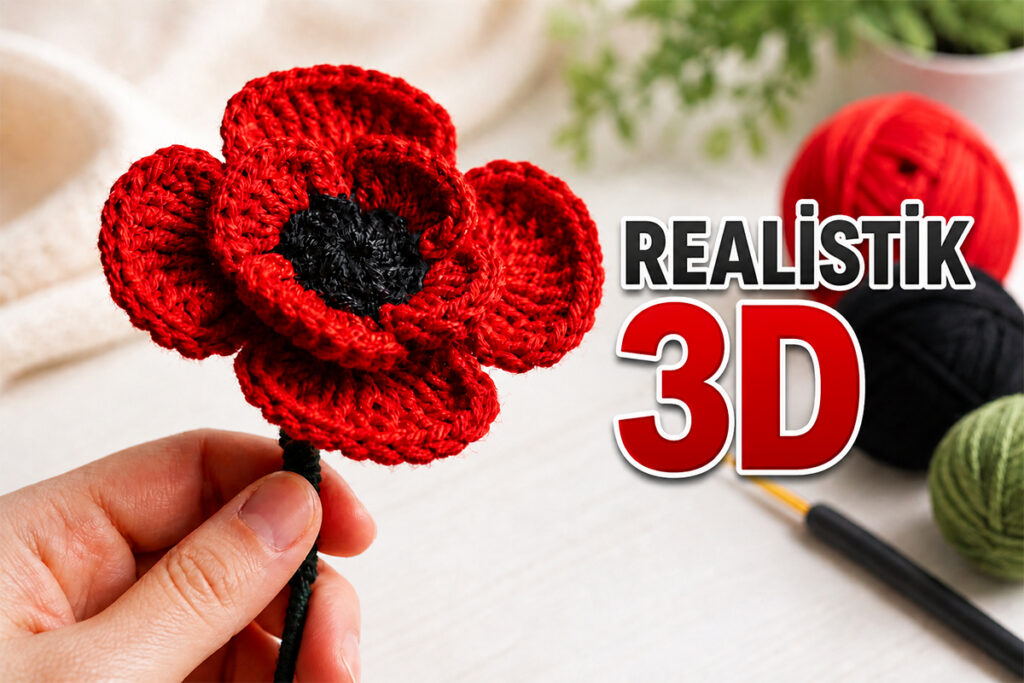
The finished flower looks detailed and dimensional, but the technique is easier than it looks. The secret is the 3D layer technique, where you create a hidden back layer behind the first petals. This extra layer helps the poppy look fuller, softer, and more realistic.
You can watch the full step-by-step video tutorial here:
Watch the crochet poppy flower video tutorial
You can also download the free printable PDF pattern here:
Download the free crochet poppy flower PDF pattern
If you enjoy beginner-friendly flower projects, you may also like this Easy Crochet Flower Patterns for Beginners collection.
Why This Crochet Poppy Flower Looks Realistic
The realistic look of this crochet poppy flower comes from three simple details: layered red petals, a black textured center, and a green wrapped stem.
Many easy crochet flowers are made in one flat layer. This design is different because it uses a second layer of petals behind the first one. That hidden layer creates depth and gives the flower its 3D shape.
The black center also makes the poppy more eye-catching. It adds strong contrast against the red petals and gives the flower that classic poppy look. Once you add the green stem, the finished piece works beautifully in a bouquet, vase, or handmade home decor arrangement.
Materials for a 3D Crochet Flower
You only need a few basic supplies for this beginner-friendly project:
- Cotton yarn in red, black, and green
- 2.5 mm crochet hook
- Scissors
- Tapestry needle
- Wooden skewer for the stem
- Craft glue or sewing needle for assembly
Cotton yarn is a great choice for crochet flowers because it gives the stitches a cleaner shape and helps the petals hold their form. This pattern uses US crochet terminology. The main stitches are chain, slip stitch, treble crochet, and double treble crochet.
If you like following written instructions while you crochet, save the printable version before you start:
Free printable crochet poppy flower pattern
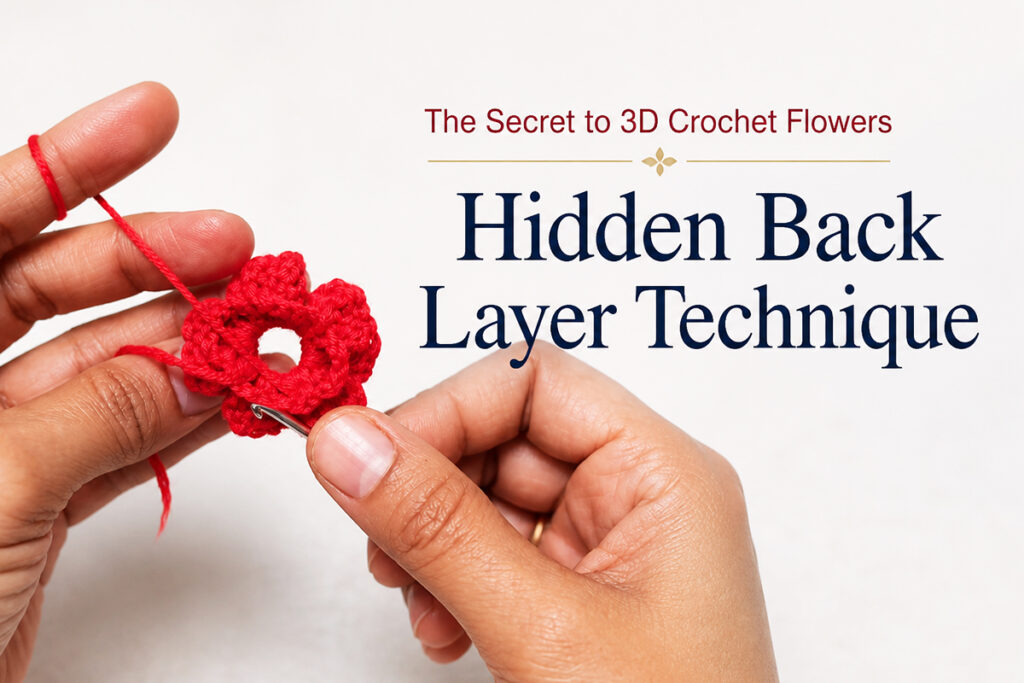
The Secret to 3D Crochet Flowers: Hidden Back Layer Technique
The most important part of this design is the hidden back layer technique.
After you finish the first petal layer, you turn the flower so the back side is facing you. Then you create chain spaces behind the first petals. These chain spaces stay mostly hidden from the front, but they become the foundation for the larger outer petals.
When you crochet the second layer into those hidden spaces, the petals rise from behind the flower instead of lying flat. This is what gives the poppy its fuller, more dimensional shape.
Pro Tip: Keep your tension relaxed when working the outer petals. This helps the petals open naturally and gives the flower a fuller 3D shape.
Step-by-Step Crochet Poppy Flower Pattern Overview
This section gives you a simple overview of the process. For the full stitch-by-stitch pattern, use the printable PDF linked above.
Step 1: How to Crochet the Inner Poppy Petal Layer
The red flower begins with a magic ring. You work small petal sections into the ring using chain stitches, treble crochet stitches, and slip stitches. This first layer creates the base shape of the poppy.
Pro Tip: Do not pull the magic ring too tight at the beginning. Keep enough room to work all the petal sections comfortably, then tighten the center at the end.
Step 2: Create the Hidden Back Layer for 3D Petals
After the first petal layer is complete, turn the flower to the back side. Then create chain spaces behind the petal groups. These spaces will hold the larger 3D petals.
This step may look simple, but it is the key to the flower’s realistic shape.
Step 3: Crochet the Outer 3D Poppy Petals
Next, work into the hidden chain spaces. The outer petals are made with double treble crochet stitches. These taller stitches help the petals look larger, softer, and more open.
If your petals curl too much or do not open well, loosen your tension slightly.
Step 4: Make the Black Textured Center Detail
The black center is made separately with a magic ring. You repeat a simple chain and slip stitch sequence to create a textured center.
Place the black piece carefully in the middle of the red flower. You can sew it on or glue it in place.
Pro Tip: A centered black detail makes the poppy look more balanced and realistic.
Step 5: Attach the Stem for a Crochet Flower Bouquet
Wrap a wooden skewer with green yarn to create a simple stem. Then attach it to the back of the flower using craft glue or by sewing it in place.
Let it dry completely before arranging the flower in a vase or bouquet.
Crochet Flower Bouquet and Home Decor Ideas
This crochet poppy flower is perfect for more than one project. You can use finished poppies for:
- Handmade flower bouquets
- Vase arrangements
- DIY spring decorations
- Crochet home decor
- Handmade gifts
- Craft fair items
- Table decorations
- Floral photo props
Because this flower has a stem, it looks especially nice in a small vase or bouquet. Make several poppies together for a long-lasting handmade flower arrangement.

For more decorating inspiration, explore these related ideas:
Explore More Crochet Flower Patterns
See More Crochet Home Decor Ideas
Try Another Crochet Bouquet Tutorial
Browse Beginner-Friendly Crochet Gift Ideas
Free Printable Crochet Poppy Flower PDF Pattern
The printable PDF pattern is helpful if you want to follow the written steps while watching the video. You can save it, print it, or keep it open on your device as you crochet.
Download it here:
Free 3D Crochet Poppy Flower Pattern PDF
Watch the full video tutorial here:
How to Crochet a Realistic Poppy Flower Video
Tips for Better Layered Crochet Petals
If you want your crochet poppy flower to look neat and realistic, pay close attention to your tension.
The outer petals use tall stitches, so they need a little room to open. If you crochet too tightly, the petals may stay closed or curl too much. A slightly relaxed tension helps the petals spread beautifully.
Also, try to keep the black center round and centered. This small detail makes the flower look more polished.
For the stem, wrap the green yarn evenly around the wooden skewer. A smooth stem makes the finished flower look cleaner and more professional.
Frequently Asked Questions
Is crocheting a realistic poppy flower difficult for beginners?
Not at all. The finished flower looks detailed, but the steps are beginner-friendly and repeatable. The 3D effect comes from the hidden back layer, not from a difficult technique.
What is the best yarn and hook size for crochet flowers?
Cotton yarn is a great choice because it gives the stitches a crisp shape. This tutorial uses red, black, and green cotton yarn with a 2.5 mm crochet hook.
How do you make a crochet flower look 3D and layered?
The secret is the hidden back layer technique. After the first petals are complete, you create chain spaces on the back side and use them as the base for the larger outer petals.
What stitches are used in this 3D poppy pattern?
This pattern uses US crochet terms. The key stitches are chain, slip stitch, treble crochet for the inner petals, and double treble crochet for the outer 3D petals.
How do you attach a stem to a crochet flower?
Wrap a wooden skewer with green yarn, then attach it to the back of the flower using craft glue or by sewing it in place.
What can I use finished crochet poppies for?
These 3D crochet poppies are great for bouquets, vase decor, spring decorations, handmade gifts, and DIY home decor.
Show Us Your Crochet Poppy Flowers
If you make this crochet poppy flower, I would love to see your finished project. Share your handmade poppies on Instagram and tag @Craftsman_Crochet.
You can also follow Crochet Craftsman for more beginner-friendly crochet tutorials and handmade project ideas:
YouTube Channel
Instagram
Facebook
Pinterest
Final Thoughts on This Crochet Poppy Flower
This crochet poppy flower is a lovely project if you want something realistic, dimensional, and beginner-friendly. The hidden back layer creates natural depth, while the black textured center gives the flower its classic poppy look.
Use it for a bouquet, home decor, spring decoration, or a thoughtful handmade gift. Don’t forget to save the free printable PDF pattern so you can follow the steps anytime:
Free printable PDF pattern