

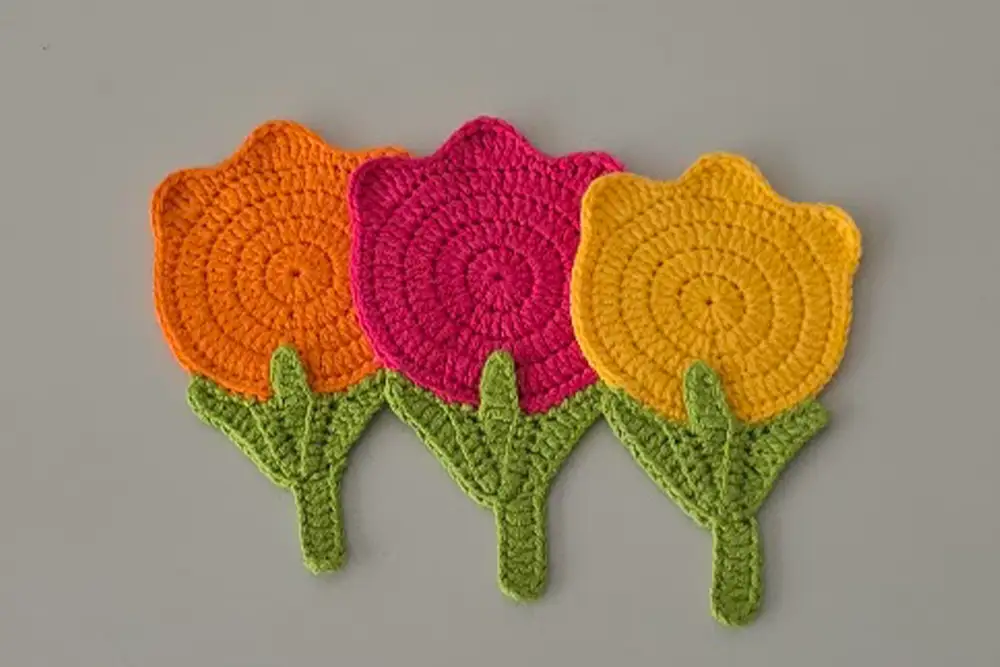
Looking for a beginner-friendly way to brighten up your home or surprise someone with a handmade gift? This crochet tulip coaster is a beautiful and simple project that combines creativity with functionality. Whether you’re new to crochet or just love quick floral designs, this charming crochet coaster will add a sweet touch to your table. Keep reading to learn how to make it step by step—with a free printable PDF included!
Materials You’ll Need for the Crochet Tulip Coaster
- 5 colors of medium-weight yarn (50% cotton, 50% acrylic)
- 2.20 mm crochet hook
- Scissors, yarn needle
- Steam iron (optional for finishing)
Tip: Choose contrasting colors for flower and leaves for a bold look.
Step-by-Step Crochet Tulip Coaster Pattern
Round 1–4: Crochet Coaster Base Circle
Let’s begin by creating the round base that forms the flower’s foundation. This part is worked in four rounds with increasing stitches.
Round 1
Start with a magic ring. Then, chain 2 (counts as 1 dc), and make 14 double crochets into the ring. You’ll have 15 stitches in total.
To close the round, slip stitch into the top of the beginning chain.
Round 2
Now, chain 2 again. In this round, work 2 double crochets in each stitch around. As a result, you should have 30 dc by the end.
Finish with a slip stitch to join.
Round 3
For this round, chain 2 and begin a pattern of increases. Work 1 dc in the first stitch, then 2 dc in the next—repeat this all the way around. You will now have 45 stitches.
Slip stitch to close the round.
Round 4
Once more, chain 2. This time, follow the sequence: 1 dc in each of the next 2 stitches, then 2 dc in the third stitch. Continue this pattern until you reach the end. You should now have 60 double crochets in total.
Join with a final slip stitch.
Shaping the Tulip Petals
Now it’s time to shape the tulip’s petals, which give the coaster its floral charm.
Begin with ch 1. Work 19 single crochets across the top of the circle.
Next, make 1 double crochet, followed by 1 treble crochet in the next stitches.
In the following stitch, work 3 quadruple crochets—this will form the top curve of the petal.
Then, make 1 treble, 1 double crochet, and 3 single crochets across the next stitches to finish the petal base.
Repeat the same sequence two more times to form a total of 3 tulip petals.
Finally, fill the remaining space with single crochets until you complete the round.
Cut the yarn and close the round neatly using a hidden join.
Crocheting the Leaves
Let’s move on to the leaves. You’ll create three small green leaves to frame the tulip.
Leaf 1
Start by chaining 12. In the 2nd chain, make 1 single crochet.
After that, continue with:
– 1 sc,
– 2 half double crochets,
– 3 double crochets,
– 2 half double crochets,
– and finish with 2 single crochets.
To shape the back of the leaf, chain 1 and turn.
Then, make 6 single crochets using the back loops of the previous stitches.
Leaf 2 & 3
For each of these, start with ch 6.
Repeat the same structure as Leaf 1.
Once you finish the third leaf, pull up a loop from the center back and secure it with a slip stitch.
Adding the Stem
Now that the leaves are complete, let’s make the stem.
Start with ch 10. Skip the first three chains, then begin working from the 4th chain.
Make 8 double crochets side by side.
To attach the stem, slip stitch into the center of the middle leaf.
Lastly, chain 1, cut the yarn, and leave a long tail so you can sew it later.
Final Assembly & Steam Finishing
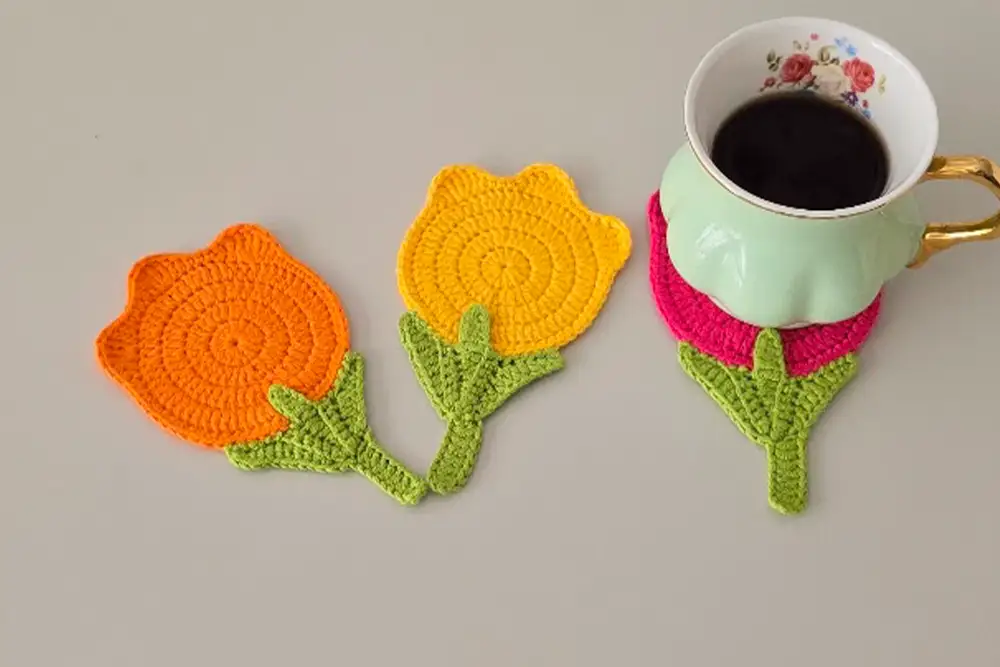
Now it’s time to bring everything together!
Use your yarn needle to sew the middle leaf directly to the center bottom of the coaster.
Then, attach the right and left leaves by stitching them onto the edges of the circular base.
Be sure to weave in all loose ends for a clean finish.
For a polished look, you can lightly steam the leaves with an iron. This helps them hold their shape and makes your finished piece look neat and professional.
Download the Free Crochet Coaster Pattern (PDF)
You can download the full printable version of this pattern here:
Download PDF Pattern
Share and Show Off Your Crochet Tulip Coaster
If you enjoyed this crochet tulip coaster tutorial, don’t forget to:
Download the free written PDF pattern and keep it in your crochet binder:
Download Now
Subscribe to the YouTube channel for more cozy and beginner-friendly projects:
@TubaCrochet on YouTube
Leave a comment below to let me know what colors you’d choose for your tulips. Your feedback means the world to me!
Share your finished coaster on social media and tag me:
Instagram: @tubacrochet_
TikTok: @tubacrochet
Facebook: @tubacrochet
Let’s spread handmade beauty one tulip at a time!
Other Crochet Projects You’ll Love
- Sunflower Keychain Tutorial – Easy & adorable
- Crochet Macrame Handbag – Beginner-friendly and stylish
- Rose Placemats for Spring Tables – Floral and functional
Frequently Asked Questions (Crochet Tulip Coaster)
Can I use only cotton yarn for this coaster?
Yes, you can. 100% cotton yarn works great for absorbency and stability.
How long does it take to complete?
Around 1.5 to 2 hours, depending on your speed.
Can I turn this into a wall hanging?
Absolutely! Add a loop to the back for easy hanging.
Can I use fewer colors?
Yes! It also looks beautiful with just two shades – one for the flower, one for the leaves.


