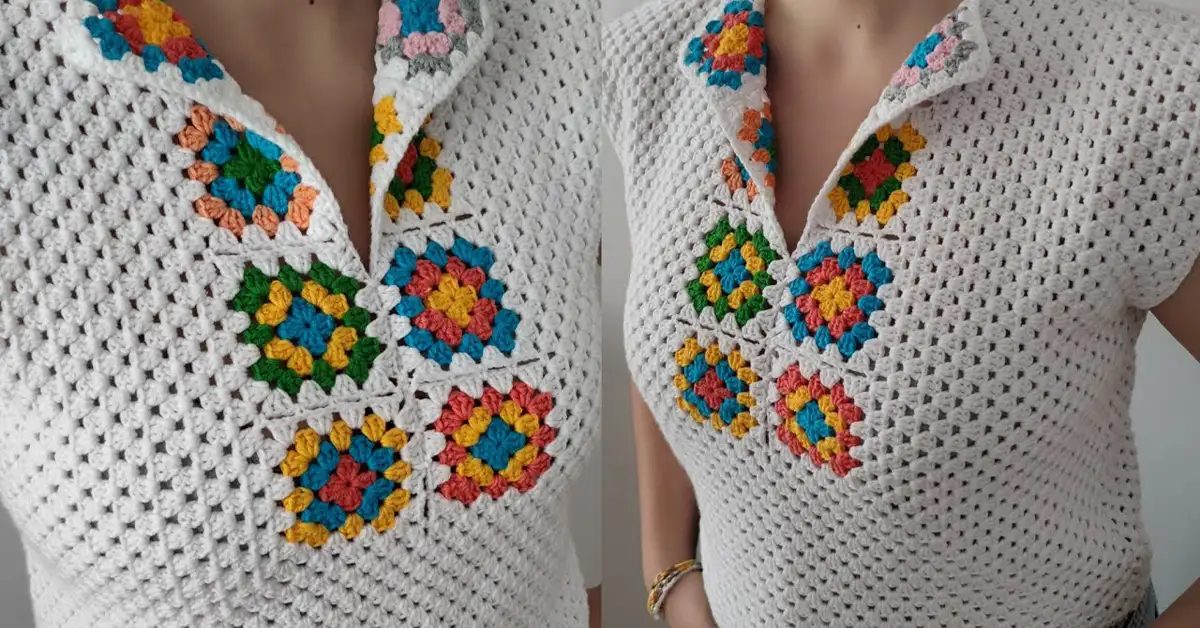
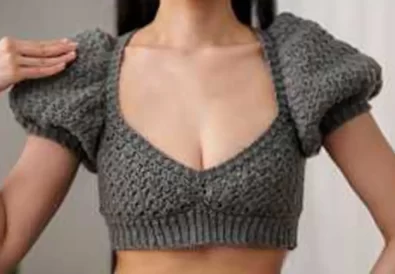
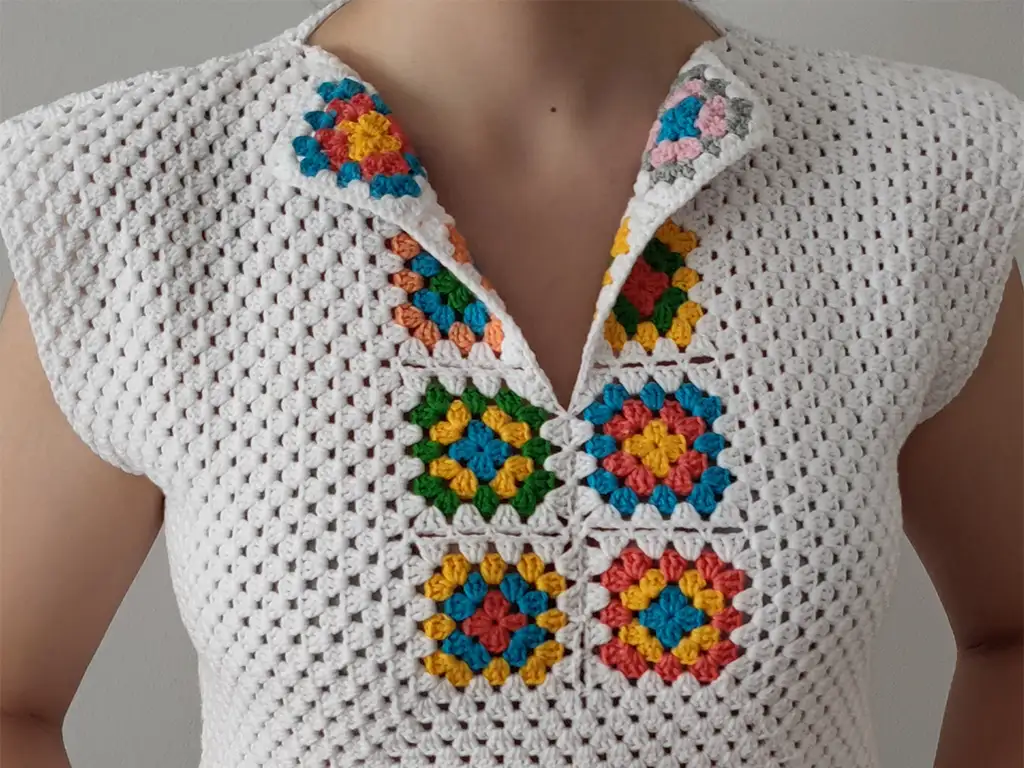
Hello crochet enthusiasts! Are you ready to add a touch of boho chic to your summer wardrobe? In this post, we’re diving into a free crochet crop top pattern with a delightful granny square twist. This design, inspired by a fantastic crochet tutorial by TubaCrochet on YouTube (@TubaCrochet), is a beginner crochet crop top project that results in a stylish and easy crochet summer top. With its flattering crochet v-neck crop top pattern, this top is sure to become a summer staple!
Introducing the Crochet Crop Top Pattern: A Granny Square Twist on a Summer Staple
This crochet summer top pattern is a wonderful way to add a touch of handmade flair to your wardrobe. The use of granny squares adds a touch of nostalgia, while the V-neck design keeps the look modern and flattering. The open stitch work makes it breathable and perfect for warmer weather, and the cropped length pairs perfectly with high-waisted skirts, pants, or shorts. The pattern itself is beginner-friendly, using simple stitches and techniques.
Easy Crochet Crop Top Pattern: Perfect for Beginners
This crochet top pattern is perfect for those just starting their crochet journey. It utilizes simple stitches and a classic granny square crop top pattern construction, making it an approachable and enjoyable project. Plus, the end result is a trendy modern crochet crop top that you’ll be proud to wear.
Materials You’ll Need for this Crochet Crop Top Project
Before you embark on this exciting crocheting journey, gather your materials:
- Yarn: We recommend using a worsted weight cotton yarn, such as Alize Cotton Gold yarn. This type of yarn is soft, breathable, and perfect for summer garments. Choose two colors you love; one for the main color of the granny squares and another for the contrasting edging and body.
- Crochet Hook: You’ll need a 3mm crochet hook for this project.
- Scissors: For neatly snipping your yarn.
- Tapestry Needle: Useful for weaving in loose ends.
Finished Size:
- Width (Body): 44 cm (17.3 inches)
- Height (Body): 42 cm (16.5 inches)
- Collar Width (Across Front): 42 cm (16.5 inches)
- Collar Height: 41 cm (16.1 inches)
Notes:
- Ch-3 at beginning of a row counts as a double crochet stitch.
- To adjust size, add or remove granny squares for width, and rows for length.
Step by Step Guide to Creating a Granny Square Crochet Crop Top Pattern
We’ll follow the excellent tutorial by @TubaCrochet (https://www.youtube.com/@TubaCrochet), which inspired this pattern adaptation. For a visual guide, be sure to check out the video tutorial: https://www.youtube.com/watch?v=005hPimr0L8.
Basic Techniques:
- Magic Ring: This creates a foundation loop with no visible knot.
- Chain (ch): A basic stitch that forms a chain of loops.
- Double Crochet (dc): The main stitch used in this design. It creates a vertical stitch with a raised loop.
- Slip Stitch (sl st): A stitch that connects the last loop to the first loop, creating a closed circle or row.
- Single Crochet (sc): A short stitch used for joining and edging.
- Joining Squares: The transcript mentions a method of joining squares that was explained in a previous video. This might involve crocheting around the edges of the squares to connect them.
Basic Elements of the Design:
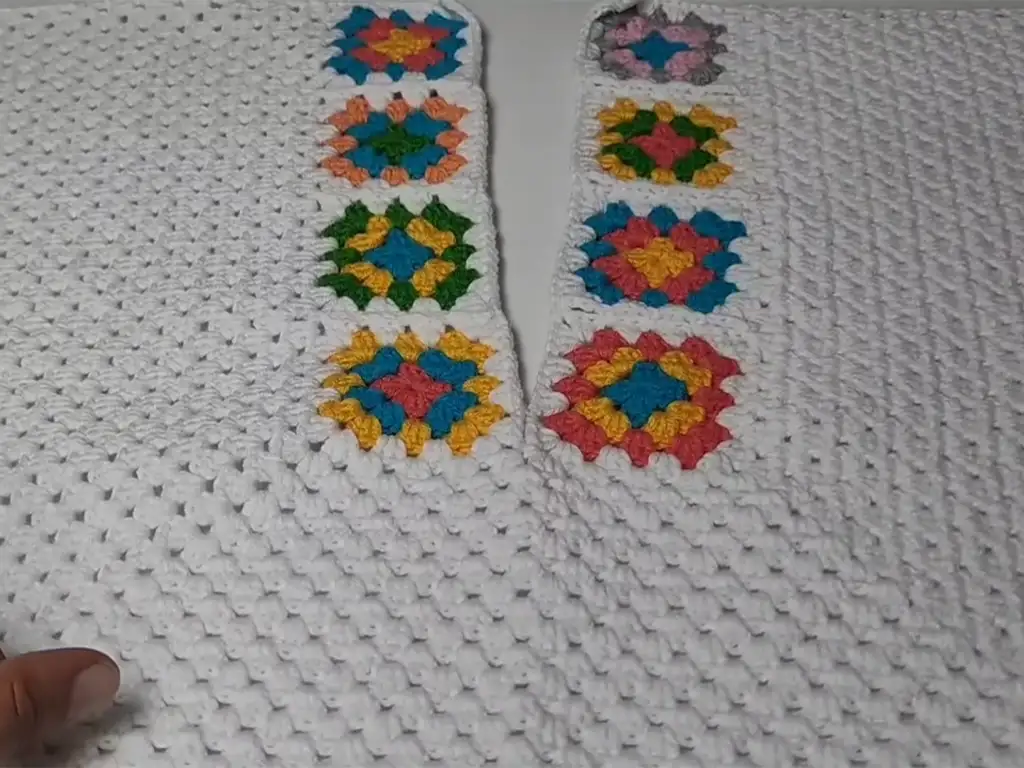
- Square Motifs: The top is made from 8 small squares, each with 3 rows.
- Collar: The front neck is created using the 8 squares joined together. A V-neck is formed by joining the other 4 squares to create the collar.
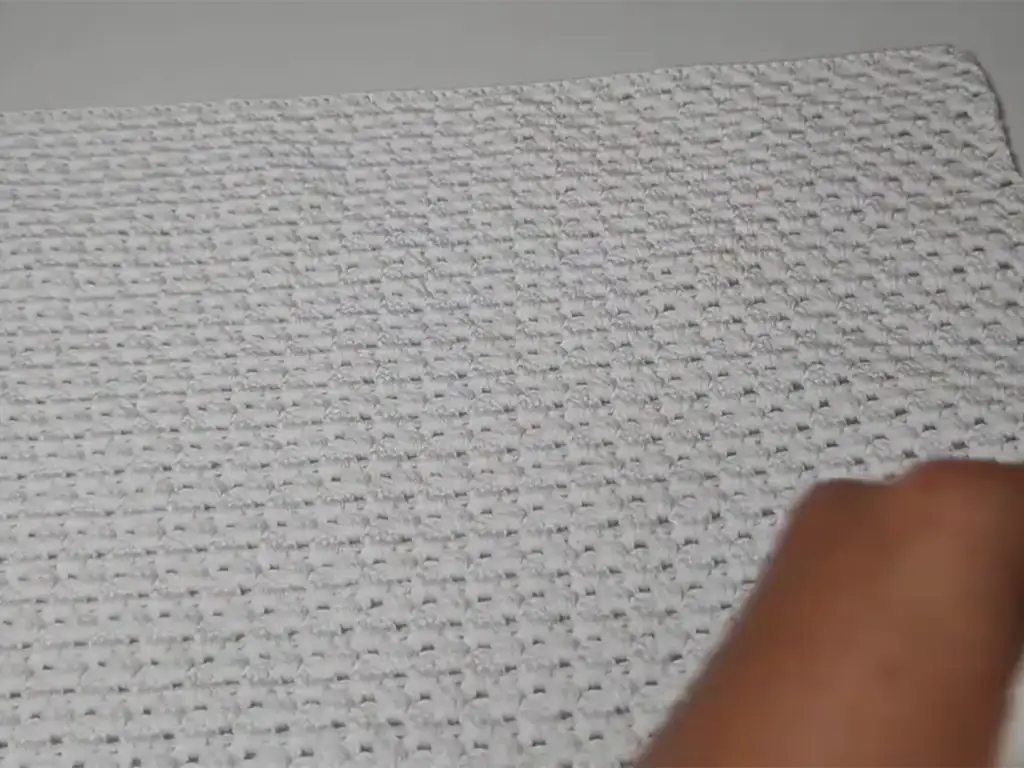
- Body: This is the main part of the top, created by crocheting double crochet groups in a U-shape.
- Back: The back of the top is worked in rows with double crochet groups.
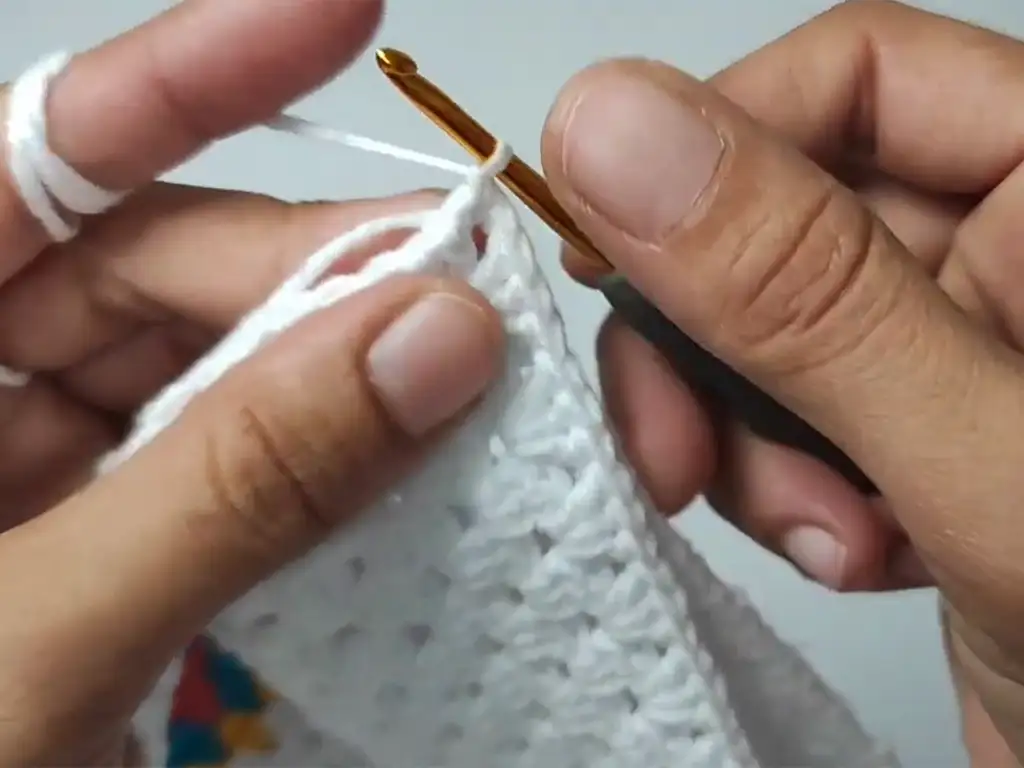
- Joining the Sides: The front and back are joined along the sides using single crochet.
- Shoulder: The shoulder seams are also joined using single crochet.
Key Design Considerations:
- The top is a medium-sized crop top.
- You can adjust the size of the top by adding or decreasing the number of rows and stitches.
- You can customize the color scheme by using different colors for the squares.
- The pattern is repeated in rows for both the body and back sections.
- The back is worked in rows, maintaining the same number of groups as the front.
- The joining method involves single crochet, connecting the front and back panels.
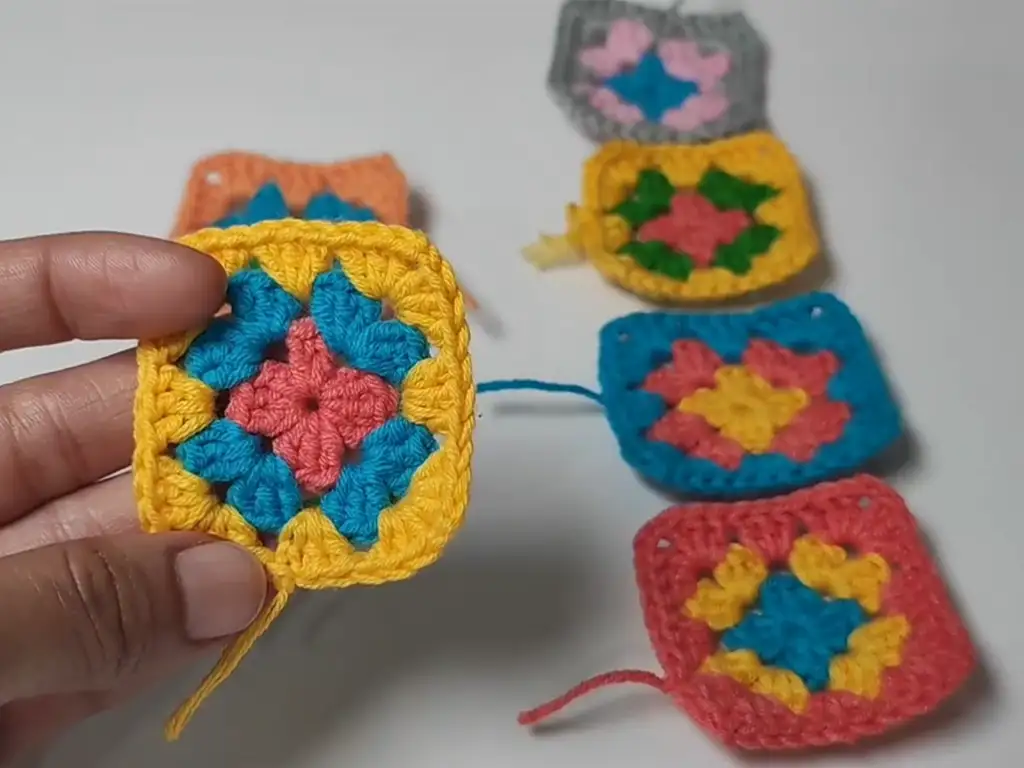


Creating the Granny Squares: Foundation of Your Crochet Crop Top Pattern
Granny squares are the building blocks of this crochet top. They are worked in rounds, creating a beautiful, textured square. Here’s how to make them:
Granny Square Motif (make 8)
Round 1:
- Make a magic ring.
- ch 3 (counts as a dc)
- 2 dc in the ring
- ch 2
- 3 dc in the ring
- ch 2
- 3 dc in the ring
- ch 2
- 3 dc in the ring
- ch 2
- sl st to the top of the first ch
Row 2:
- Attach the yarn in any chain space.
- ch 3 (counts as a dc)
- 2 dc, ch 2, 3 dc in the same space
- 2 dc, ch 2, 3 dc in the next chain space
- Repeat the last 2 instructions until the end of the row.
- sl st to the top of the first ch.
Row 3:
- Attach the yarn in any chain space between two corners.
- ch 3 (counts as a dc)
- 2 dc, ch 2, 3 dc in the same space
- 3 dc in the next chain space
- Repeat the last two instructions until you reach the last corner.
- 2 dc, ch 2, 3 dc in the corner chain space
- 3 dc in the next chain space
- Repeat the last instruction until the end of the row.
- sl st to the top of the first ch.
Mastering the V-Neck: Joining Granny Squares for a Flattering Fit
Now, let’s join our granny squares to form the V-neck of our crochet top. This joining technique creates a beautiful, seamless look.
Joining Granny Squares:
Join 4 of the square motifs in a single row, using the contrast color. The transcript doesn’t specify the joining method, but you can use single crochets around the edges to connect the squares.
Forming the Yoke (V-Neck):
Row 1: With Color B, join yarn to the corner ch-2 space of one square set. Ch 3 (counts as 1 dc), work 3 dc in same ch-2 space.
2. Single crochet along the edge of the next square, joining to the adjacent square set.
3. Work 3 dc in the corner ch-2 space of the joined square.
4. Continue single crocheting along the edge of the next square, then 3 dc in the corner.
5. Repeat across to the end of the row.
Row 2: Ch 3 (counts as 1 dc), turn. Work 3 dc in the same space. Continue across, working 3 dc in each corner space and single crochet between.
Row 3: Repeat Row 2.
Crochet Crop Top Pattern: Working the Body and Back Panel
Body
Starting Row:
- Attach the main color yarn to the corner of the collar where the V-neck ends.
- ch 3 (counts as a dc)
- 2 dc in the same space
- 3 dc in the middle of the next group of double crochets
- Continue working 3 dc in the middle of each double crochet group across the row, without any chains between.
- When you reach the corner of the first square, work 3 dc in the chain space.
- Continue working 3 dc in the corners of each square motif along the row.
- 3 dc, ch 2, 3 dc in the corner space.
- Continue working 3 dc in the middle of the double crochet groups until the end of the row.
- 3 dc in the corner space of the last square motif
- Second Row:
- ch 3 (counts as a dc)
- Turn the work.
- 3 dc in the space after the first double crochet group.
- 3 dc in the middle of each double crochet group until you reach a corner.
- 3 dc, ch 3, 3 dc in the corner space.
- 3 dc in the middle of each double crochet group until the end of the row.
- 3 dc in the corner of the last square motif.
- Third Row:
- ch 3 (counts as a dc)
- Turn the work.
- 3 dc in the space after the first double crochet group.
- 3 dc in the middle of each double crochet group until you reach a corner.
- 3 dc, ch 3, 3 dc in the corner space.
- 3 dc in the middle of each double crochet group until the end of the row.
- 3 dc in the corner of the last square motif.
- Repeat Rows 2 and 3 until you reach the desired body length.
Shaping:
- Ascending Rows (Wider Bottom): You can shape the body section to be wider at the bottom than the top by adding a few extra double crochet groups in each corner space as you work up. For example, instead of working 3 dc, ch 3, 3 dc, you could work 3 dc, ch 4, 3 dc in the corner space, creating a slight flare.
- Descending Rows (Wider Top): To create a wider top, reduce the number of double crochet groups in the corner spaces as you go up. You might do this by working 3 dc, ch 2, 3 dc in the corner space, or even just 3 dc, ch 1, 3 dc to make it more gradual.
Back
First Row:
- Ch 101 (or adjust based on your gauge).
- Skip 5 ch from the hook.
- dc in the 6th ch
- dc in each ch across the row (make sure each group of 3 dc is adjacent to the next group, with no chain between).
- There should be a total of 31 groups of 3 dc.
- Skip one ch
- dc in the last ch.
- Turn.
Second Row:
- ch 3 (counts as a dc)
- 2 dc in the first dc space.
- Skip the next 3 dc.
- 3 dc in the next space.
- Repeat the last 2 instructions across the row.
- Work 3 dc into the last space.
- Turn.
Third Row:
- ch 3 (counts as a dc)
- Skip the first 3 dc.
- 3 dc in the next space.
- 3 dc in the middle of each double crochet group until the end of the row.
- Skip one dc.
- Work 1 dc in the last space.
- Turn.
- Repeat Rows 2 and 3 until the back is the same length as the front.
Seaming and Finishing Touches: Completing Your Crochet Crop Top Masterpiece
Now that you’ve crocheted the body and back, you’re ready to assemble the crop top.
Joining the Sides
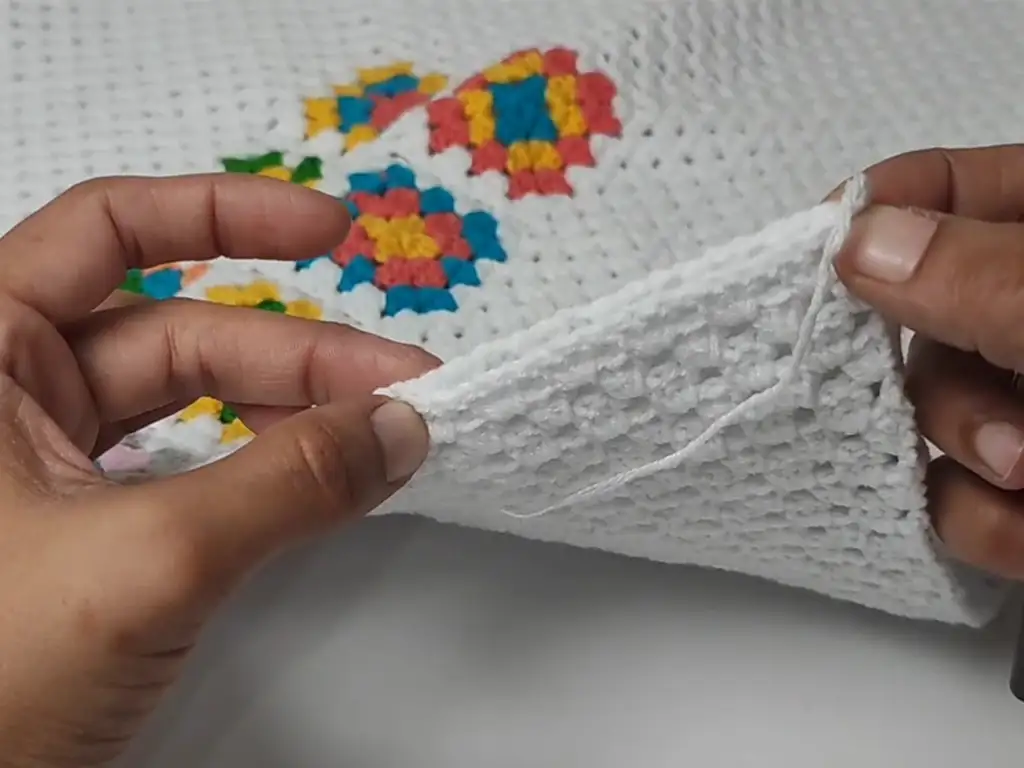
- Attach the contrast color yarn to the corner where the body and back sections meet.
- Work single crochet stitches into each chain space and double crochet group along the side edge of the body and back.
- Continue working single crochet until you reach the shoulder area.
Finishing
- Weave in all ends.
- Block the top (steam it to shape it and smooth out the stitches).
Sizing Tips:
- Adjust the length of the body and back by working more or fewer rows.
- Increase or decrease the width of the body by adding or removing double crochet groups in the row.
- Make the collar wider or narrower by joining more or fewer square motifs.
Showcase Your Handmade Crochet Crop Top Pattern
Your handmade crochet crop top is now ready to wear! Style it with high-waisted jeans or a cute skirt for a chic summer look. The versatility of this modern crochet crop top pattern makes it a must-have in your wardrobe.
We’d love to see your finished crochet crop top creations! Share your photos on Instagram with the hashtag #tubacrochet_ or on TikTok @tubacrochet. Don’t forget to leave a comment below and tell us about your experience with this pattern!
Styling Your New Crochet Crop Top: Outfit Ideas and Inspiration
This versatile crochet crop top pattern for a small bust can be dressed up or down for various occasions. Here are a few styling ideas:
- Boho Chic: Pair it with high-waisted denim shorts, sandals, and a floppy hat for a relaxed, bohemian vibe.
- Summer Night Out: Dress it up with a flowy maxi skirt, wedges, and statement jewelry for a touch of elegance.
- Casual Cool: Combine it with your favorite jeans, sneakers, and a denim jacket for a casual yet stylish everyday look.
- High-Waisted Jeans: Create a casual yet chic look by pairing your crop top with high-waisted jeans and some stylish sandals.
- Skirt: Dress up your crop top with a flowy skirt or a denim mini-skirt for a fun and feminine outfit.
- Shorts: For a cool and breezy summer look, pair your crop top with denim shorts or cotton shorts.
Other Crochet Projects You’ll Love
If you enjoyed making this crochet crop top, then you’ll definitely want to check out these other fun and easy crochet projects!
- Crochet Granny Square Blanket
- Easy Crochet Cardigan
- Crochet Summer Dress
- Crochet Summer Top
- Crochet Square Motif Top
- Crochet Blanket
- Crochet Scarf
- Crochet Bag
Conclusion
In conclusion, this free crochet crop top pattern is perfect for beginners and experienced crocheters alike. It’s a fun and quick project that results in a stylish and wearable piece. Don’t forget to watch the tutorial by @TubaCrochet on YouTube here. Share your finished projects on Instagram using the hashtag #TubaCrochet and on TikTok at @TubaCrochet.
To wrap up, Making a crochet V-neck top with granny squares is a rewarding experience. The finished product is a testament to your skills and creativity. To sum it up, it’s a piece you’ll be proud to wear and show off. Happy crocheting!

