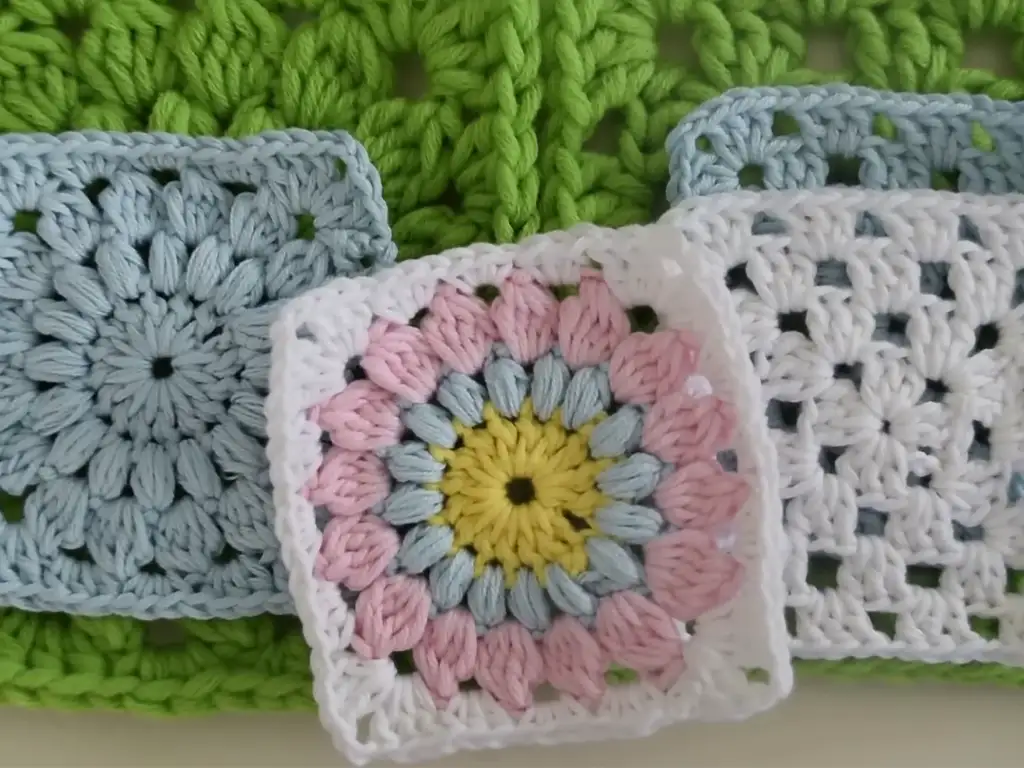
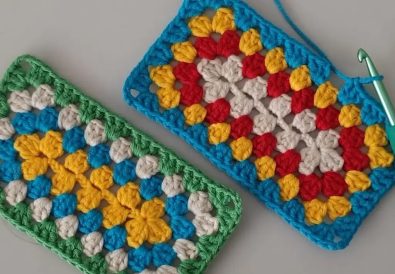
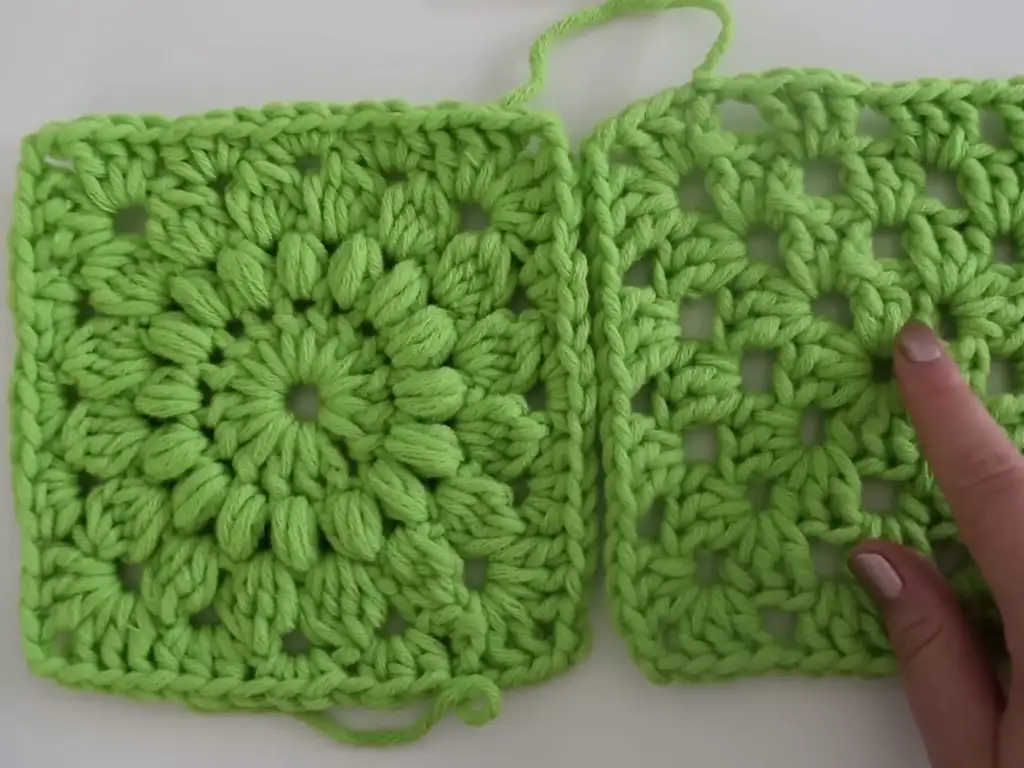
There’s something undeniably charming about a classic granny square. These crochet motifs evoke a sense of nostalgia and warmth, and they’re surprisingly simple to make! Whether you’re a seasoned crocheter or a curious beginner, this pattern is perfect for adding a touch of vintage-inspired style with a modern twist to your next project. Let’s dive in!
A Beginner Friendly Pattern
This granny square pattern is designed specifically with beginners in mind. If you’re new to crochet, don’t worry! We’ll cover the basic stitches and techniques needed to create these charming squares. With a little practice, you’ll be crocheting granny squares like a pro.
Potential Uses: Endless Possibilities!
The best thing about granny squares is their incredible versatility. You can transform them into:
- Cozy blankets and afghans
- Stylish scarves and wraps
- Unique home decor items (think coasters, pillows, or wall hangings)
- Adorable accessories like bags or hats
What You’ll Need
Gather these simple supplies to get started:
- Yarn: Choose your favorite colors and fiber types. Cotton, wool, acrylic, or blends are all great options! Consider the weight of the yarn – worsted weight is ideal for beginners.
- Crochet hook: Select a hook size suitable for your yarn (check the yarn label). A size H/8 (5.0mm) hook often works well with worsted weight yarn.
- Scissors
- Tapestry needle: This is used for weaving in those yarn ends!
- Stitch markers (optional): These can be helpful for keeping track of your corners.
Crochet Techniques for Beginners
Before we start the pattern, let’s review a few crochet essentials:
- Chain stitch (ch): The basis of many crochet patterns
- Slip stitch (sl st): For joining rounds or moving across stitches
- Single crochet (sc): A short, sturdy stitch
- Half double crochet (hdc): Slightly taller than a single crochet
- Double crochet (dc): The tallest of the basic stitches
Easy Crochet Square Pattern
The Pattern
Alright, let’s get crocheting! This pattern is simple and perfect for mastering your basic stitches.
Row 1:
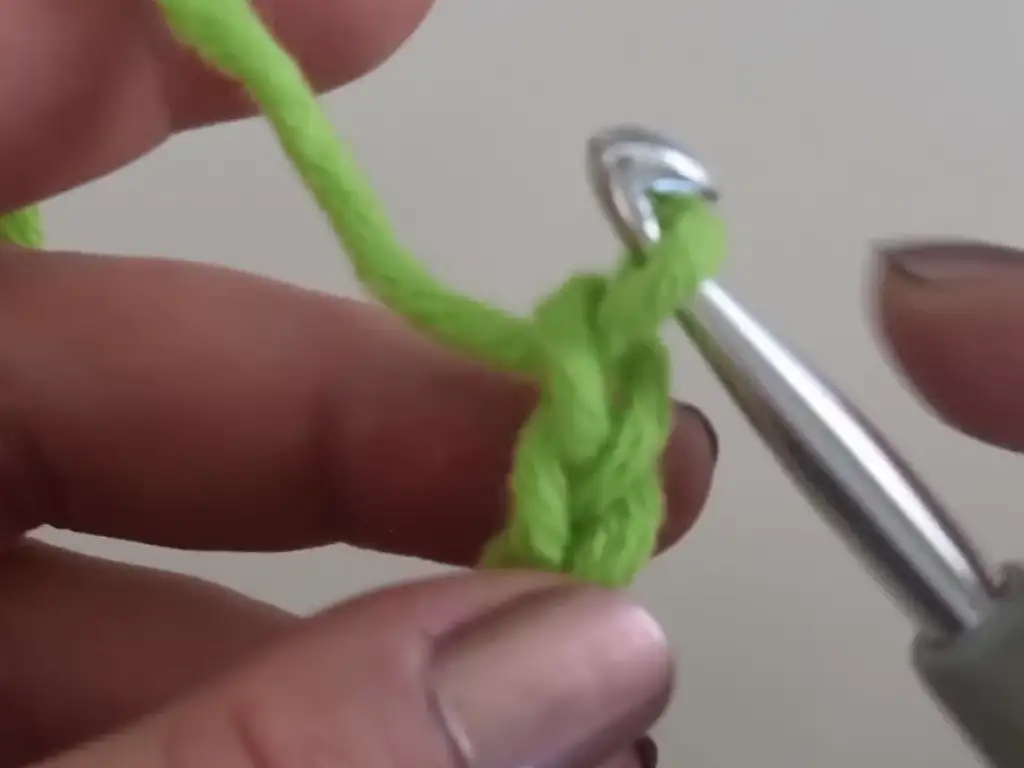
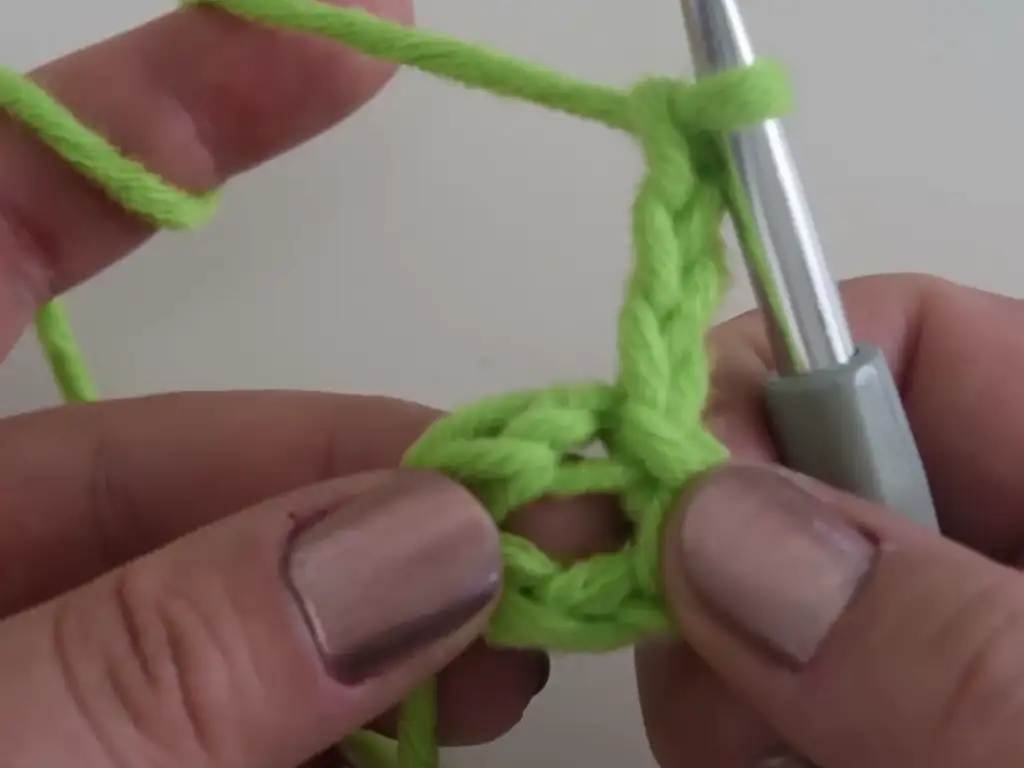
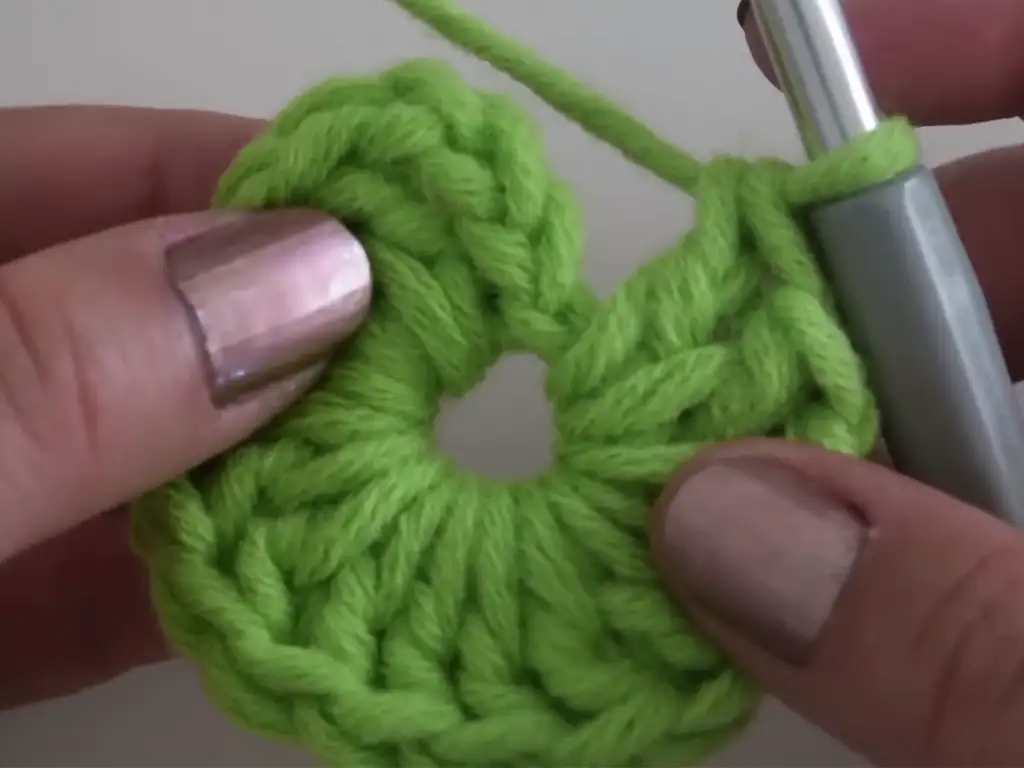
- Create a magic ring or chain 4 and join with a slip stitch to make a ring.
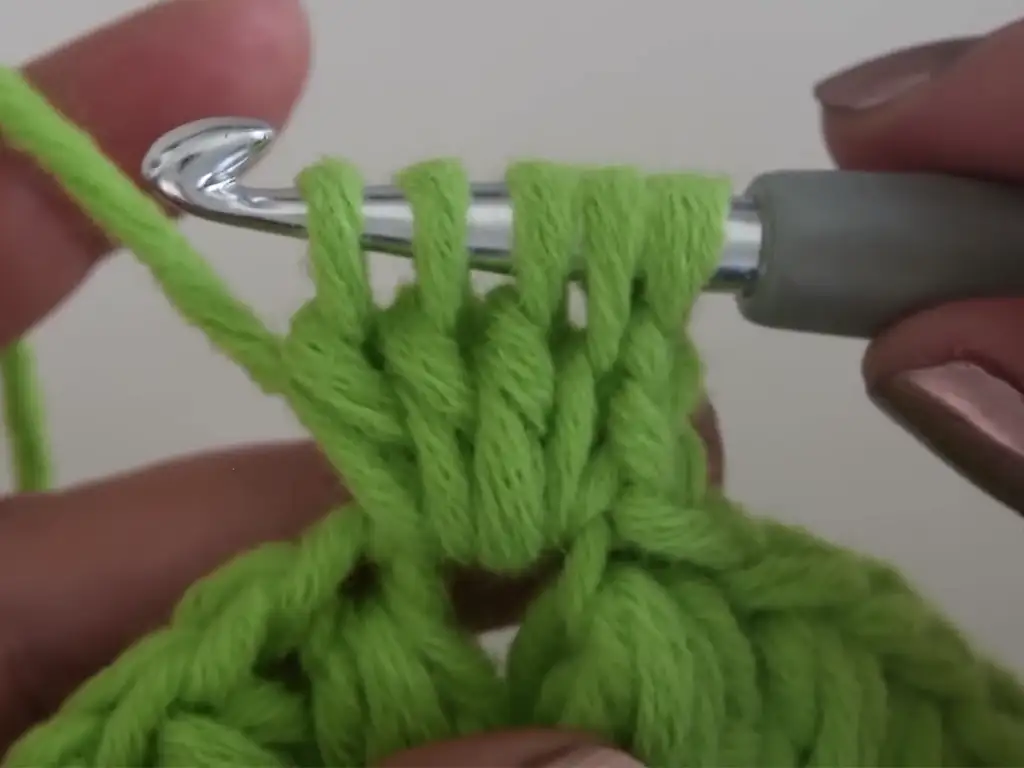
- Chain 3 (this counts as your first double crochet!), then work 2 more double crochet stitches into the ring.
- Chain 2, then work 3 double crochet stitches into the ring. Repeat this (chain 2, 3 double crochet) two more times.
- Slip stitch into the top of your initial chain 3 to join the round.
Row 2:
- Chain 3, then 2 double crochet stitches into the first chain-2 space.
- Chain 2, then 3 double crochet stitches into the next chain-2 space. Repeat this from * to * all the way around.
- Join the round with a slip stitch into the top of the initial chain 3.
Round 3:
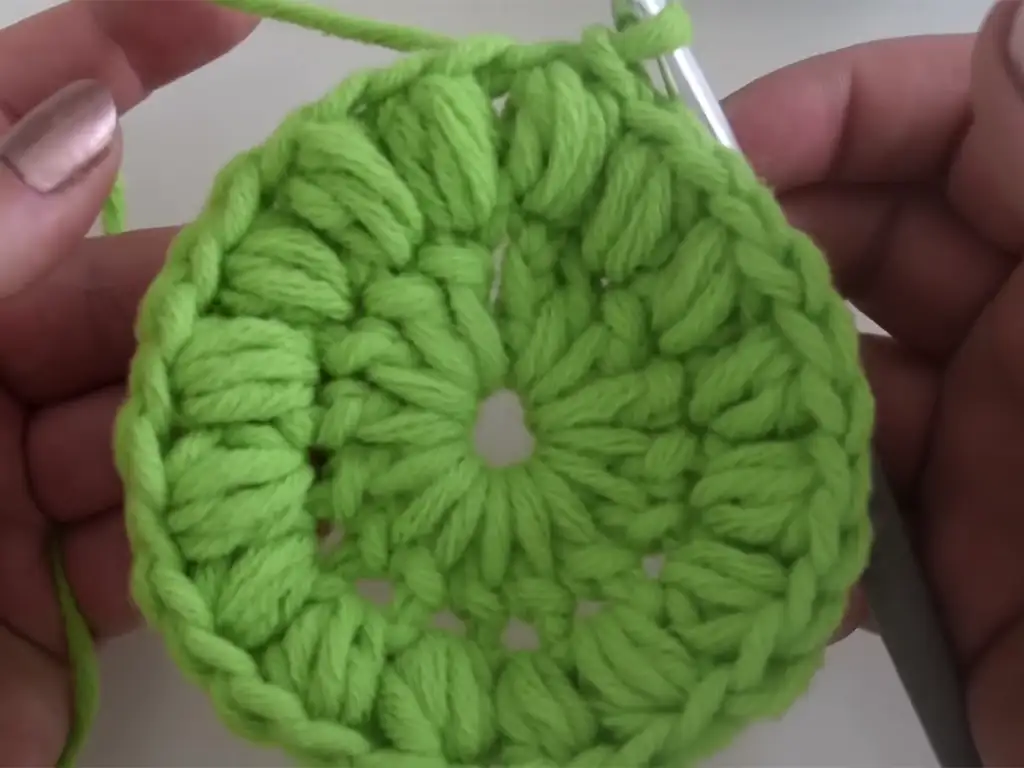
- Chain 3, then work 2 double crochet into the first chain-2 space (this forms your first corner).
- Chain 2, then 3 double crochet into the next chain-2 space (this creates a decorative gap).
- Chain 2, then 3 double crochet in the next chain-2 space (your next corner), chain 2, then 3 double crochet in the following chain-2 space. Repeat this from * to * around.
- Join with a slip stitch to the top of the initial chain 3.
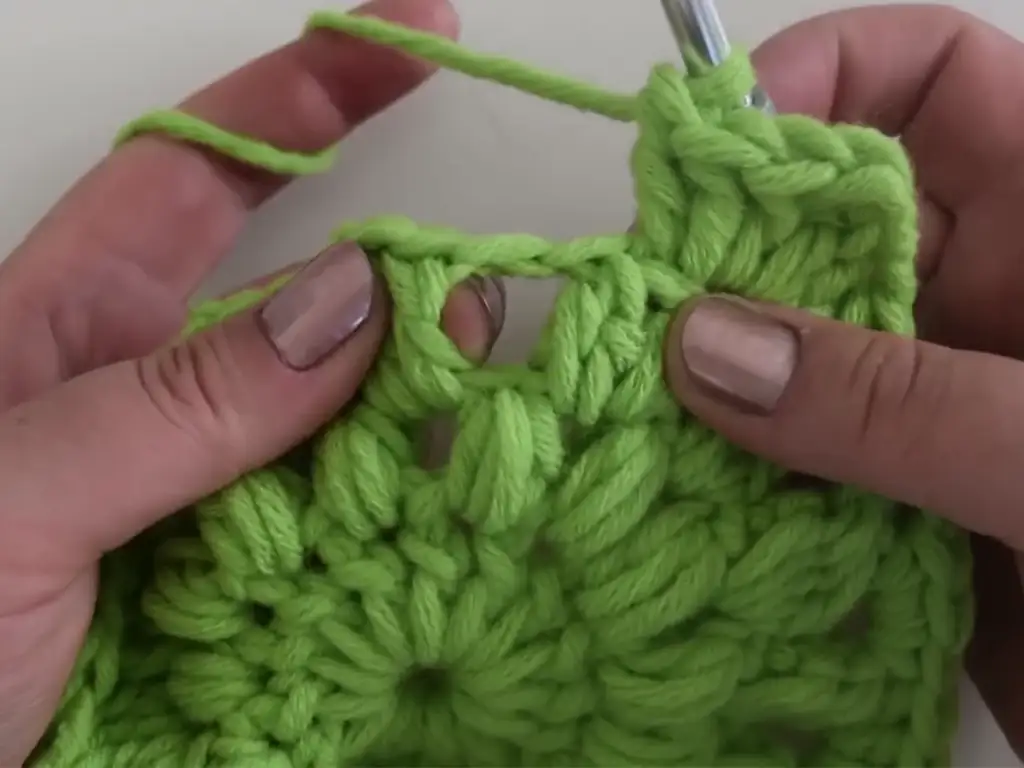
Continue with additional rounds, following the Round 3 pattern, to achieve your desired size.
Tips for Success
- Counting is key: Double-check your stitch counts in each round.
- Tension: Try to keep your stitches even for a polished look.
- Don’t be afraid to ask: If you get stuck, there are many helpful online resources!
Let’s Connect!
I hope you enjoy crocheting these granny square! Share your creations on Instagram (@tubacrochet_) or TikTok (@tubacrochet), and let’s inspire each other. Be sure to check out the YouTube channel (https://www.youtube.com/@maschenanschlag ) for more crochet tutorials and inspiration. Happy crocheting!

