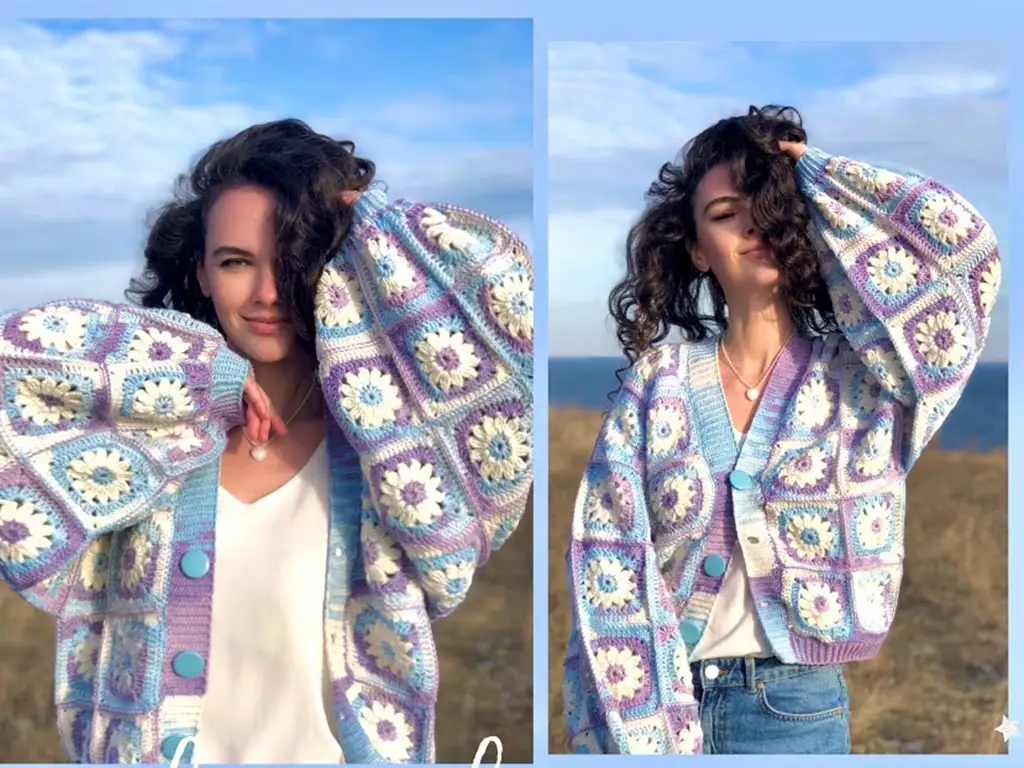
Are you a crochet newbie eager to create something beautiful and wearable or a seasoned crocheter looking for a relaxing, summery project? This blog post is your guide to crocheting a gorgeous granny square cardigan that’s perfect for those warm weather days and beyond!
Granny square cardigans are all the rage – and with good reason! They exude a charming vintage vibe, offer endless color combinations, and boast a satisfyingly simple construction. What’s more, this project is ideal for beginners. It will give you a strong foundation in crochet basics while allowing you to create a piece you can’t wait to wear. Trust me, this cardigan might just be the first of many!
Project Overview
- Difficulty level: Beginner
- Finished size: Customizable (instructions can be easily adjusted)
- Potential uses: Casual wear, beach cover-up, layering piece for cooler days
Let’s Get Started!
Materials
- Yarn: For a lightweight summer cardigan, choose a yarn like Alize Baby Wool or a similar weight #3 yarn. Consider cotton or acrylic blends for breathability.
- Crochet hooks: Check the yarn label for recommendations, but you’ll likely need sizes between 4mm and 5mm.
- Scissors: For cutting yarn and finishing.
- Needle: To weave in those yarn ends neatly.
Crochet Fundamentals: The Must Know Stitches
Don’t worry if you’re unfamiliar with crochet terms; let’s cover the basics:
- Chain stitch (ch): The foundation of many crochet patterns
- Slip stitch (sl st): Used to join pieces or move across stitches.
- Single crochet (sc): A basic, tight stitch for sturdy pieces.
- Double crochet (dc): Creates taller stitches with some open space.
Conquering the Granny Square: A Simple Start
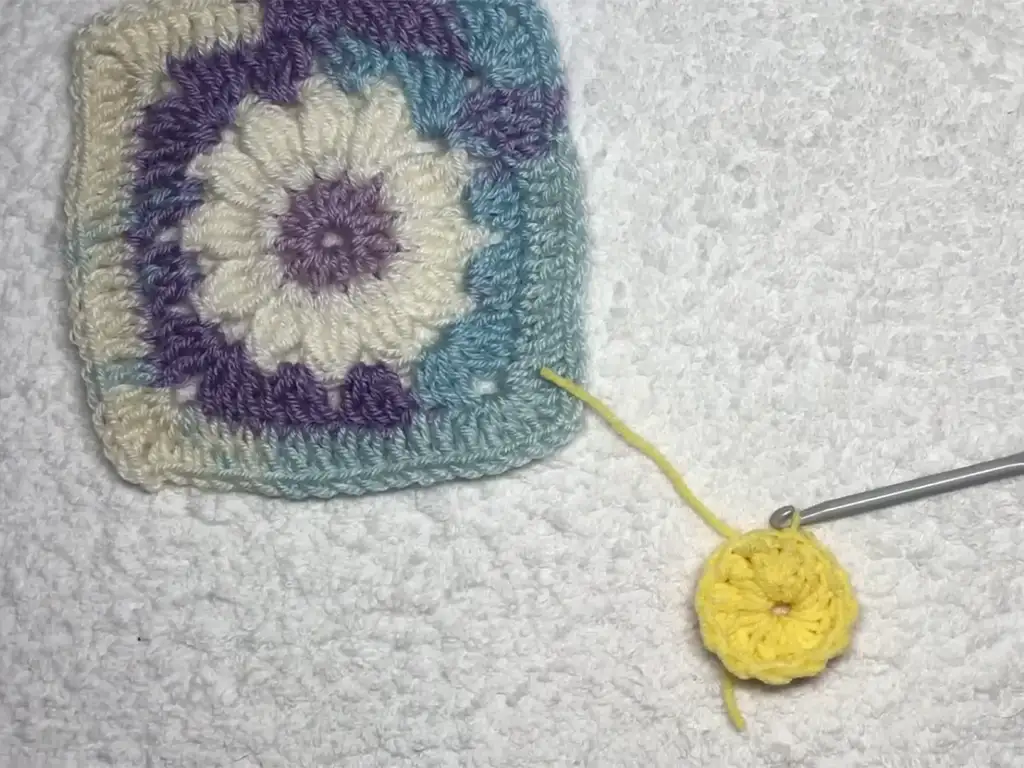
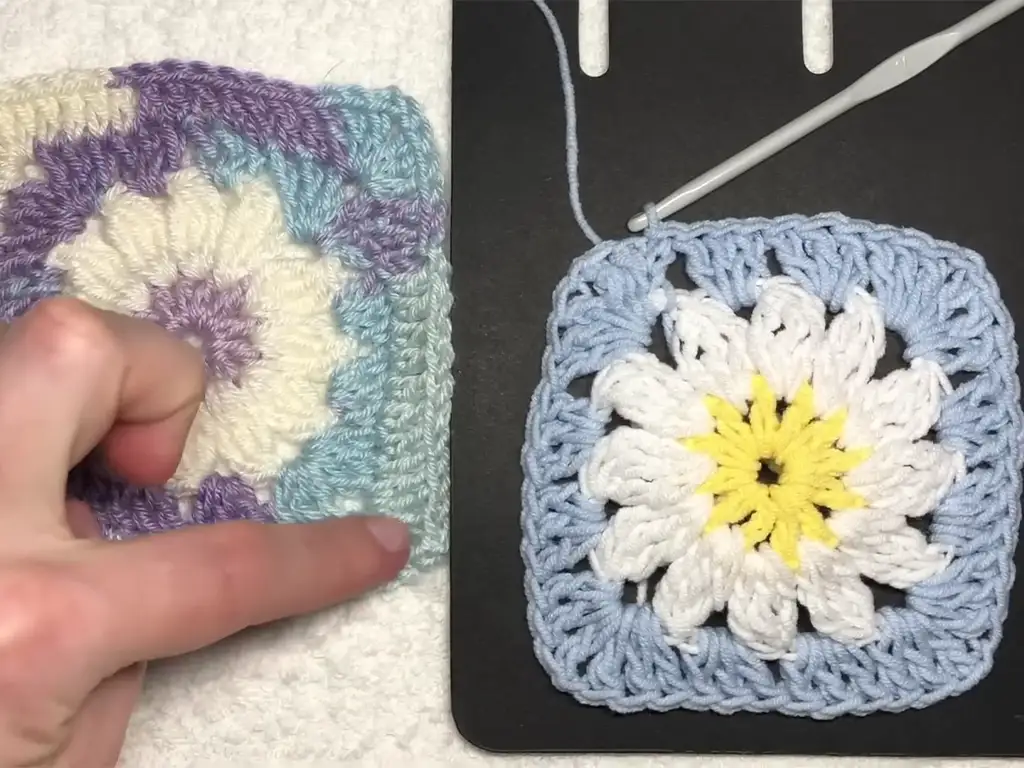
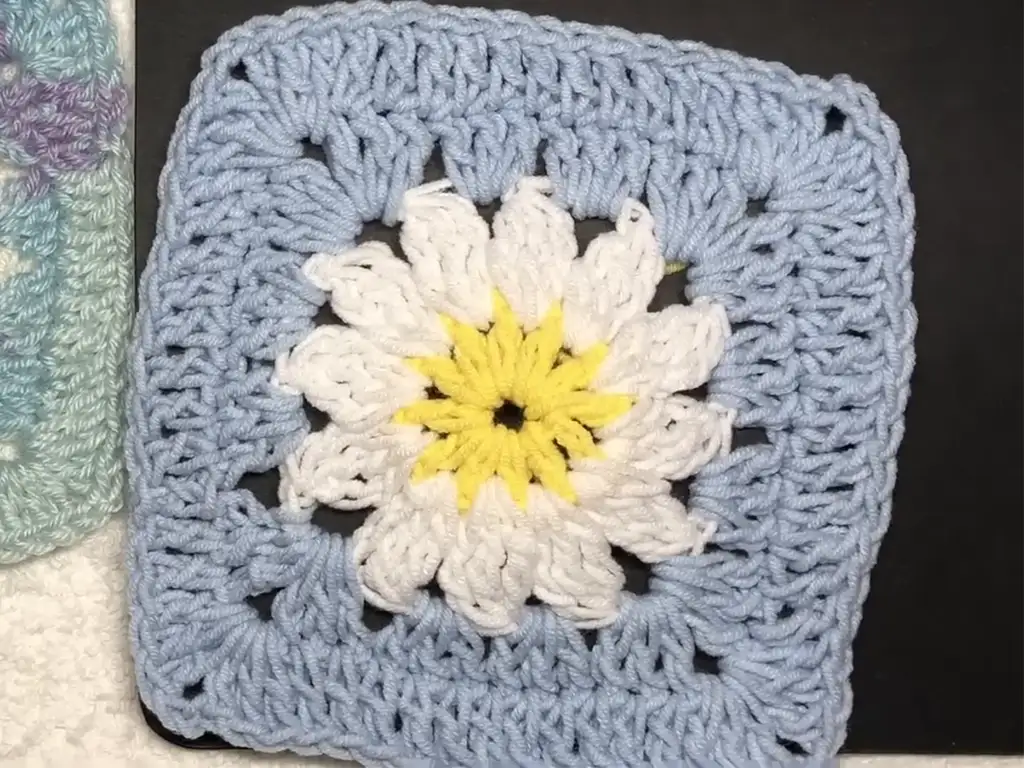
The heart of this cardigan is the humble granny square. Here’s the pattern:
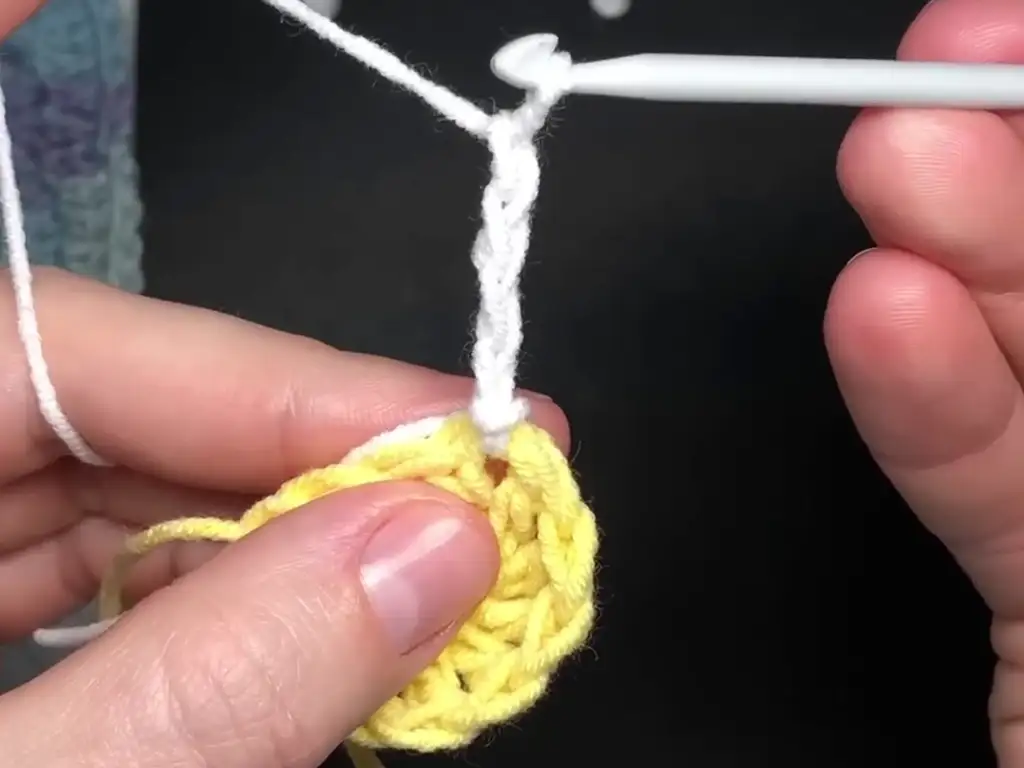
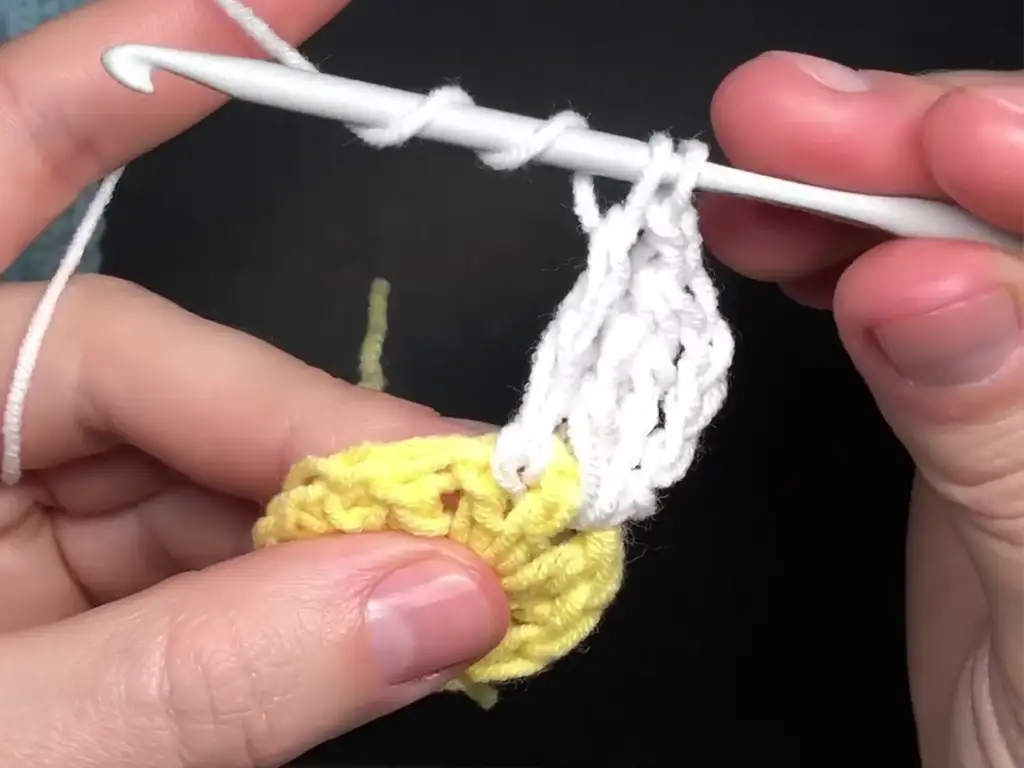
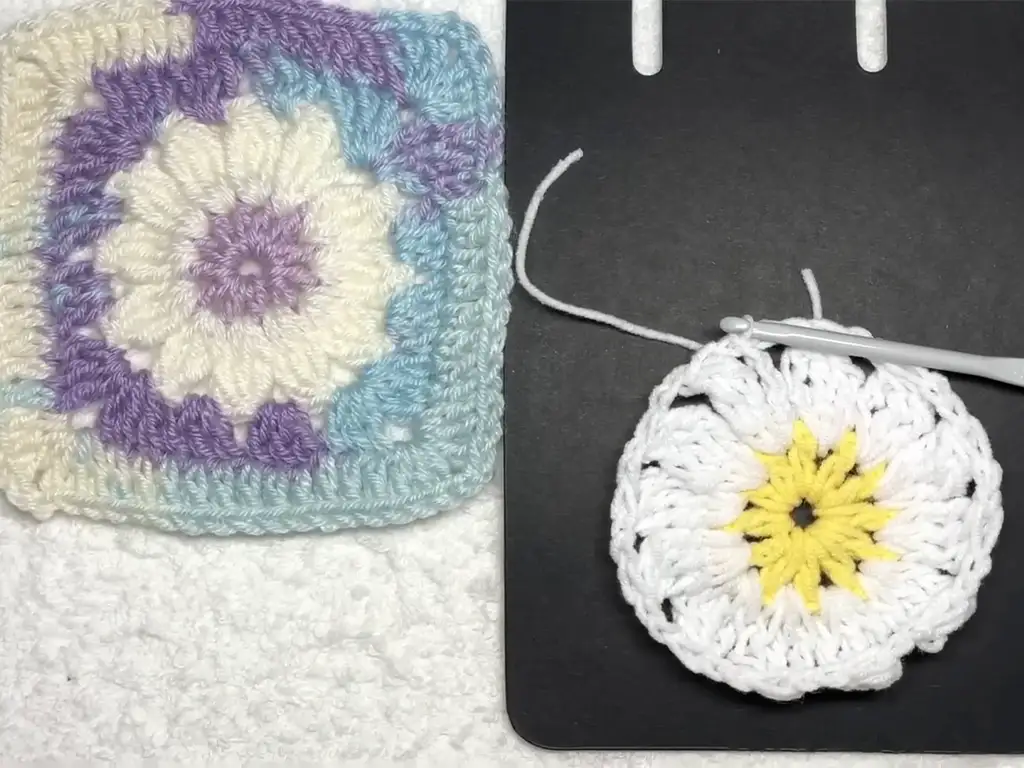
Granny Square (Make multiple squares – quantity depends on desired size):
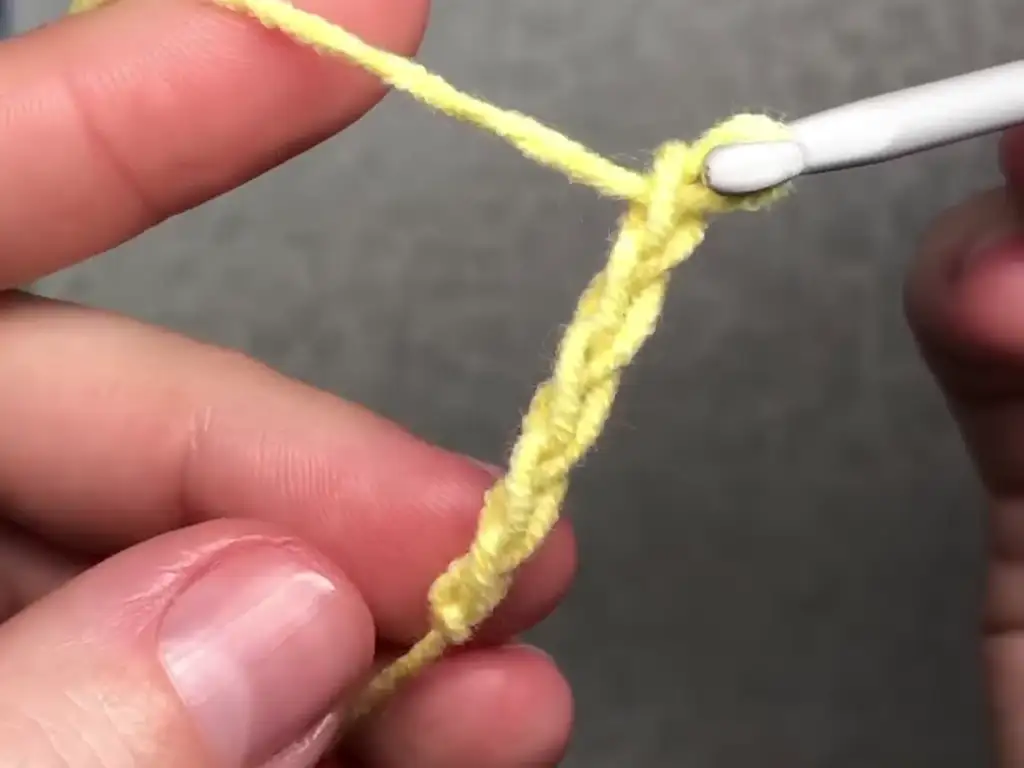
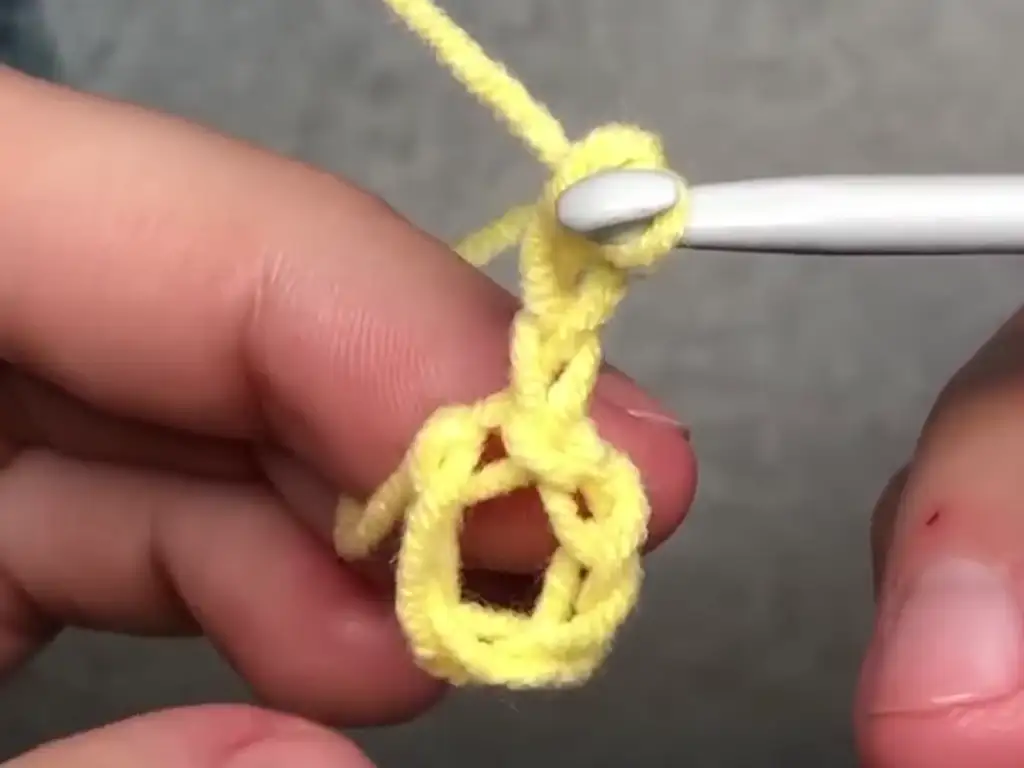
- Magic Ring: Follow a video tutorial to create an adjustable starting circle.
- Round 1: Ch 3 (counts as dc), 2 dc in ring, repeat [ch 2, 3 dc in ring] 3 times more. Ch 2, join with sl st to the 3rd ch from the beginning (to form a ring). (8 dc)
- Round 2: Sl st into the first ch-2 space. Ch 3, 2 dc, ch 1, 3 dc in the same ch-2 space (corner made). Ch 2, 3 dc in the next ch-2 space repeat 3 times more. Ch 2, join with sl st to the 3rd ch from the beginning. (16 dc)
- Rounds 3+: Repeat Round 2, increasing corner spaces by 2 dc in each corner ch-space as you go. You can continue growing your square until it reaches your desired size.
Assembly:
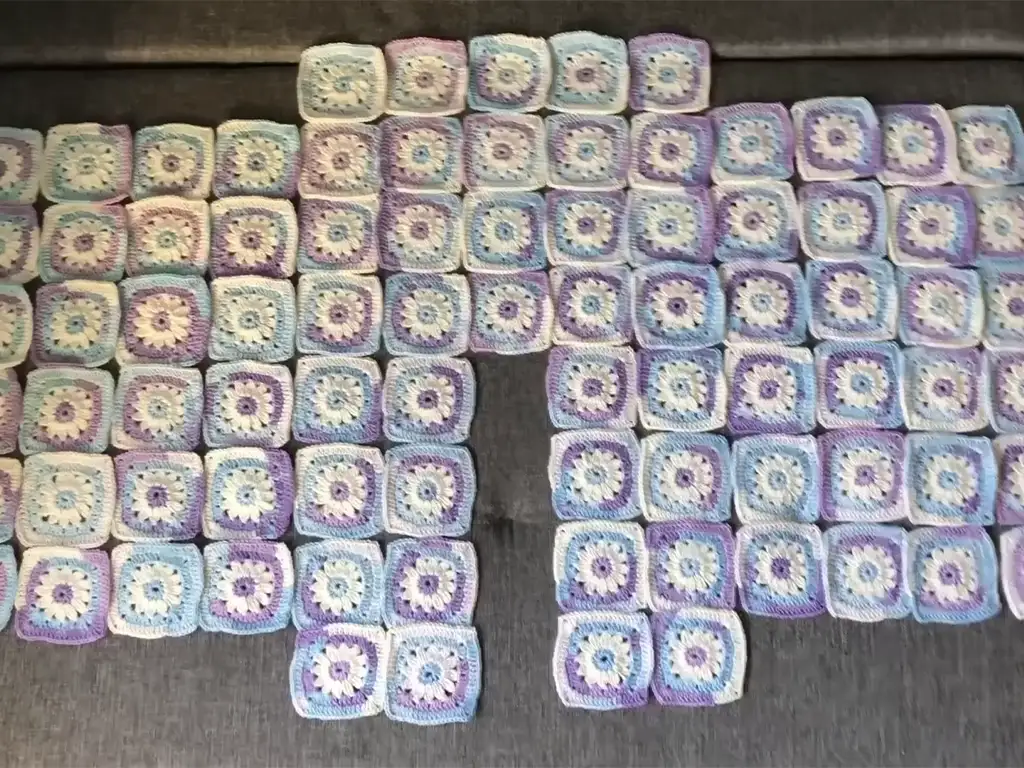
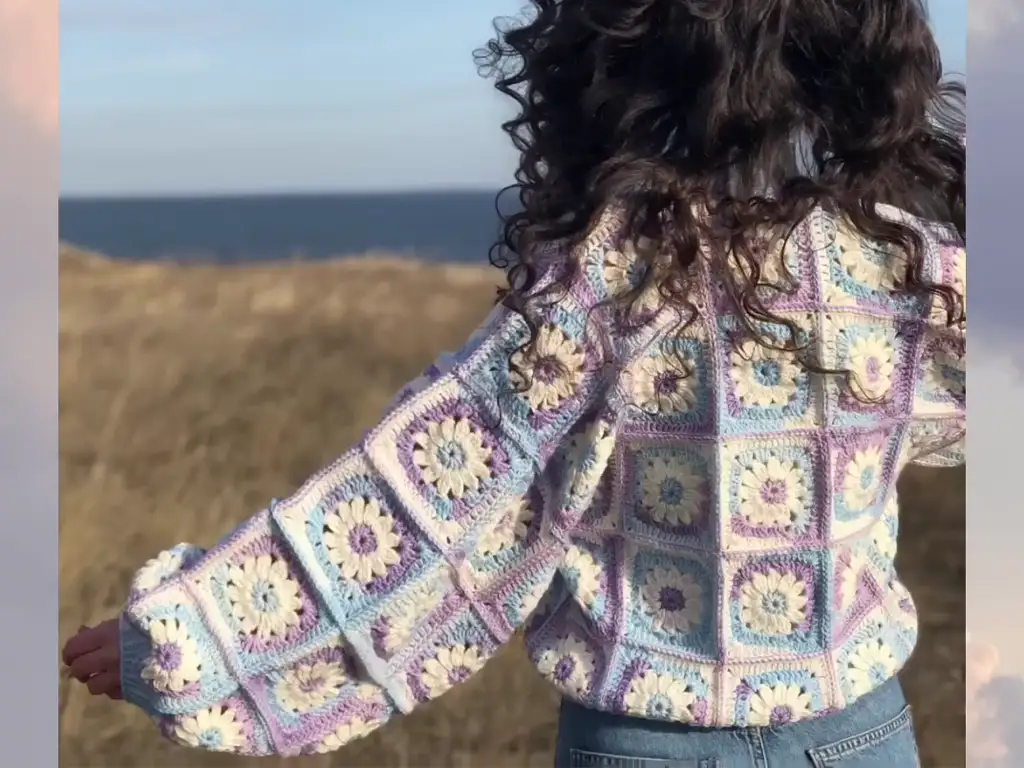
- Layout: Once you have enough squares, lay them out flat in your desired design for the cardigan back, sleeves, and fronts. You can arrange them in rows or create a diagonal pattern. Leave space for armholes by not connecting squares in those areas.
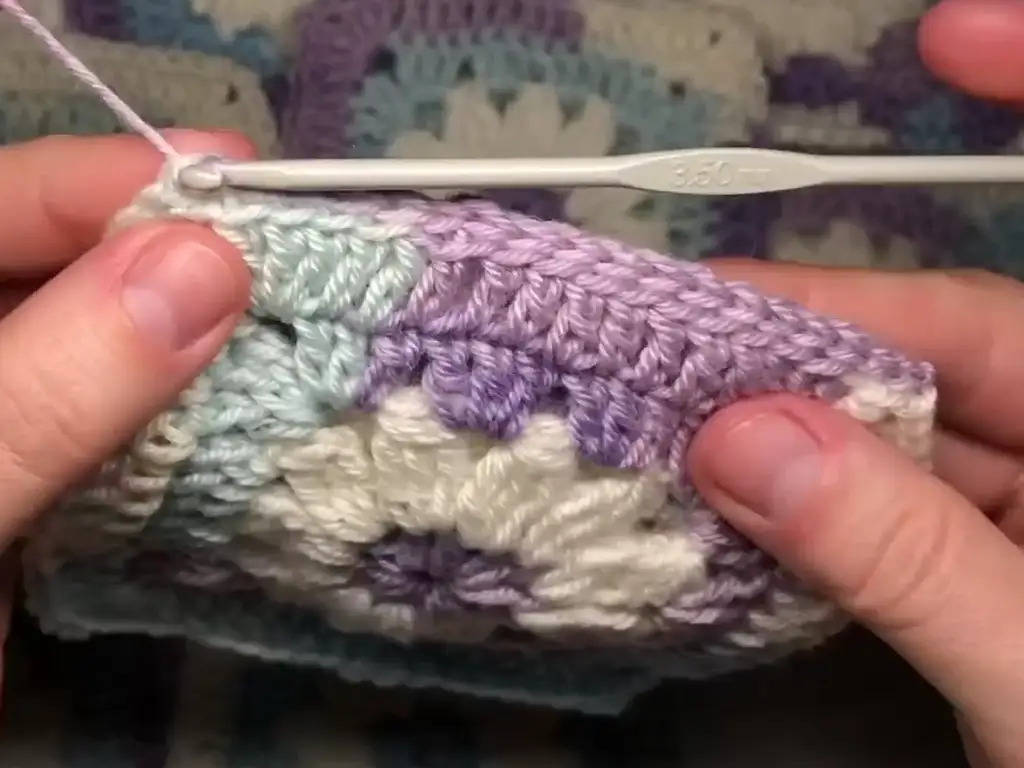
- Connecting Squares: Using the yarn and your crochet hook, sc through corresponding loops of adjacent squares to join them together.
Body:
- Back: Sew squares together to form the back panel.
- Sleeves: For each sleeve, sew squares together to create a long rectangle. Fold the rectangle in half lengthwise and sew the side seams closed, leaving the top open for the armhole.
- Fronts: Sew squares together for each front panel. You can leave the fronts open entirely for a cardigan style or crochet a button band if you prefer a closed front.
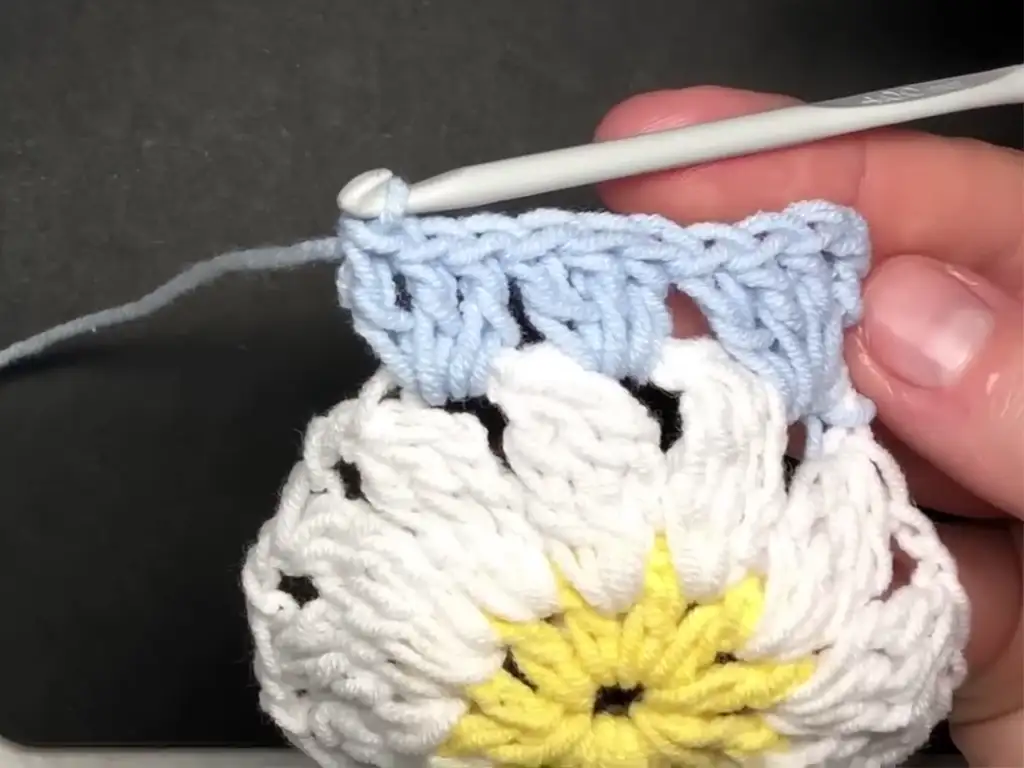
Shaping (Optional):
- Armholes: If you want a more defined armhole shape, after sewing the sleeve squares together, crochet a few rows of sc around the armhole opening, decreasing at the corners as needed to create a nice curve.
- Waist Shaping (Optional): You can add gentle shaping at the waist by skipping a few squares when sewing the bottom squares to the body squares.
Finishing Touches:
- Edging: Crochet a border around the entire cardigan using single crochet or explore other decorative edging stitches.
- Sleeves: Sew the sleeves to the armhole openings.
- Buttons and Buttonholes (Optional): If adding a button closure, sew buttons onto one front panel and create corresponding buttonholes on the other.
- Weave in Ends: Use your yarn needle to weave in all loose yarn ends for a polished look.
Congratulations! You’ve crocheted your very own granny square cardigan!
Your First Finished Project: Success Tips
- Practice makes perfect: Make a few practice squares to get the hang of the stitches.
- Count your stitches: This keeps your squares consistent in size.
- Block your squares: Briefly steaming or wetting and shaping your squares helps them lie flat.
Assembling Your Dream Cardigan
Once you have a bunch of granny squares, it’s time to piece them together! Lay out your design, then join squares with single crochet stitches. There’s so much room for creativity here – play with colors and arrangements!
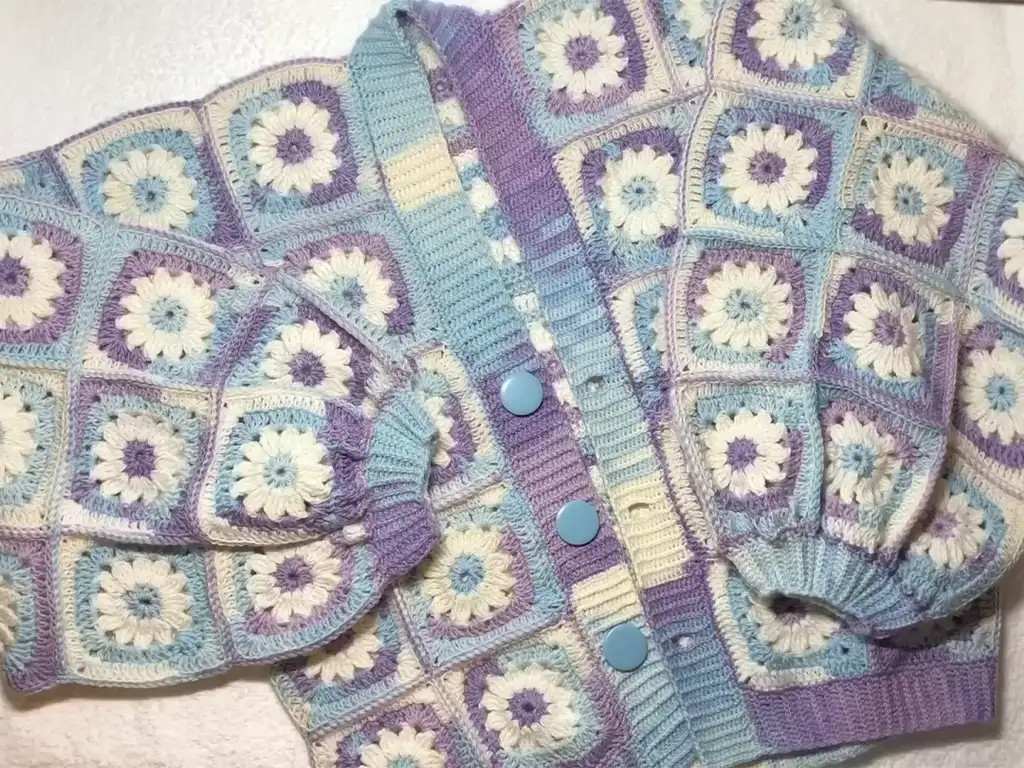
Adding the Finishing Touches
A simple border can elevate your cardigan. You can add rows of single crochet around the edges or explore fancier stitches. The possibilities are endless!
Styling Your Summer Crochet Cardigan
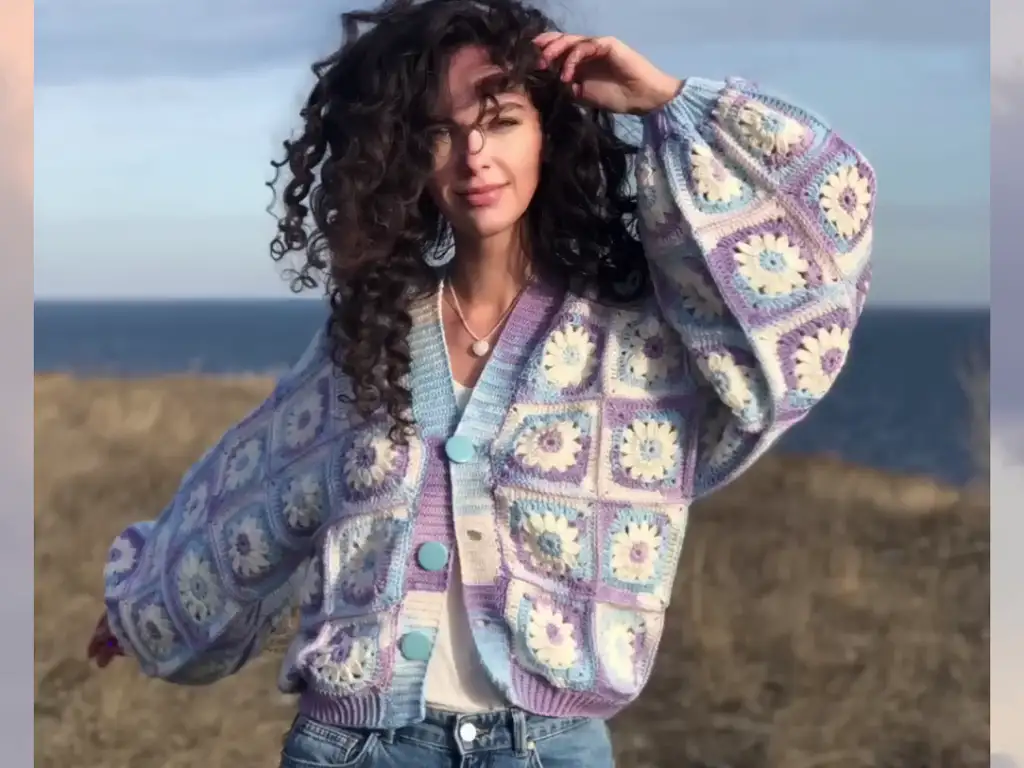
This versatile piece works with jeans and a tee for a casual vibe or over a flowy dress for a touch of boho charm. Get creative – your granny square cardigan is a reflection of your unique style!
Thank you!
Thank you to the amazing crocheter @k_lub_ok for sharing this fantastic design with us. If you need further guidance, check out her Youtube video (https://www.youtube.com/watch?v=8vw9BeKYpeg) for detailed instructions. And don’t forget to follow her work on Instagram (@tubacrochet_) and TikTok (@tubacrochet). Let’s see what you create!
Other Crochet Projects You’ll Love
If you enjoyed crocheting this jumper, here are a few more ideas to explore:
Conclusion Crocheting your first granny square cardigan is an incredibly rewarding experience. Remember, take your time, have fun with it, and don’t be afraid to experiment with colors and textures! Feel free to leave a comment below if you have any questions or want to share your finished projects – let’s build a supportive crochet community!

