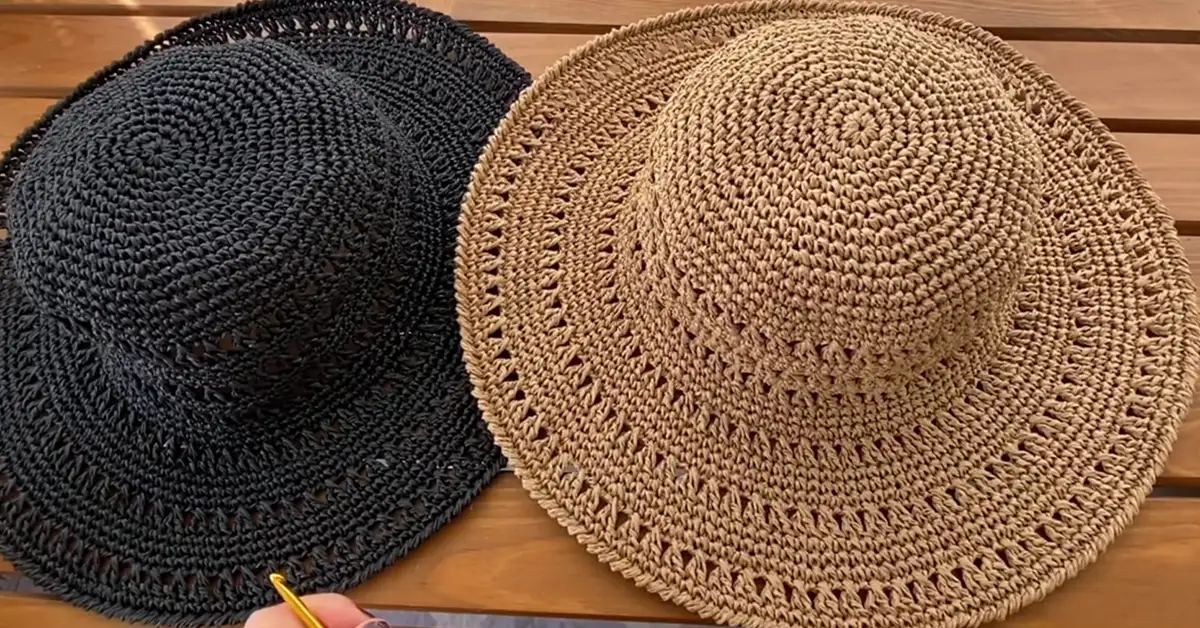
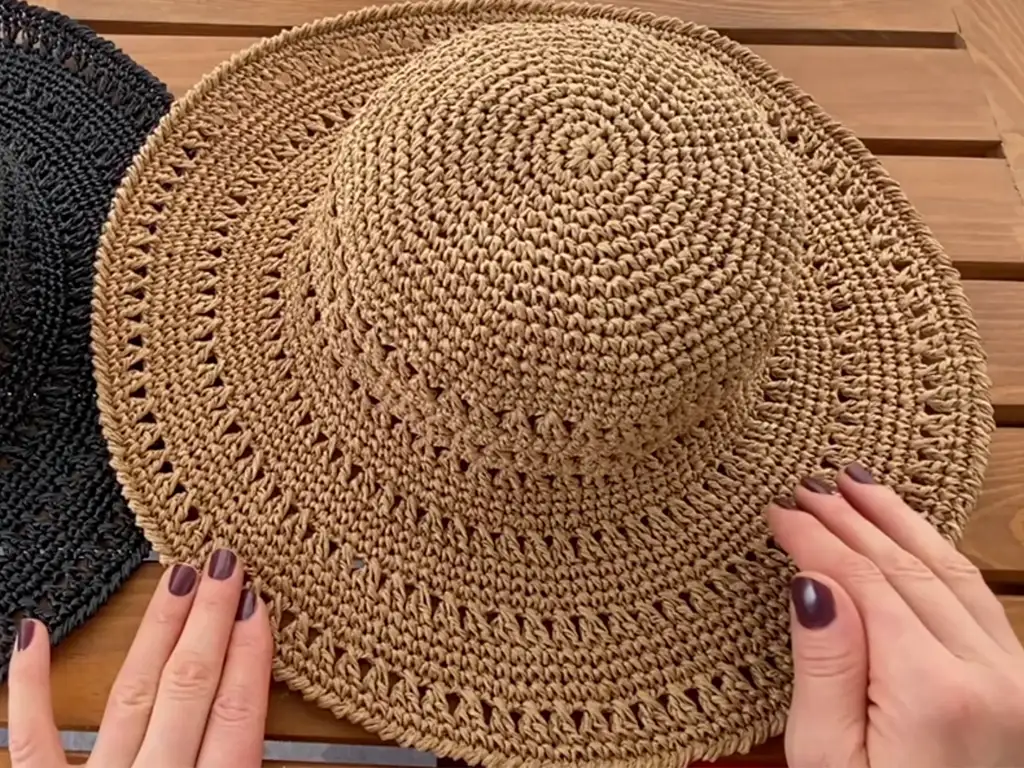
Are you dreaming of sunny days at the beach or strolling through a charming market under a clear blue sky? A handmade crochet hat is the perfect accessory to shield you from the sun’s rays in style. This easy crochet hat pattern is designed with beginners in mind, using basic stitches and a straightforward construction. You’ll have a chic and functional summer hat ready in no time! Let’s dive into this free crochet hat pattern and create a unique accessory for your summer wardrobe.
Crochet Hat Essentials: Materials & Tools You’ll Need
Before we start stitching, let’s gather our supplies:
Paper Yarn: Choose a paper yarn that’s not too thin or too thick. Your choice will influence the final look of your crochet hat. Thinner yarns create a more delicate fabric, while thicker yarns result in a sturdier hat.
Crochet Hook: For most paper yarns, a 4mm hook is a good starting point. If your yarn is on the thinner side, you might want to use a 3.5mm hook. Remember, hook size can also be adjusted based on your personal tension and desired outcome.
Scissors
Tapestry Needle: For weaving in ends and potentially sewing on embellishments.
Optional:
- Steamer or Iron: To help shape the brim of your crochet hat.
- Stitch Markers: To help keep track of your rounds.
Crochet Hat Basics: Stitches & Techniques for Beginners
This crochet hat pattern uses simple stitches and techniques that are perfect for beginners:
Magic Ring (MR): This creates the starting point for our circular crochet hat.
Single Crochet (sc): The main stitch used for the body of the hat.
Increase (inc): We’ll use increases to shape the base of our hat.
Double Crochet (dc): Used for increasing in specific patterns.
Slip Stitch (sl st): Used to join rounds and create a neat finish.
Chain Stitch (ch): Used for height and turning at the end of rounds.
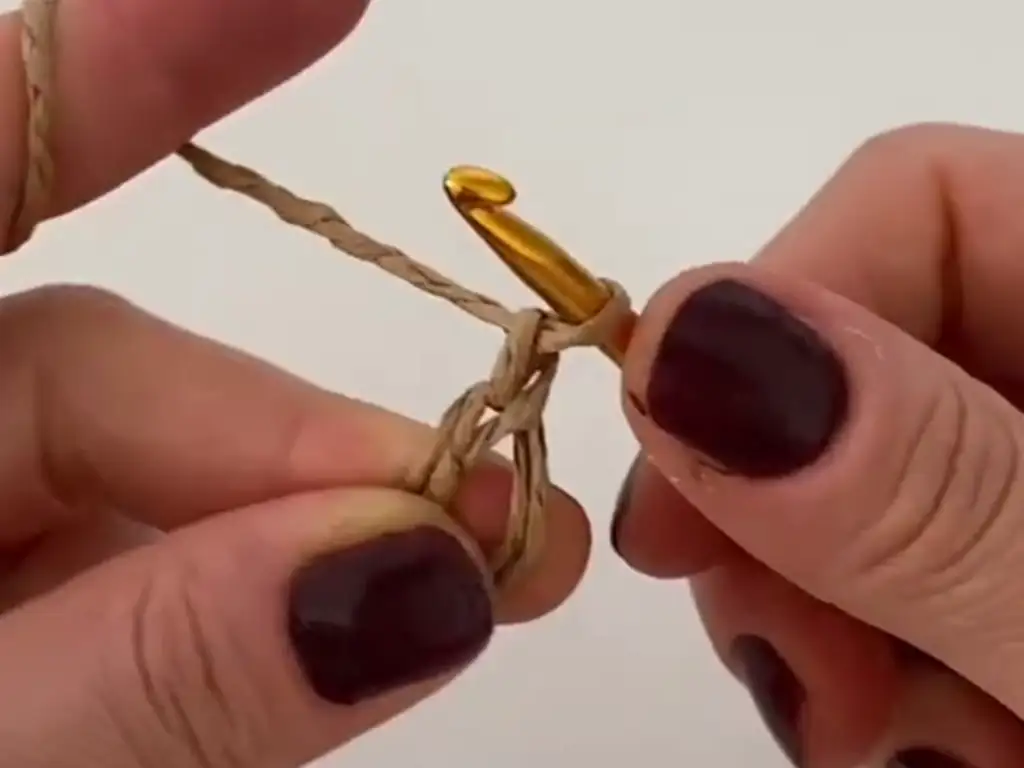
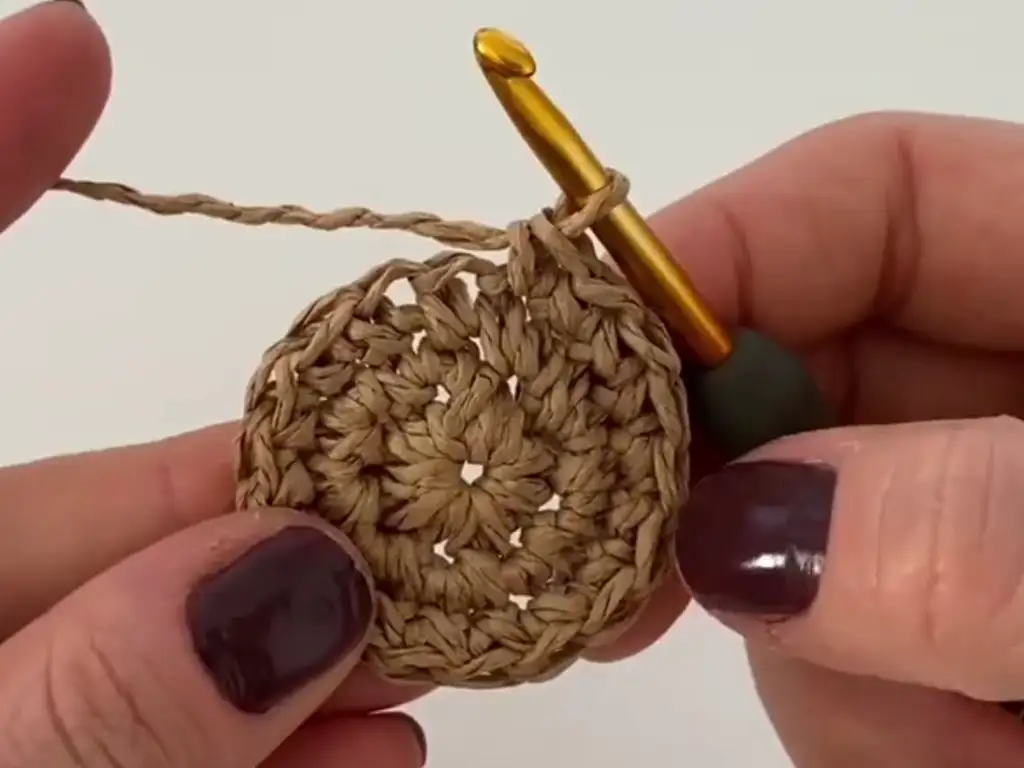
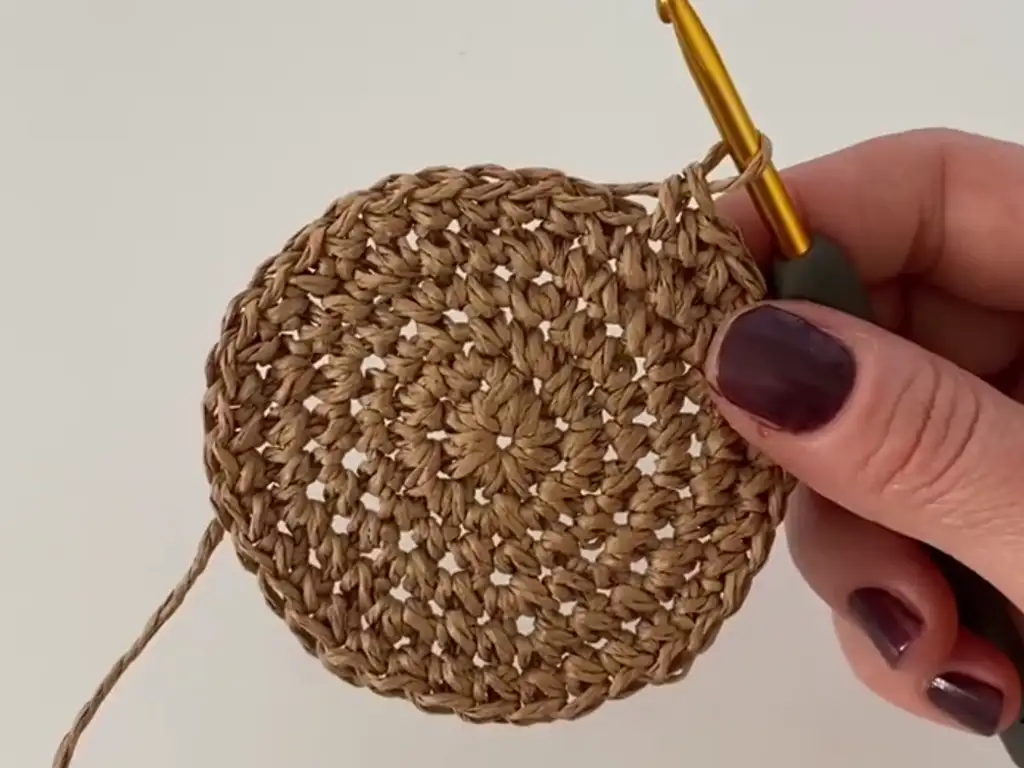
Crochet Hat Pattern: Step-by-Step Instructions for a Simple Design
Now that we have our materials and know our stitches, let’s get started on our crochet hat:
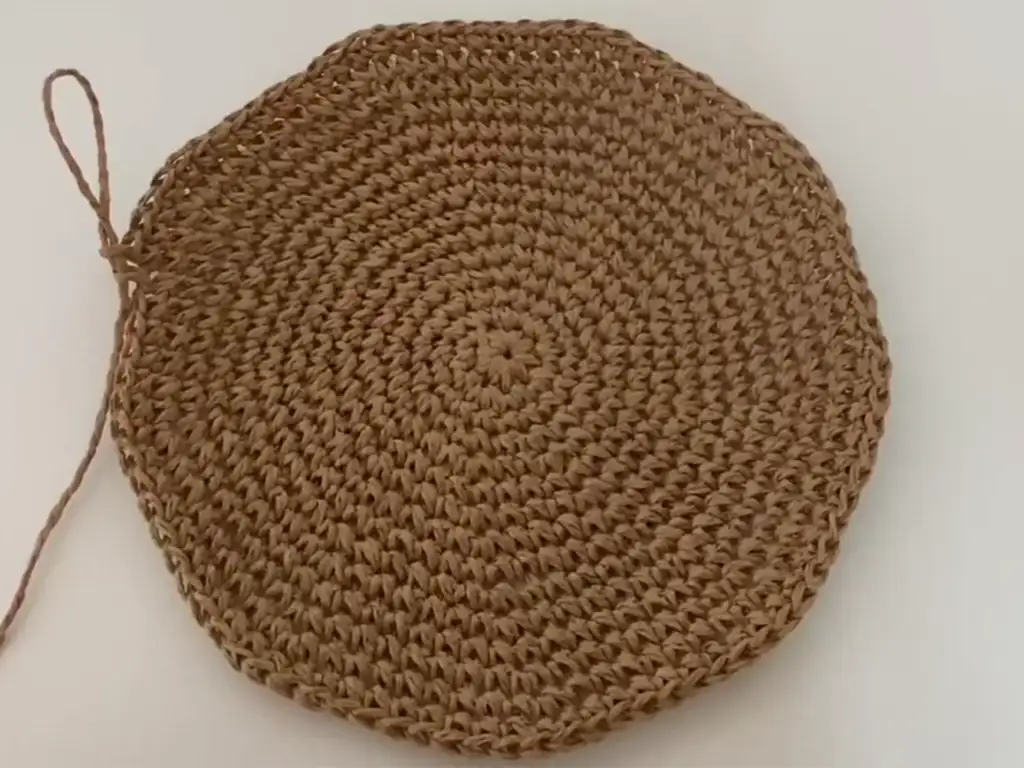
- Magic Ring: Create a magic ring and work 9 single crochets (sc) into it.
- Round 1: 2 sc in each stitch around (18 sc total).
- Rounds 2-3: Sc in each stitch around.
- Round 4: 1 sc, 1 dc in the same stitch, repeat around (27 sc total).
- Round 5: 2 sc, 1 dc in the same stitch, repeat around (36 sc total).
- Rounds 6-7: Sc in each stitch around.
Continue this pattern of alternating between increase rounds and regular single crochet rounds. The exact number of rounds will depend on your desired hat size. Here’s the general idea:
- Round 8: 1 sc, 1 dc in the same stitch, repeat around.
- Rounds 9-10: Sc in each stitch around.
- Round 11: 2 sc, 1 dc in the same stitch, repeat around.
- Rounds 12-13: Sc in each stitch around.
Keep increasing in this pattern until you reach your desired hat base circumference. Remember to maintain an even number of stitches in each round to ensure a symmetrical design.
Building the Brim for Sun Protection
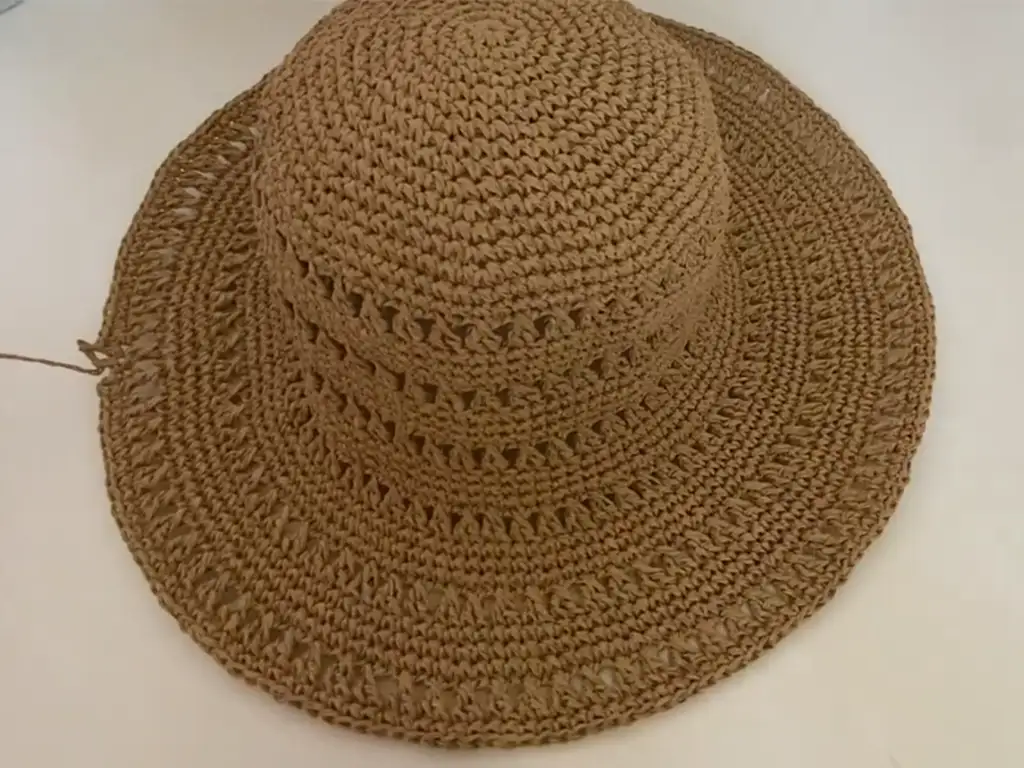
Once you’ve reached your desired hat base circumference, it’s time to create the brim. This is where your crochet beach hat will start taking shape!
- Brim Round 1: Work a single crochet (sc) into each stitch around.
- Brim Round 2: 8 sc, inc (increase by working 2 sc in the same stitch), repeat around.
- Brim Rounds 3-4: Sc in each stitch around.
Continue working this pattern (2 regular rounds followed by an increase round) until you reach your desired brim width.
Crochet Hat for Beginners: Easy-to-Follow Steps
If you’re a beginner, don’t be discouraged if you encounter any challenges. Crochet takes practice, and it’s perfectly normal to make mistakes along the way. Here are some additional tips to help you on your crochet hat journey:
Tension: Keep your tension consistent throughout the project. This will help ensure an even and polished look.
Counting Stitches: It’s crucial to count your stitches in each round to maintain the pattern and achieve the correct size.
Don’t be afraid to frog: If you make a mistake, don’t worry! “Frogging” (ripping out stitches) is a common part of crochet. Simply pull out the incorrect stitches and start again.
Crochet Hat Customization: Add Your Personal Touch
Now that you’ve completed the basic crochet hat pattern, it’s time to make it your own! Here are some ideas for personalizing your crochet summer hat:
- Embellishments: Add beads, buttons, or other decorations to your hat.
- Color Changes: Switch yarn colors to create stripes, a color-blocked design, or even a gradient effect.
- Stitches: Experiment with different stitches to add texture and interest.
Tips to Keep Your Summer Accessory Looking Fabulous
To keep your crochet hat looking its best, follow these care tips:
- Hand Wash: Gently hand wash your hat in cool water with a mild detergent.
- Air Dry: Lay your hat flat to dry to help it maintain its shape.
- Reshape: If your hat loses its shape, you can use a steamer or iron to gently reshape it.
Inspiration from @YumakTerapim
This free crochet hat pattern was inspired by the talented creator @YumakTerapim on YouTube. Be sure to check out her video tutorial for visual guidance and additional tips: (https://www.youtube.com/watch?v=tYEnX80RAks).
Share Your Creations!
We can’t wait to see your beautiful crochet hats! Tag us on Instagram @tubacrochet_ and TikTok @tubacrochet to share your creations and inspire others.
Other Crochet Projects You’ll Love
- Crochet Market Bag: A stylish and eco-friendly way to carry your groceries.
- Crochet Summer Top: Create a lightweight and airy top for warm weather.
- Crochet Beach Bag: Perfect for carrying all your essentials for a day at the beach.
With a little patience and practice, you’ll be crocheting beautiful summer hats in no time. This simple crochet hat pattern is a great starting point for beginners, and the possibilities for customization are endless. So grab your hook and yarn, and let’s get creative!

