
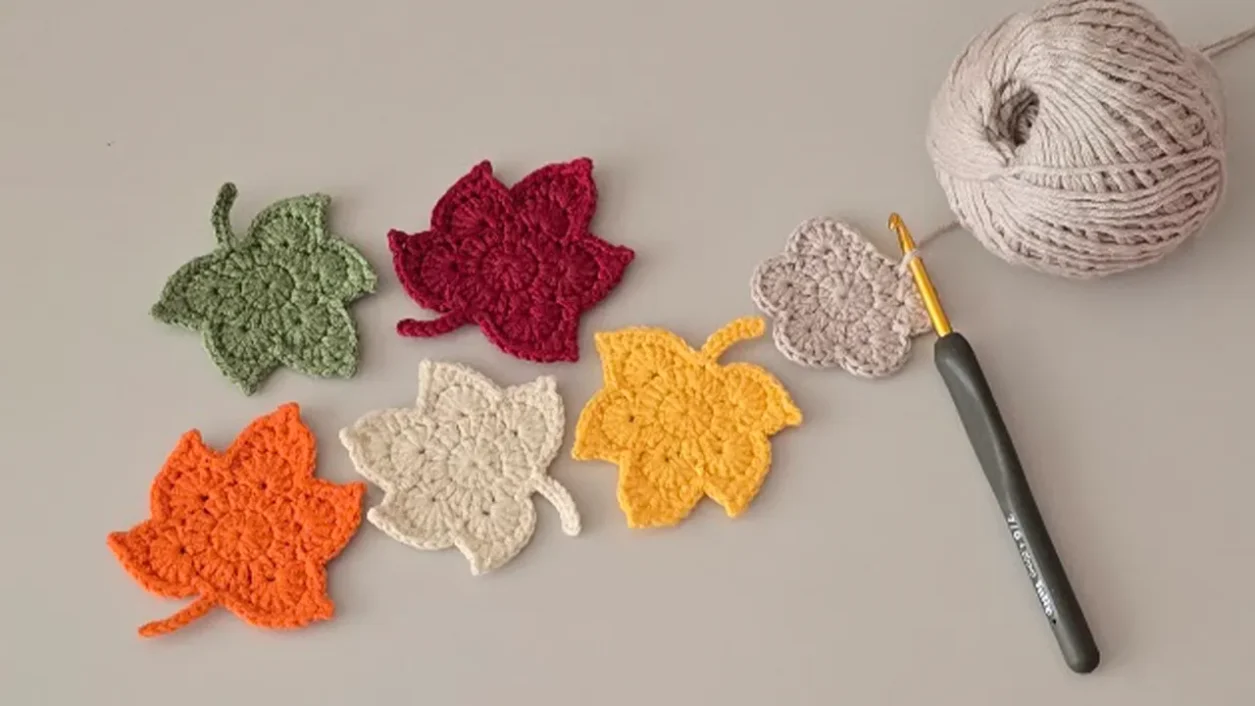
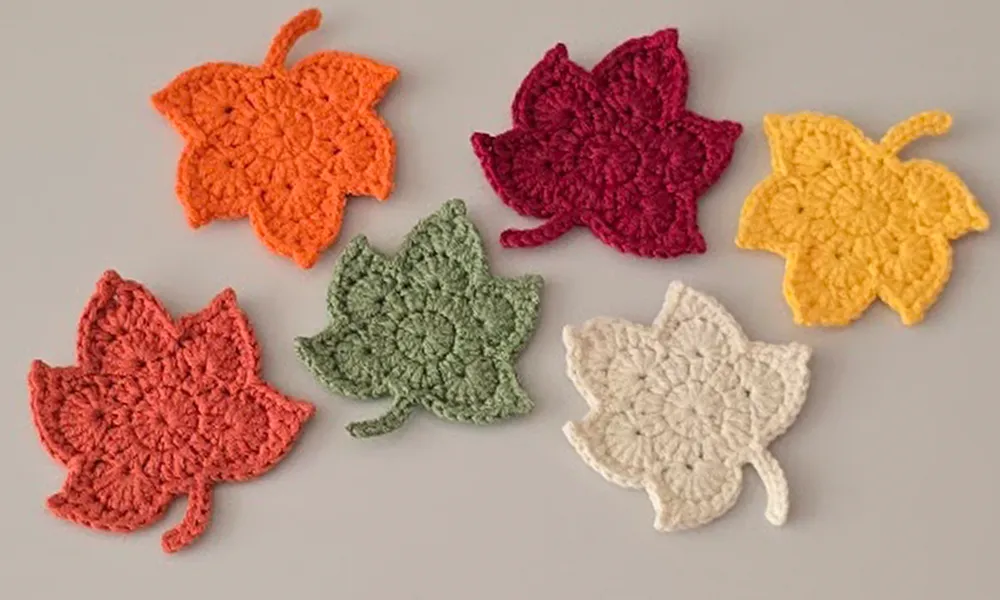
If you’re looking for a quick and fun fall crochet project, this crochet maple leaf pattern is perfect. It’s beginner-friendly, works up fast, and adds a cozy autumn vibe to any space. You can use these crochet leaves for:
- Fall home décor (garlands, table settings, wreaths)
- Halloween or Thanksgiving decorations
- Adding to scarves, sweaters, or hats
- Cute appliqués for bags or blankets
This guide will walk you through everything step by step, with a free PDF pattern and a full video tutorial to follow along.
Download the FREE Crochet Maple Leaf PDF
Watch the Video Tutorial on YouTube
Materials You’ll Need
Before we start, gather your supplies:
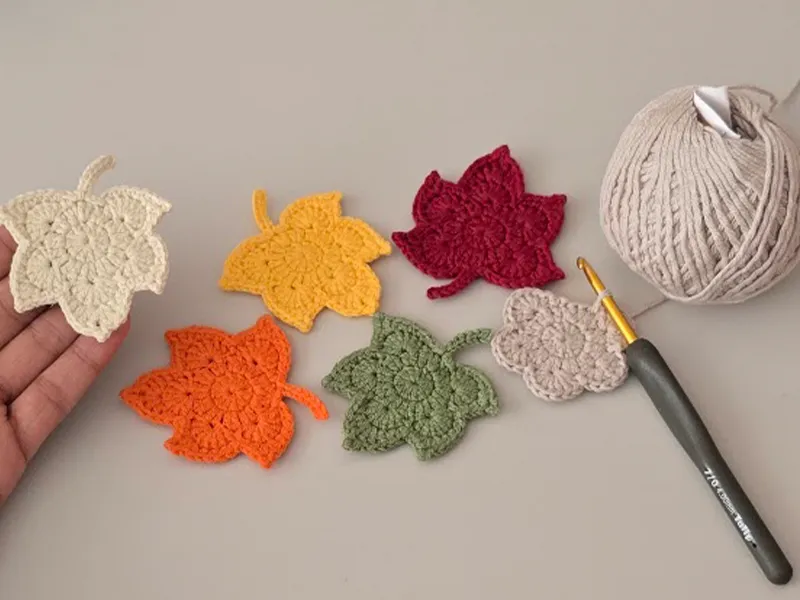
- Yarn: Medium-weight cotton or acrylic in autumn shades (red, yellow, orange, brown, or green)
- Hook: 2.20 mm (you can also use 2.5 mm or 2.75 mm depending on tension)
- Tapestry needle – for weaving ends
- Scissors
Abbreviations (US Crochet Terms)
- ch = chain
- sl st = slip stitch
- sc = single crochet
- hdc = half double crochet
- dc = double crochet
- tr = treble crochet
Crochet Maple Leaf Pattern (Step by Step)
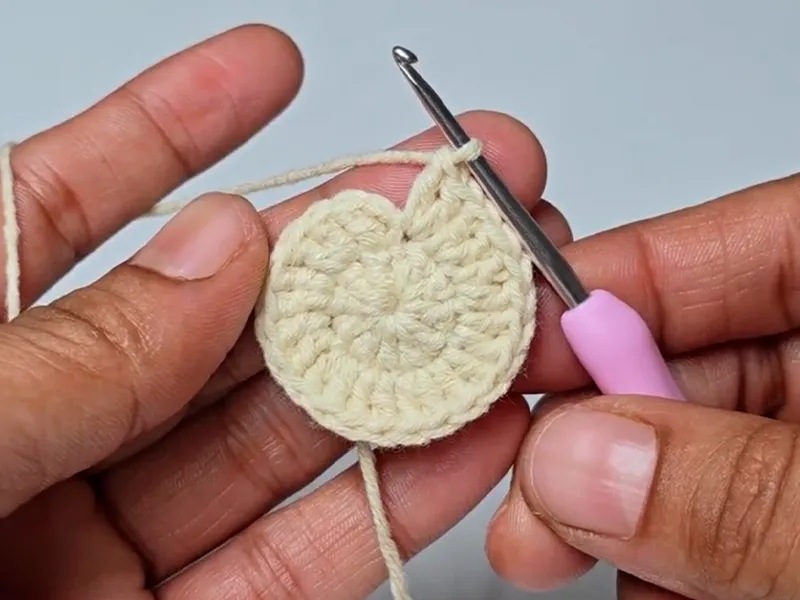
Round 1 – Center Ring
- Begin with a magic ring.
- Ch 2 (counts as first dc).
- Work 11 dc into the ring (12 dc total).
- Pull the yarn tail to close tightly.
- Join with a sl st to the top of the first ch-2.
Rnd 2 – Expanding the Base
- Ch 2, dc in the same stitch.
- Work 2 dc in each stitch around (24 dc total).
- Join with a sl st to finish.
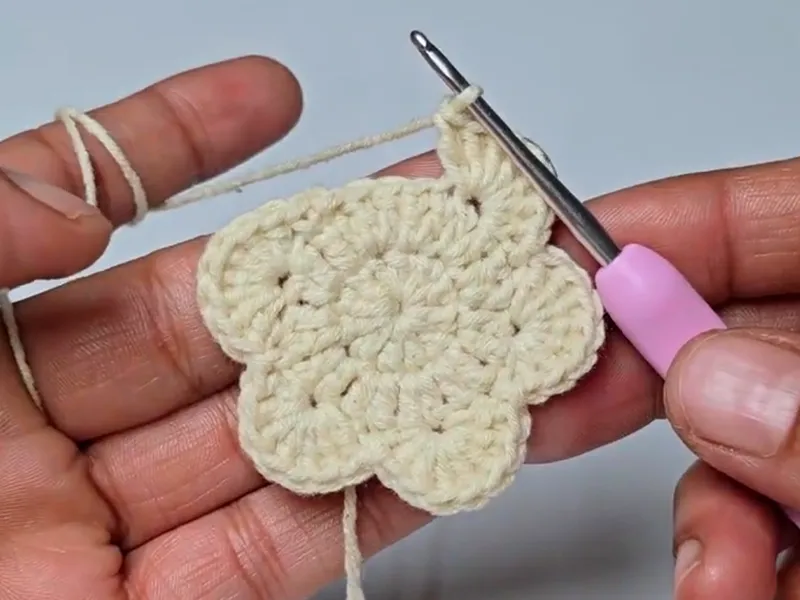
Round 3 – Leaf Bumps
- Ch 1, sc in the same stitch.
- Skip 1 stitch, work 7 dc in next stitch.
- Skip 1 stitch, sl st in next.
- Repeat this sequence to form 5 bumps (the leaf points).
Stem
- After the last group, ch 8.
- From the 3rd chain from the hook, make 6 sl st back down the chain.
- Join with a sl st at the base.
Shaping the Maple Leaf Points
On each bump (7 dc group), work across as follows:
- sc, hdc, dc, tr, ch 3, sl st into tr (forms the tip),
- then tr, dc, hdc, sc down the other side.
Repeat for all 5 points.
Finishing Touches
- Sl st into the starting point.
- Ch 1, cut yarn, and weave in ends.
- Don’t forget to hide the magic ring tail.
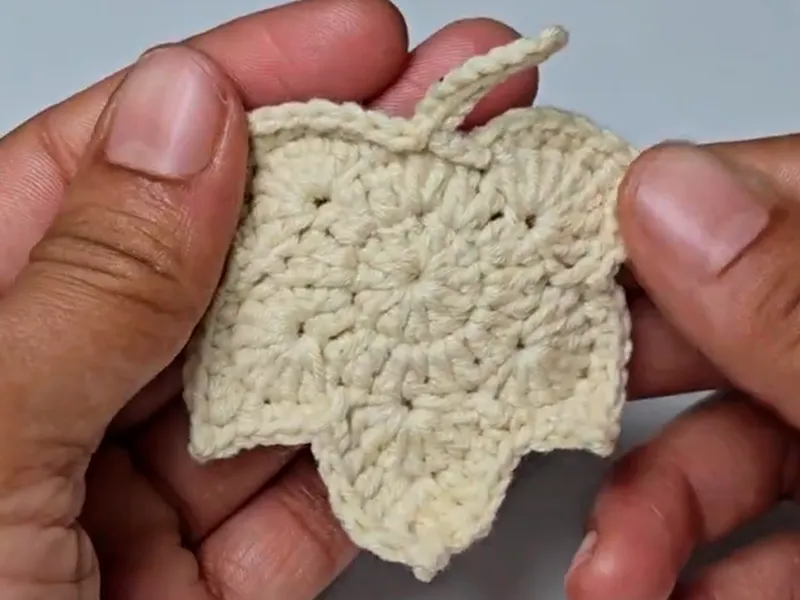
And your crochet maple leaf is complete!
Tips & Ideas for Your Crochet Maple Leaf
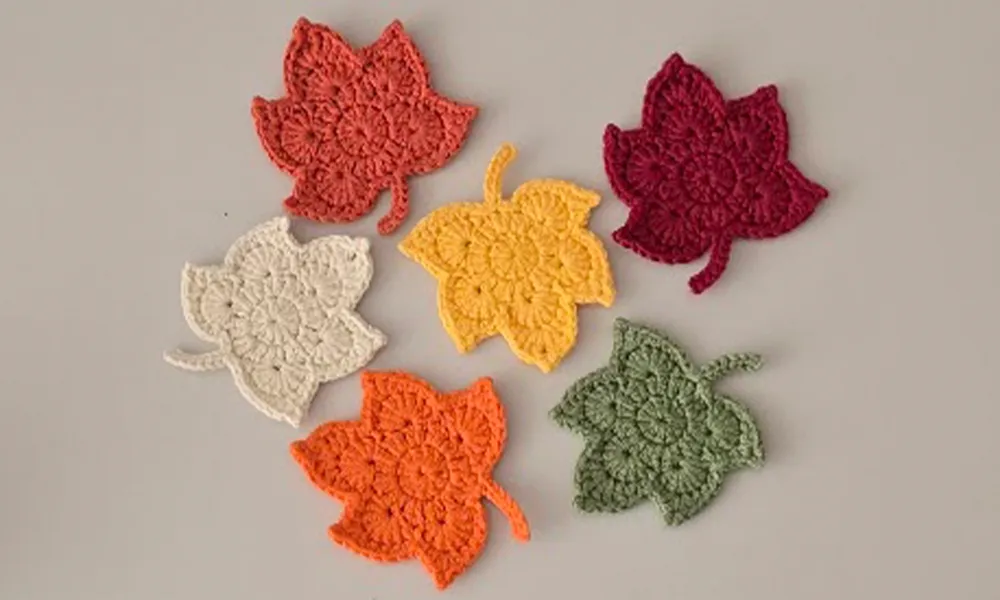
- Make them in different autumn shades for a realistic leaf garland.
- Use thinner yarn and smaller hook for mini leaves.
- Block your leaves with a bit of steam to help them lay flat.
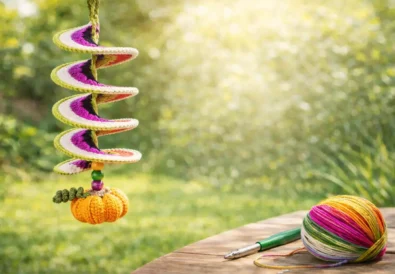
- Pair with other fall crochet projects like pumpkins and acorns for seasonal décor.
Frequently Asked Questions (FAQ) About Crochet Maple Leaf
1. What yarn is best for crocheting a maple leaf?
Cotton or acrylic medium-weight yarn works best for a crochet maple leaf. They hold the shape nicely and come in perfect autumn colors.
2. Can beginners crochet a maple leaf?
Yes! This crochet maple leaf pattern is beginner-friendly. With simple stitches like single crochet, double crochet, and treble crochet, anyone can follow along.
3. How long does it take to make one crochet maple leaf?
It usually takes 15–20 minutes depending on your speed. You can make several in one sitting to use for fall décor projects.
4. What can I do with crochet maple leaves?
They are great for garlands, table decorations, appliqués on clothes, bags, blankets, or even bookmarks. They also make unique fall gifts.
5. Do you have a free PDF or video tutorial for this pattern?
Yes! You can download the free PDF here and watch the full video tutorial on YouTube.
Free Resources
Follow more patterns on:
- YouTube → @CrochetCraftsmann
- Instagram → craftsman_crochet
- Facebook → Crochet Craftsman
You May Also Like
More free crochet patterns:
- Crochet Pumpkin Keychain
- Crochet Pumpkin Coaster
- Crochet Sunflower Keychain
- Easy Crochet Chicken Keychain
- Crochet Witch Hat


Your written instructions omit the 3 slip stiches before the chain 8 on the stem, and the 2 slip stiches following the stem.
Great catch—thank you!
The pictures show points on the tips of bumps but the written pattern has no instructions for the points so did I miss something?
That’s such a great observation! The pointed tips you see in the photos are created in the ‘Shaping the Leaf Points’ section of the written pattern.
That part includes the step “tr, ch 3, sl st in top of tr” — which forms the little peaks on each bump.
So you didn’t miss anything! ✨ It’s already there — just written under the shaping section near the end of the pattern.