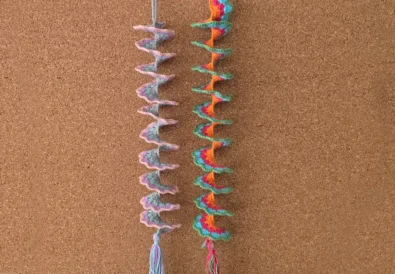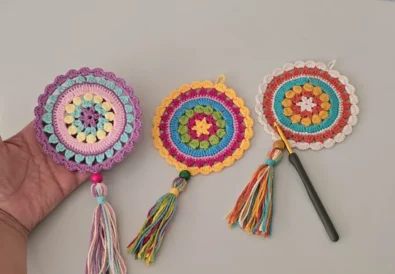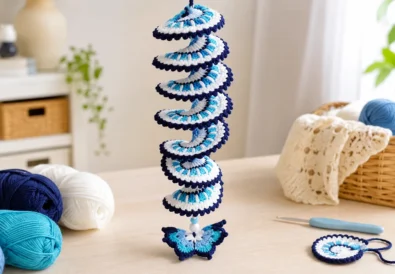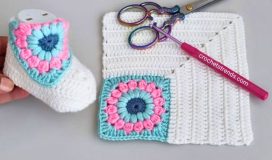

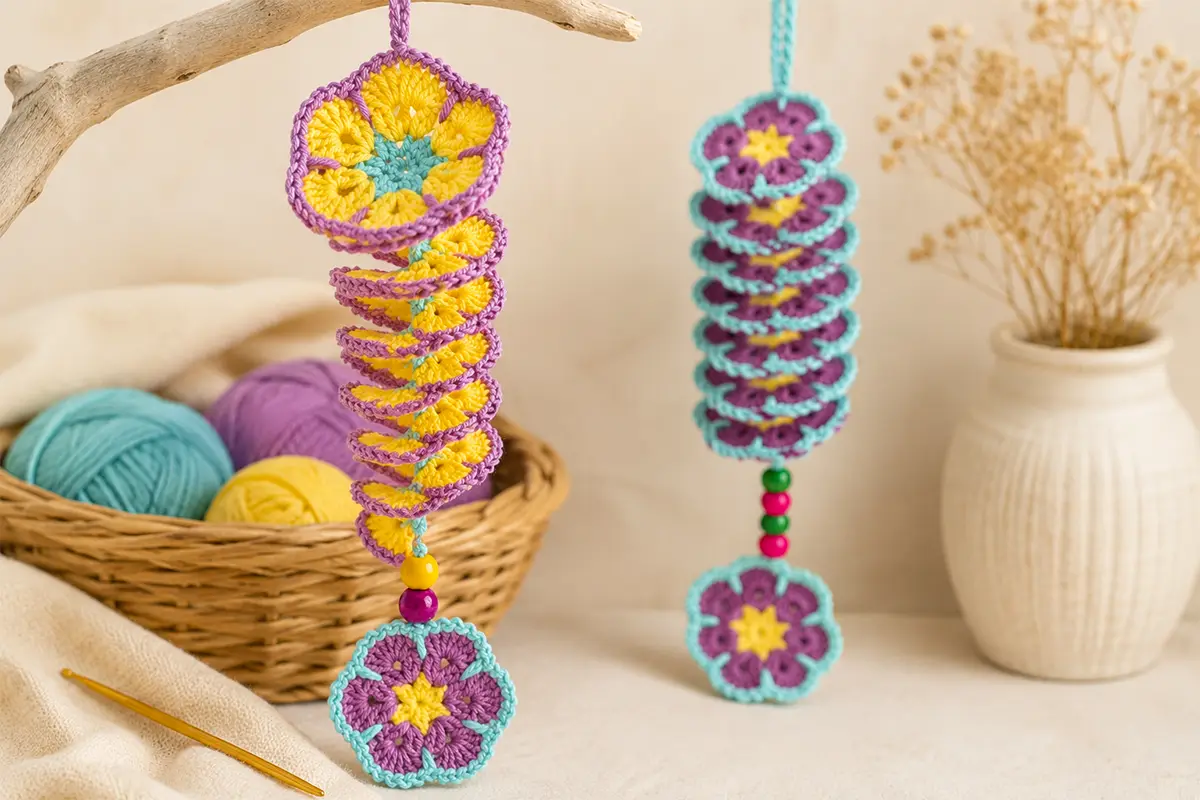
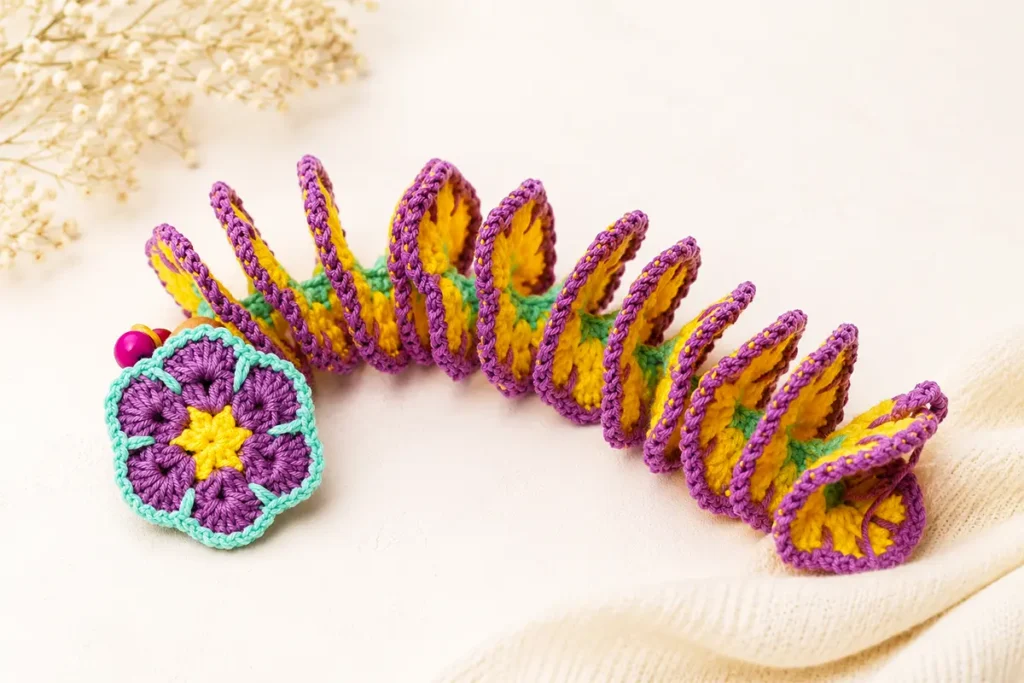
If you love colorful crochet home decor, this easy crochet wind spinner is such a fun project to make. It starts with simple rows, but as you add more stitches, the piece begins to curl into a beautiful 3D crochet spiral almost by itself.
That is the little magic of this project.
At first, it looks like a simple crochet strip. But once you reach the shell row, the shape starts twisting naturally, and suddenly you have a pretty spiral decoration you can hang in a window, on a balcony, in a garden corner, or in your craft room.
It looks much more detailed than it really is, which is always my favorite kind of crochet project.
This pattern is beginner-friendly, colorful, and a lovely way to use small amounts of leftover yarn. If you enjoy scrap yarn crochet projects, this one is a perfect little stash-buster.
You can watch the full video tutorial here: Video Tutorial.
You can also download the printable written pattern here: PDF Written Pattern.
Watch the Full Crochet Wind Spinner Tutorial
If you prefer to follow along visually, you can watch the full step-by-step video tutorial here:
The video shows exactly how the simple rows turn into a 3D spiral, how to make the textured edge, how to crochet the flower motif, and how to finish the bottom with beads.
You can also subscribe to my YouTube channel for more beginner-friendly crochet tutorials.
Why You’ll Love This Crochet Wind Spinner
This crochet wind spinner is simple to make, but the finished result feels bright, playful, and special.
You do not need any advanced shaping technique. The spiral forms because of the way the stitches are added into each space. That means you can follow the rows step by step and let the crochet do most of the shaping for you.
You’ll love this project if you want something that is:
- Beginner-friendly
- Colorful and decorative
- Great for using scrap yarn
- Perfect for balcony, garden, or window decor
- Easy to personalize with beads, pearls, or charms
- Cute enough to give as a handmade gift
The little flower and bead detail at the bottom makes it feel extra sweet and finished.
If you enjoy beginner projects with a decorative finish, you may also like this easy crochet heart coaster pattern.
For another colorful handmade project that works beautifully as a quick gift, this crochet daisy snap hair clip pattern is also a sweet beginner-friendly idea.
What Makes This Crochet Wind Spinner Curl by Itself?
The “curls by itself” effect comes from the stitch structure.
The project begins with a foundation chain and simple half double crochet stitches. Then you create V-stitch spaces. After that, the real spiral starts to form when you work seven double crochets into each V-stitch space.
Because so many stitches are worked into each space, the crochet strip naturally becomes fuller and starts twisting into a spiral shape.
This is the main spiral trick crochet moment in the pattern.
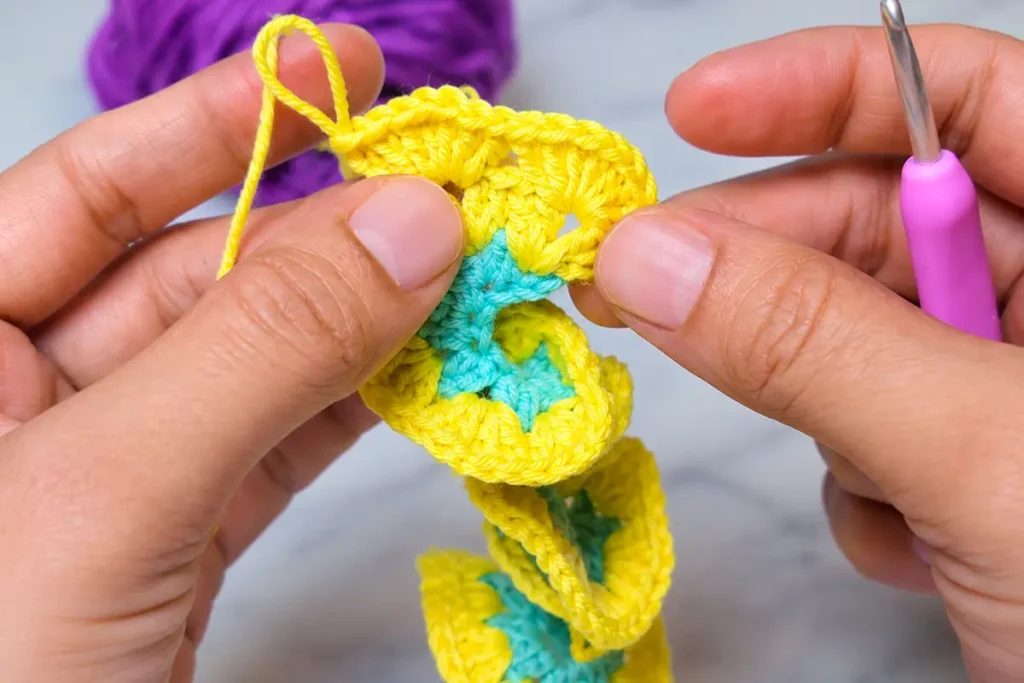
So if your work starts looking wavy before the final shape appears, do not worry. That wave is not a mistake. It is the beginning of the 3D spiral.
Materials for This Crochet Wind Spinner Pattern
For this crochet wind spinner pattern, you only need a few basic supplies.
Yarn
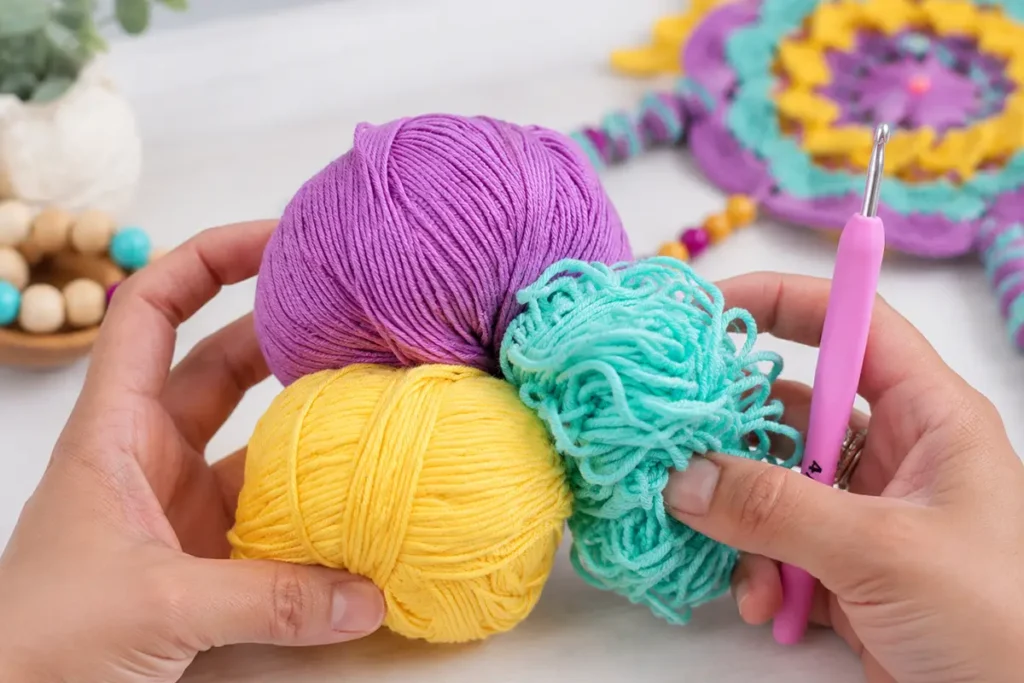
Use cotton yarn in three different colors.
Cotton yarn works well because it gives the spinner a clean, structured look. It also helps the spiral hold its shape nicely after you gently twist it at the end.
For the sample, the colors create a bright and playful look:
- Purple or lavender for the edge
- Yellow for the shell sections
- Mint or aqua for contrast
You can use any color combination you love. Pastel colors look soft and sweet, while bright colors make the wind spinner stand out more in a garden or balcony.
Hook
Use a 2.5 mm crochet hook.
This hook size works nicely with standard cotton yarn and helps keep the stitches neat and defined.
Other Supplies
You will also need:
- Beads or pearls
- Scissors
- Yarn needle
- Optional charm or extra decoration
The beads and bottom flower make the project feel more finished and giftable.
Crochet Stitches and Abbreviations for This Wind Spinner
This pattern uses US crochet terms.
- ch = chain
- sc = single crochet
- hdc = half double crochet
- dc = double crochet
- sl st = slip stitch
- st = stitch
- ch-1 sp = chain-1 space
- shell = a group of double crochets worked into the same space
If you are still learning basic crochet stitches, take your time with each row. This is a very forgiving project because the final spiral shape does not need to be perfectly flat.
Finished Size of the Crochet Wind Spinner
The wind spinner in the tutorial starts with a foundation chain of about 35–40 cm.
With the yarn and hook used in the video, this was about 75 chains.
You can make your wind spinner longer or shorter by changing the number of foundation chains.
For a shorter wind spinner, make fewer chains.
For a longer wind spinner, make more chains.
Just keep in mind that a longer chain will create a longer finished spiral.
Easy Crochet Wind Spinner Pattern
Now let’s make the wind spinner step by step.
This written pattern follows the same order as the video tutorial, so you can read the instructions and watch the video together if you need extra help.
Step 1: Start the Crochet Wind Spinner with a Foundation Chain
Start by making a foundation chain about 35–40 cm long.
For the sample, make 75 chains.
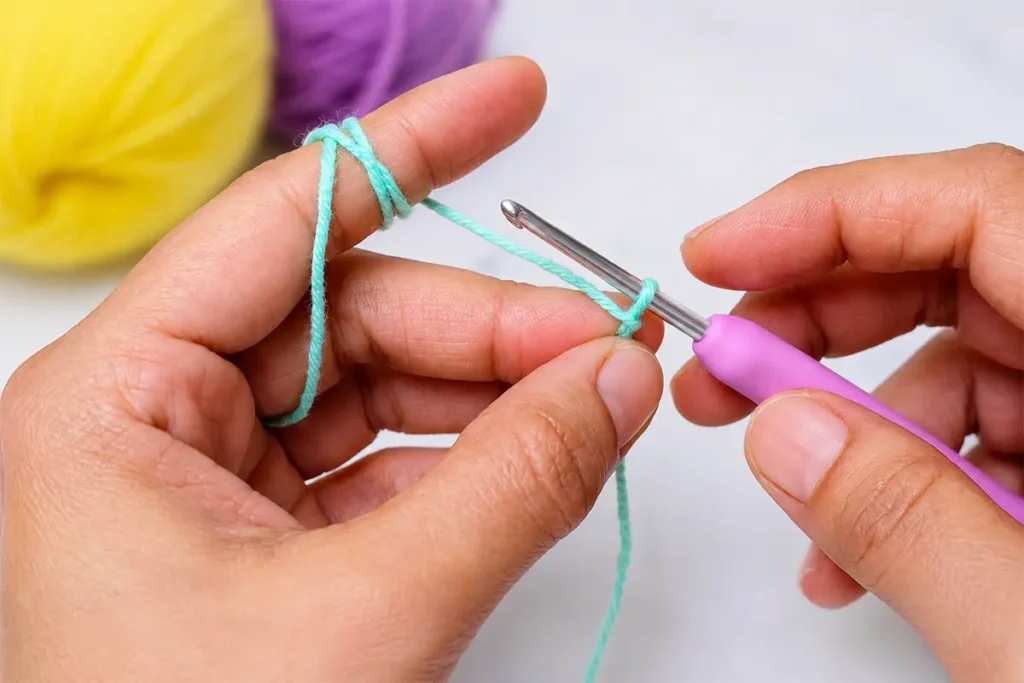
This chain decides the length of your finished wind spinner.
Try not to make your chain too tight. A relaxed foundation chain makes it easier to work the first row.
Step 2: Work the First Row
Work 1 half double crochet into the 3rd chain from the hook.
In the next chain, work:
1 hdc, ch 1, 1 hdc
Now repeat the same pattern into each chain across:
1 hdc, ch 1, 1 hdc
Keep working this way until you reach the end of the row.
At the end, chain 1, cut the yarn, and fasten off.
This row creates the base for the wind spinner. It may not look like a spiral yet, and that is completely normal.
Step 3: Add the Second Color and Make V-Stitches
Attach your second yarn color into the first ch-1 space.
Chain 3. This counts as the first double crochet.
In the same space, work:
1 dc, ch 1, 2 dc
Together with the beginning chain 3, this gives you:
2 double crochets, chain 1, and 2 double crochets in the same space.
This will be your first V-stitch section.
Now repeat into each ch-1 space across:
2 dc, ch 1, 2 dc
Work your way across the row using the same pattern.
When you reach the end, chain 1, cut the yarn, and fasten off.
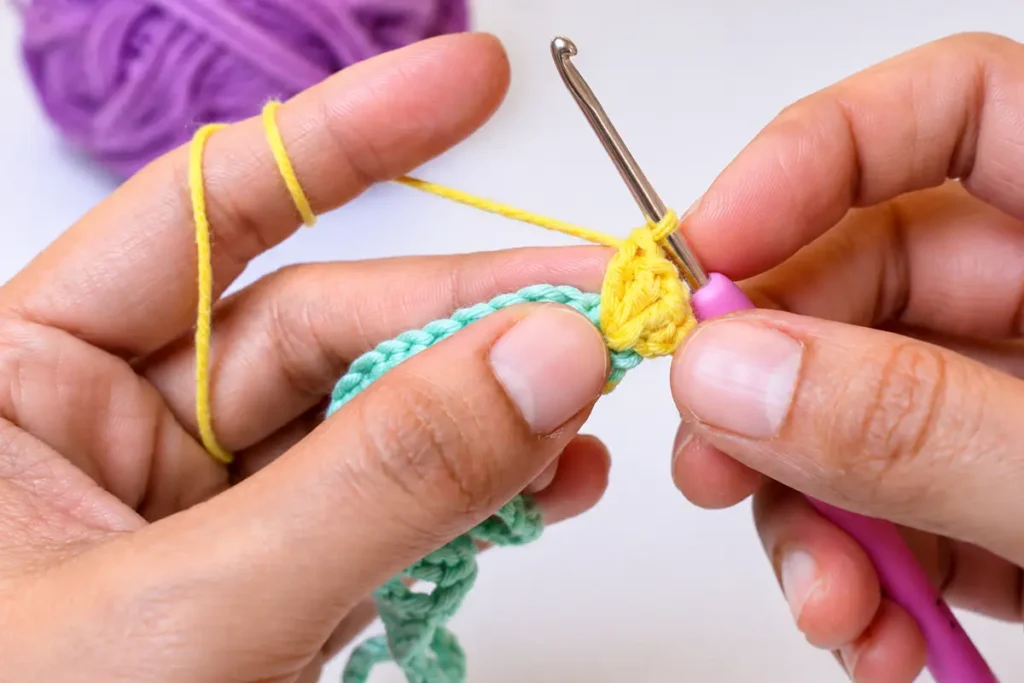
These V-stitch spaces are important because they give the next row room to grow. Later, they help the wind spinner open and curl into its spiral shape.
Step 4: Make the 3D Spiral for the Crochet Wind Spinner
This is the most important part of the pattern.
With the same second color, join your yarn into the first V-stitch space.
Chain 3.
Work 6 double crochets into the same space.
The beginning chain counts as part of the shell, so you should have 7 double crochets total in this first shell.
Now work:
7 dc into each V-stitch space across
As you continue across the row, the strip will start to curl naturally.
This is where the 3D crochet spiral begins to build.
Do not try to flatten the piece. Let it twist and curl as you crochet. That movement is exactly what gives the wind spinner its shape.
After you finish the last shell, chain 1, cut the yarn, and fasten off.
Step 5: Add the Textured Edge
Join your third color at the top edge of the first shell.
Chain 1.
Across the double crochets of the shell, repeat:
ch 1, sl st
When you reach the space between two shell groups, work:
1 sc between the two groups below
Then move to the next shell and repeat the same edge pattern.
Across each shell:
ch 1, sl st
Between the shell groups:
1 sc between the groups below
Continue this textured edge across the entire wind spinner.
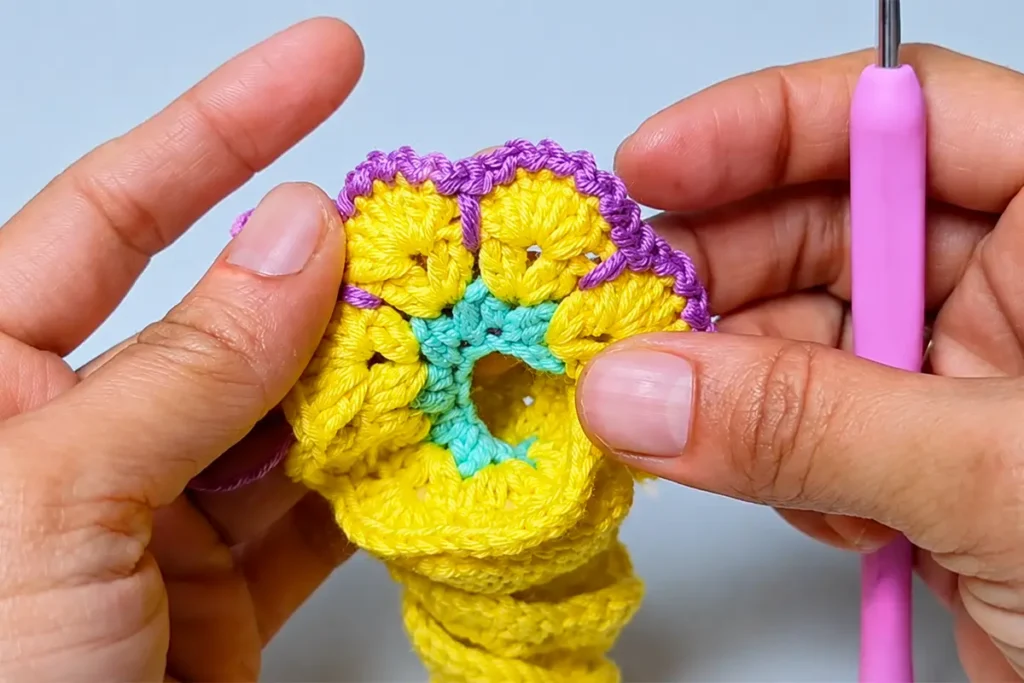
This little border makes the spiral look cleaner and helps each shell stand out beautifully. It also adds a nice finished detail, especially when you use a contrasting color.
Step 6: Make the Hanging Loop
When you reach the top end of your wind spinner, make a chain for the hanging loop.
In the video, I made 25 chains.
Form the chain into a loop.
Secure it with a slip stitch.
Cut the yarn and weave in the tail neatly.
Now the main spiral body is finished.
At this point, you can already see how the crochet piece wants to twist into shape.
Step 7: Crochet the Flower Decoration for the Wind Spinner
Now we will make the small crochet flower for the bottom of the wind spinner.
This part is optional, but it makes the finished project look much more complete.
The flower adds a cute handmade detail, and the beads give the wind spinner a little movement when it hangs.
If you like making small crochet flowers for decorations and gifts, you may also enjoy this easy crochet flower tutorial.
Flower Center
Start with a magic ring.
Chain 3.
Work 1 double crochet into the ring.
Chain 2.
Now make a small 2-half-double-crochet cluster.
To make the cluster:
Yarn over, insert your hook into the ring, and pull up a loop.
Repeat the same step once more to pull up another loop.
Then yarn over and pull through all loops on your hook.
Chain 2.
Make another 2-hdc cluster into the ring.
Continue around the ring until you have 6 small groups in total.
Chain 2.
Join with a slip stitch.
Chain 1, cut the yarn, and fasten off.
Flower Second Color
Attach the second color into any chain space.
Chain 3. This counts as the first double crochet.
In the same space, work:
1 dc, ch 1, 2 dc
This gives you your first small V-stitch section for the flower.
Then repeat into each chain space around:
2 dc, ch 1, 2 dc
Continue until all chain spaces are filled.
Slip stitch over to the next chain space.
Chain 2. This counts as the first double crochet of the petal shell.
Work 6 more double crochets into the same space.
You should have 7 double crochets in this first petal shell.
Now work:
7 dc into each V-stitch space around
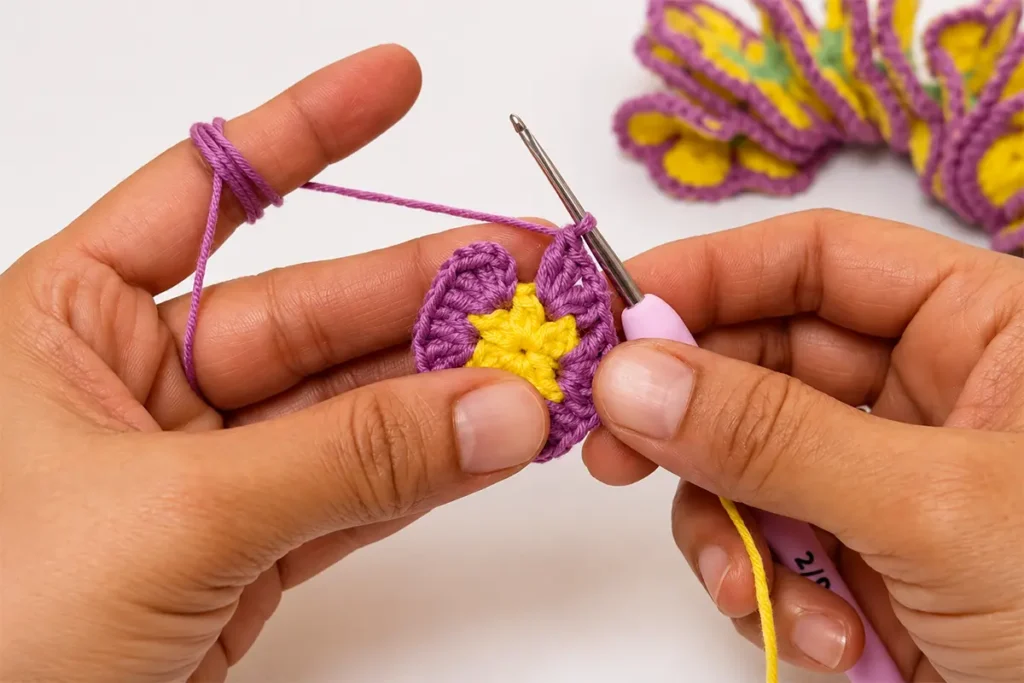
You’ll start to see the flower lift and take shape here.
Join with a slip stitch.
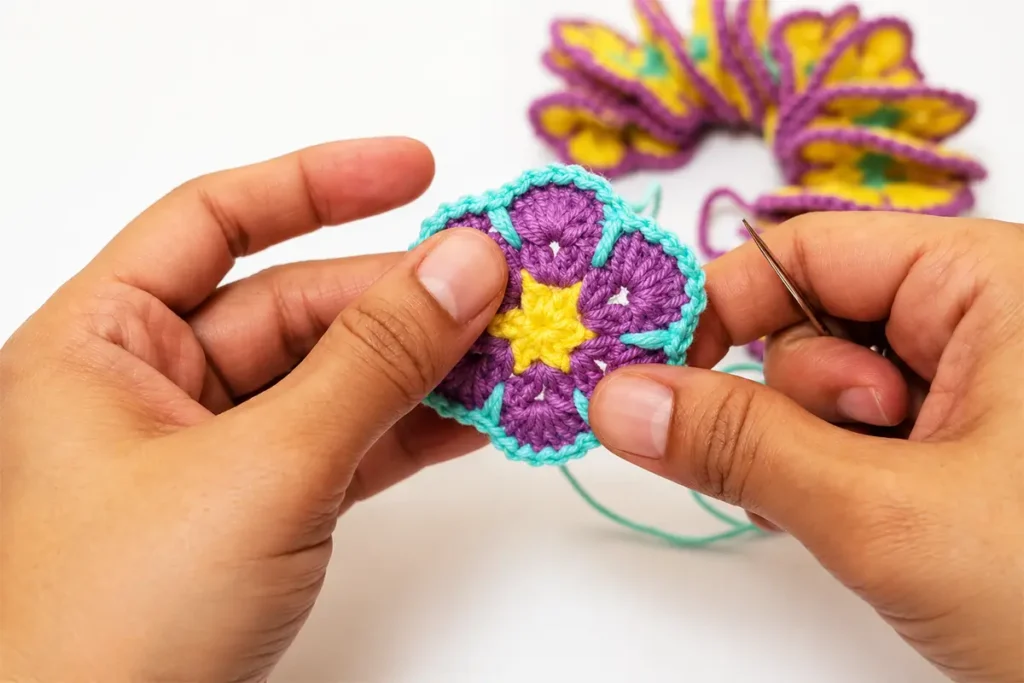
Flower Edge Detail
Attach the third color at any double crochet.
Chain 1.
Repeat around the flower:
ch 1, sl st
When you move between sections, work:
1 sc between the stitches below
Continue this same edge detail all the way around the flower.
At the end, make the last slip stitch.
Leave a tail and make an invisible join if you want a cleaner finish.
Weave in the ends.
The flower should now have a raised, decorative look that matches the textured edge of the wind spinner.
Step 8: Add Beads and Assemble the Wind Spinner
Choose beads or pearls that match your yarn colors.
Keep the hanging loop at the top of the wind spinner.
Attach the flower decoration to the bottom point of the spiral.
Add your beads between the spiral body and the flower motif.
You can use one bead, three beads, or more depending on the look you like.
Make sure everything is secured tightly so the flower hangs nicely at the bottom.
This is the part where the project really starts to feel like a finished hanging decoration.
Step 9: Shape the Crochet Wind Spinner into a 3D Spiral
Once your wind spinner is assembled, gently twist it with your hands.
Do not pull too hard.
Just guide the crochet piece into a neat 3D curl.
Take a moment to open the spiral evenly. The more evenly you shape it, the prettier it will hang.
The wind spinner naturally holds its shape because of the seven-double-crochet shell row.
And that’s it — your crochet wind spinner is ready.
You can hang it in a window, on a balcony, in your garden, in your craft room, or give it as a cheerful handmade gift.
Download the Free Crochet Wind Spinner PDF
You can download the printable written pattern here.
This is helpful if you like to keep the pattern open while crocheting or save it for later.
Crochet Wind Spinner Color Ideas
This project is a wonderful way to play with color.
Here are a few color combinations you can try:
Soft Pastel Wind Spinner
Use lavender, butter yellow, and mint green for a sweet spring look.
Bright Garden Wind Spinner
Use purple, yellow, turquoise, and pink beads for a cheerful outdoor decoration.
Neutral Home Decor Wind Spinner
Use cream, beige, soft brown, and wooden beads for a calm handmade home decor style.
Scrap Yarn Wind Spinner
Use whatever small yarn leftovers you already have. This is one of those projects where mixed colors can look really charming.
If you enjoy colorful beginner projects, you may also like this crochet daisy snap hair clip pattern.
For another small project that works well with leftover yarn, this easy crochet cat bookmark pattern is also a cute option to save for later.
Where Can You Use a Crochet Wind Spinner?
A crochet wind spinner is more than just a cute crochet project. It can be used in many different ways.
You can hang it:
- In a window
- On a balcony
- In a garden corner
- Near a craft room shelf
- On a porch
- As handmade party decor
- As a cute handmade gift
Because it is lightweight, it moves gently when there is a little air flow. That soft movement makes it feel relaxing and decorative.
If you love handmade pieces for your home, you may also like this free crochet heart placemat pattern for a pretty table decor idea.
Tips for Making a Crochet Wind Spinner as a Beginner
If this is your first crochet wind spinner, here are a few helpful tips.
Do Not Worry If It Looks Wavy
The wave is part of the process. Your piece may look a little uneven in the early rows, but the spiral shape becomes much clearer after the shell row.
Count Your V-Stitch Spaces
The shell row depends on the V-stitch spaces. If you accidentally skip a space, the spiral may look uneven.
Keep Your Tension Relaxed
Try not to crochet too tightly. A slightly relaxed tension helps the spiral shape open more smoothly.
Use Contrasting Colors
Using three different colors makes the stitch texture easier to see and gives the finished wind spinner more dimension.
Shape It Gently at the End
The final hand-shaping step makes a big difference. Twist slowly and guide the spiral into place with your fingers.
Crochet Wind Spinner FAQ
Is this project suitable for absolute beginners?
Yes, this is a beginner-friendly project that uses basic crochet stitches like chains, single crochet, half double crochet, double crochet, and slip stitch. The rows are simple to follow, and the spiral shape forms naturally as you work.
What type of yarn and hook size do I need?
For the best result, use cotton yarn in three different colors. Cotton yarn helps the wind spinner look neat and structured. A 2.5 mm crochet hook is ideal for this project.
Why is my crochet piece looking wavy in the first few rows?
Do not worry if your work looks wavy early on. That is exactly what should happen. The real 3D spiral shape begins to build once you reach the 7 double crochet shell row.
How can I make the wind spinner longer or shorter?
You can change the length by adjusting the foundation chain. For a spinner about 35–40 cm long, the tutorial uses 75 chains. Make fewer chains for a shorter spinner or more chains for a longer one.
How do I get the perfect 3D spiral shape at the end?
After assembly, gently twist the wind spinner with your hands. This helps guide the crochet piece into a clean and even spiral. The shell row gives it enough fullness to hold the curl naturally.
Can I add my own decorations to the bottom?
Absolutely. The tutorial uses a crochet flower and beads, but you can add pearls, charms, tassels, or different flower colors. This is a great way to make your wind spinner feel personal.
Final Thoughts on This Easy Crochet Wind Spinner
This easy crochet wind spinner is a lovely project if you want something beginner-friendly but still eye-catching. It uses simple stitches, but the finished result looks colorful, decorative, and full of movement.
My favorite part is watching the piece curl into a 3D spiral as you crochet. That little transformation makes the project feel special, even though the steps are easy to follow.
Whether you hang it in your garden, balcony, window, or craft room, this crochet wind spinner adds a cheerful handmade touch to any space.
If you make one, I’d love to see your color combination.
You can follow along on:
YouTube: https://www.youtube.com/@CrochetCraftsmann
Instagram: https://www.instagram.com/Craftsman_Crochet
Facebook: https://www.facebook.com/crochetcraftsmann/
Pinterest: https://tr.pinterest.com/tubacrochet/
Happy crocheting!