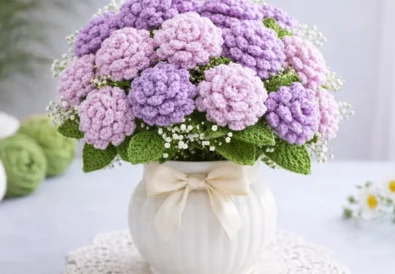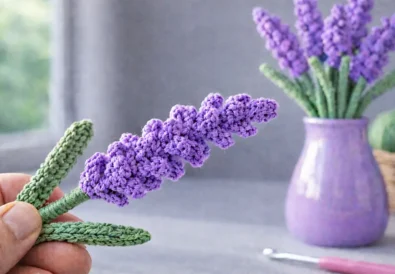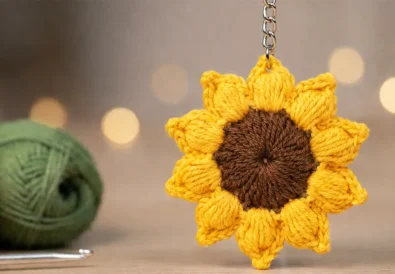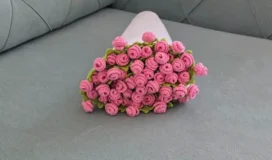

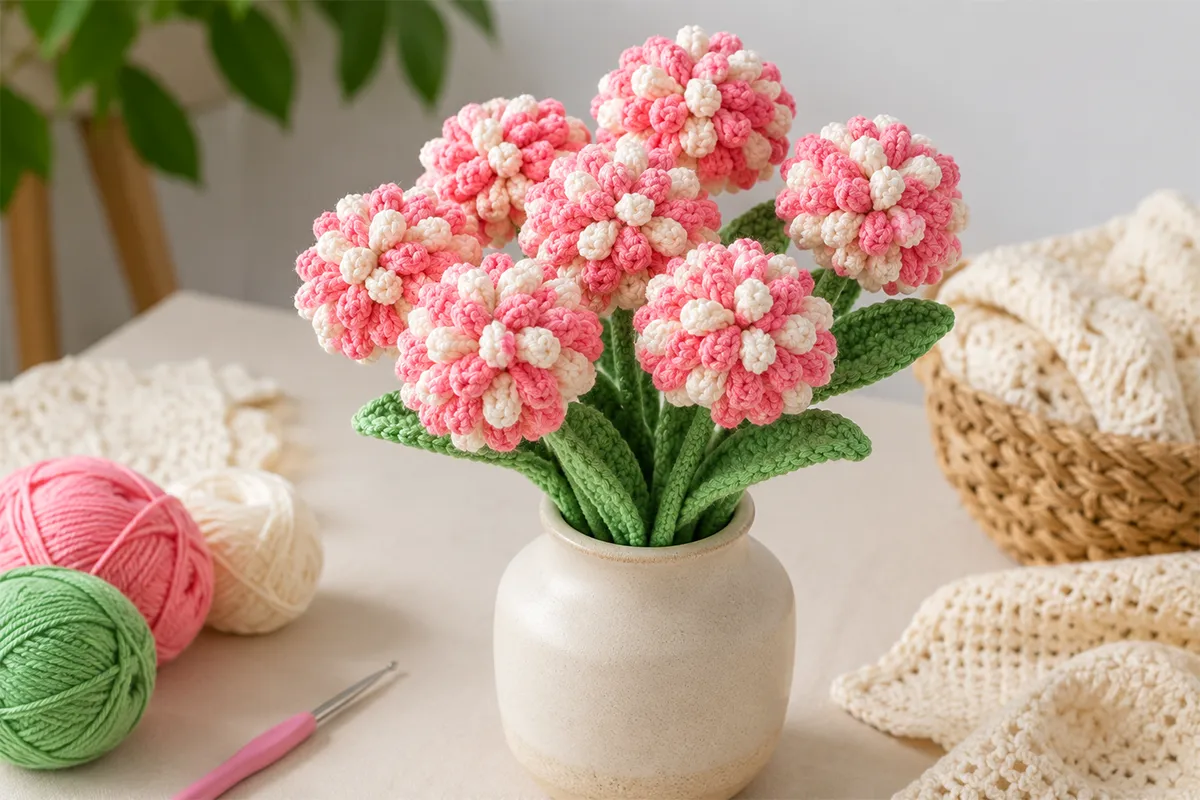
There is something so special about making flowers with yarn. They never wilt, they can be made in your favorite colors, and they always feel like a thoughtful handmade gift. This realistic crochet flower bouquet is one of those projects that looks much more detailed than it actually is.
The best part? The flower starts with one simple crochet strip.
Yes, just one strip.
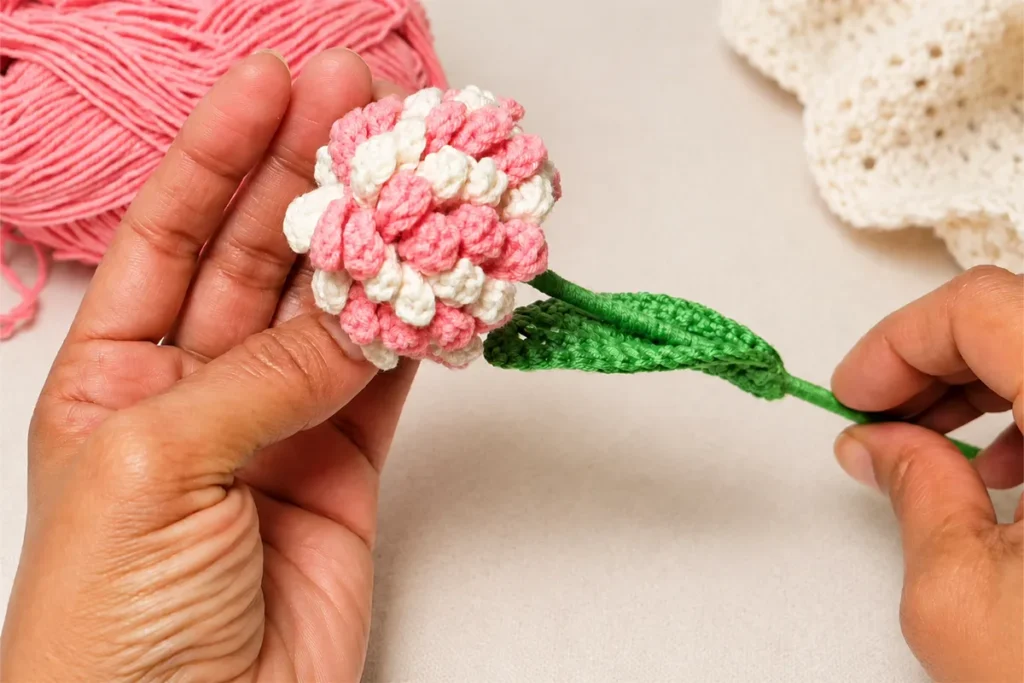
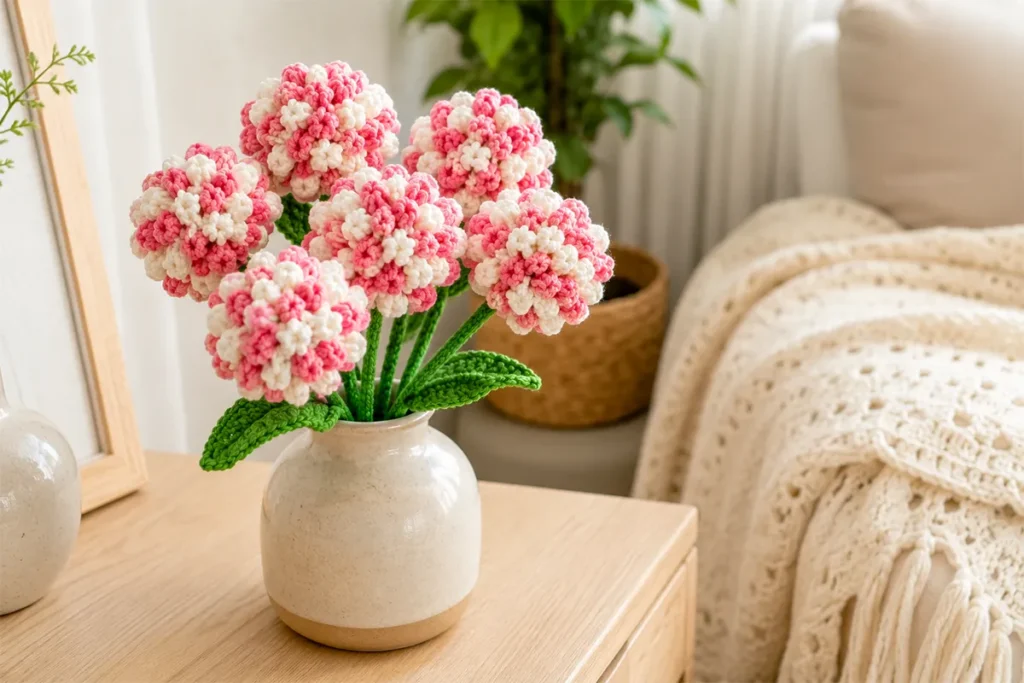
Once the two-tone strip is finished, you gently roll and shape it into a full flower head. Then you add a wrapped stem and a structured crochet leaf to give the whole piece that polished bouquet look. The finished flower has a soft, rounded shape with pretty pink and cream texture, and it works beautifully for handmade gifts, home decor, table decoration, or a small crochet bouquet.
If you enjoy crochet flowers that look elegant but are still beginner-friendly, this project is a lovely one to try.
Prefer to watch first? Follow the full video tutorial below.
If you like written instructions, keep scrolling for the step-by-step crochet flower bouquet pattern and printable PDF.
Why You’ll Love This Crochet Flower Bouquet
This crochet flower may look advanced at first glance, but the construction is very beginner-friendly. Instead of making many separate petals one by one, you create a textured strip and roll it into shape.
That simple construction makes the project feel much easier, especially if you are still building your crochet confidence.
You’ll love this pattern because:
- It starts with one simple crochet strip.
- The two-tone texture gives the flower a full, realistic look.
- The flower can be made as a single stem or as a bouquet.
- The structured leaf makes the finished flower look more polished.
- It is a beautiful handmade gift idea.
- It works well for home decor, vases, table styling, and floral arrangements.
This is also a nice project if you like patterns that have a little “wow” moment. The strip may look simple while you are crocheting it, but once you start rolling it, the flower suddenly comes together.
That transformation is the most satisfying part.
Before You Start This Crochet Flower Bouquet
This pattern uses basic crochet stitches, but the result looks more detailed because of the texture and color changes.
You do not need to be an advanced crocheter to make this flower. If you can make chains, half double crochet, double crochet, single crochet, and slip stitches, you can follow along.
The most important part is not speed. It is shaping.
Take your time when rolling the flower. A softer, looser roll gives the petals more volume and helps the flower look more natural. If you roll too tightly, the flower may look smaller and more compact.
A little hand-shaping at the end makes a big difference.
Materials for This Realistic Crochet Flower Bouquet
For this realistic crochet flower bouquet, I used:
- Cotton yarn in pink
- Cotton yarn in cream
- Cotton yarn in green
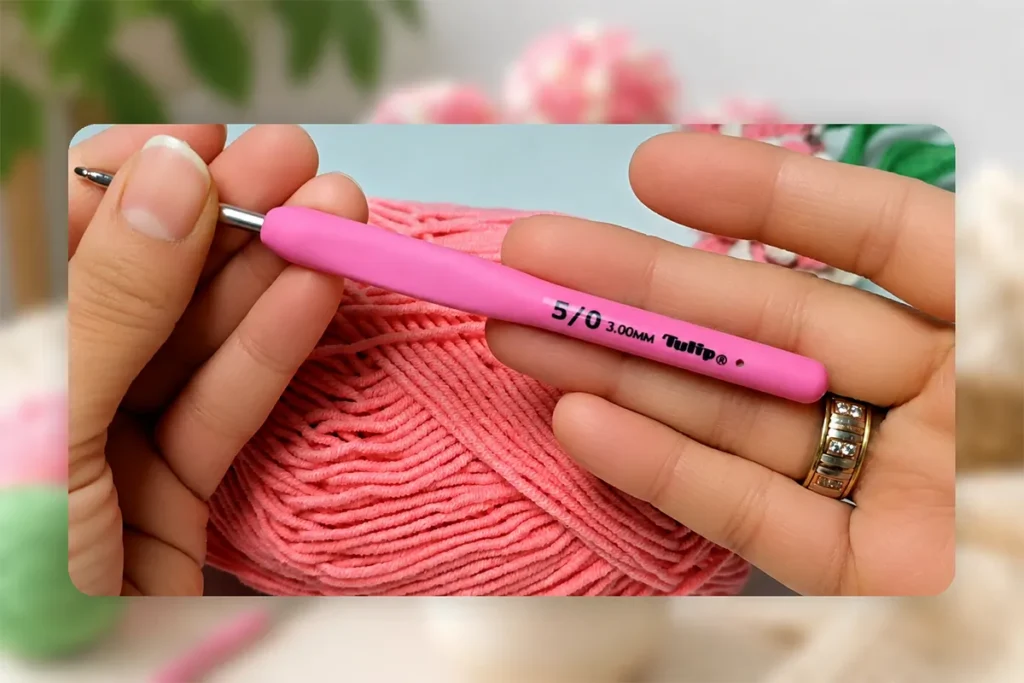
- 3 mm crochet hook
- 3 mm copper wire
- Wooden skewer
- Yarn needle
- Scissors
- Glue
Yarn Note for a Realistic Crochet Flower
Cotton yarn works beautifully for this project because it helps the flower keep its shape. The flower head needs a little structure, especially when the strip is rolled into a rounded bloom.
You can use softer yarn if you prefer, but the final flower may look more delicate and less structured. That is not a problem at all. It simply gives the flower a softer handmade look.
For a bouquet, you can make all flowers in the same color combination, or you can try soft floral shades like:
- pink and cream
- lavender and white
- peach and ivory
- yellow and cream
- dusty rose and beige
Crochet Terms Used
This pattern is written in US crochet terms.
- ch = chain
- sc = single crochet
- hdc = half double crochet
- dc = double crochet
- sl st = slip stitch
- st = stitch
Finished Look of the Crochet Flower Bouquet
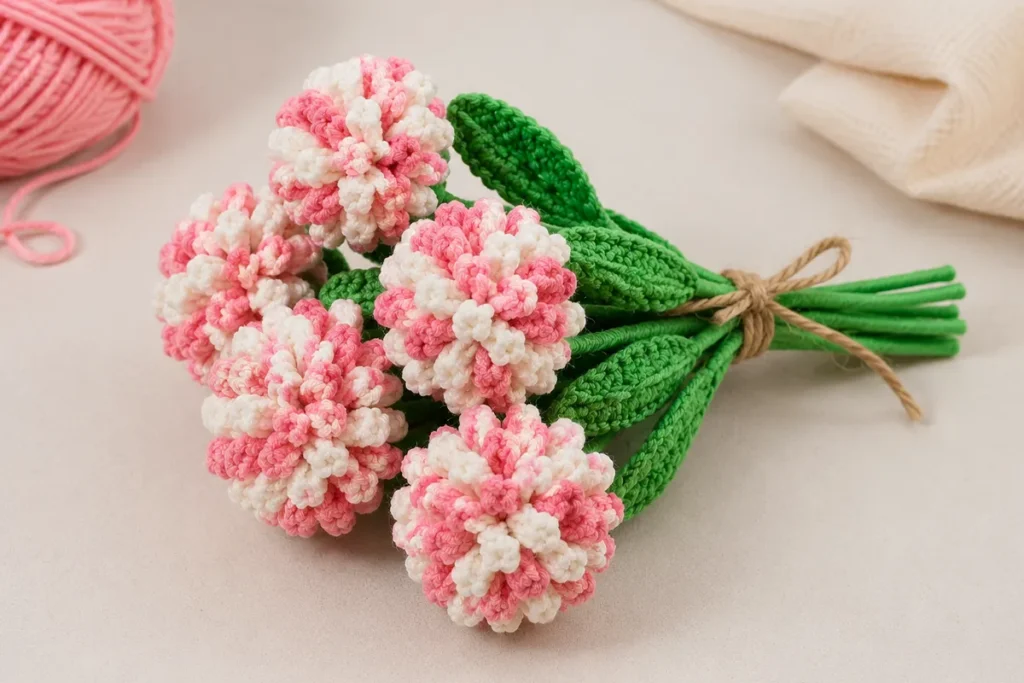
The finished flower has a rounded, full flower head with a two-tone petal texture. The green wrapped stem gives it a clean handmade finish, and the crochet leaf adds a more realistic floral detail.
You can make just one flower as a small gift, or make several stems and arrange them together in a vase.
This would be beautiful for:
- handmade Mother’s Day gifts
- spring crochet decor
- crochet flower bouquets
- wedding table decor
- craft fair items
- desk decor
- handmade birthday gifts
- home decor arrangements
Step-by-Step Realistic Crochet Flower Bouquet Pattern
Below is the full written guide in a beginner-friendly format. For the most detailed visual help, I recommend watching the video tutorial while following the written pattern.
Video tutorial.
Printable PDF pattern.
Part 1: Make the Crochet Flower Base Strip
Start with your pink yarn.
Make 62 chains.
Starting in the 3rd chain from the hook, work 1 half double crochet into each chain across.
Try to keep your stitches relaxed and even. Do not make the foundation too tight, because this strip will be rolled into a flower later.
Designer Note
If your strip starts to curl a little while you crochet, do not worry. That is completely normal. The shape will make much more sense once the flower is rolled.
Start with a Simple Two-Tone Crochet Strip
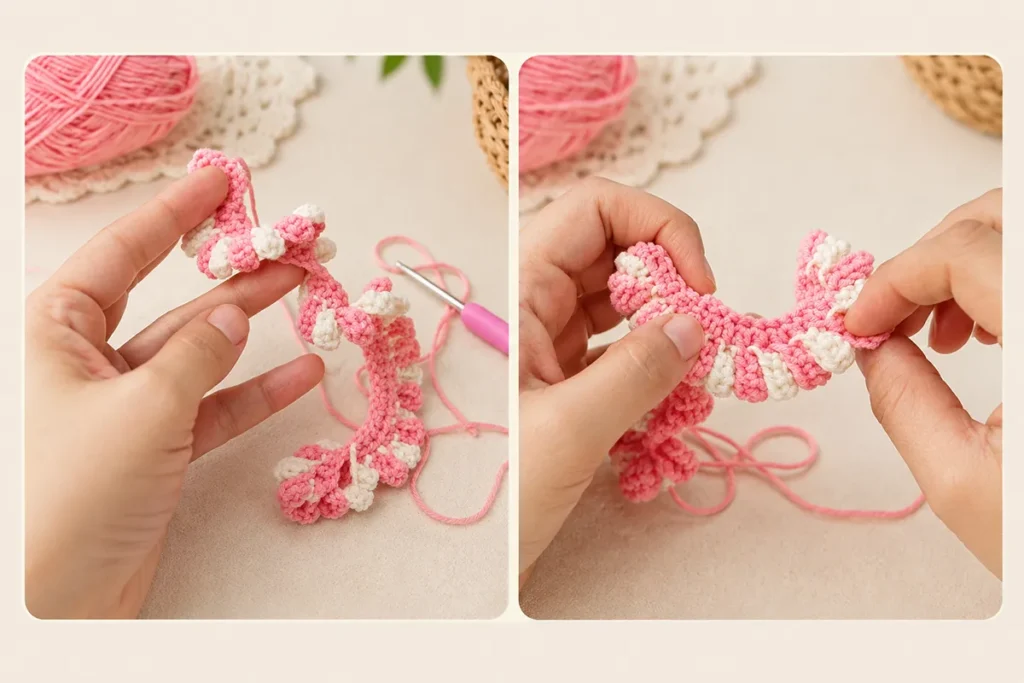
Now you will begin creating the small textured sections that become the flower petals.
At this stage, the piece may not look like a flower yet. It may look like a long textured strip, and that is exactly what we want.
First Two-Tone Crochet Petal Section
Chain 5.
Starting in the 3rd chain from the hook, work 1 half double crochet into each of the next 3 chains.
Turn the piece.
Make a slip stitch into the 2nd half double crochet on the base strip. As you finish this slip stitch, change to your cream yarn.
This color change creates the two-tone effect that gives the flower more depth.
Second Two-Tone Crochet Petal Section
With cream yarn, chain 5.
Starting in the 3rd chain from the hook, work 3 half double crochets.
Make a slip stitch into the top of the next stitch on the base strip. As you finish the slip stitch, change back to pink yarn.
Continue the Crochet Flower Strip Repeat
With pink yarn, chain 5.
Starting in the 3rd chain from the hook, work 3 half double crochets.
Make a slip stitch into the top of the next stitch on the base strip. As you finish the slip stitch, change to cream yarn.
Chain 5 again.
Starting in the 3rd chain from the hook, work 3 half double crochets.
Continue repeating this pattern all the way across the base strip, switching colors as you go.
You are creating small two-tone textured sections. Once the strip is rolled, these sections will look like layered petals.
When you reach the end, make a slip stitch into the top of the last stitch at the base.
Chain 1.
Leave a long enough yarn tail for sewing, then cut the yarn.
Designer Note
Try to keep the color changes neat, but do not stress over tiny imperfections. Once the strip is rolled into the flower, most of the joins will blend into the texture.
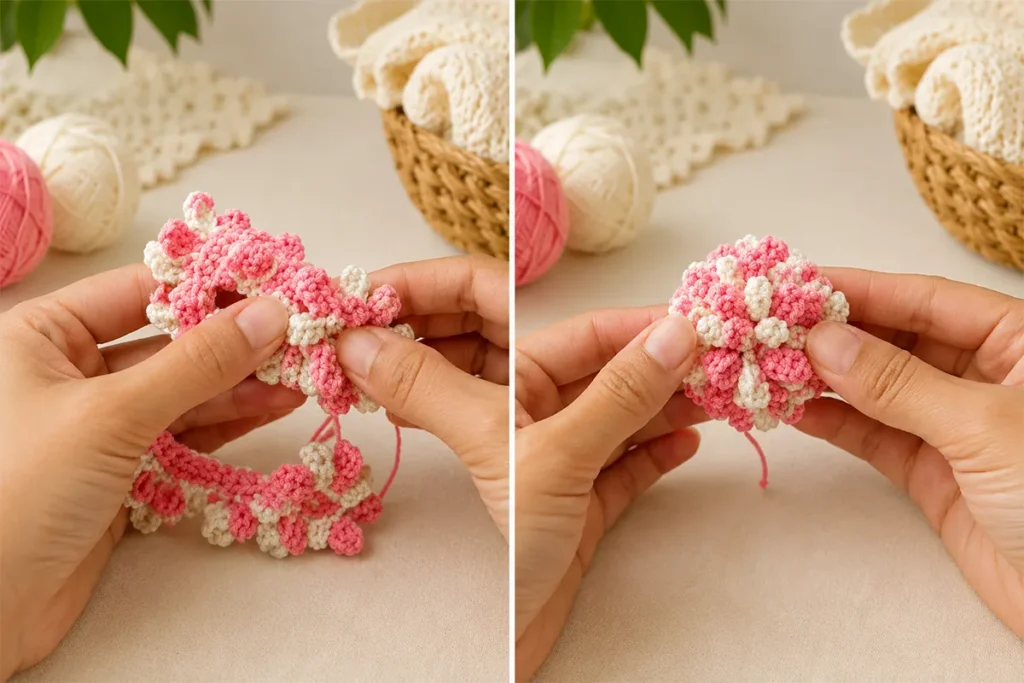
Roll and Shape the Strip into a Realistic Flower
Now comes the fun part.
This simple strip will start turning into a flower.
Look at your piece carefully. One side is the front side, where the petal texture looks fuller and more decorative. The other side is the back side.
When you roll the strip, keep the front side facing outward. This keeps the pretty petal texture visible on the outside of the flower.
Starting from one end, gently roll the strip around itself.
Do not roll it too tightly. Let the petals sit naturally so the flower looks full and soft.
As you roll, adjust the shape with your fingers. The flower should look rounded and layered.
Once you are happy with the shape, thread the long yarn tail onto your yarn needle.
Sew through the stitches on the back of the flower to secure the rolled shape.
Make a few small stitches across the back. These stitches will hold the flower together and stop it from opening.
After the flower feels secure, fasten off and hide the remaining yarn tail.
Your flower head is now ready.
Designer Note
This is the step where your flower gets its personality. If one flower looks slightly different from another, that is actually beautiful. Handmade flowers feel more natural when they are not perfectly identical.
How to Make the Stem and Leaf
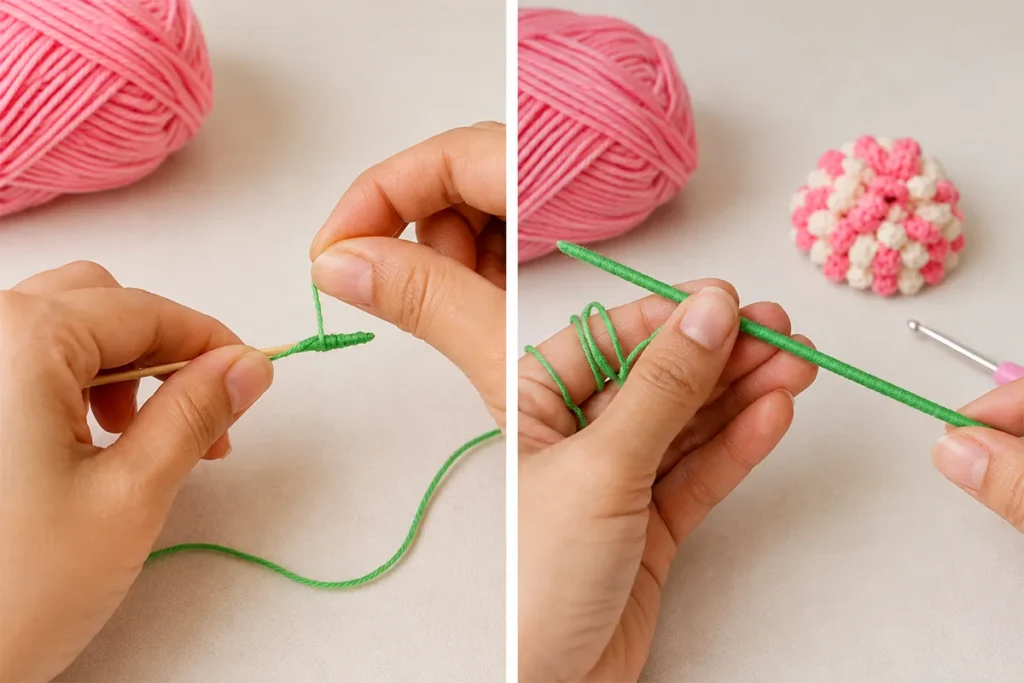
Take your wooden skewer.
Using green yarn, wrap the yarn around the skewer to cover it.
Add a small amount of glue as needed to help the yarn stay in place.
Continue wrapping until the skewer is covered neatly.
This will become the stem of your crochet flower.
Try to wrap the yarn evenly so the stem looks smooth and clean.
Crochet Leaf with Wire Support
Now you will make the leaf detail.
The leaf helps the flower look more finished and realistic. This is a small part of the project, but it makes a big difference in the final look.
Use green yarn.
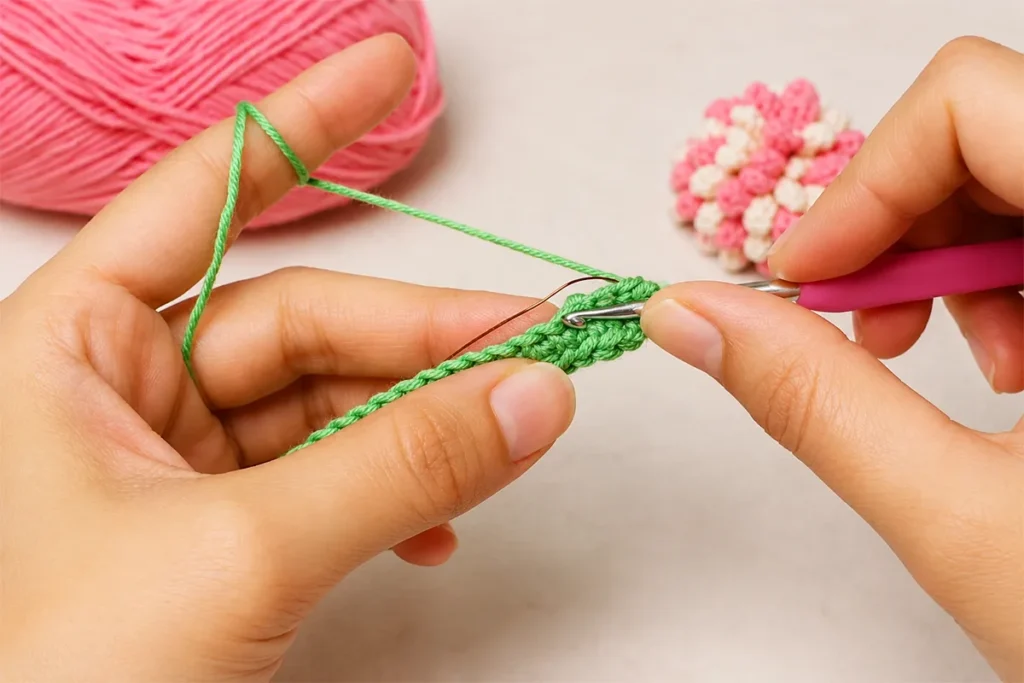
Chain 15.
To give the leaf more structure, place your 3 mm copper wire along the chain. You will crochet over the copper wire as you work, carrying it along the inside of the stitches like an invisible support.
This helps the leaf hold its shape.
Designer Note
The copper wire is optional, but I highly recommend it if you want a more polished result. It lets you gently bend and position the leaf after the flower is assembled.
Part 6: Work the First Side of the Leaf
Start in the 2nd chain from the hook and make 1 single crochet.
In the next chain, make 1 single crochet again.
Then work 1 half double crochet into each of the next 2 stitches.
Now the stitches will get taller to create the fuller center of the leaf.
For the widest part of the leaf, make 1 double crochet into each of the next 6 stitches.
This creates the rounded center shape of the leaf.
Next, work 1 half double crochet into each of the next 2 stitches.
Now the leaf starts to narrow again.
After that, make 1 single crochet into each of the next 2 stitches.
When you reach the last chain space at the bottom, work:
Part 7: Work Back Along the Other Side
Turn the piece so you can work along the other side of the chain.
Start this side with 1 single crochet into the top of the first stitch.
Then make 1 half double crochet into each of the next 2 stitches.
For the fuller center section, work 1 double crochet into each of the next 6 stitches.
At this point, you can cut the copper wire if the leaf has enough support.
Work 1 single crochet.
Into the last single crochet, work:
- 2 single crochets
- chain 2
- 1 single crochet
Complete the round with a slip stitch into the top of the first stitch.
Designer Note
If one side of your leaf looks slightly different from the other, that is okay. Handmade leaves do not need to be perfectly identical to look beautiful.
Part 8: Add the Leaf Border
Chain 1.
Work 1 single crochet into each stitch until you reach the chain-2 space at the turn.
Into the chain-2 space, work:
- 2 single crochets
- chain 2
- 2 single crochets
Continue working 1 single crochet into each stitch until you reach the next chain space.
Into that chain space, work:
- 2 single crochets
- chain 2
- 2 single crochets
Slip stitch into the top of the first stitch.
Chain 1 and cut the yarn.
Hide the yarn tail between the stitches on the back of the leaf.
Your structured crochet leaf is now finished.
Tips for a More Realistic Crochet Flower Bouquet
Take the wrapped stem and insert it through the center of the flower.
Add glue to hold the stem securely in place.
Let it sit for a moment so it stays firm.
Then glue the crochet leaf onto the stem.
Position the leaf close to the flower head so it looks natural.
Press gently until it holds.
Now the leaf gives the flower a more finished and realistic look.
Designer Note
Before the glue dries completely, take a moment to check the angle of the flower and leaf. Small changes in placement can make the finished flower look much more natural.
Finishing the Flower
After the glue is dry, gently shape the flower with your fingers.
Adjust the petals so the flower head looks rounded and full.
You can also bend the leaf slightly because the copper wire gives it structure.
Your realistic crochet flower is complete.
Make one flower as a simple handmade gift, or make several flowers to create a full crochet flower bouquet.
Helpful Tips for a Better Result
Keep the First Strip Relaxed
If your first strip is too tight, the flower may be harder to roll. Relaxed stitches make shaping much easier.
Change Colors Cleanly
For a smoother color transition, change to the new color while finishing the slip stitch. This keeps the two-tone texture cleaner.
Do Not Roll Too Tightly
A tight roll can make the flower look stiff. A softer roll gives the flower more volume and a more natural shape.
Secure the Back Well
Use the back of the flower for sewing so the front stays clean and pretty. A few small stitches are enough to hold the shape.
Use Cotton Yarn for Structure
Cotton yarn helps the flower and leaves hold their shape better. It also gives the finished bouquet a clean, handmade look.
Shape Each Flower Slightly Differently
If you are making a bouquet, try shaping each flower just a little differently. Those small variations make the bouquet feel more natural.
What Can You Use This Crochet Flower Bouquet For?
This realistic crochet flower bouquet is a lovely project for both gifts and decor.
You can use it as:
- a handmade gift for a friend
- a Mother’s Day crochet gift
- spring home decor
- a small vase arrangement
- a table centerpiece
- craft fair inventory
- a crochet bouquet for special occasions
- a cute desk decoration
- a handmade floral accent for photos
Because the flowers do not wilt, they are also perfect if you want something lasting and meaningful.
More Crochet Flower Patterns You May Like
If you enjoy this realistic crochet flower bouquet, you may also like these crochet flower projects on the blog:
- Easy crochet rosebud flower pattern
https://crochetstrends.com/easy-crochet-rosebud-flower-pattern/ - Realistic crochet lavender flower tutorial
https://crochetstrends.com/realistic-crochet-lavender-flower-pattern/ - Easy crochet poppy flower pattern
https://crochetstrends.com/easy-crochet-poppy-flower-pattern/ - Crochet daisy snap hair clip pattern
https://crochetstrends.com/crochet-daisy-snap-hair-clip-pattern/ - Easy crochet chrysanthemum flower pattern
https://crochetstrends.com/easy-crochet-chrysanthemum-flower-pattern/
These internal links help readers continue browsing related crochet flower projects and also keep the site structure strong for SEO.
Frequently Asked Questions About This Crochet Flower Bouquet
Is this crochet flower bouquet beginner-friendly?
Yes, this crochet flower bouquet is beginner-friendly. The finished flower looks detailed, but the main flower starts with a simple crochet strip. If you are comfortable with basic stitches like single crochet, half double crochet, double crochet, chains, and slip stitches, you can follow this pattern step by step.
What yarn works best for a realistic crochet flower?
Cotton yarn works best for this realistic crochet flower because it gives the petals and leaves a cleaner shape. It also helps the flower hold its structure better after rolling and shaping. Softer yarn can still work, but the flower may look less firm and more delicate.
Why does this flower start with a crochet strip?
This design uses a simple strip-to-flower technique. After you crochet the two-tone strip, you roll and shape it into a full flower head. That is what creates the rounded, realistic bouquet look without needing to crochet each petal separately.
Can I make this crochet flower in different colors?
Absolutely. You can use pink and cream like the sample, or choose any two colors you love. Soft pastels create a romantic bouquet look, while brighter colors make the flower more playful and eye-catching.
Do I need copper wire for this crochet flower bouquet?
The copper wire is mainly used for the leaf and structure. It helps the leaf stay in place and gives the finished flower a more polished, realistic look. You can skip it, but the leaf may not hold its shape as well.
How do I stop the crochet flower from unrolling?
After rolling the strip into a flower shape, secure the back with a yarn needle and a few firm stitches. Try to sew through several layers at the back so the flower stays in place, but keep the stitches hidden from the front.
Can I use this crochet flower as a handmade gift?
Yes, this realistic crochet flower bouquet makes a beautiful handmade gift. It is especially nice for Mother’s Day, birthdays, home decor, table decoration, or a small “forever flower” bouquet that will not wilt.
Crochet Flower Bouquet Video Tutorial
The written pattern is helpful, but the video makes the shaping steps much easier to understand.
You can watch the full tutorial here.
In the video, you’ll see exactly how the strip is rolled, how the flower is secured from the back, and how the copper wire helps the leaf hold its shape.
If you prefer to follow a clean printable version, you can download the PDF pattern here:
This is especially helpful if you want to keep the pattern beside you while crocheting.